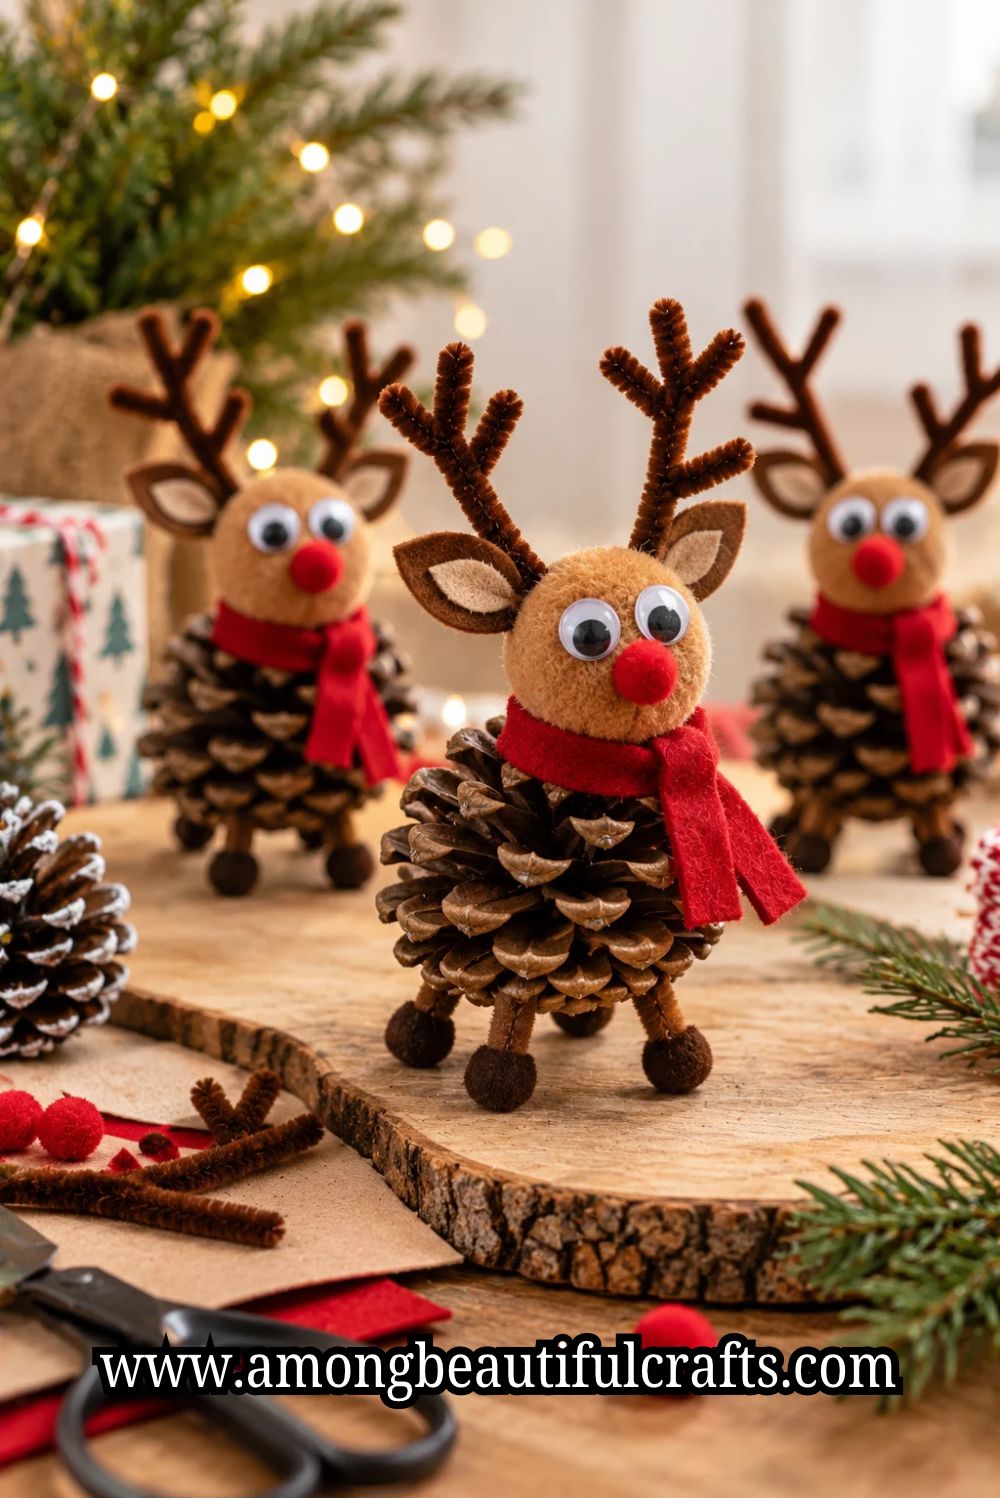
A pinecone already has the rough shape of a little reindeer’s body. Add a pair of antlers, some eyes, and a red nose, and the resemblance becomes even clearer.
That’s part of what makes Pinecone Reindeer Christmas Crafts so easy to get creative with.
Kids can use the same basic materials to make several reindeer that look completely different.
You don’t need a large collection of craft supplies to give these little reindeer some personality. A few pipe cleaners, pom-poms, felt scraps, and ribbons can go a long way.
I especially like the idea of letting kids choose their own decorations instead of making every reindeer look alike.
It gives them something to decide for themselves, which makes the activity more interesting.
There are plenty of ways to take this simple Christmas craft beyond the usual red-nosed reindeer.
Some ideas work well for younger children, while others involve a little more creativity and patience.
I’ve gathered a variety of designs you can try, including playful characters, colorful decorations, and reindeer you can hang on your Christmas tree.
30 Adorable Pinecone Reindeer Christmas Crafts for Kids
Supplies You’ll Need
-
Pinecones
-
Googly eyes – (Available on Amazon)
-
Red pom-poms – (Available on Amazon)
-
Brown pipe cleaners
-
Craft felt sheets – (Available on Amazon)
-
Craft glue
-
Christmas ribbons – (Available on Amazon)
-
Construction paper and cardstock
-
Acrylic craft paint and paintbrushes – (Available on Amazon)
-
Small jingle bells – (Available on Amazon)
-
Craft feathers
-
Wooden beads – (Available on Amazon)
-
Child-safe scissors – (Available on Amazon)
-
Twine
-
Glitter glue – (Available on Amazon)
1. Classic Pinecone Reindeer
A pinecone, two googly eyes, a red pom-pom, and a pair of antlers are all you need to make a little reindeer.
This is a good place to start because kids can see the character take shape as they add each piece.
Choose a pinecone with a broad base so it can stand upright. Glue the eyes near the front, then place the red pom-pom just below them.
Next, twist brown pipe cleaners into antlers and tuck their ends between the pinecone scales. Add a small ribbon around the neck if you want to dress it up.
The best part is that kids can change the expression by moving the eyes or choosing a different nose color.
Some might even want to give their reindeer a funny, surprised look.
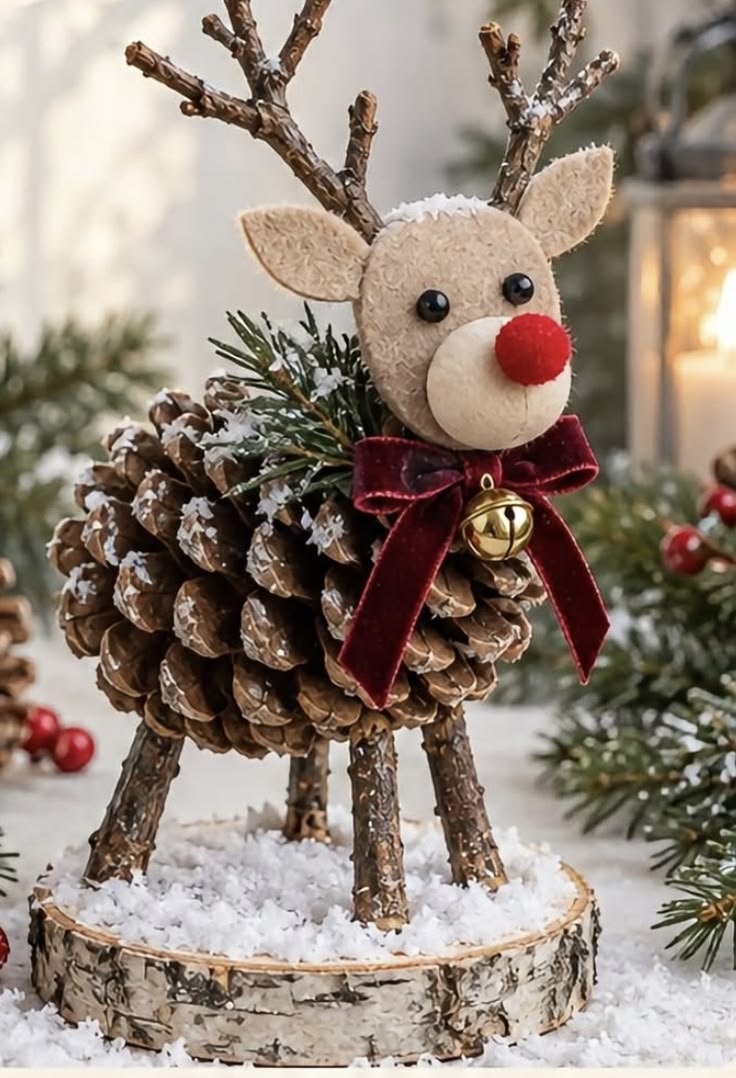
2. Pinecone Reindeer With Felt Antlers
Pipe cleaners work well for antlers, but felt gives them a different look. The material holds its shape nicely, and kids can choose from several shades of brown.
Draw a simple antler shape on brown felt and cut out two matching pieces.
You can make a paper template first if the children need help getting the shapes right.
Glue the antlers near the narrow end of the pinecone, then add googly eyes and a small red nose.
For a little extra detail, cut two tiny ears from the same felt. Place them just below the antlers so the reindeer looks more complete.
This design works especially well when you want a soft, simple finish without too many decorations.
3. Rudolph Pinecone Reindeer
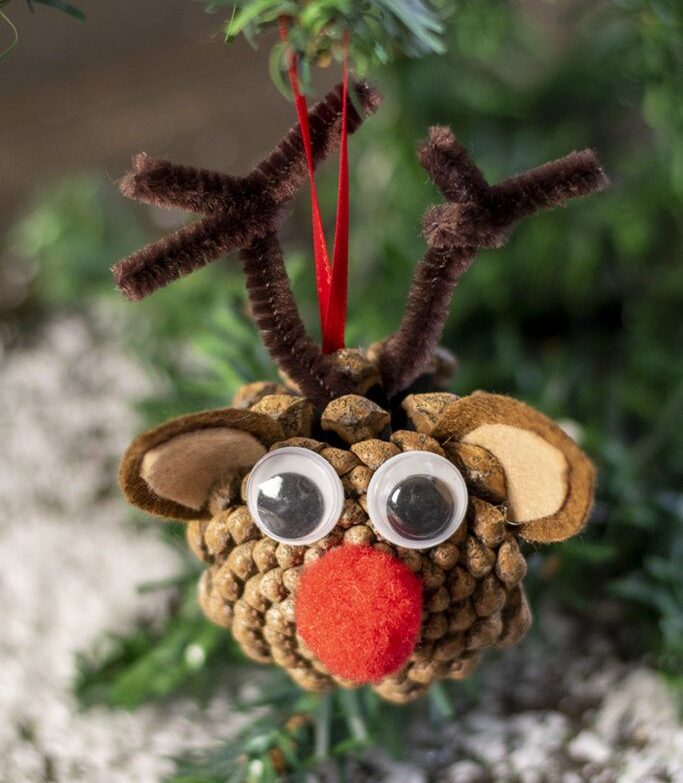
Every group of Christmas reindeer needs a Rudolph, and a bright red nose makes this one easy to recognize.
You can use the same basic materials as the classic design, but make the nose slightly larger.
Start with a pinecone that has enough room near the front for the eyes and nose.
Attach two googly eyes, then glue a large red pom-pom underneath. Shape brown pipe cleaners into branching antlers and secure them near the top.
If the pinecone keeps rolling over, glue a small piece of cardboard underneath it.
This gives Rudolph a steadier base without changing the natural look of the pinecone. You can also make a few smaller reindeer to stand beside him.
4. Mini Pinecone Reindeer Ornaments
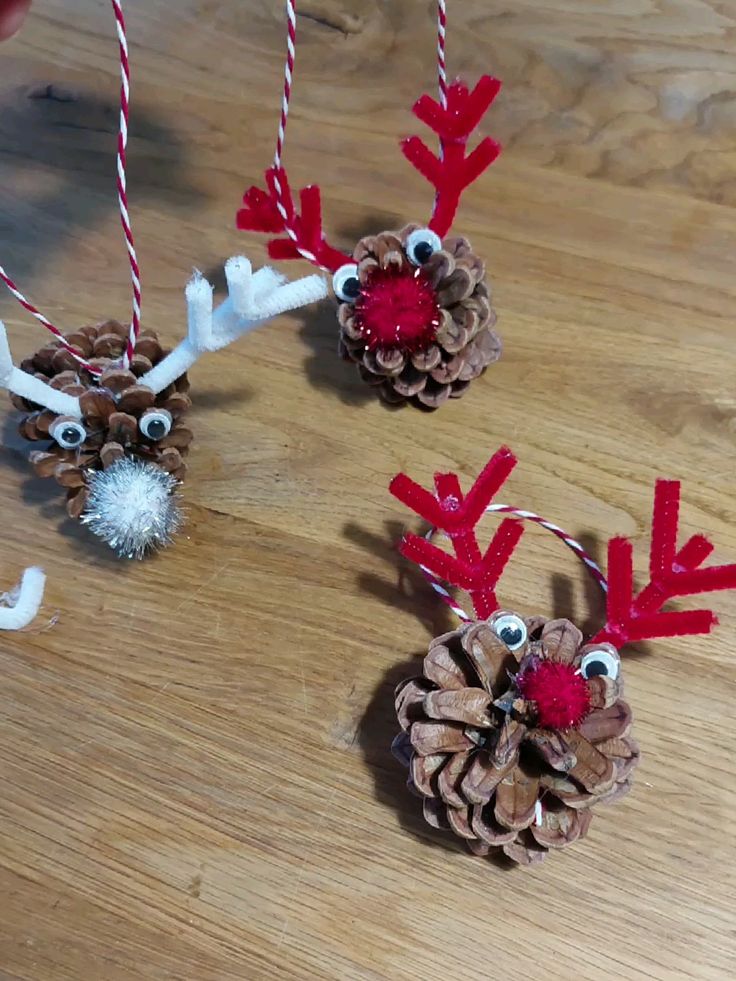
Small pinecones make lovely Christmas tree ornaments because they don’t take up much space.
Their size also makes them a good choice when kids want to make several decorations in one sitting.
Attach tiny googly eyes and a small pom-pom nose to each pinecone. Then add short pipe-cleaner antlers that suit the size of the body.
Tie a loop of ribbon or twine around a secure section near the top, and check that it holds before hanging the ornament.
Keep the decorations lightweight so the pinecone doesn’t hang awkwardly.
You can use different ribbon colors for each ornament, or let the kids make a matching set for the family Christmas tree.
5. Pinecone Reindeer With Oversized Googly Eyes
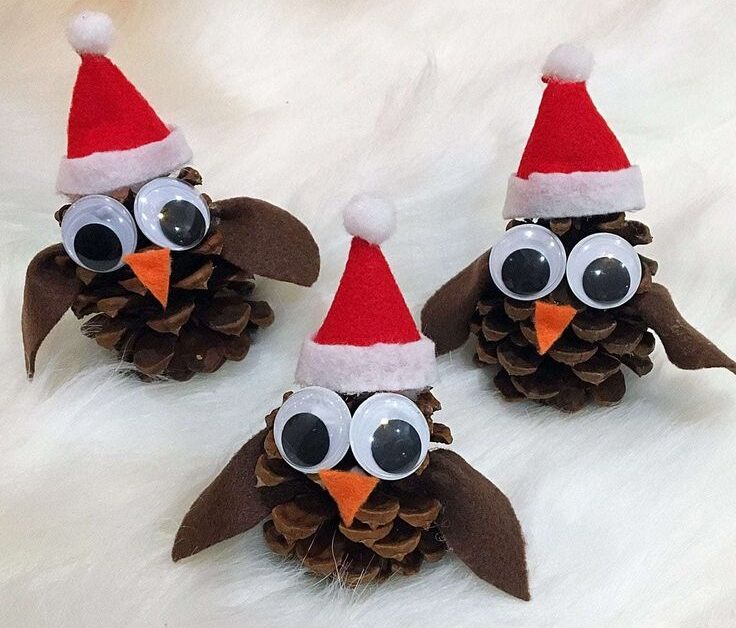
Sometimes, a small change makes a familiar craft much more amusing.
Oversized googly eyes give a pinecone reindeer a funny expression, especially when you place them close together.
Choose a pinecone with a broad front, then attach two large eyes near the narrower end.
Add a small pom-pom nose underneath and finish with pipe-cleaner antlers. You can bend the antlers outward or upward to give the reindeer a different personality.
Try moving the eyes slightly higher or lower before gluing them down. That small adjustment can change the entire expression.
Kids can make a whole collection of reindeer with different faces, even when they use the same materials.
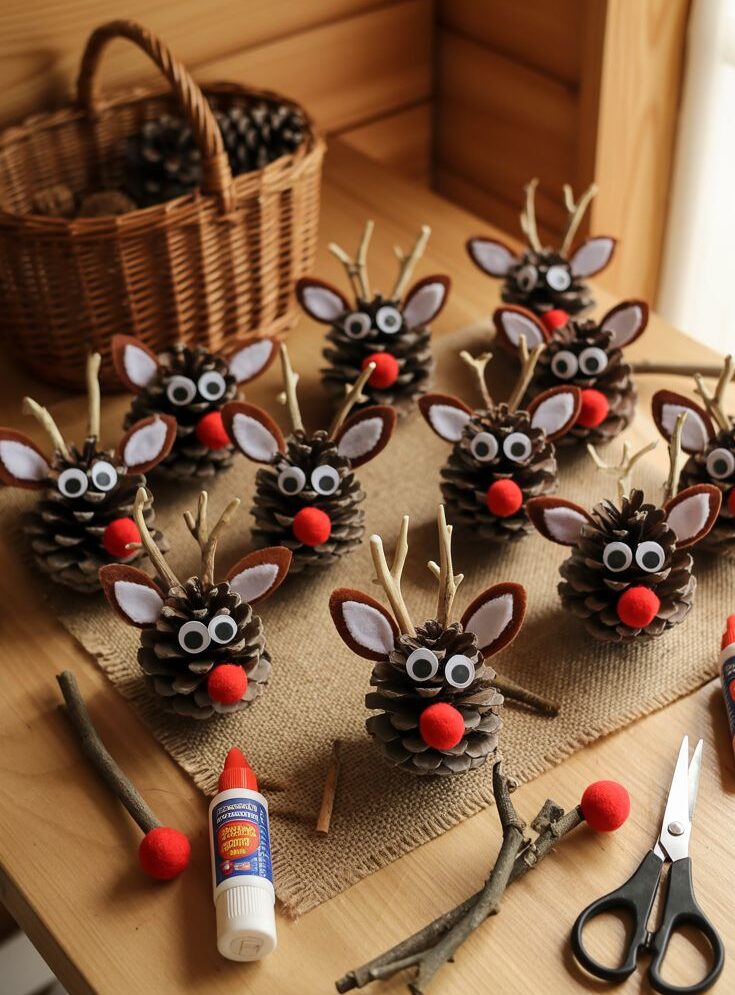
6. Pinecone Reindeer With Twig Antlers
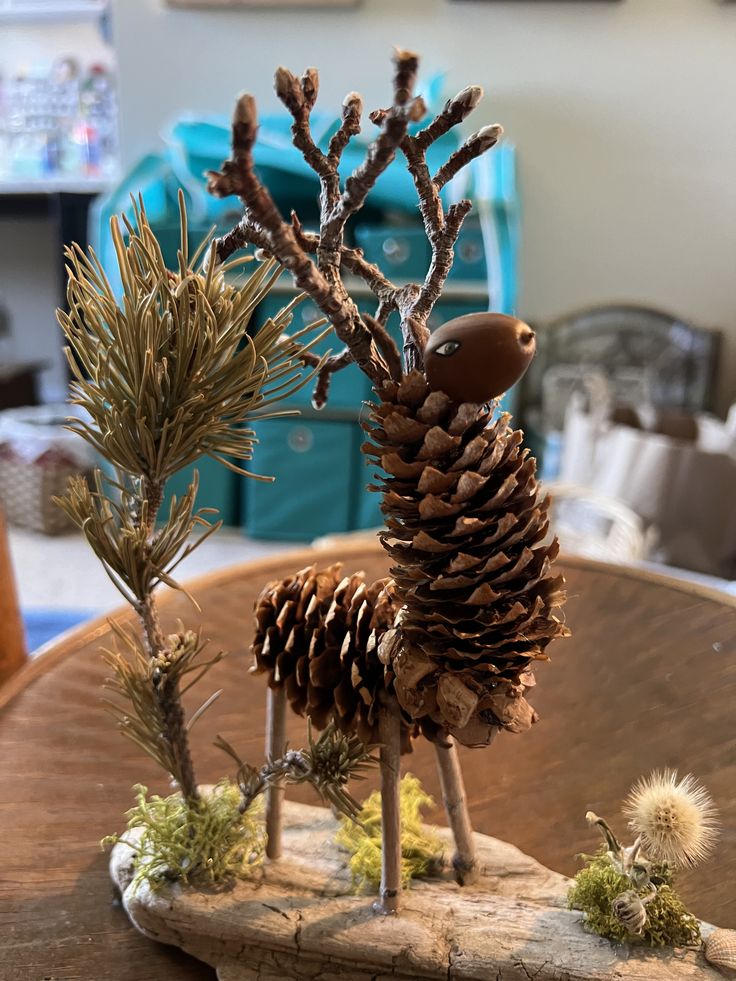
If the kids enjoy collecting things outdoors, let them gather small twigs for this project.
Real twigs give the reindeer a woodland look, and no two pairs of antlers will look exactly alike.
Look for two thin twigs with small branches that resemble antlers. Check them for sharp points and dirt, then clean and dry them before use.
Fit the ends between the pinecone scales and secure them with craft glue. Add googly eyes and a small red nose to complete the face.
You can leave the pinecone natural or brush a little white paint onto the scales. Either way, the twig antlers provide enough detail to make this design stand out.
7. White-Tipped Pinecone Reindeer
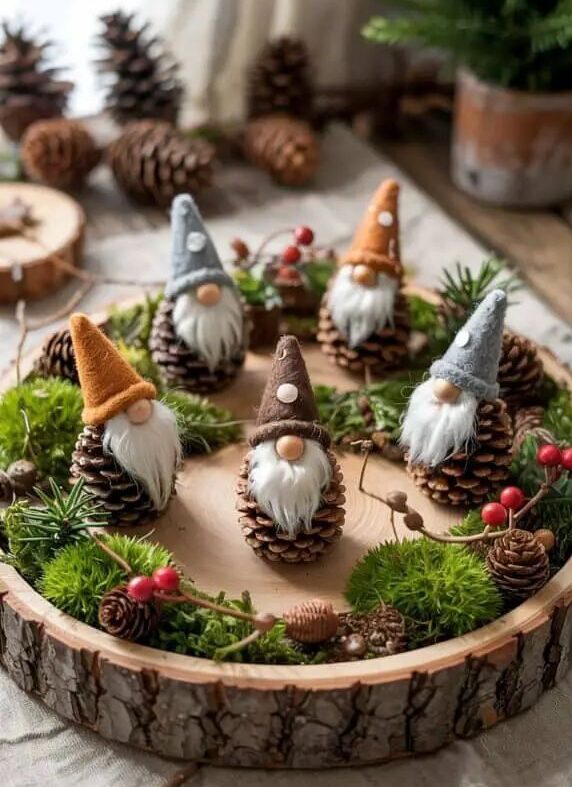
A little white paint can make a pinecone look as if it has caught some winter snow.
This simple detail adds a seasonal touch without covering up the texture that makes the pinecone interesting.
Use a small brush to dab white paint onto the raised scales. You don’t need to cover every part, so leave plenty of brown areas visible.
Allow the paint to dry before attaching the eyes, red nose, and antlers.
For an extra touch, tie a narrow red ribbon around the lower part of the pinecone.
The red and white details stand out nicely against the natural brown surface. This idea also works well for kids who prefer painting to cutting and shaping materials.
8. Pinecone Reindeer With a Red Scarf

A tiny scarf gives a pinecone reindeer a cozy winter look. It’s also a simple way to introduce fabric into the craft without adding much extra work.
Cut a narrow strip of red felt or soft fabric. Wrap it around the lower part of the pinecone and secure the ends with craft glue.
Make a few short cuts at each end to create fringe, then add the eyes, nose, and antlers.
You can use green felt, blue fabric, or a small piece of Christmas-patterned material instead.
Just keep the scarf narrow enough to sit neatly against the pinecone. If it looks bulky, trim it until the reindeer can stand comfortably.
9. Pinecone Reindeer With Earmuffs

Instead of giving the reindeer a scarf, why not dress it for a cold winter day with tiny earmuffs?
This detail gives the character a playful appearance and lets kids experiment with different colors.
Bend a short pipe cleaner into a curved band. Attach a small pom-pom to each end, then position the band across the top of the pinecone.
Add the antlers, eyes, and nose around it.
Red and white earmuffs suit the Christmas theme, but green or blue can look just as good.
Keep the band small enough to leave the antlers visible. Otherwise, the top of the reindeer may look too crowded.
10. Sleeping Pinecone Reindeer
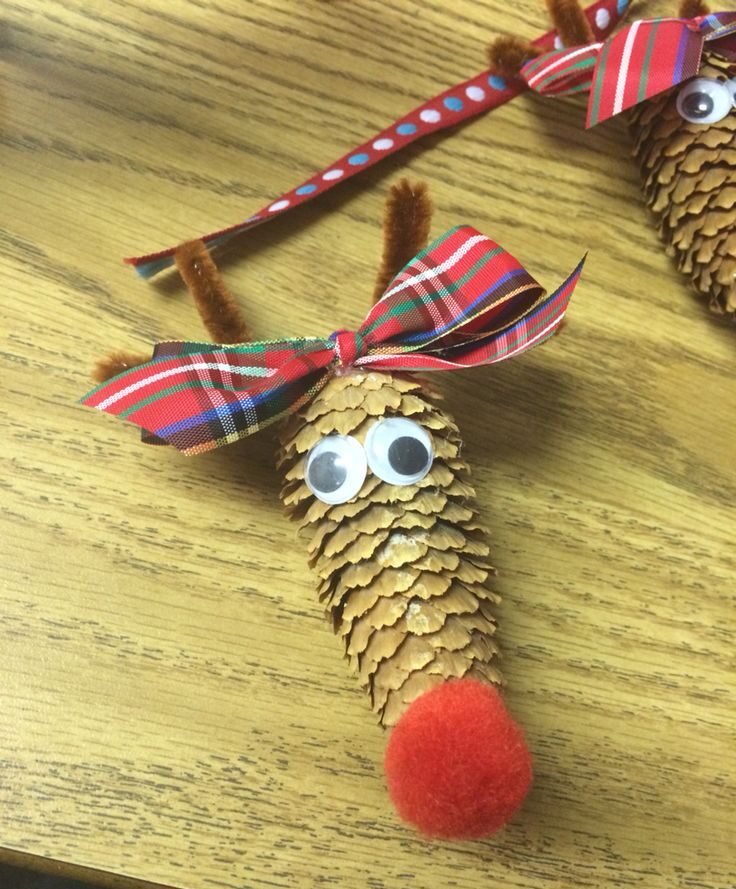
Not every reindeer needs wide-open eyes and a bright expression. A sleeping version offers a different look and works well for kids who enjoy adding small details.
Use closed-eye stickers or draw curved eyelashes on tiny pieces of paper. Attach them near the front of the pinecone, then add a small nose underneath.
Make the antlers from felt or pipe cleaners, and position the pinecone on its side if that suits its shape.
For a cozy finish, place the reindeer on a small piece of felt like a blanket.
You could even add a tiny paper pillow beside it. This idea turns a simple pinecone into a little Christmas character with its own story.
11. Pinecone Reindeer With Paper Antlers
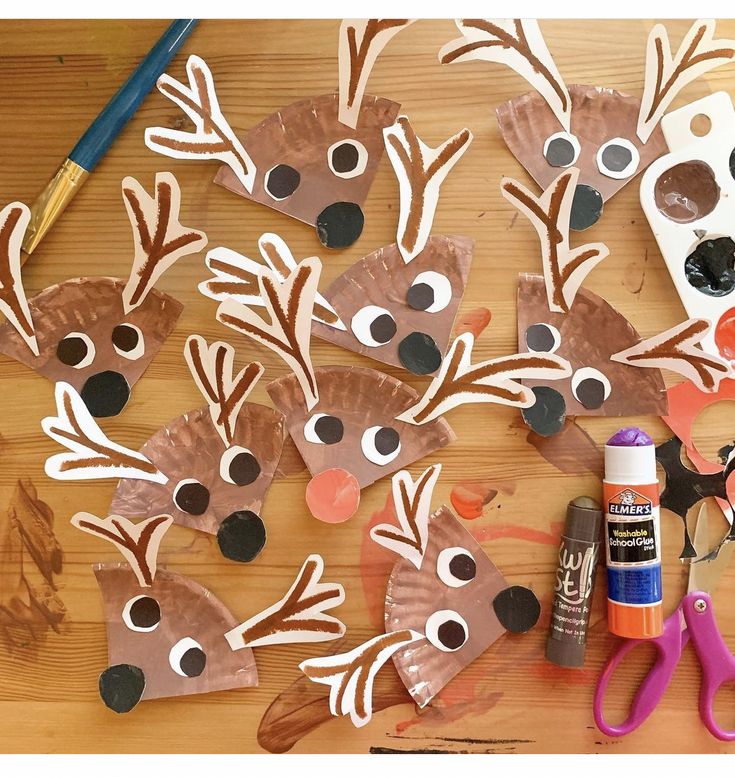
Paper antlers are a handy option when you don’t have felt or pipe cleaners at home.
You can cut them from construction paper or cardstock, depending on what you have available.
Draw two branching antler shapes on brown paper and cut them out. If the children need help, make a template they can trace.
Glue the antlers near the narrow end of the pinecone, then attach the eyes and nose.
Thicker cardstock usually holds its shape better than ordinary paper. Still, you can use regular construction paper for a quick craft.
Try patterned paper if the kids want something different from the usual brown antlers.
12. Pinecone Reindeer With Green Antlers
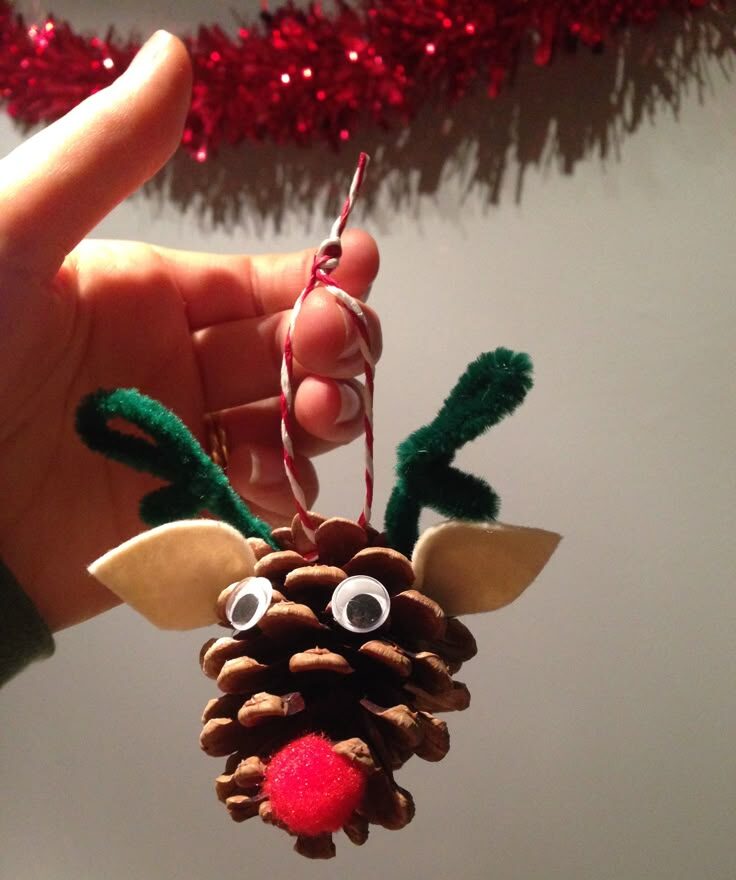
Green antlers give a familiar reindeer craft a fun Christmas twist. The color also makes the design look different from the other versions without requiring extra materials.
Twist green pipe cleaners into two antler shapes, adding a few small branches to each side.
Push the ends between the pinecone scales and secure them with craft glue if needed. Add googly eyes and a red pom-pom nose to finish the face.
You can use the same idea with white, gold, or red pipe cleaners. Just remember that the antlers should stand out against the pinecone.
If the color blends in too much, add a small felt detail or choose a brighter shade.
13. Pinecone Reindeer With Jingle Bells
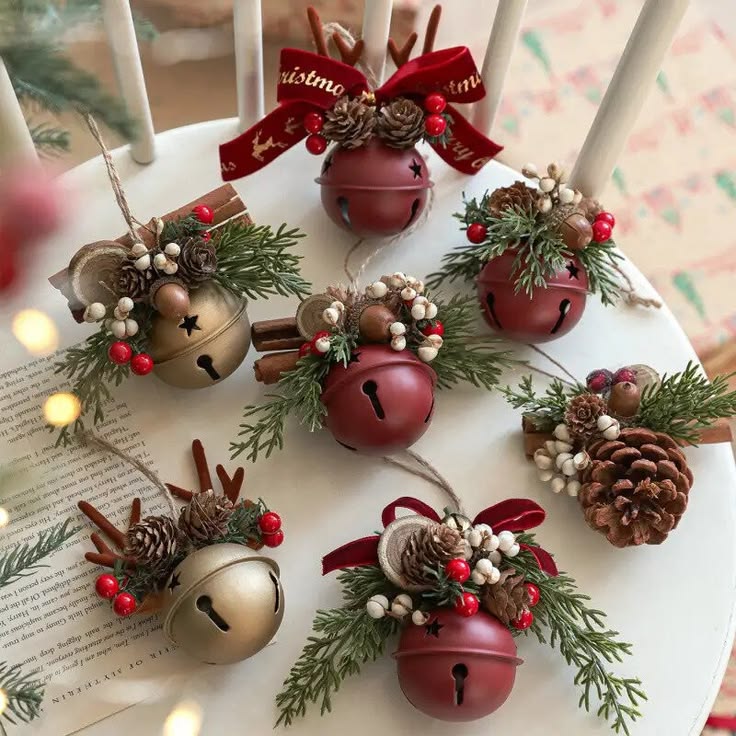
Small jingle bells add a little sound to this Christmas craft. Kids can gently shake their finished reindeer and hear the bells ring.
First, make a basic pinecone reindeer with eyes, a nose, and antlers.
Tie a small bell to a narrow ribbon, then wrap the ribbon around the lower part of the pinecone. Secure the ends with glue so the decoration stays in place.
Choose a bell that suits the pinecone’s size. A very large bell may overwhelm the design or make the reindeer difficult to balance.
For young children, use an age-appropriate alternative and keep small parts out of reach.
14. Pinecone Reindeer With a Bow
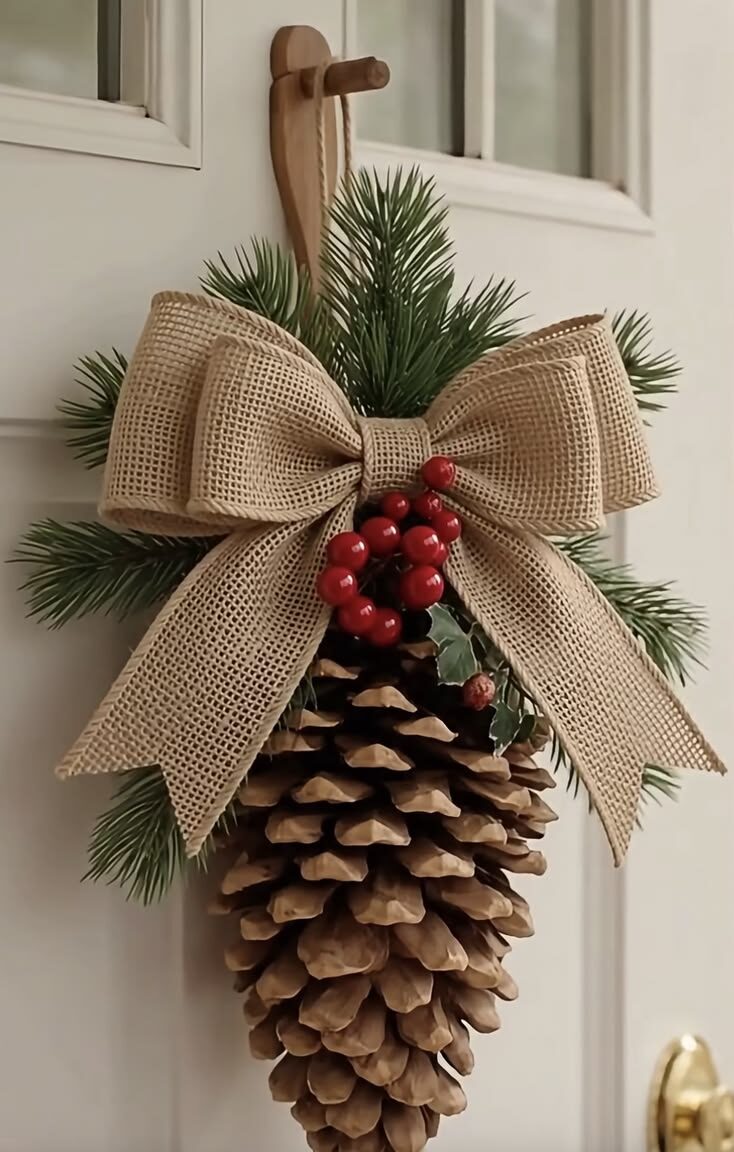
A little bow can make a pinecone reindeer look ready for a Christmas party. This idea also gives you a use for leftover ribbon from gift wrapping.
Tie a small bow with red, green, gold, or plaid ribbon. Glue it below the reindeer’s face, then add the eyes, nose, and antlers.
You can also place the bow beside one antler if you prefer that look.
Try different ribbon patterns when making several reindeer. A red gingham bow gives one a country-style appearance, while a gold bow looks more festive.
Keep the bow small so it doesn’t cover the face or make the pinecone difficult to handle.
15. Pinecone Reindeer With Button Noses

Pom-poms are a familiar choice for reindeer noses, but buttons offer another option.
They come in different sizes and colors, so kids can choose a nose that suits their design.
Pick a red button for a Rudolph-inspired reindeer or a black one for a more natural look. Glue it below the eyes, then add the antlers.
If the button has holes, you can thread a short piece of embroidery thread through them before attaching it.
Make sure the button fits the pinecone without covering too much of the front.
For younger children, choose a safer alternative because loose buttons can pose a choking risk.
16. Pinecone Reindeer With Feather Antlers
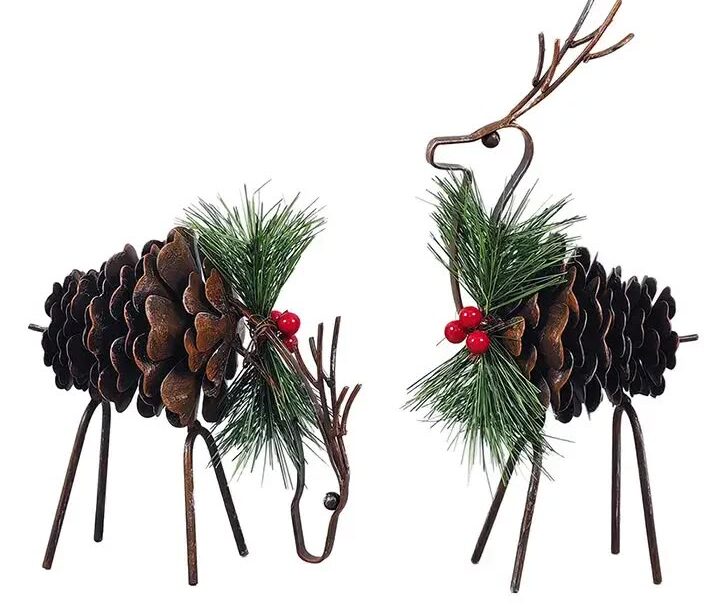
Feathers create a softer, more unusual take on the familiar reindeer. They’re worth trying when the kids want to experiment with materials beyond paper and pipe cleaners.
Choose two small craft feathers with similar shapes. Trim them if necessary, then glue their ends near the narrow part of the pinecone.
Position the feathers so they branch outward like antlers. Finish the face with googly eyes and a pom-pom nose.
Brown feathers give the reindeer a natural look, while white feathers create a snowy effect.
Keep the feathers short enough to stay upright, and avoid placing them where they hide the eyes.
17. Pinecone Reindeer With a Green Wreath
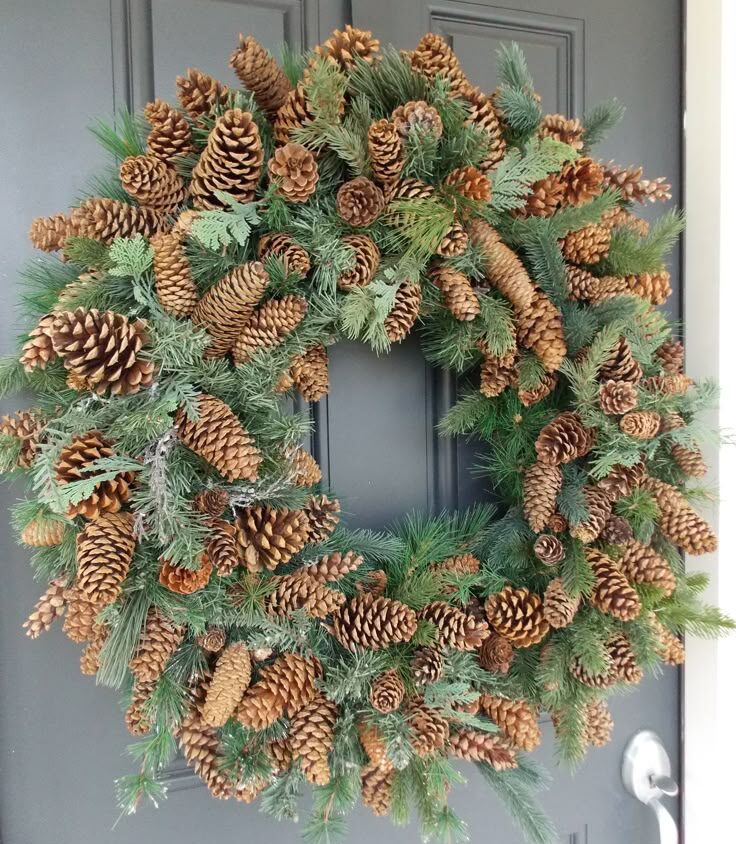
A miniature wreath adds another familiar Christmas decoration to the reindeer. It works particularly well when you want a craft with a little more detail.
Make a small ring from green pipe cleaner or use a lightweight miniature wreath.
Add a tiny red bow, then glue the wreath to the lower front of the pinecone. Complete the reindeer’s face and antlers before attaching the wreath.
Keep the wreath light so it doesn’t pull the pinecone off balance. You can also make it from a narrow strip of green paper curled into a ring.
This option works well when you want to use supplies already available at home.
18. Pinecone Reindeer With Snowy Antlers
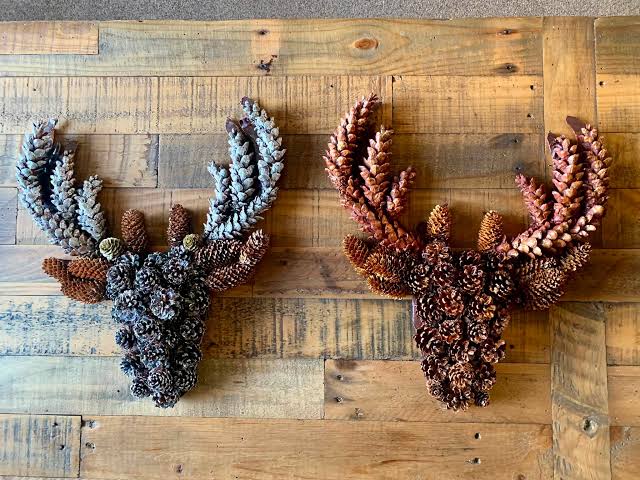
For a winter-themed design, add white tips to the antlers and a little snow-like paint to the pinecone. The result looks festive without requiring lots of extra decorations.
Shape the antlers from brown pipe cleaners or thin twigs. Dab white paint onto their tips and allow them to dry.
Next, brush a little white paint across a few pinecone scales, leaving most of the brown surface visible.
If the kids want more sparkle, add a little craft glitter while the paint remains wet. You can skip the glitter entirely for a simpler finish.
Either way, the snowy details give the reindeer a clear winter theme.
19. Pinecone Reindeer With a Santa Hat
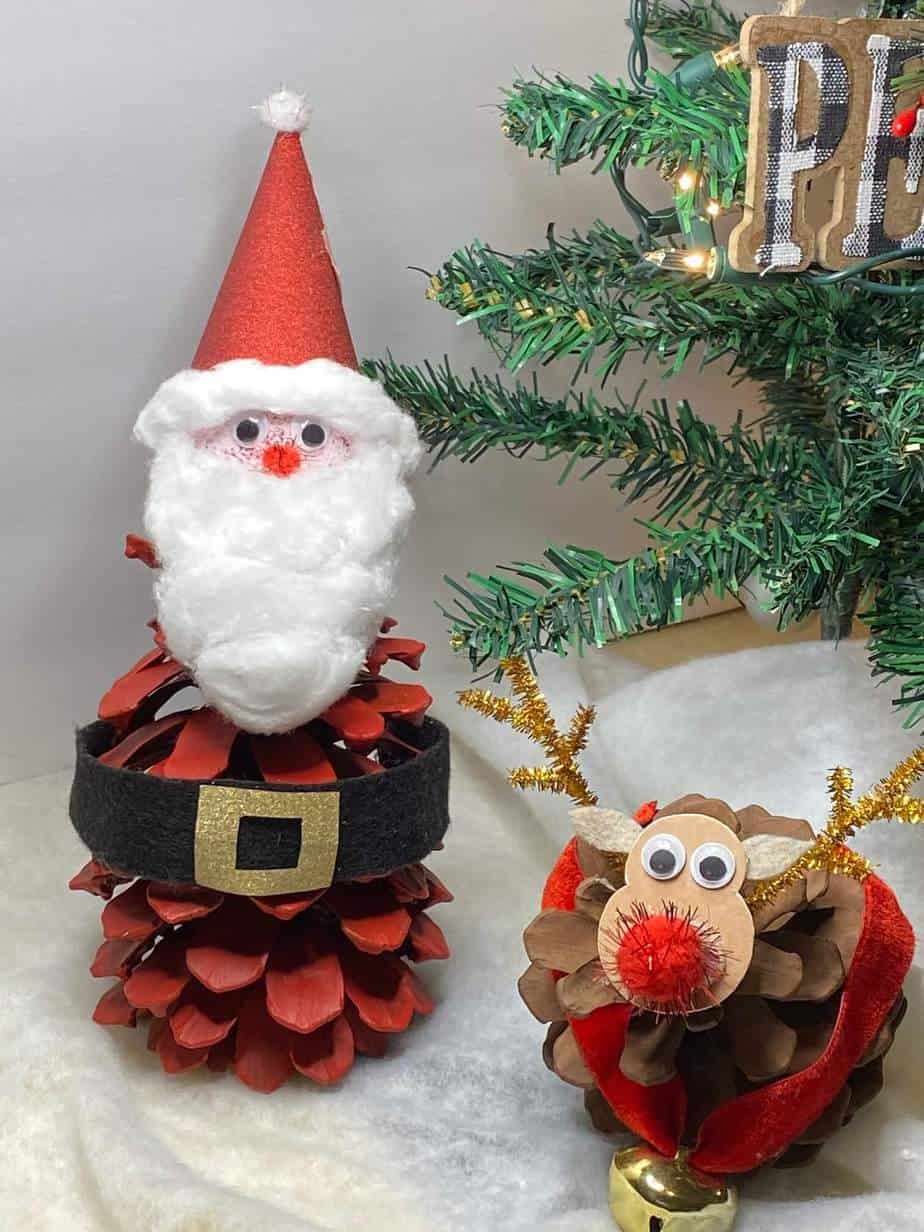
A tiny Santa hat gives the reindeer a playful holiday look. It also helps this design stand apart from the usual pinecone characters.
Cut a small triangle from red felt and roll it into a cone. Glue the edges together, then add a narrow white felt strip around the bottom.
Finish the tip with a white pom-pom. Once the hat dries, attach it near the top of the pinecone between the antlers.
Keep the hat small enough to leave the antlers visible. You can also tilt it slightly to one side for a more playful appearance.
This detail works especially well with a bright red nose and simple facial features.
20. Pinecone Reindeer With a Paper Collar
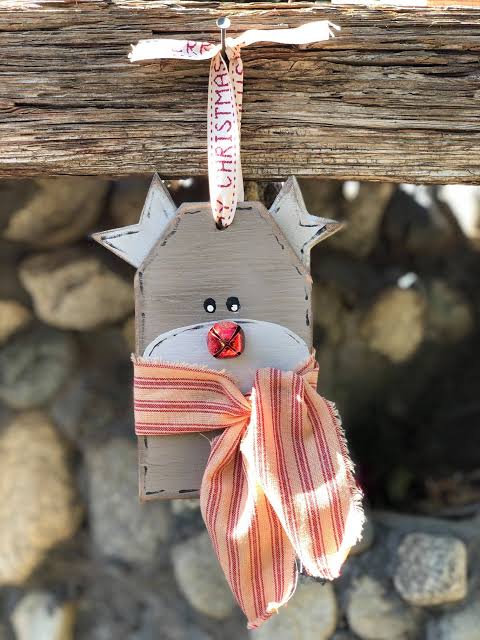
A paper collar gives kids another easy way to add color. It’s also useful for classroom activities because you can prepare the strips before everyone starts crafting.
Cut a narrow strip of red or green paper and wrap it around the lower part of the pinecone.
Trim the ends until they meet neatly, then glue them together. Add tiny paper dots, stars, or stripes if you want a pattern. Finish the reindeer with its face and antlers.
For a personal touch, write the child’s initials on a small paper tag. Attach it to the collar after the glue dries.
This turns the craft into a keepsake that kids can take home or display during Christmas.
21. Pinecone Reindeer With a Sparkly Nose
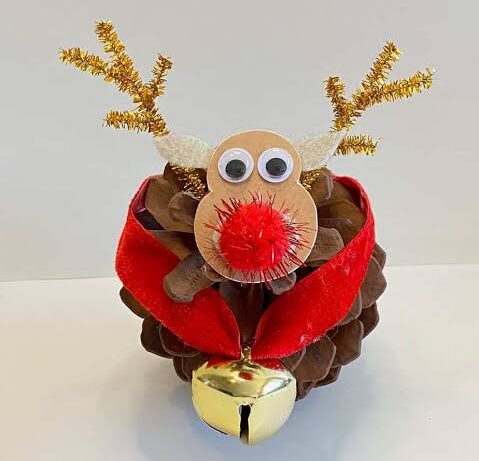
A glittery nose adds sparkle without covering the entire pinecone in glitter. This makes the reindeer stand out while keeping the natural texture visible.
Choose a glittery red pom-pom or cover a regular pom-pom with a little craft glitter.
Glue it below the eyes, then add brown pipe-cleaner antlers. You can also brush a small amount of glitter glue onto a few pinecone scales.
Let everything dry before handling the finished craft. If you want to avoid loose glitter, use a ready-made glitter pom-pom instead.
The nose will still catch the light and give the reindeer a festive finish.
22. Pinecone Reindeer With Felt Ears
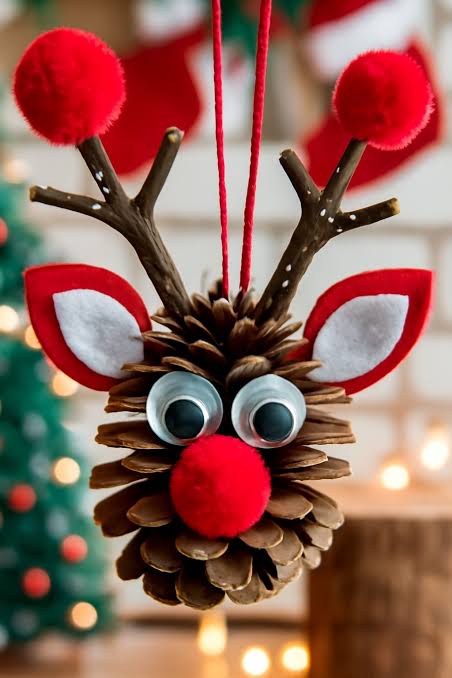
Felt ears make the reindeer look more like a little woodland animal. They’re a small detail, but they can make the finished character look much more complete.
Cut two matching ear shapes from brown felt. Add smaller cream-colored pieces inside each ear if you want more contrast.
Glue the ears on either side of the pinecone’s narrow end, then attach the antlers above them. Finish with googly eyes and a red nose.
Try to keep the ears visible from the front. If your pinecone has wide scales, use smaller ears that fit neatly between the other details.
You can also change the felt colors to create different looks.
23. Pinecone Reindeer Family
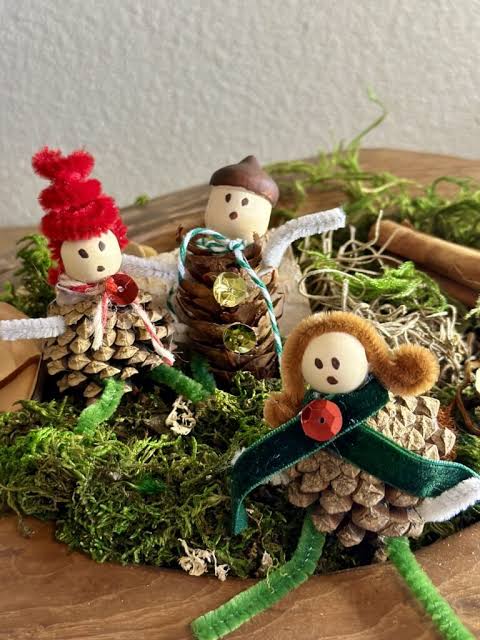
Instead of making one reindeer, turn the activity into a family project. Different pinecone sizes naturally suggest a parent and younger reindeer.
Choose one large pinecone, one medium pinecone, and one small pinecone. Decorate each with eyes, a nose, and antlers that suit its size.
Then add different scarves, bows, or collars to give each member a distinct appearance.
Arrange the finished family together on a shelf or mantel. You can also place them on a shared cardboard base to create one Christmas display.
Kids can even give each reindeer a name and decide which one belongs to each family member.
24. Pinecone Reindeer With Painted Eyes
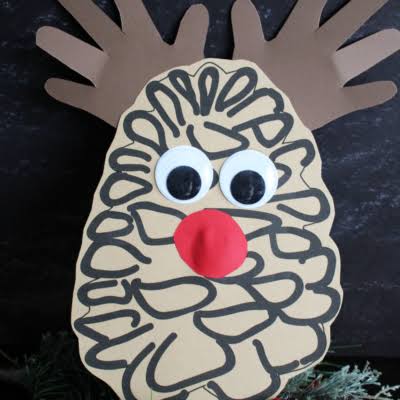
Painted eyes offer an alternative to googly eyes, especially when you want to use fewer plastic craft supplies.
They also let kids decide exactly how their reindeer should look.
Use a fine brush to paint two small white circles near the front of the pinecone. Let them dry, then add smaller black pupils.
Finish with a red nose and pipe-cleaner antlers. If the pinecone surface feels too uneven, paint the eyes on small paper circles instead.
An adult can help younger children with the finer details. Older kids can experiment with happy, sleepy, or surprised expressions.
The same pinecone shape can look completely different with just a few changes to the eyes.
25. Pinecone Reindeer With a Star Decoration

A small star gives this reindeer a bright Christmas accent. It works well for kids who enjoy decorating their projects with familiar holiday shapes.
Cut a tiny star from gold cardstock or use a lightweight craft star. Attach it near the reindeer’s neck or beside one antler.
Add the eyes, nose, and antlers, then check that the star doesn’t make the design look crowded.
For a classroom activity, prepare stars in several colors. Each child can choose one to match their reindeer.
You could also write a name or a short Christmas message on the back of the star.
26. Pinecone Reindeer With a Wooden Bead Nose

A wooden bead gives the nose a rounded shape and a slightly different texture. You can paint it red for Rudolph or leave it natural for a woodland-style reindeer.
Choose a bead that fits the front of your pinecone without covering the eyes.
Paint it if needed and allow it to dry completely. Glue it in place, then add the antlers and any other decorations.
Wooden beads can pose a choking risk, so keep them away from young children.
An adult should handle the small parts and supervise the assembly. For younger kids, a larger felt circle makes a suitable alternative.
27. Pinecone Reindeer With a Gold Collar
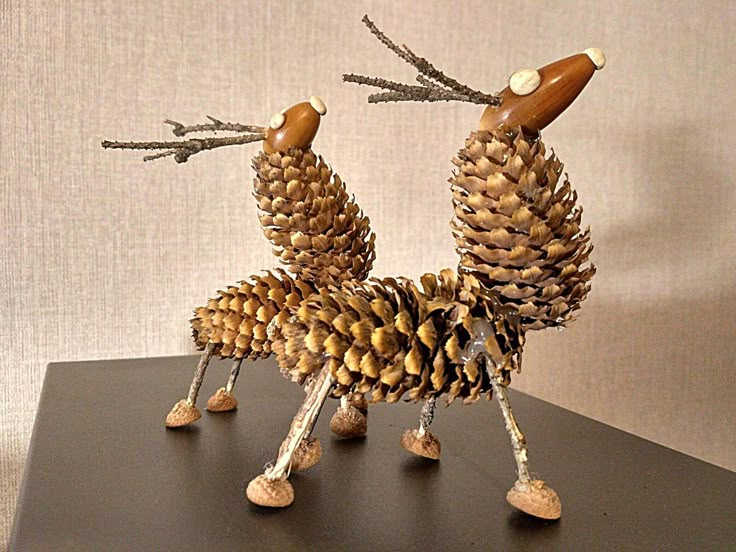
Gold ribbon gives this reindeer a slightly dressier appearance. It’s a nice option if the kids want their creations to match a more elegant Christmas display.
Wrap a thin gold ribbon around the lower part of the pinecone. Secure it with a small dot of craft glue, then add a tiny bow if you like.
Finish the face with simple eyes and a red nose. Brown antlers help balance the metallic detail.
Use a narrow ribbon so the pinecone remains the main feature.
You don’t need much gold to make the craft look festive. A small collar and a matching bow are usually enough.
28. Pinecone Reindeer With a Cardboard Sled
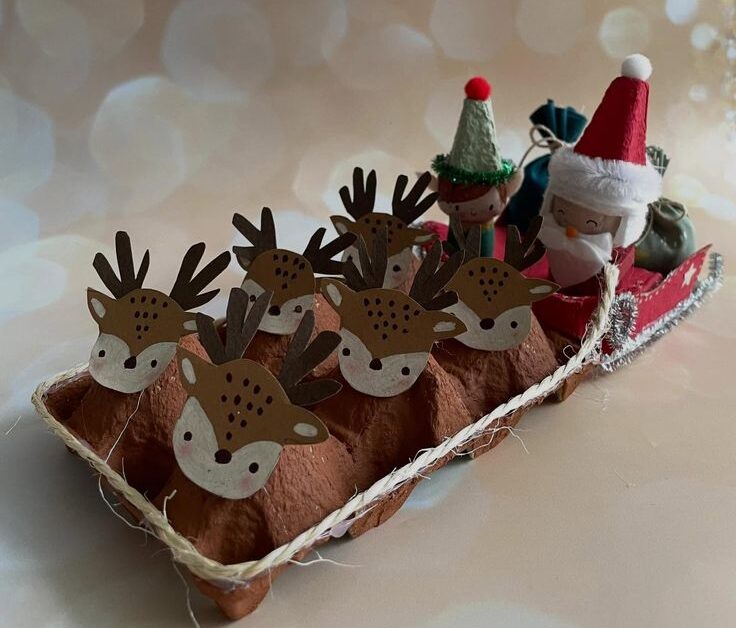
Give the reindeer a little ride with a homemade cardboard sled.
This idea turns a simple character into a small scene that kids can arrange around their Christmas decorations.
Cut a sled shape from sturdy cardboard and decorate it with crayons or paint. Fold the sides slightly if you want a more recognizable sled.
Once the paint dries, secure the pinecone reindeer on top with craft glue. Add a ribbon or paper gift beside it for extra detail.
Keep the sled broad enough to support the pinecone. A flat, stable base helps the entire scene stand neatly on a shelf.
Kids can also make a second sled for another reindeer to create a small Christmas display.
29. Pinecone Reindeer With a Gift
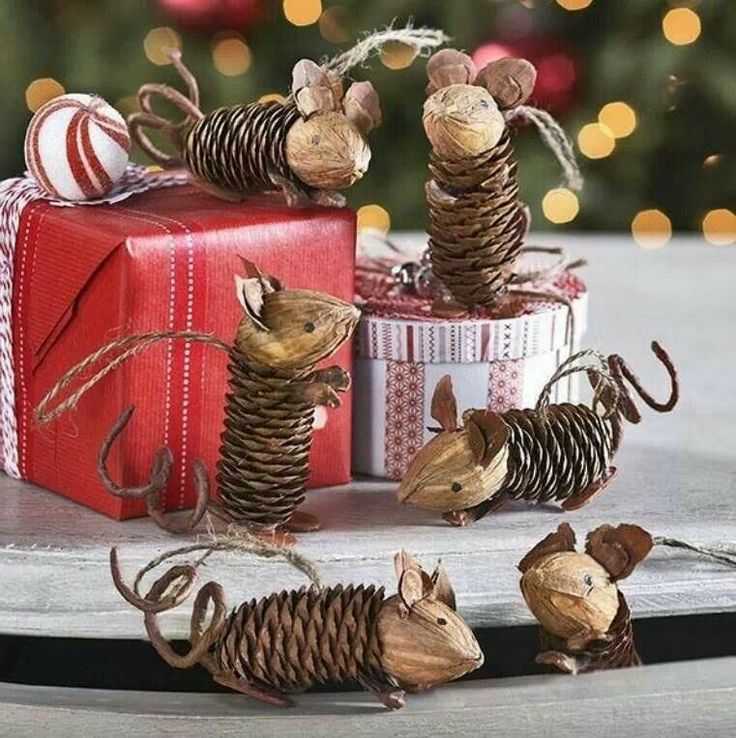
A tiny present makes this reindeer look ready for Christmas morning. Kids can also practice wrapping small objects and tying bows while decorating their creation.
Fold a small piece of colored paper around a lightweight foam cube or folded cardboard shape.
Tie a narrow ribbon around the package, then glue it beside the pinecone. Add the reindeer’s facial features and antlers before attaching the gift.
Choose a small package that won’t overpower the reindeer.
You can also make several gifts in different colors for a little Christmas display. Red, green, gold, and white work nicely together.
30. Pinecone Reindeer Christmas Display
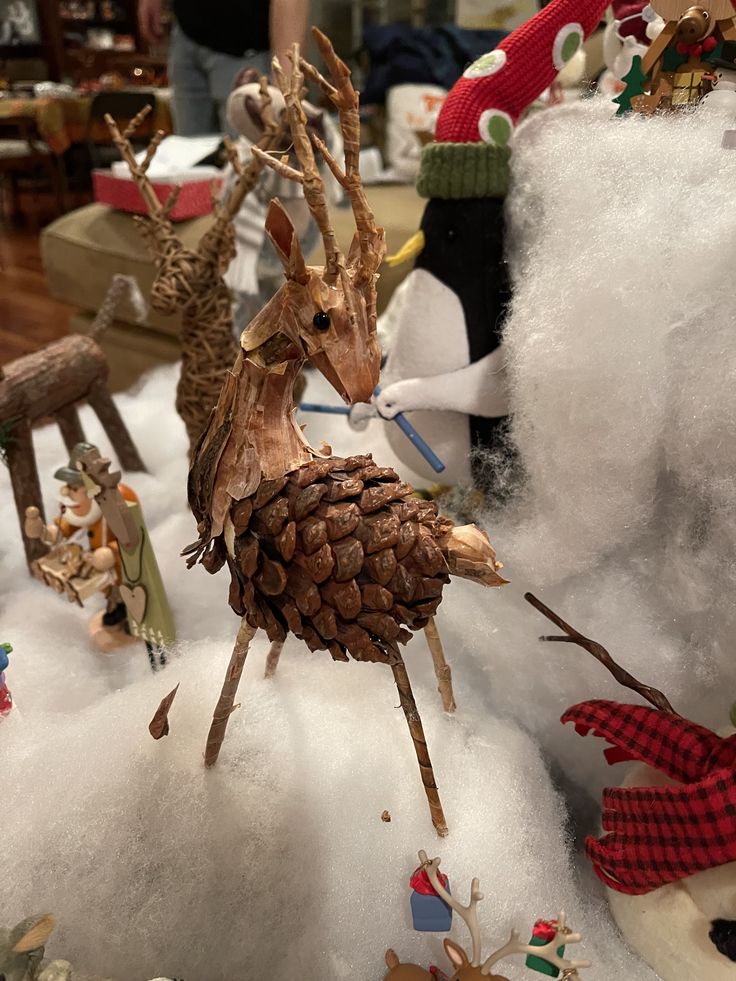
Once the kids have made several reindeer, bring their creations together for a small Christmas display.
This is a lovely way to use different designs instead of leaving each craft on its own.
Choose pinecones in different sizes and decorate them with scarves, bows, painted details, and colorful noses.
Arrange the finished reindeer on a shelf, mantel, or sturdy cardboard base. Leave enough space between the figures so their antlers don’t overlap.
You can add a few paper trees, cotton snow, or tiny wrapped presents around the group. Just keep the decorations simple enough to let the reindeer stand out.
The finished display can become part of your family’s Christmas decorations for years to come.
Final Thoughts
Pinecones give kids a simple starting point for making Christmas reindeer, but the decorations can take each project in a different direction.
A red pom-pom nose creates a familiar Rudolph, while felt ears, tiny scarves, and paper collars add their own little touches.
You don’t need to buy every material on the list, either. A few pinecones and some basic craft supplies can go a long way.
When planning these Pinecone Reindeer Christmas Crafts, think about the children’s ages and the kind of activity they enjoy.
Younger kids may prefer choosing colors, attaching larger decorations, and painting the pinecones.
Older children can cut felt antlers, shape pipe cleaners, and build small scenes around their reindeer.
You can prepare the tricky parts beforehand and let everyone handle the steps they can manage comfortably.
Most importantly, don’t worry about making every reindeer look perfect.
One might have crooked antlers, another might have enormous eyes, and a third might wear a scarf that doesn’t sit quite right.
Those little differences give the crafts their charm. Put the finished pieces on display, use them as ornaments, or give them to family members as handmade Christmas gifts.