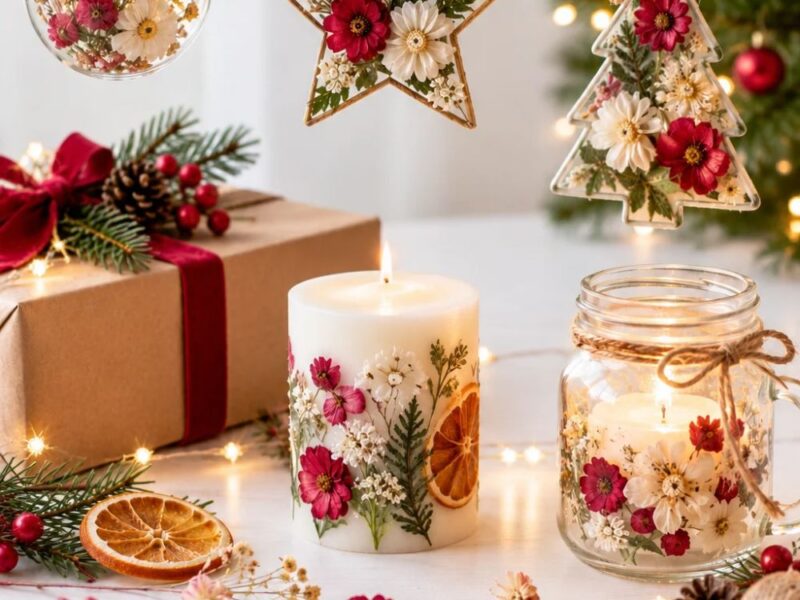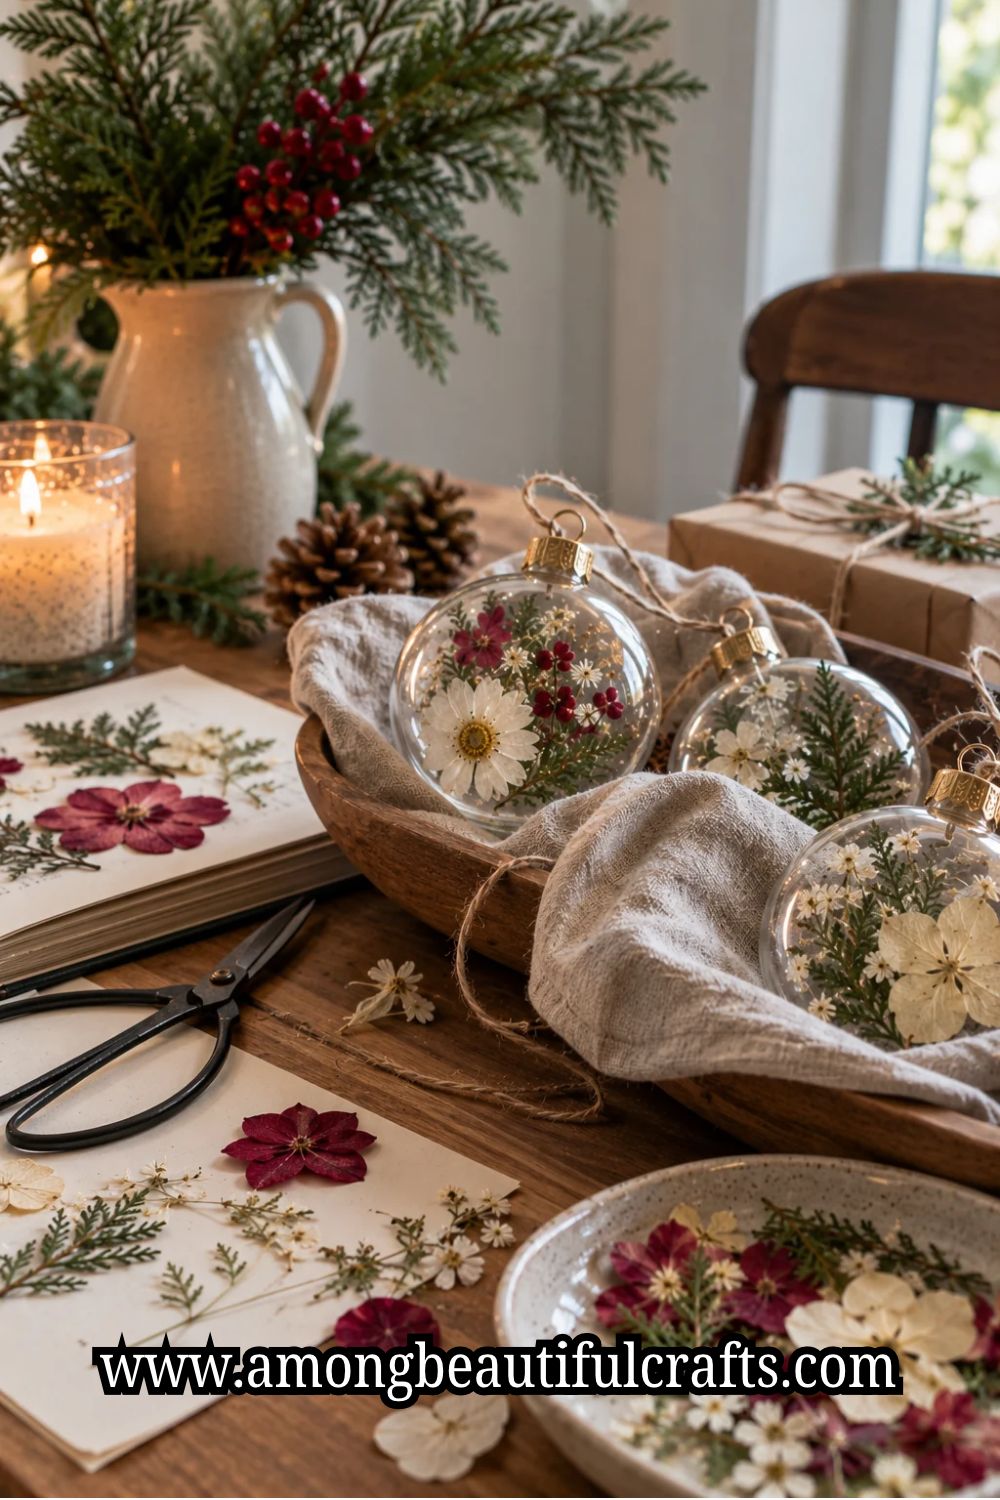
Pressed flowers can turn an ordinary Christmas ornament into something you will want to keep for years.
Pressed Flower Christmas Ornaments let you bring the colors and shapes of real flowers into your holiday decorations.
You can use tiny blossoms, delicate petals, and little leaves to create ornaments that feel personal. Best of all, you don’t need advanced crafting skills to make them.
Before you start, think about the flowers and colors you want to use. Red and white petals can give your ornaments a traditional Christmas look.
Meanwhile, purple flowers, pale pink blossoms, and green leaves can create something softer.
You can also use flowers from your garden, bouquets, or special occasions. Once you have your pressed flowers ready, you can choose from several designs.
In this guide, I’ll walk you through different ornament ideas and explain how to approach each one.
Some designs work well with clear glass or plastic ornaments, while others use paper, wood, or clay.
You’ll also find ideas for creating personalized gifts and decorations for your Christmas tree.
So, gather your favorite pressed flowers and let’s explore the possibilities.
31 Beautiful Pressed Flower Christmas Ornaments to DIY
1. Clear Glass Pressed Flower Ornaments
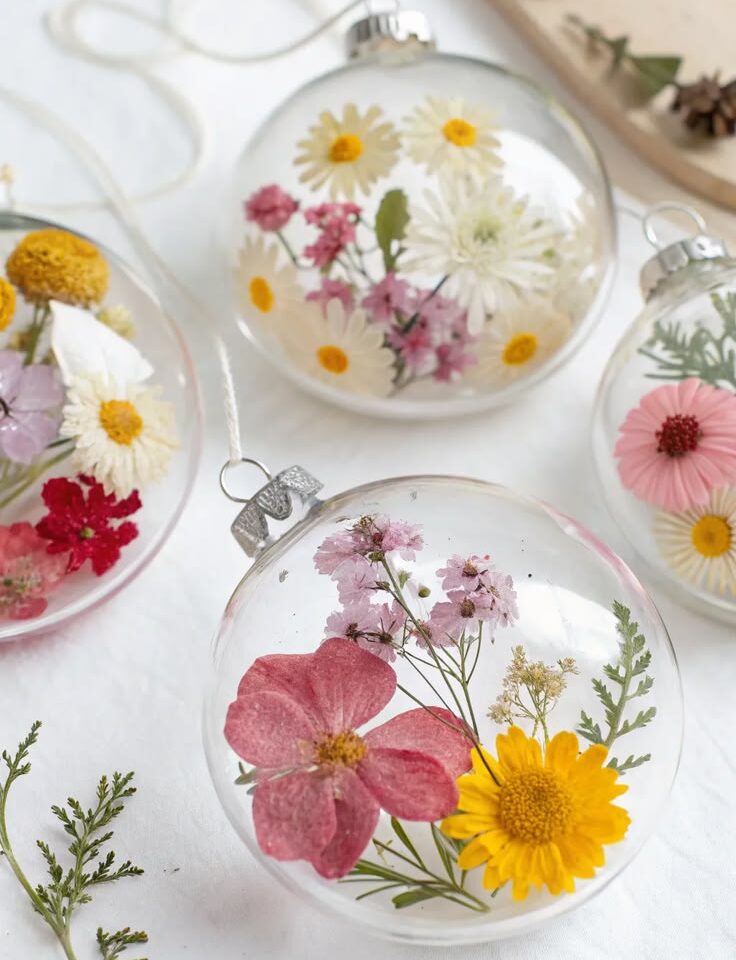
Clear glass baubles offer a simple way to display the natural shapes of pressed flowers.
You can see the arrangement from every angle, so even a few tiny blossoms can make an attractive decoration.
Start by removing the metal cap from a clear glass bauble. Then, carefully insert small flowers through the opening using long tweezers.
Daisies, forget-me-nots, and tiny pressed leaves work well because they fit through narrow openings.
Try placing one main flower near the front and adding smaller petals around it.
This arrangement gives the ornament enough detail without making it look crowded. You can also choose flowers in similar colors for a coordinated set.
Once you’re happy with the arrangement, replace the metal cap and attach a narrow ribbon.
Clear glass works especially well with white, pink, purple, and yellow flowers. Just handle the baubles carefully because glass can break if you drop it.
2. Pressed Flower Resin Ornaments
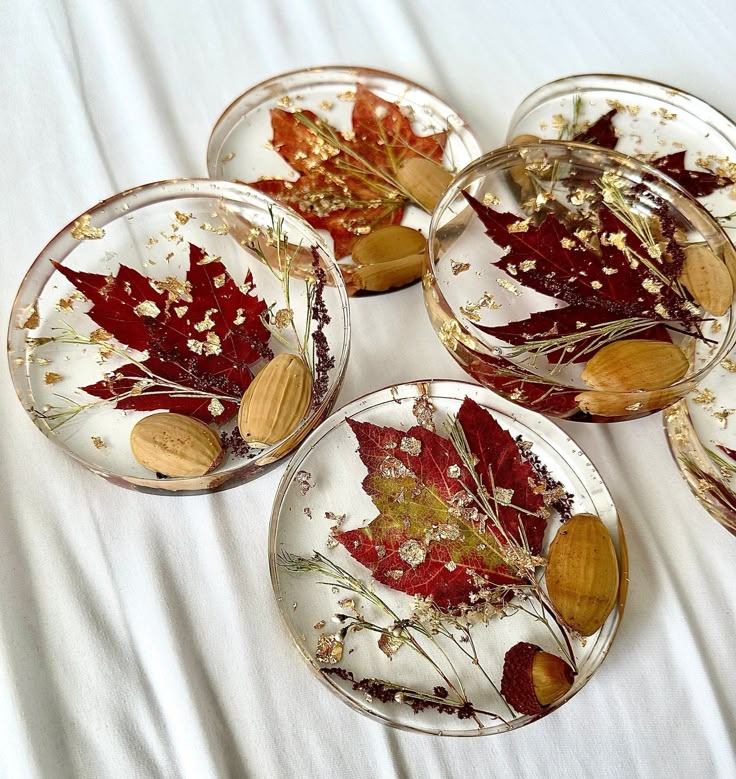
First, prepare your mold and gather your dried flowers. Mix and pour the resin according to the manufacturer’s instructions.
Add your flowers with tweezers, then cover them with another layer of resin.
For a balanced design, place one larger flower near the center. Add a few tiny petals around it if you want more detail.
You can also arrange several small flowers to create a miniature garden inside the ornament.
Once the resin cures completely, remove the ornament from its mold. Add suitable hanging hardware if the mold doesn’t include a hole.
Resin requires careful handling, so follow the product’s safety instructions and wear the recommended protective equipment.
3. Pressed Flower Wooden Slice Ornaments
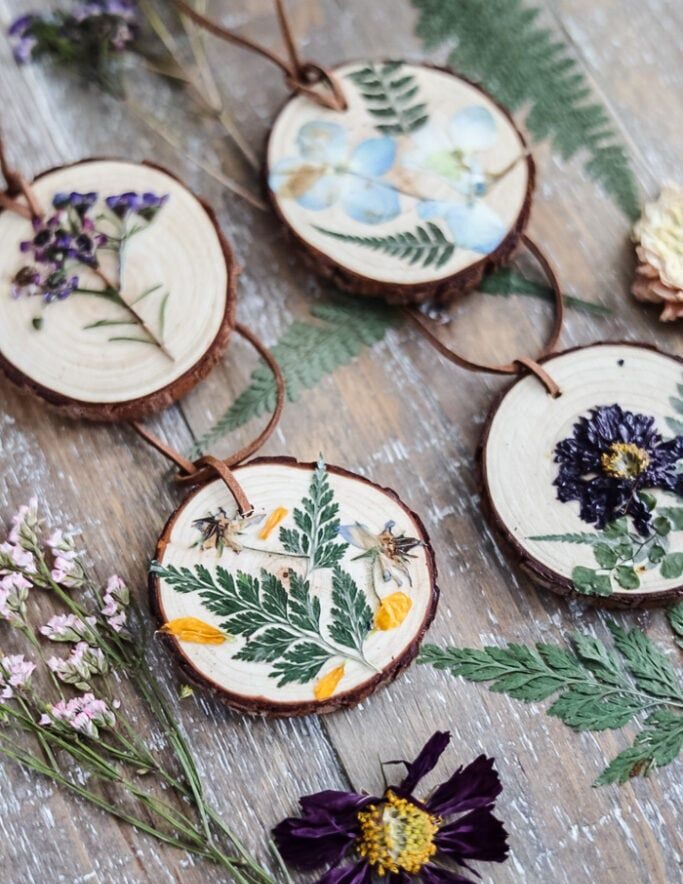
Wooden slices give pressed flowers a warm background that suits natural Christmas decorations.
Their simple appearance also works well with woodland, farmhouse, and rustic-modern decorating styles.
Choose smooth wooden slices with a small hole near the top. Arrange a few flowers on each slice before applying glue.
Once you like the design, attach the flowers carefully with clear-drying craft glue.
You can create a small floral cluster in one corner or arrange flowers around the edge.
Another option is to place a single large blossom in the center. Both approaches leave enough of the wood visible to complement the flowers.
If you prefer a lighter background, paint the wood cream or white before decorating.
Allow the paint to dry completely first. Finish with a suitable protective coating if your materials allow it, then thread twine through the hole.
4. Pressed Flower Acrylic Disc Ornaments
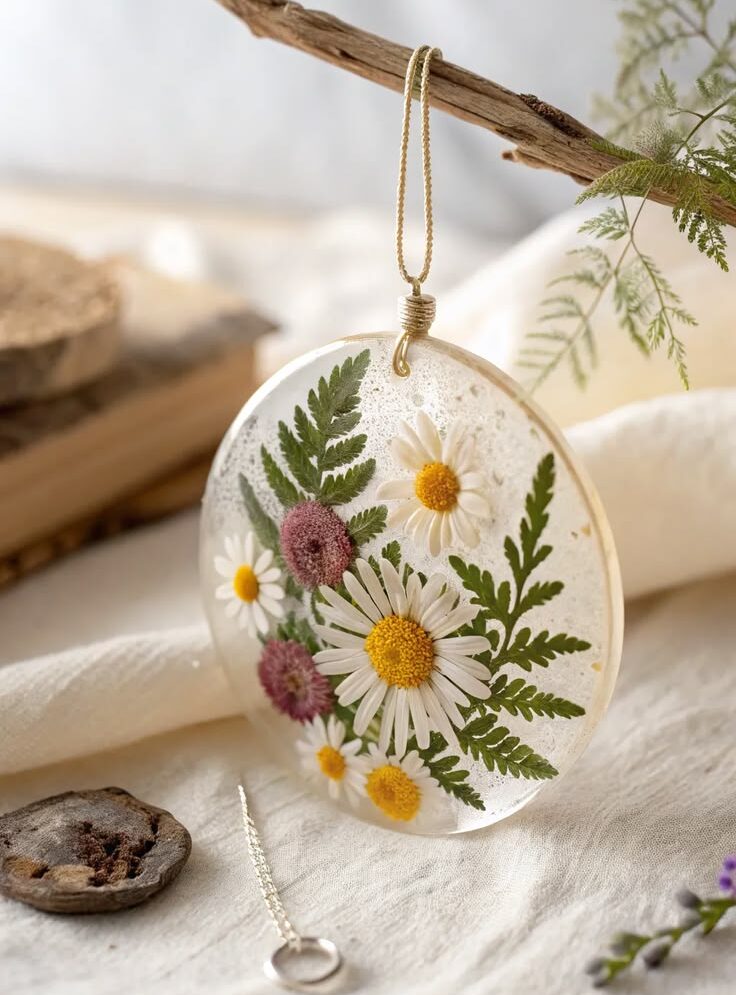
Start with two clear acrylic discs that fit together. Arrange your pressed flowers on one disc, keeping the design away from the edges.
You might create a small wreath with tiny blossoms and leaves or place one flower off-center.
Next, attach the second disc using a suitable adhesive or compatible frame.
Check that the adhesive won’t cloud the acrylic before using it. Testing a spare piece first can save you from ruining the finished ornament.
Keep the arrangement light so the flowers remain easy to see. Small blossoms usually look better than large, overlapping clusters on these ornaments.
Finally, add a ribbon through the hanging hole or use a suitable ornament fitting.
5. Pressed Flower Paper Star Ornaments
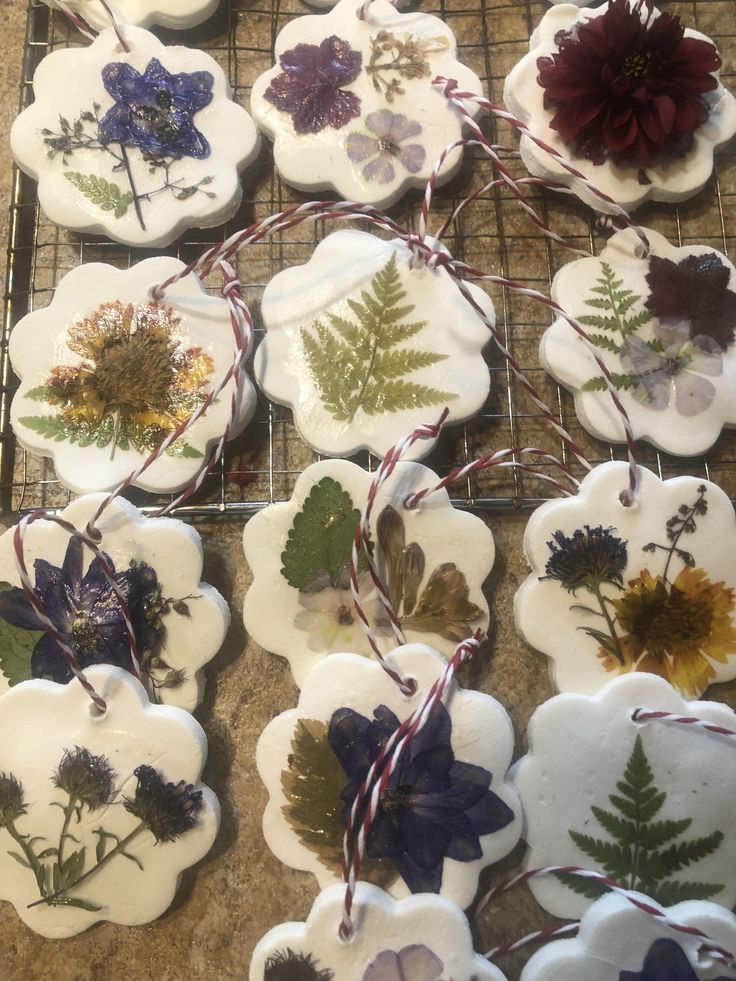
Paper stars are an affordable way to turn pressed flowers into festive decorations.
You can make several from leftover cardstock and coordinate their colors with your wrapping paper.
Cut matching star shapes from sturdy cardstock. Next, place a few flowers on each star and move them around until the design feels balanced.
Glue the flowers down gently, taking care not to crush their petals.
For a neat finish, cut a second star and attach it behind the decorated one.
This hides glue marks and gives the ornament a finished appearance. Punch a small hole near the top and thread through a narrow ribbon.
Cream cardstock creates a soft, natural look, while gold or deep green adds stronger Christmas colors.
You can also make different-sized stars for a more varied display. Just choose flowers small enough to fit comfortably within each shape.
6. Pressed Flower Christmas Baubles with Gold Accents
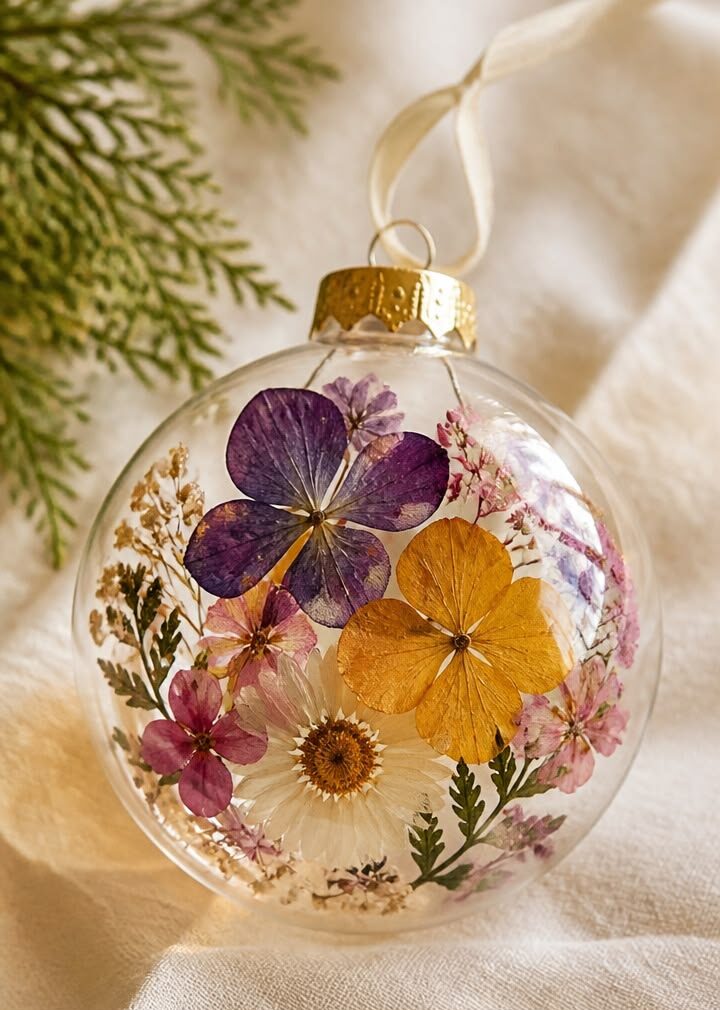
Start by placing a few pressed flowers inside a clear bauble. Next, add a small amount of gold foil using tweezers.
Position the foil around the flowers so it catches the light without covering the petals.
Keep the gold accents minimal because too much can make the arrangement difficult to see.
You can also wrap a thin gold ribbon around the metal cap. This small detail connects the decoration inside the bauble with its outer finish.
For a coordinated set, use similar flowers in each ornament but change their placement.
That way, the baubles look related without appearing exactly alike. Hang them near tree lights to bring out the gold details.
7. Pressed Flower Christmas Wreath Ornaments
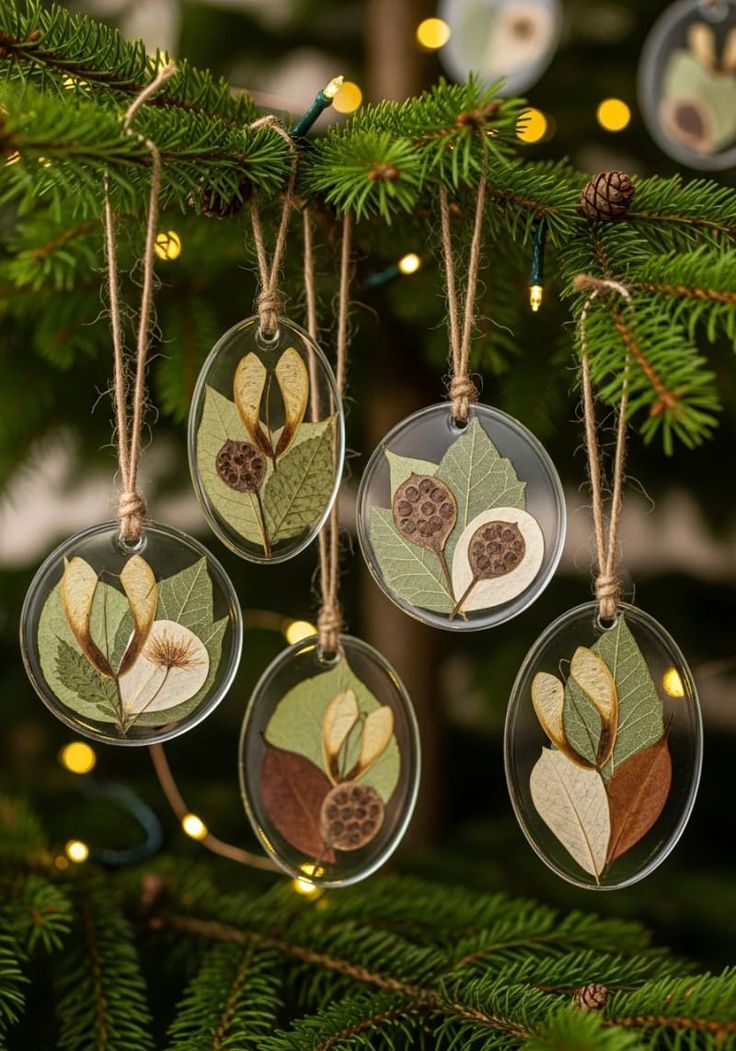
A miniature wreath gives you a familiar Christmas shape with a softer botanical look.
You can make several wreaths in different flower colors and hang them throughout your tree.
Cut a small ring from sturdy cardboard, then cover it with green paper if you want a leafy background.
Arrange tiny flowers and leaves around the ring, following its circular shape. Glue each piece down gently and allow the arrangement to dry.
For a fuller wreath, overlap the leaves slightly while leaving some space between the blossoms.
You can also add a tiny red flower to suggest traditional holly berries. Keep the center open so the wreath shape remains clear.
Finish with a small ribbon bow at the top. Alternatively, use twine for a more natural appearance.
These ornaments also work well on gift packages, especially when you want the wrapping to match your Christmas tree decorations.
8. Pressed Flower Wooden Heart Ornaments
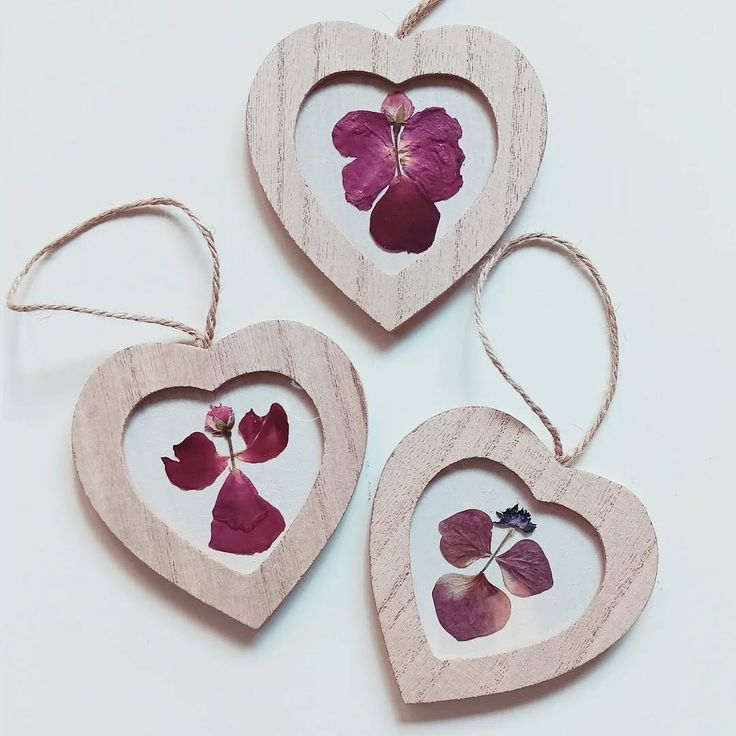
Choose a smooth wooden heart and lightly sand any rough edges. Then, arrange your flowers along one side or across the entire surface.
A small cluster near the top creates a simple design, while a border of tiny blossoms adds more detail.
Use a thin layer of suitable glue to attach each flower. Once everything dries, add a ribbon through the hanging hole.
You can leave the wood natural or paint it cream before decorating.
For an extra personal touch, choose flowers in someone’s favorite colors. You could also use flowers that remind you of a shared memory or special occasion.
That small detail makes the ornament feel more thoughtful than a standard store-bought decoration.
9. Pressed Flower Ornament Gift Tags
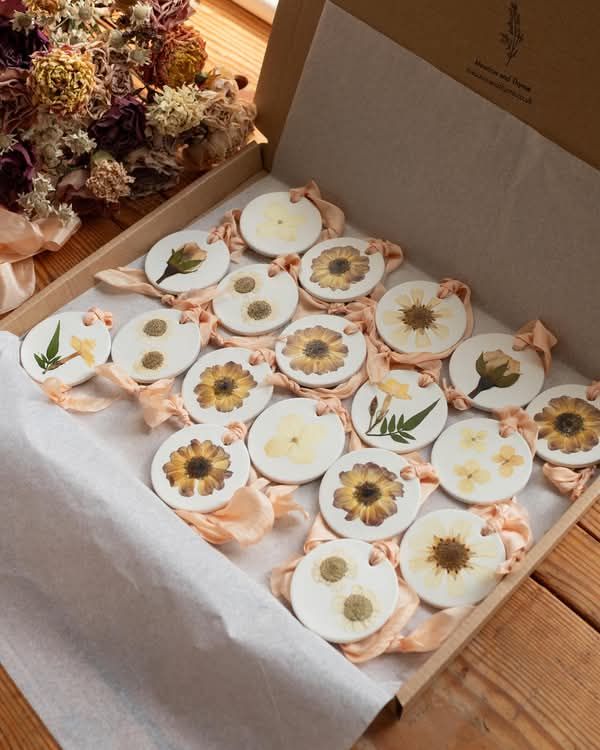
Gift tags can double as Christmas tree ornaments after the presents come off the tree.
This makes them useful for people who enjoy decorations they can reuse in different ways.
Cut sturdy cardstock into rectangular, oval, or rounded tag shapes. Arrange a pressed flower near the top or in one corner.
Then, add a few tiny leaves to create a small botanical composition. Leave enough space for a name if you plan to use the tag on a present first.
You can write the name on the back or below the flower arrangement. After Christmas, the recipient can hang the tag on the tree using its twine loop.
For a more finished appearance, layer the decorated tag over a slightly larger piece of contrasting cardstock.
Choose colors that complement the flowers rather than compete with them. A small hole punch and simple twine complete the design.
10. Pressed Flower Paper Snowflake Ornaments
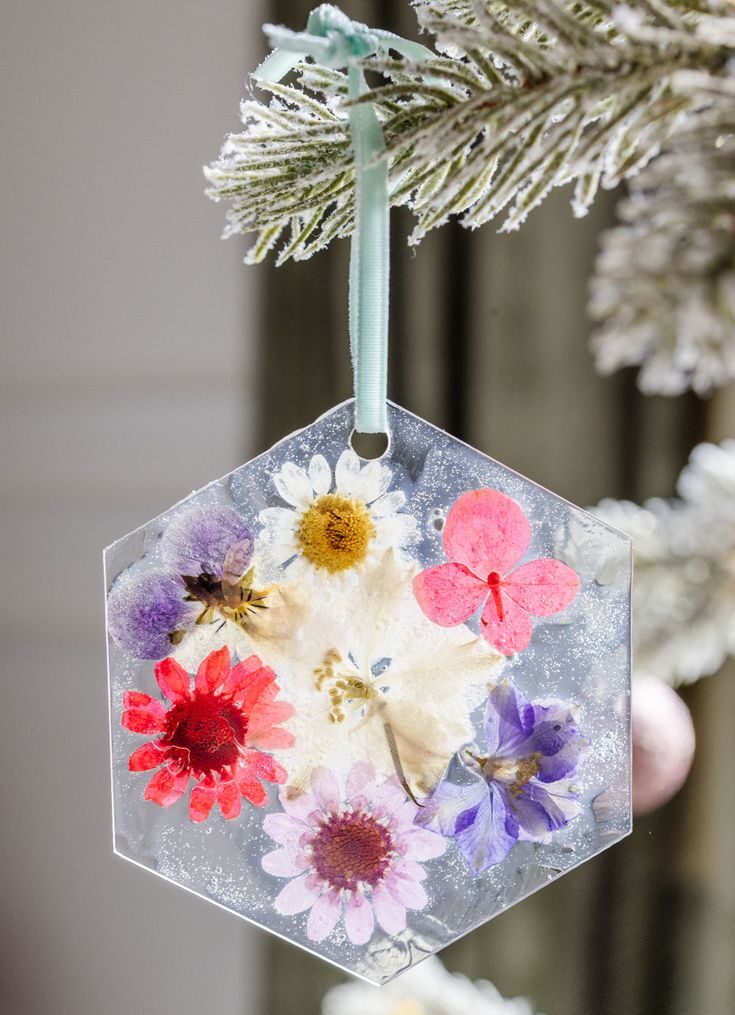
Cut snowflake shapes from white cardstock, using a simple template if needed. Keep the points broad enough to support your flowers.
Next, place tiny blossoms near the center and smaller petals along selected arms.
You don’t need to decorate every section. Leaving some white space helps the flowers stand out and keeps the snowflake shape easy to recognize.
You can also use small green leaves to create contrast against the white background.
For a coordinated set, make several snowflakes with different flower arrangements.
Some can feature one central blossom, while others can use small clusters on opposite sides. Add a narrow ribbon through a hole near the top.
11. Pressed Flower Embroidery Hoop Ornaments
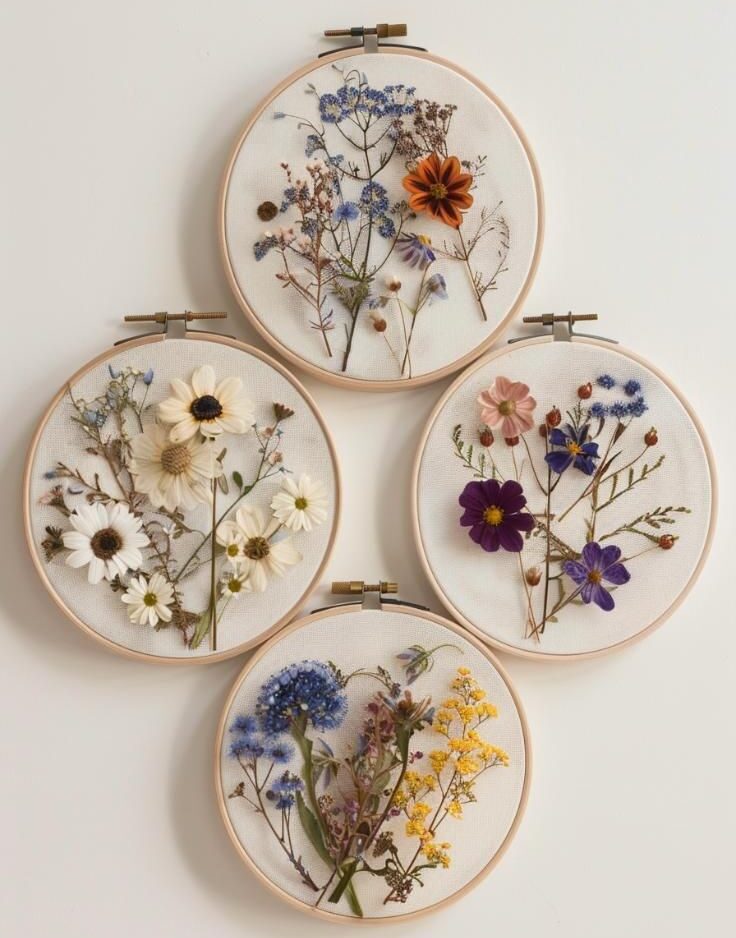
Mini embroidery hoops create framed botanical ornaments with a soft, handmade appearance.
They work particularly well if you enjoy fabric crafts and want something different from clear baubles.
Cut a small piece of fabric slightly larger than the hoop. Stretch it inside the hoop and tighten the screw until the fabric sits smoothly.
Then, arrange a few pressed flowers near the center.
Use an adhesive suitable for both the fabric and your flowers. Avoid soaking the petals because excess moisture can damage them.
Once the arrangement dries, trim the extra fabric from the back.
Choose linen or cotton in cream, white, or pale green. These colors give the flowers a gentle background and work with many Christmas decorating styles.
Finally, tie a ribbon around the hoop’s screw or attach a loop for hanging.
12. Pressed Flower Clay Disc Ornaments
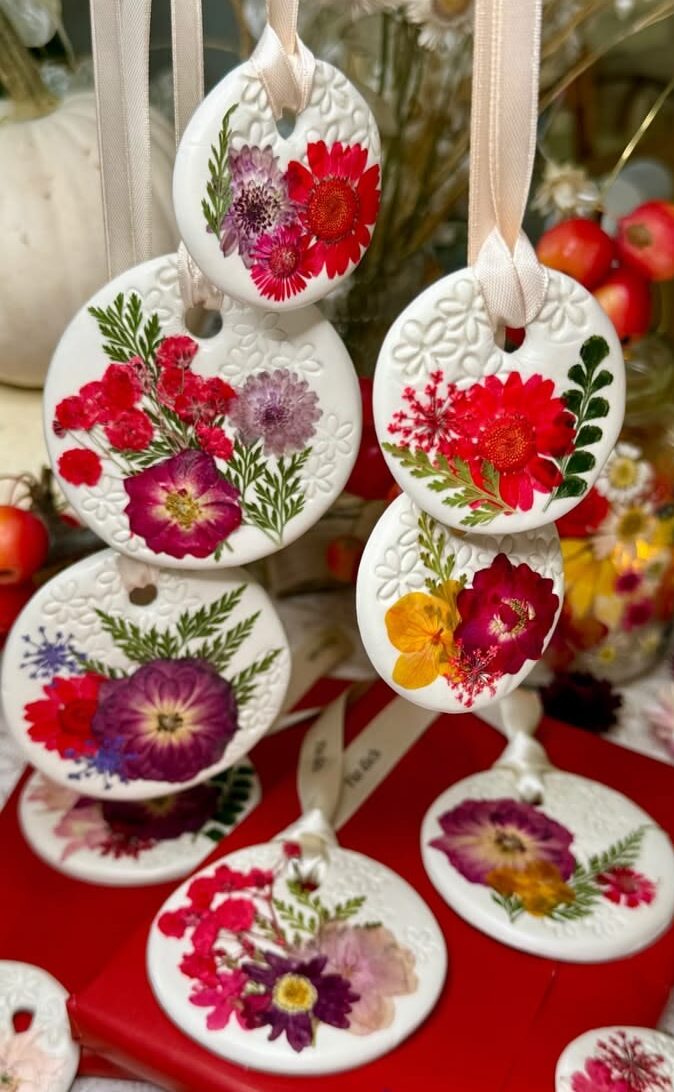
Roll air-dry clay into an even sheet and cut out circles. Before the clay dries, gently press a flower into each disc to leave a faint impression.
Remove the flower carefully if you want the impression alone.
For a different finish, attach a dried pressed flower after the clay has dried completely.
Use a compatible adhesive and avoid placing the ornament in damp conditions. You can also paint the clay in white, cream, or muted green before adding your flowers.
Make a small hole near the top while the clay remains workable.
Once the ornaments dry, smooth any rough edges with fine sandpaper if the clay manufacturer recommends it. Add ribbon or twine to finish.
13. Pressed Flower Clear Ornament Frames
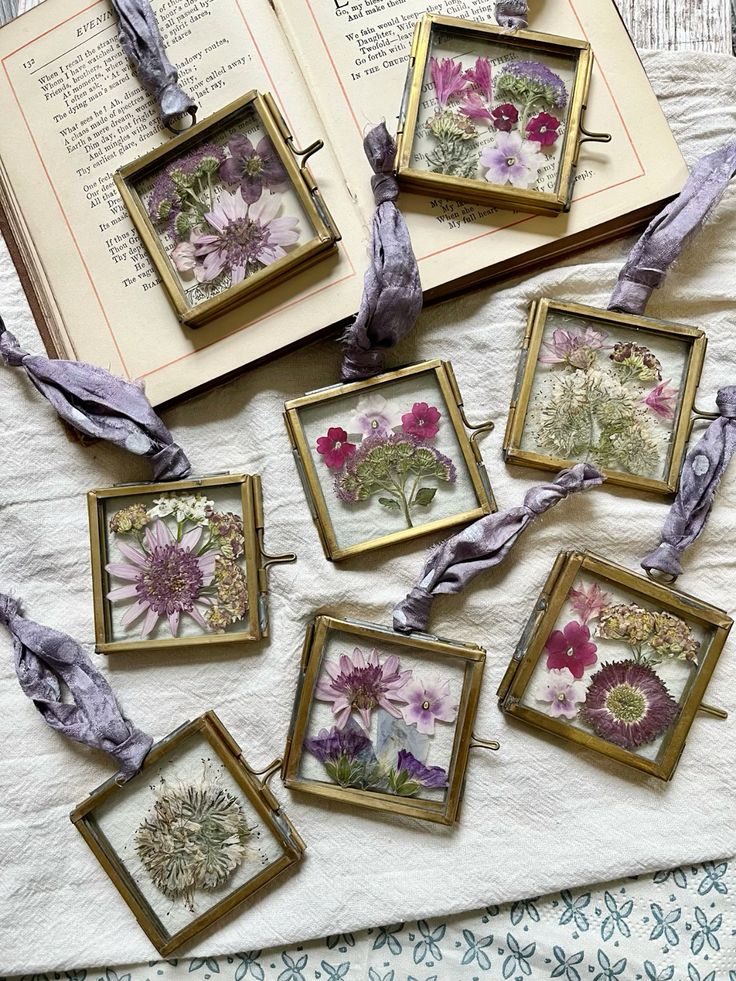
Clear ornament frames let you display flowers between two transparent surfaces.
Unlike baubles, these frames usually have a flat shape, so you can arrange the flowers exactly where you want them.
Choose a frame with two clear panels and enough room for your pressed flowers.
Place the flowers on one panel, then adjust their positions with tweezers. Try a small cluster in one corner or a single blossom in the center.
Close the frame carefully so the petals don’t fold or shift. If the frame uses clips or screws, check that both panels sit securely together.
Avoid adding loose glue unless the frame design requires it.
These ornaments suit flowers with interesting shapes because you can appreciate their details from both sides.
You can also make a matching set with different flowers from the same bouquet.
14. Pressed Flower Wooden Letter Ornaments
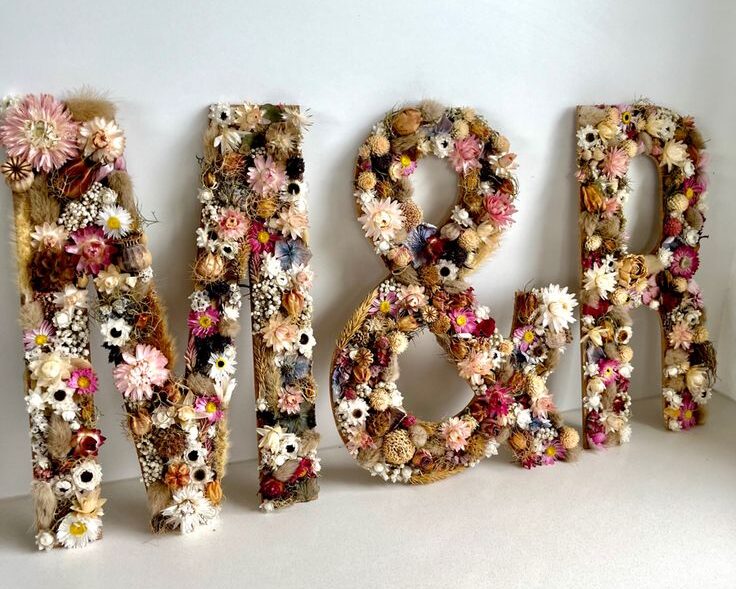
Choose a wooden initial with a broad enough surface for small flowers. Paint it cream or leave the wood natural, depending on your preferred style.
Arrange a few pressed flowers along one side or across the lower curve of the letter.
Keep the main shape easy to recognize. Too many flowers can cover the letter and make the design confusing.
Instead, use tiny blossoms and leaves to decorate only selected areas.
Attach the flowers with a suitable glue and let everything dry completely.
Add a small hanging loop if the letter doesn’t already have one. You can make matching initials for family members or create a set for a shared family tree.
15. Pressed Flower Paper Cone Ornaments
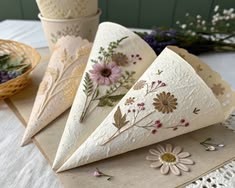
Paper cones add a different shape to your Christmas tree and provide a small space for a floral arrangement.
You can also use them as miniature holders for lightweight decorative elements.
Cut a semicircle from sturdy decorative paper and roll it into a cone.
Secure the overlapping edges with glue or double-sided tape. Next, decorate the front with a small arrangement of pressed flowers and leaves.
Choose paper with a simple pattern so it doesn’t compete with the flowers.
Cream, pale green, and soft red work well for Christmas. You can also use plain paper and add a thin ribbon around the upper edge.
Punch two small holes near the opening and thread a ribbon through them to create a hanger.
Keep the cone lightweight so it hangs properly. If you want to place anything inside, make sure it won’t pull the ornament out of shape.
16. Pressed Flower Felt Christmas Ornaments
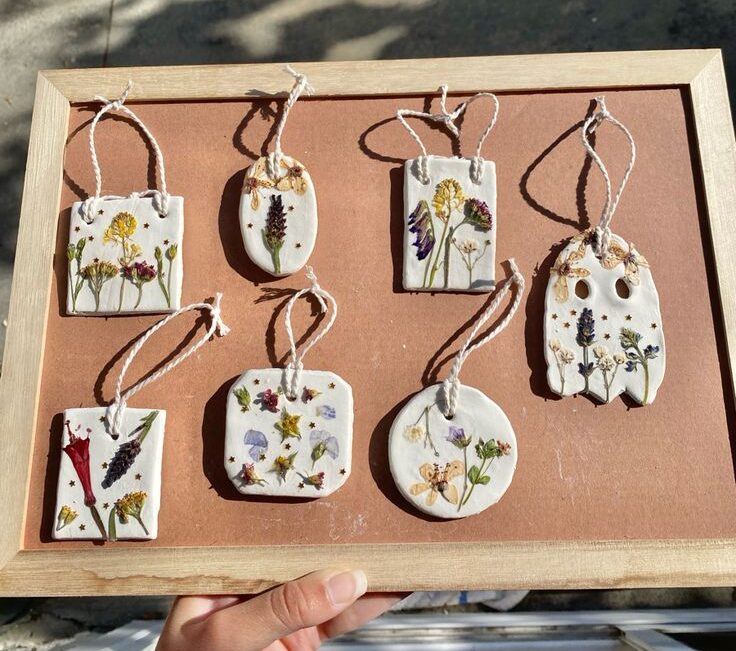
Cut two matching shapes from felt, such as circles, stars, or small Christmas trees.
Arrange pressed flowers on the front piece and attach them with a suitable adhesive. You can also stitch around the flowers if your design allows it.
Place the second felt shape behind the decorated piece and sew around the edges.
Leave a small opening if you want to add a little stuffing, then close it securely. Attach a ribbon loop at the top.
Keep the design simple because felt already adds texture. A few small flowers usually look better than a crowded arrangement.
Choose colors that complement the petals and suit the rest of your decorations.
17. Pressed Flower Hanging Glass Vial Ornaments
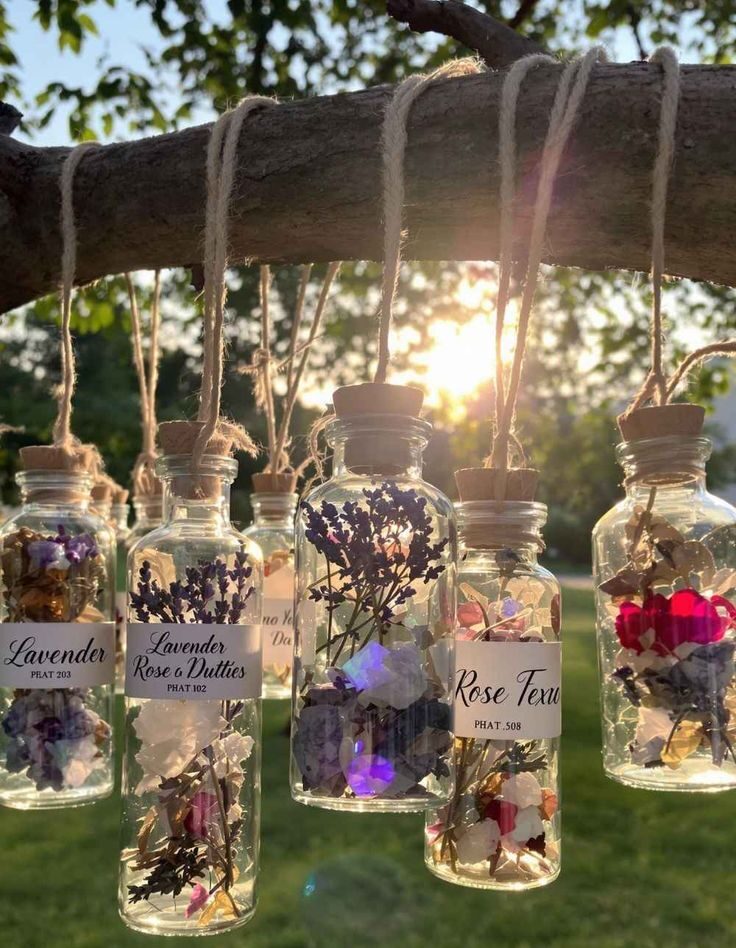
Small glass vials create tall, narrow ornaments that look different from traditional round baubles.
Their shape works especially well with tiny flowers, slim stems, and delicate leaves.
Choose lightweight vials designed for hanging decorations. Remove the stopper and carefully place a few pressed flowers inside.
Long tweezers can help you position the flowers without bending their petals.
You can arrange one flower at the bottom with a few smaller pieces above it.
Another option is to use tiny flowers in one color for a neat, consistent appearance. Avoid overfilling the vial because the flowers need room to remain visible.
Close the vial securely and attach a ribbon or suitable hanging loop. Handle the glass carefully when hanging or storing the ornaments.
These slender decorations look particularly nice between fuller branches on the tree.
18. Pressed Flower Paper Angel Ornaments
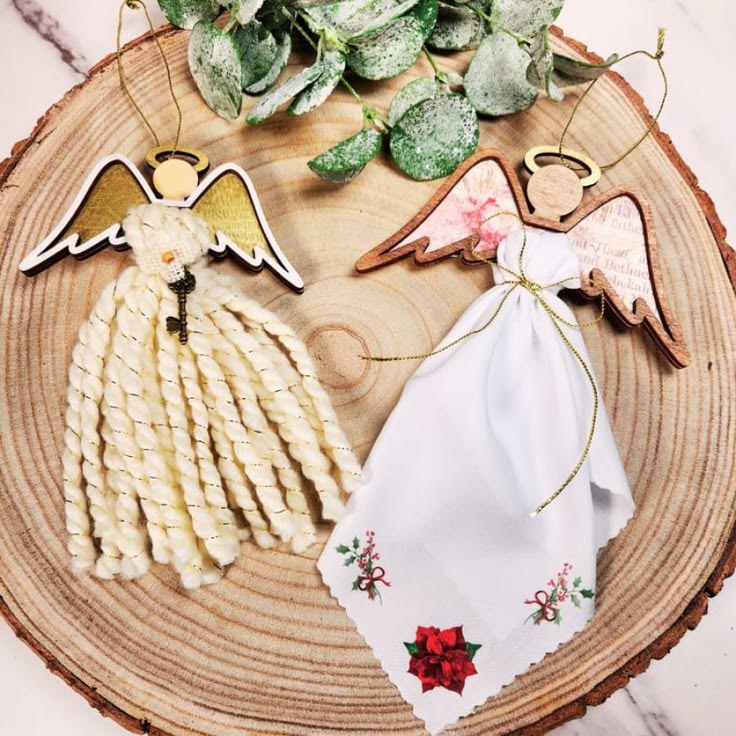
Cut an angel shape from sturdy cardstock, including a clear body, wings, and head.
Decorate the body with one or two small flowers. You can also add tiny petals along the wings while leaving enough paper visible.
For a layered design, cut separate wings and attach them behind the body.
This creates a little depth without requiring complicated construction. Choose white, cream, or pale gold paper to complement the flowers.
Punch a small hole near the top and attach a ribbon. If you’re making several angels, vary the flowers rather than changing every part of the design.
That keeps the collection coordinated while giving each ornament its own look.
19. Pressed Flower Christmas Tree Ornaments
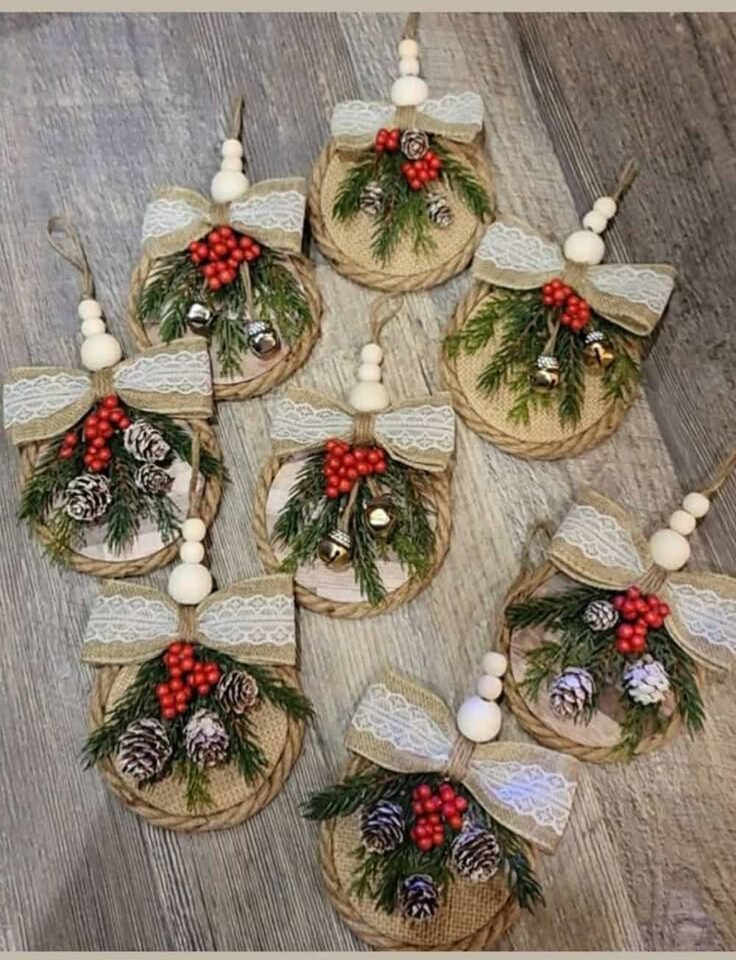
Miniature Christmas tree shapes make it easy to combine pressed flowers with a familiar holiday design.
You can create them from cardstock, thin wood, or lightweight air-dry clay.
Cut out a simple tree shape and decide where you want the flowers to go.
Arrange tiny blossoms along the branches, using smaller flowers near the top and slightly larger ones near the bottom. This helps the decoration follow the tree’s outline.
You can leave the background natural or paint it green. For a softer look, try cream with pale pink and white flowers.
A few tiny leaves can also add color without making the design too busy.
Attach the flowers with a suitable adhesive and let them dry. Add a hole or hanging loop at the top.
These ornaments look especially good in a group with different flower arrangements.
20. Pressed Flower Mini Canvas Ornaments
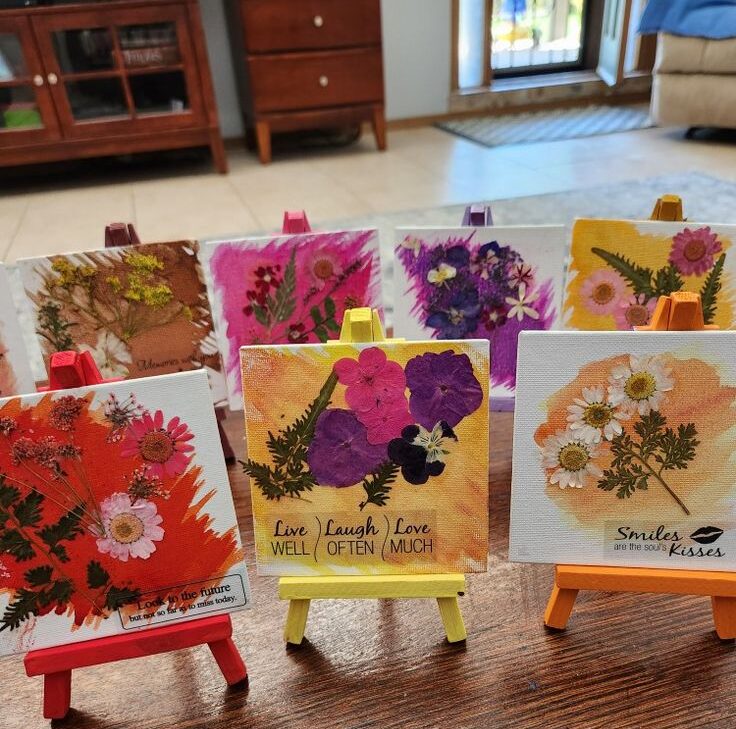
Choose lightweight miniature canvases with a suitable hanging option.
Paint the background in a simple color, such as cream, pale blue, or muted green. Allow the paint to dry completely before arranging the flowers.
Create a small composition with one main blossom and a few leaves.
You can place the arrangement in the center or toward one corner. Leave some background visible so the flowers don’t disappear into the design.
Attach the flowers using an adhesive that works with both the canvas and the petals.
Once everything dries, add a ribbon or small hanging fitting. You can make a collection with matching backgrounds and different flowers.
21. Pressed Flower Transparent Paper Ornaments
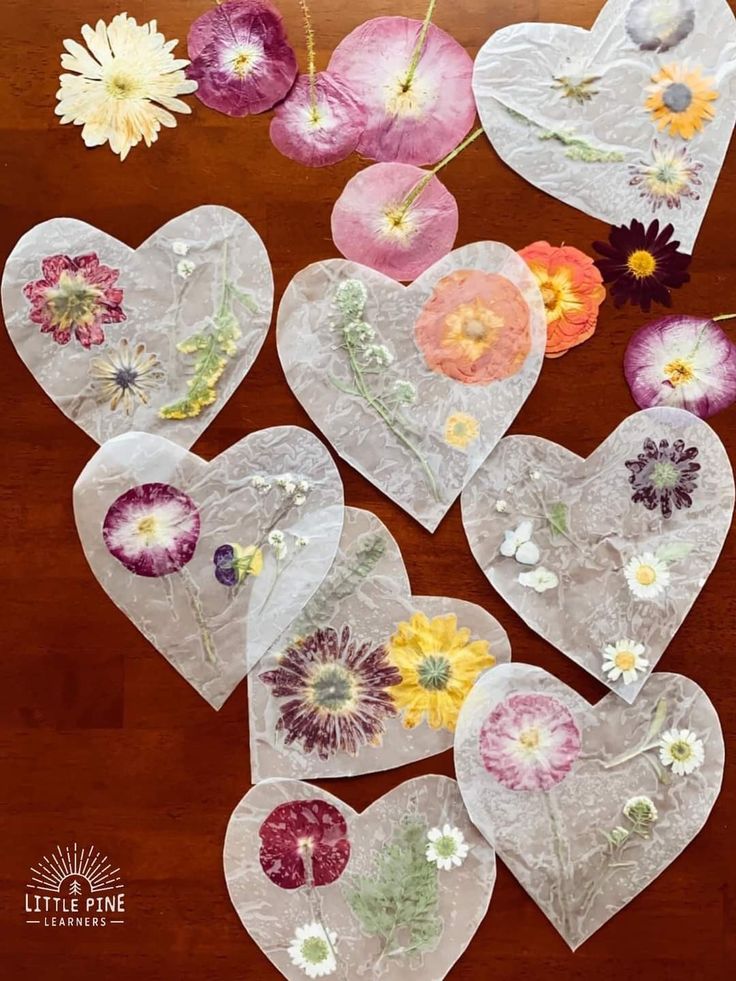
Transparent paper gives floral ornaments a delicate appearance when light passes through the material.
This makes it a useful option for people who enjoy light, simple Christmas decorations.
Cut two matching shapes from suitable transparent craft paper. Arrange pressed flowers on one piece, leaving enough space between the petals.
Then, attach the second piece with a compatible adhesive or a simple paper frame.
Try using thin flowers that show their shapes clearly against the light. Pale petals work well, but darker flowers can create stronger contrast.
Avoid using too much glue because visible marks can distract from the arrangement.
Punch a small hole near the top and add a ribbon. These ornaments are lightweight, so they work well on smaller branches.
Store them flat between sheets of paper to prevent bending after the holidays.
22. Pressed Flower Pinecone Ornaments
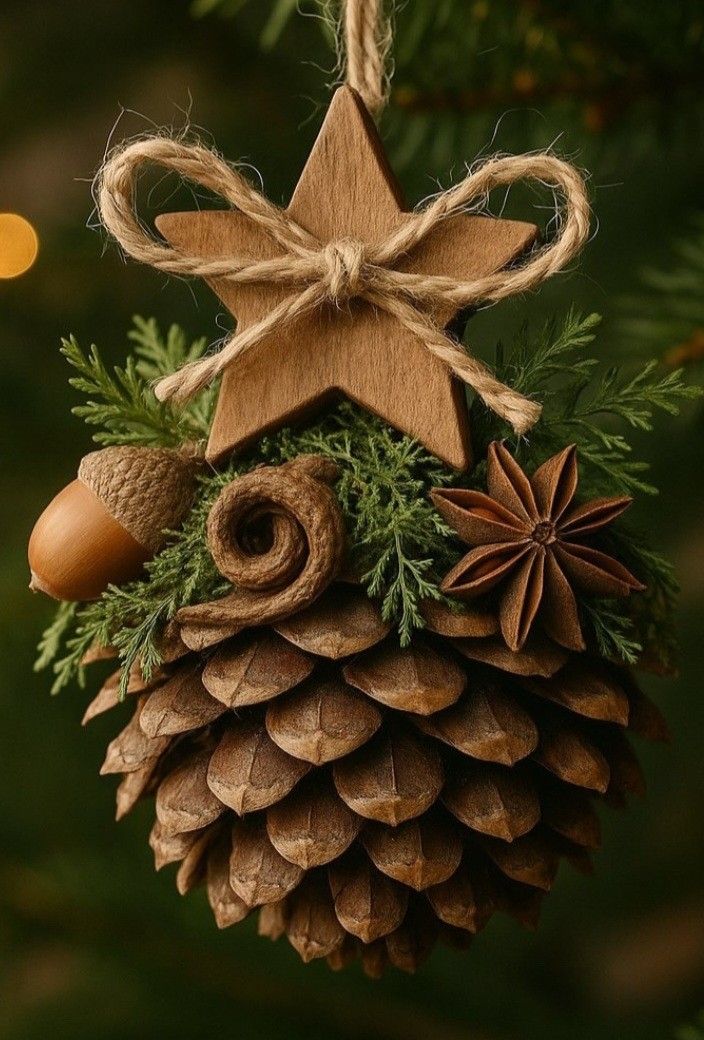
Choose a clean, dry pinecone with sturdy scales. Select a few small pressed flowers and leaves that fit between the scales.
Use tweezers to position them carefully, then attach them with small amounts of suitable glue.
You don’t need to fill every gap. A few flowers near the wider end can create a balanced design while keeping the pinecone’s natural texture visible.
You can also add a small flower cluster near the top.
Attach a ribbon or thin wire securely around the base. Check that the hanging loop can support the pinecone’s weight before placing it on the tree.
These ornaments pair well with wooden slices and simple twine decorations.
23. Pressed Flower Fabric Ribbon Ornaments
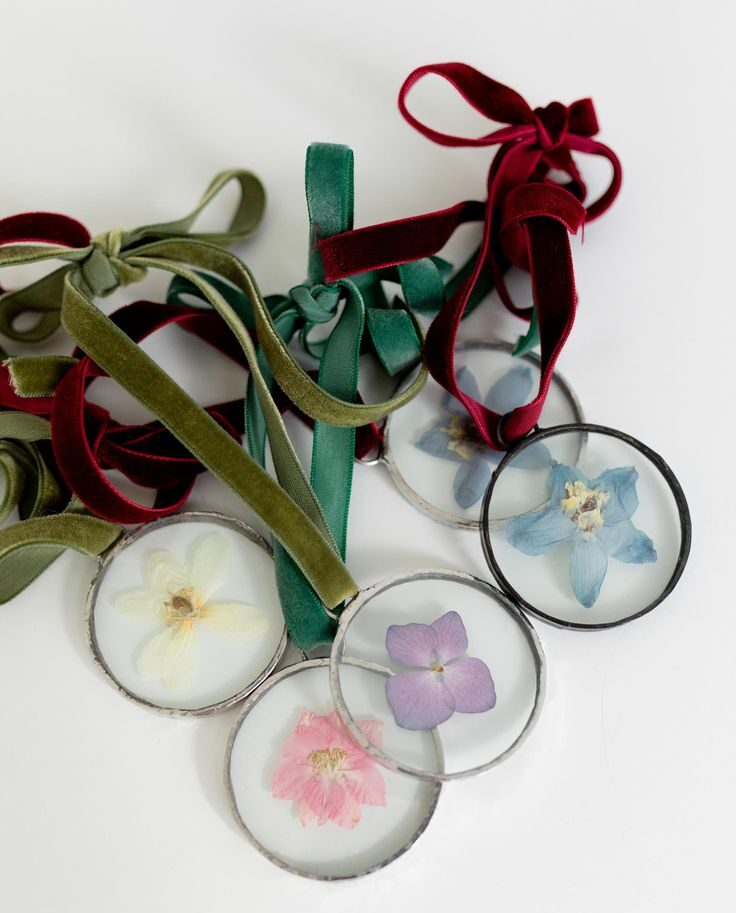
Fabric ribbon gives pressed flowers a narrow, flowing background.
This design works well when you want to add botanical details without making another round or star-shaped ornament.
Choose a sturdy ribbon made from cotton or linen. Cut a length that will hang comfortably on your tree, then arrange small flowers along one section.
You can create a single cluster near the bottom or repeat tiny flowers at intervals.
Use a fabric-safe adhesive that won’t leave obvious marks. If you prefer a more secure finish, stitch the flowers in place where the material and petals allow it.
Work gently because thin petals can tear under pressure.
Tie the ribbon into a loop or bow and attach a suitable hanging fitting. You can also use the decorated ribbon to wrap plain ornaments.
Keep the design light so the ribbon hangs neatly without twisting.
24. Pressed Flower Vintage-Inspired Medallion Ornaments
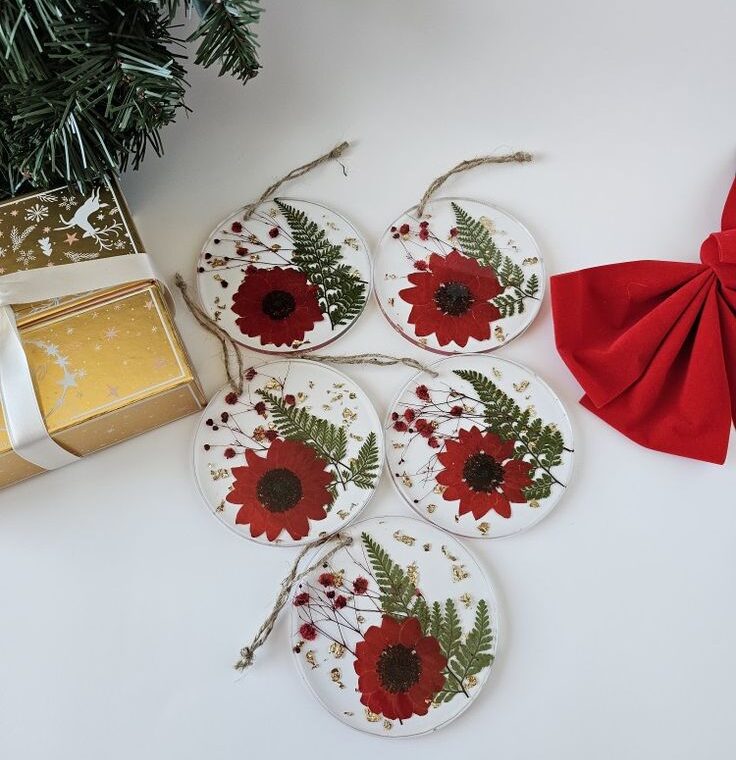
Start with a lightweight round ornament base or a sturdy cardstock circle.
Cover the base with cream paper, then arrange small flowers around the edge. Leave the center open for a tiny paper circle or another decorative detail.
For a vintage appearance, choose muted pink, burgundy, pale yellow, and green flowers.
You can also use lightly patterned paper behind the arrangement. Keep the colors coordinated so the ornament looks thoughtful rather than crowded.
Attach a small ribbon loop at the top. If you use a layered paper design, make sure each piece sits flat before hanging it.
These medallions look especially nice on trees with traditional red, gold, and cream decorations.
25. Pressed Flower Initial-and-Botanical Ornaments
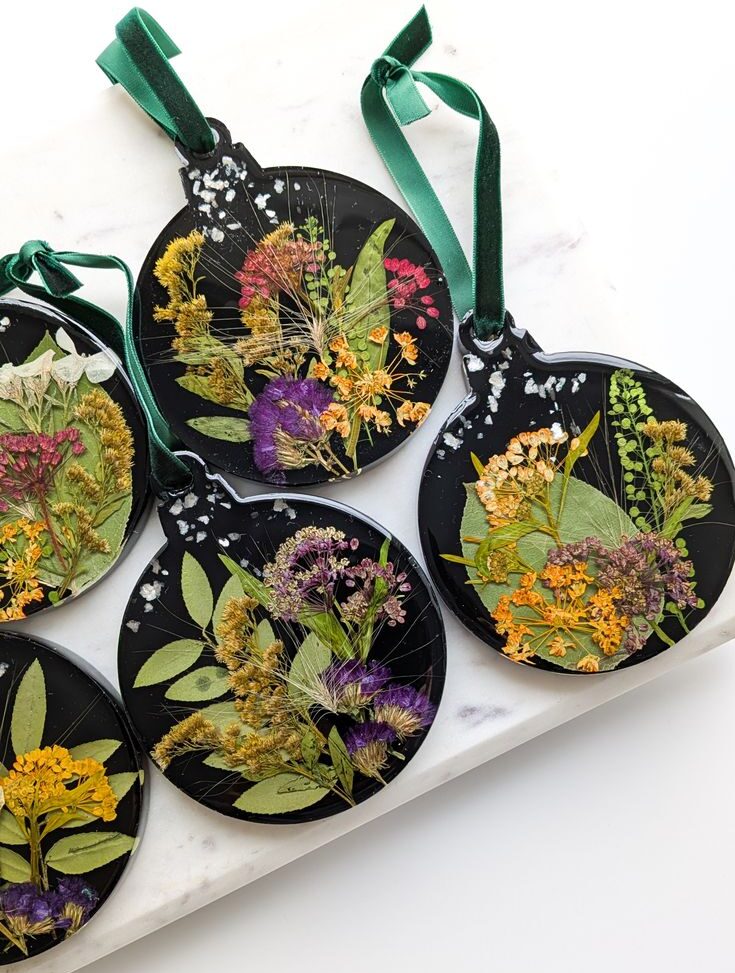
This design combines a personal initial with pressed flowers, creating an ornament that feels made for one person.
It’s a good choice for family gifts, newly married couples, or friends who enjoy handmade decorations.
Choose a flat wooden, cardboard, or clay initial with enough room for a small floral arrangement.
Place one or two flowers along the edge of the letter. Add a few leaves if you want to fill an empty space without hiding the shape.
You can use the recipient’s favorite flower colors or choose flowers that remind you of them.
For a family set, keep the base material and colors consistent. Then, change the initial and flower arrangement for each person.
Let the adhesive dry completely before adding a hanging loop.
If the initial has a narrow shape, use smaller flowers and avoid placing them across important parts of the letter.
26. Pressed Flower Christmas Bell Ornaments
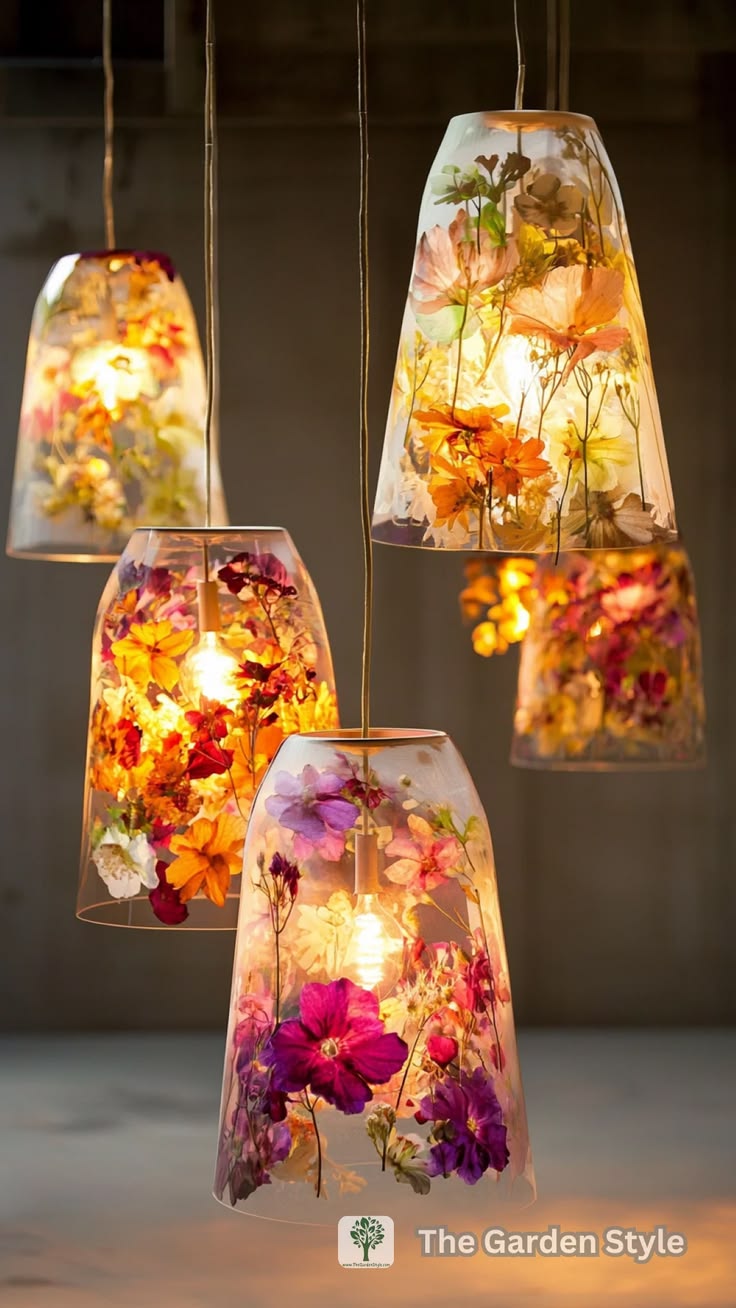
Start by preparing a bell-shaped base in white, cream, or green. Arrange pressed flowers near the lower edge or across one side.
A few tiny blossoms can suggest a decorative border without covering the bell’s outline.
If you want extra detail, add a small paper bow near the top.
Keep the bow simple so the flowers remain the main feature. You can also use a contrasting ribbon for the hanging loop.
Allow the glue to dry before lifting or hanging the ornament. For a coordinated set, use the same bell shape with different flowers.
This creates variety while keeping the decorations visually connected.
27. Pressed Flower Miniature Book Ornaments
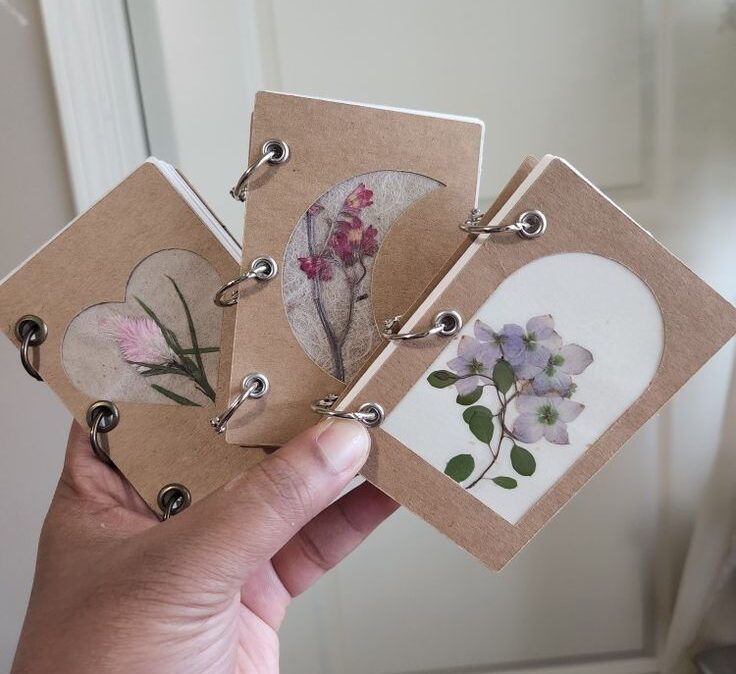
Miniature book ornaments are a creative choice for readers, writers, or anyone who likes unusual Christmas decorations.
Their tiny covers provide a flat surface for displaying pressed flowers.
Fold several small pieces of paper together to create a miniature booklet.
Cover the outside with sturdy cardstock or decorative paper. Then, arrange a pressed flower on the front cover like a botanical illustration.
You can add a small title or the recipient’s initials if you enjoy personal details. Keep the lettering short so it doesn’t compete with the flower.
Attach a ribbon loop to the spine or cover, making sure the booklet hangs securely.
Use a flower with an interesting shape for the front cover. A single blossom usually works better than a large cluster on such a small surface.
Keep the booklet closed when hanging it so the pages don’t shift.
28. Pressed Flower Christmas Stocking Ornaments
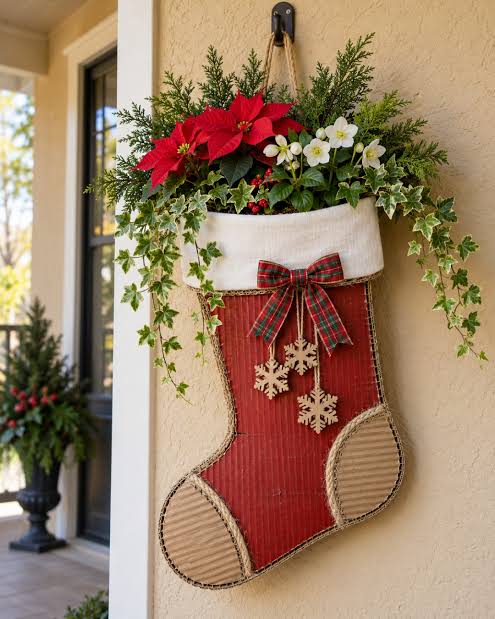
Cut stocking shapes from cardstock, felt, or thin wood. If you use cardstock, choose a sturdy weight that won’t bend easily.
Arrange flowers near the cuff or along one side of the stocking.
For a traditional appearance, use red or green as the background.
Cream and pale pink create a softer look. You can also add a small leaf near the cuff to make the floral arrangement feel more complete.
Attach the flowers with a suitable adhesive and allow them to dry.
Add a ribbon loop near the top. If you’re making several stockings, personalize them with different flower colors or small initials.
29. Pressed Flower Hanging Window Ornaments
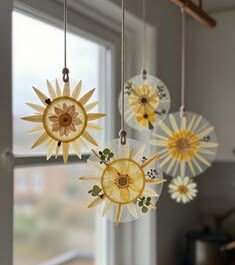
Window-style ornaments create a small botanical display between transparent panels.
Unlike flat acrylic discs, you can make these with lightweight frames that resemble tiny windows.
Choose a small wooden or lightweight craft frame with two clear panels.
Arrange pressed flowers inside the frame, keeping the main blossoms near the center. Add a few leaves around the edges if you want a fuller composition.
Secure the panels according to the frame’s design. Check that the flowers remain flat and that the frame closes properly.
Avoid forcing the panels together because this can crush the petals.
You can paint the frame white for a simple look or leave the wood natural. Add a ribbon loop at the top and hang the ornament where light can reach it.
The transparent panels let you enjoy the flowers from different angles.
30. Pressed Flower Christmas Gift Box Ornaments
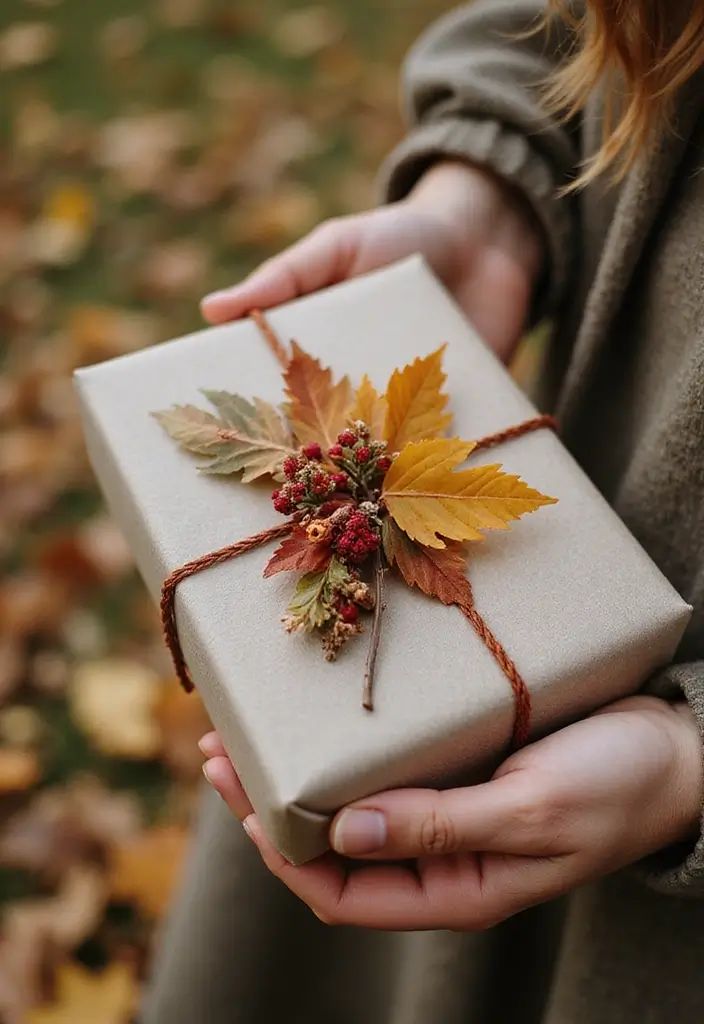
Fold a small box from sturdy decorative paper or use a lightweight ready-made craft box.
Choose a size that won’t become too heavy when you add the ribbon. Next, arrange one or two pressed flowers on the lid.
You can place a small flower in the center and wrap a narrow ribbon around the box.
Alternatively, decorate one corner with a flower cluster and tiny leaves. Keep the arrangement flat enough that it doesn’t interfere with the ribbon.
Attach a secure hanging loop before decorating if the box design makes this easier.
Make sure the box stays closed when you lift it. These ornaments look particularly nice in matching paper colors with different floral details.
31. Pressed Flower Hanging Botanical Frames
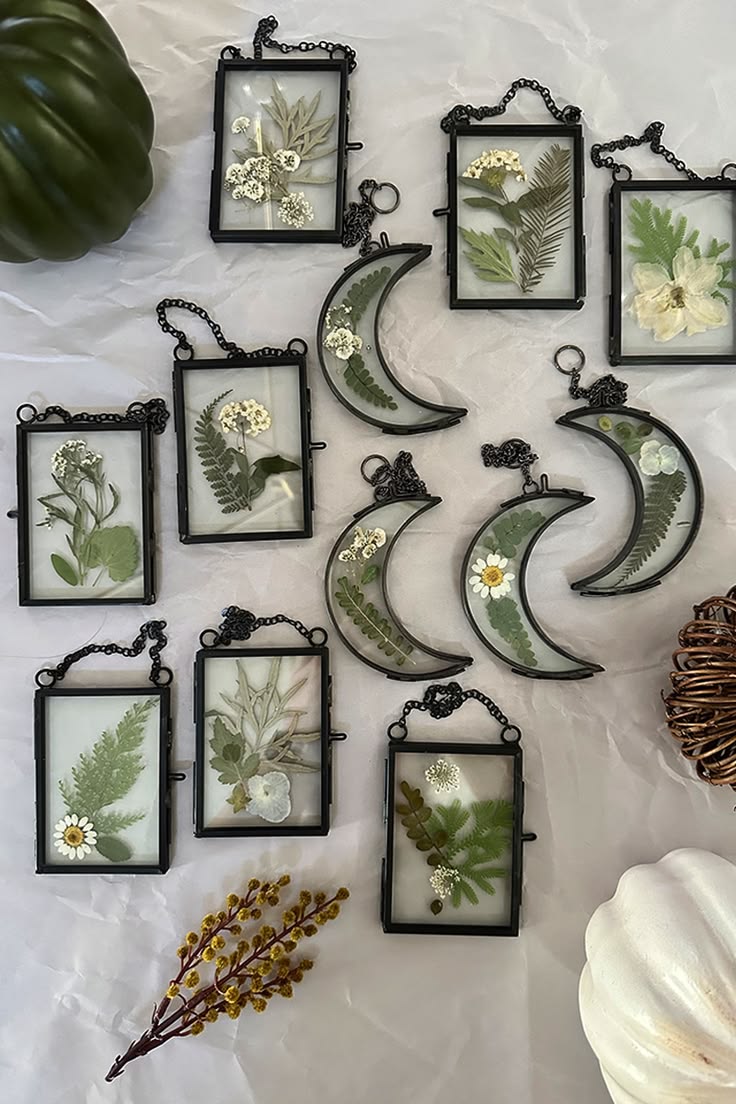
Small botanical frames let you display pressed flowers like miniature pieces of artwork.
They’re ideal when you want the flowers to remain the main attraction rather than simply adding decoration to another shape.
Choose a lightweight frame with a clear front and enough space for a small floral arrangement.
Remove the backing and position your pressed flowers on a neutral paper base. You can arrange a single flower in the center or create a tiny garden with several varieties.
Before closing the frame, check the placement carefully. Make sure no petals fold under the edges or overlap in a way that hides their shapes.
Replace the backing and secure the frame according to its design.
Choose a narrow frame so the flowers remain prominent. Cream, white, and pale green backgrounds work well with many flower colors.
Finally, attach a ribbon or suitable hanging loop to turn your little botanical picture into a Christmas tree ornament.
Final Thoughts
Making Pressed Flower Christmas Ornaments gives you plenty of ways to bring natural details into your holiday decorating.
You can choose clear baubles, wooden shapes, paper designs, or miniature frames depending on your supplies and personal style.
Start with one or two simple projects, then try more detailed designs as you become comfortable handling the flowers.
Remember to keep your flowers completely dry before using them.
Choose adhesives and protective coatings that suit your materials, and allow each layer to dry or cure properly.
Also, store finished ornaments in a dry place and protect delicate petals from pressure during the rest of the year.
Most importantly, have fun choosing flowers and arranging them in your own way. You don’t need every ornament to look identical or perfectly symmetrical.
A collection of different shapes and colors can make your Christmas tree feel more personal, and you may even create decorations you’ll enjoy bringing out every year.