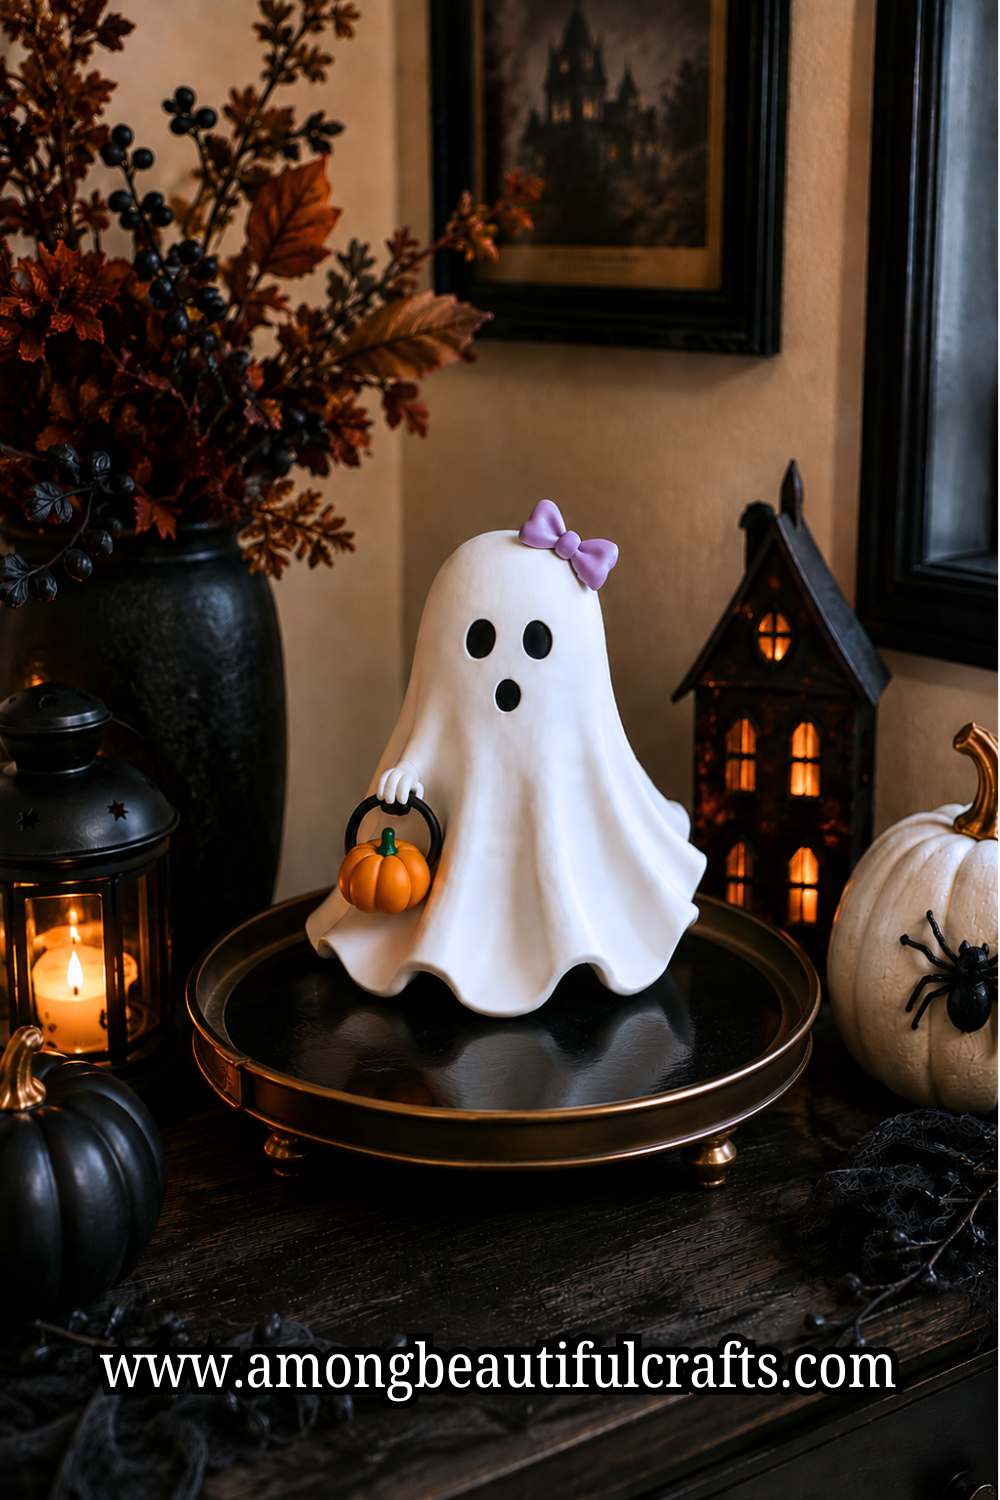
Every Halloween, I try to make at least one decoration by hand instead of buying everything from a store. Sometime ago, I decided to learn how to make clay ghosts for Halloween after seeing a tiny handmade ghost at a local craft fair.
It looked so simple, yet it had so much personality. Mine did not turn out nearly as cute the first time, but I enjoyed the process enough to keep experimenting until I found a style that felt completely my own.
That little project quickly became one of the crafts I look forward to every fall. I can sit down with a small piece of clay, clear my mind, and slowly watch a plain ball of clay become a cheerful ghost.
Some end up tall and elegant. Others come out round with tiny smiles that always make me laugh.
I no longer aim for perfect shapes because the little quirks give each ghost its own character. In fact, those imperfect details often become my favorite part.
In this guide, I’ll show you every step I follow, explain why each one matters, and share the simple tricks that helped me improve after making plenty of ghosts overtime.
My goal is to help you enjoy the process just as much as the finished decorations. It will interest you to know that small techniques make the biggest difference, and anyone can learn them with a little practice.
Supplies You’ll Need
Before we start, I like to gather everything in one place. It saves time and keeps me from searching for tools with messy hands. Most of these supplies are easy to find at a local craft store.
- White air-dry clay – (Available on Amazon)
- Silicone craft mat or wax paper
- Clay sculpting tools – (Available on Amazon) or a toothpick
- Small craft knife – (Available on Amazon)
- Small bowl of clean water
- Soft paintbrush – (Available on Amazon)
- Acrylic paint in white and black – (Available on Amazon)
- Optional acrylic paints in pastel colors
- Fine detail paintbrush – (Available on Amazon)
- Matte or satin sealer – (Available on Amazon)
- Fine-grit sandpaper (optional)
Why I Love Using Air-Dry Clay for This Project
I have tried different kinds of clay over the years. I always come back to air-dry clay for simple Halloween decorations. It feels soft in my hands, shapes easily, and does not need a kiln or oven.
Another reason I enjoy using it is that beginners usually feel comfortable with it. You can slow down, reshape parts, and fix little mistakes before the clay starts to dry. That takes away a lot of pressure.
The finished ghosts also stay surprisingly lightweight. I can place them on a shelf, tuck them into a tiered tray, or display several inside a shadow box. They never make my decorations feel heavy or crowded.
Before You Begin
Before touching the clay, I always prepare my workspace. It only takes a few minutes, yet it makes the whole project much easier.
Cover your table with a silicone mat or wax paper. Keep a small bowl of water nearby because you will use it to smooth the clay later.
I also place a clean towel beside me for wiping my hands whenever they become dusty.
Next, open the clay package only when you are ready to begin. Air-dry clay loses moisture once it stays exposed for too long. If you plan to make several ghosts, keep the unused clay wrapped until you need it.
I also like to picture the finished ghost before I start shaping anything. I decide if I want a tall ghost, a short ghost, or one with a playful tilt. That simple habit helps me work with more confidence.
How to Make Whimsical Clay Ghosts for a Magical Halloween
Step 1: Prepare Your Clay
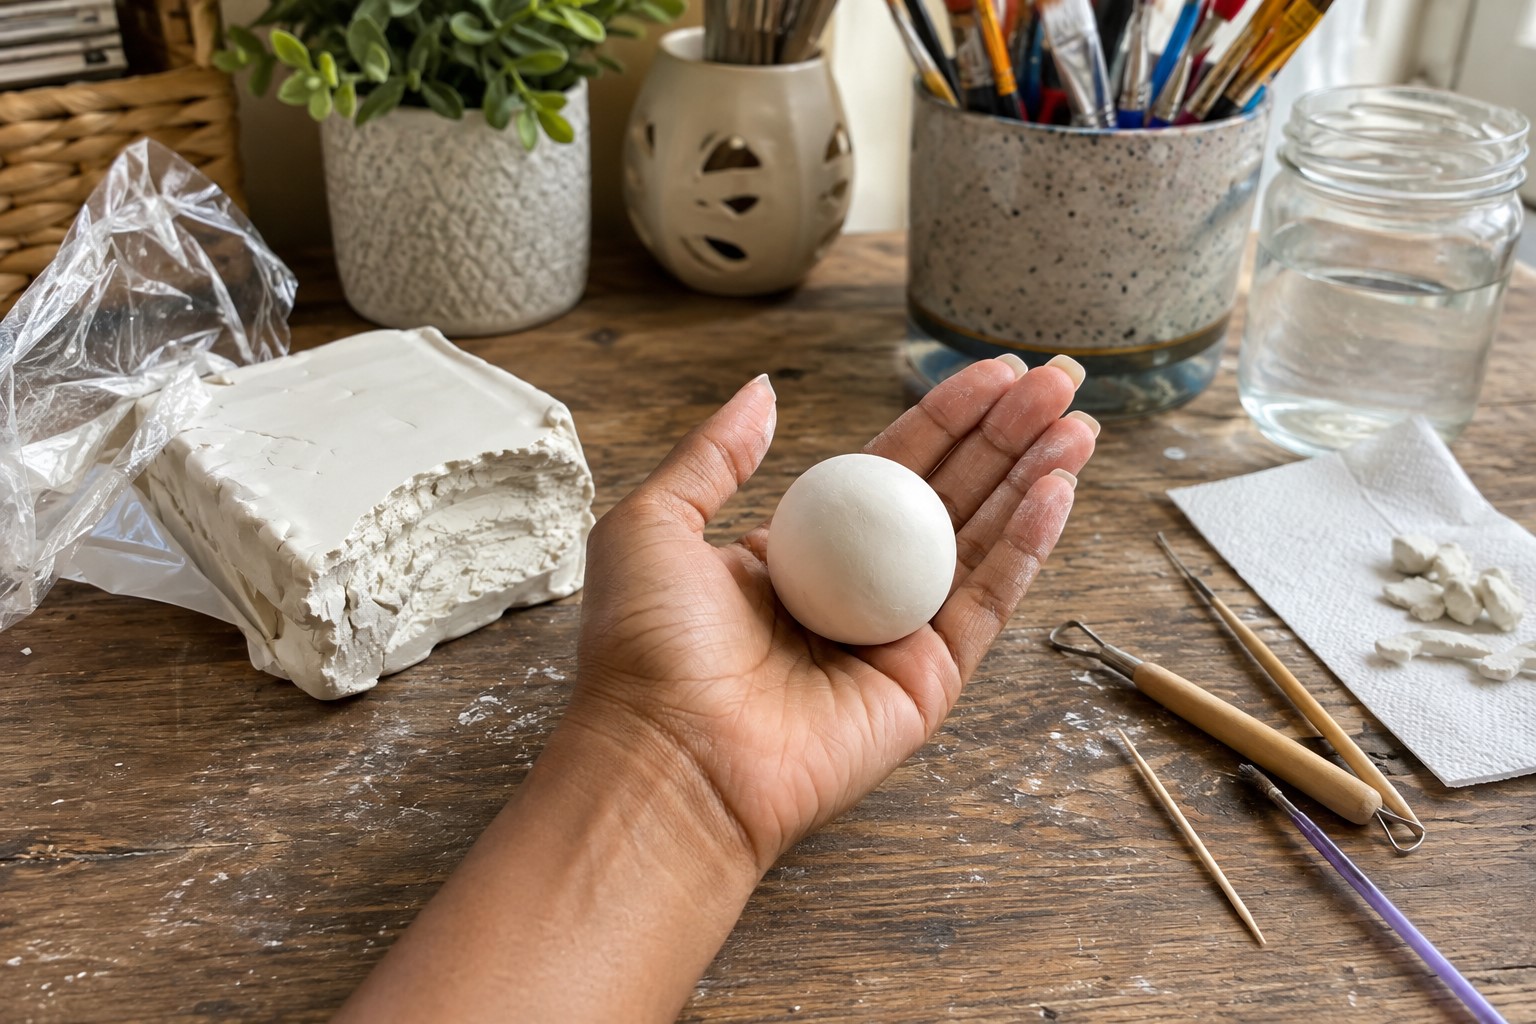
I never skip this step because it sets the tone for the whole project. Well-prepared clay feels easier to shape, stays smoother, and develops fewer cracks as it dries.
Cut off the amount of air-dry clay you need for one ghost. Wrap the remaining clay right away so it stays soft while you work.
I learned this the hard way after leaving a whole pack open during one project. By the time I needed more, the surface had already started to dry.
Now knead the clay between your hands for several minutes. Fold it, press it, and roll it until it feels soft and smooth.
If the clay feels a little stiff, keep kneading instead of forcing it into shape. You can also dampen your fingertips with a tiny amount of water if needed, but use only enough to soften the surface.
Once the clay feels smooth, roll it into a neat ball. This simple shape gives you a clean starting point and makes the next step much easier.
Before you continue, look over the entire surface. Smooth away any small cracks or rough spots with your fingers.
I always spend an extra minute doing this because small imperfections become much harder to fix after the ghost starts taking shape.
Step 2: Shape the Main Ghost Body
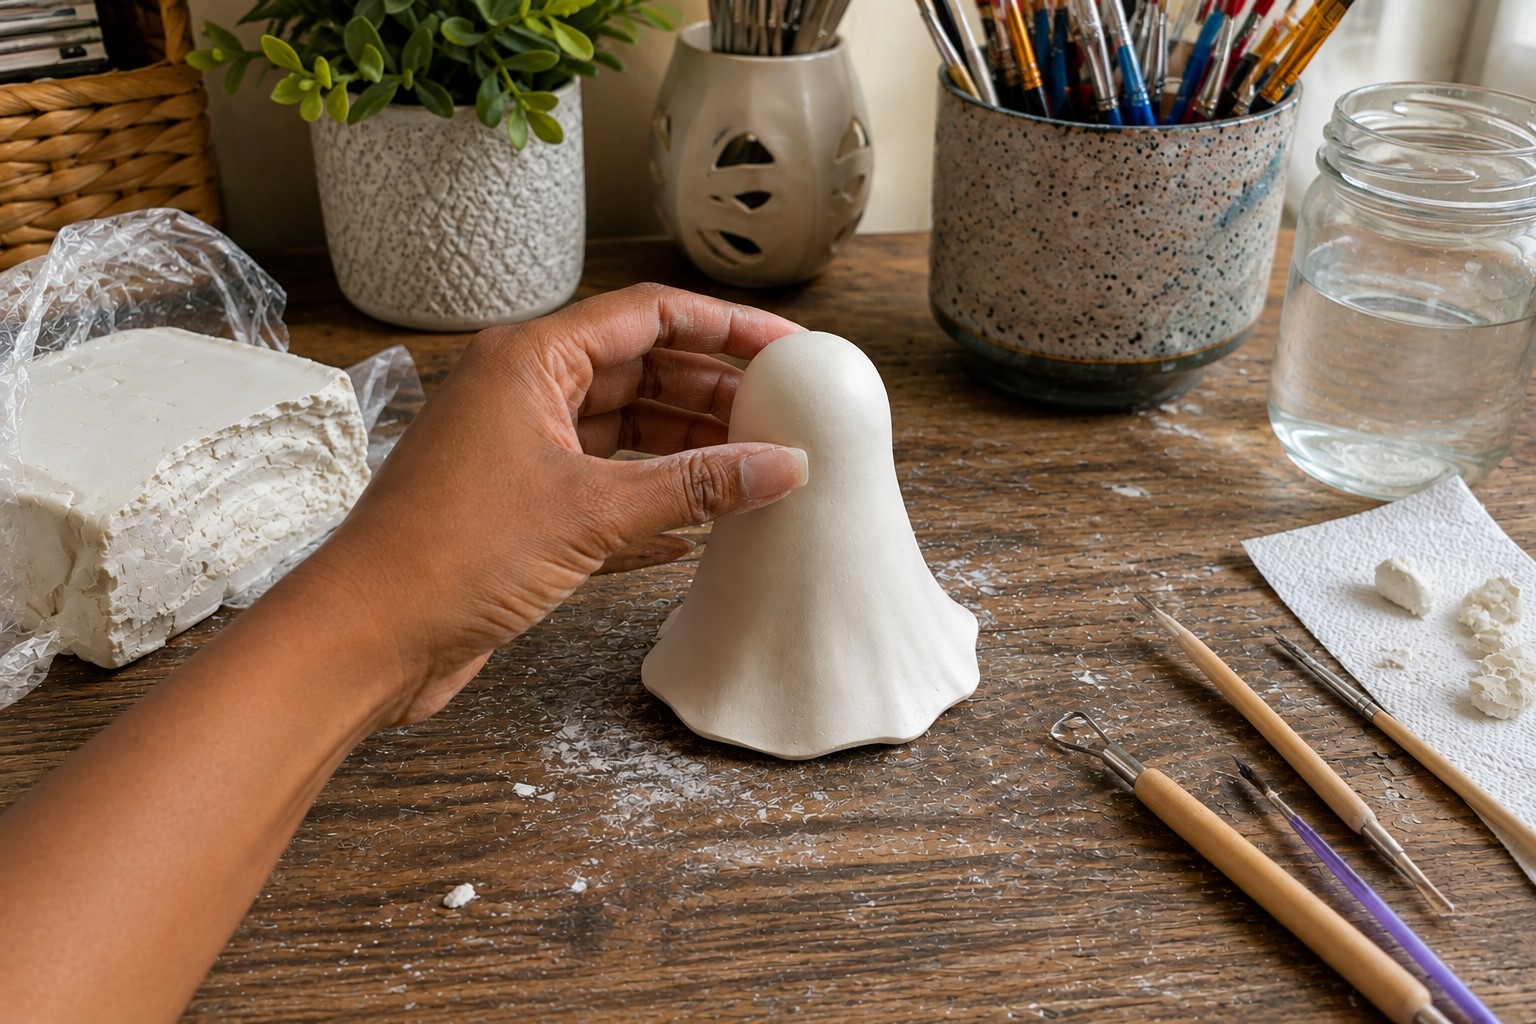
Now comes the part where the ghost begins to appear. I always enjoy this stage because a simple ball of clay starts looking like a real decoration.
Place the clay ball on your work surface and gently press the bottom until it sits flat. The base should feel stable, but the body should still look rounded.
If you flatten it too much, the ghost can lose its soft, floating appearance.
Next, use your fingers to lightly shape the upper half into a rounded head. I avoid making a sharp neck because real ghost decorations usually have a smooth flow from top to bottom. Turn the clay as you work so both sides stay even.
Once you have the basic shape, gently pull the lower edge outward in several places. These soft waves create the illusion of floating fabric.
Work slowly around the ghost instead of stretching one area too much. Small adjustments usually look more natural than large ones.
Before moving on, place the ghost on the table and look at it from every angle. If one side leans more than the other, gently reshape it with your fingers.
Finish by smoothing away fingerprints with a slightly damp fingertip or a soft paintbrush. Taking a little extra time here gives you a cleaner base for the next step.
Step 3: Create the Flowing Ghost Folds
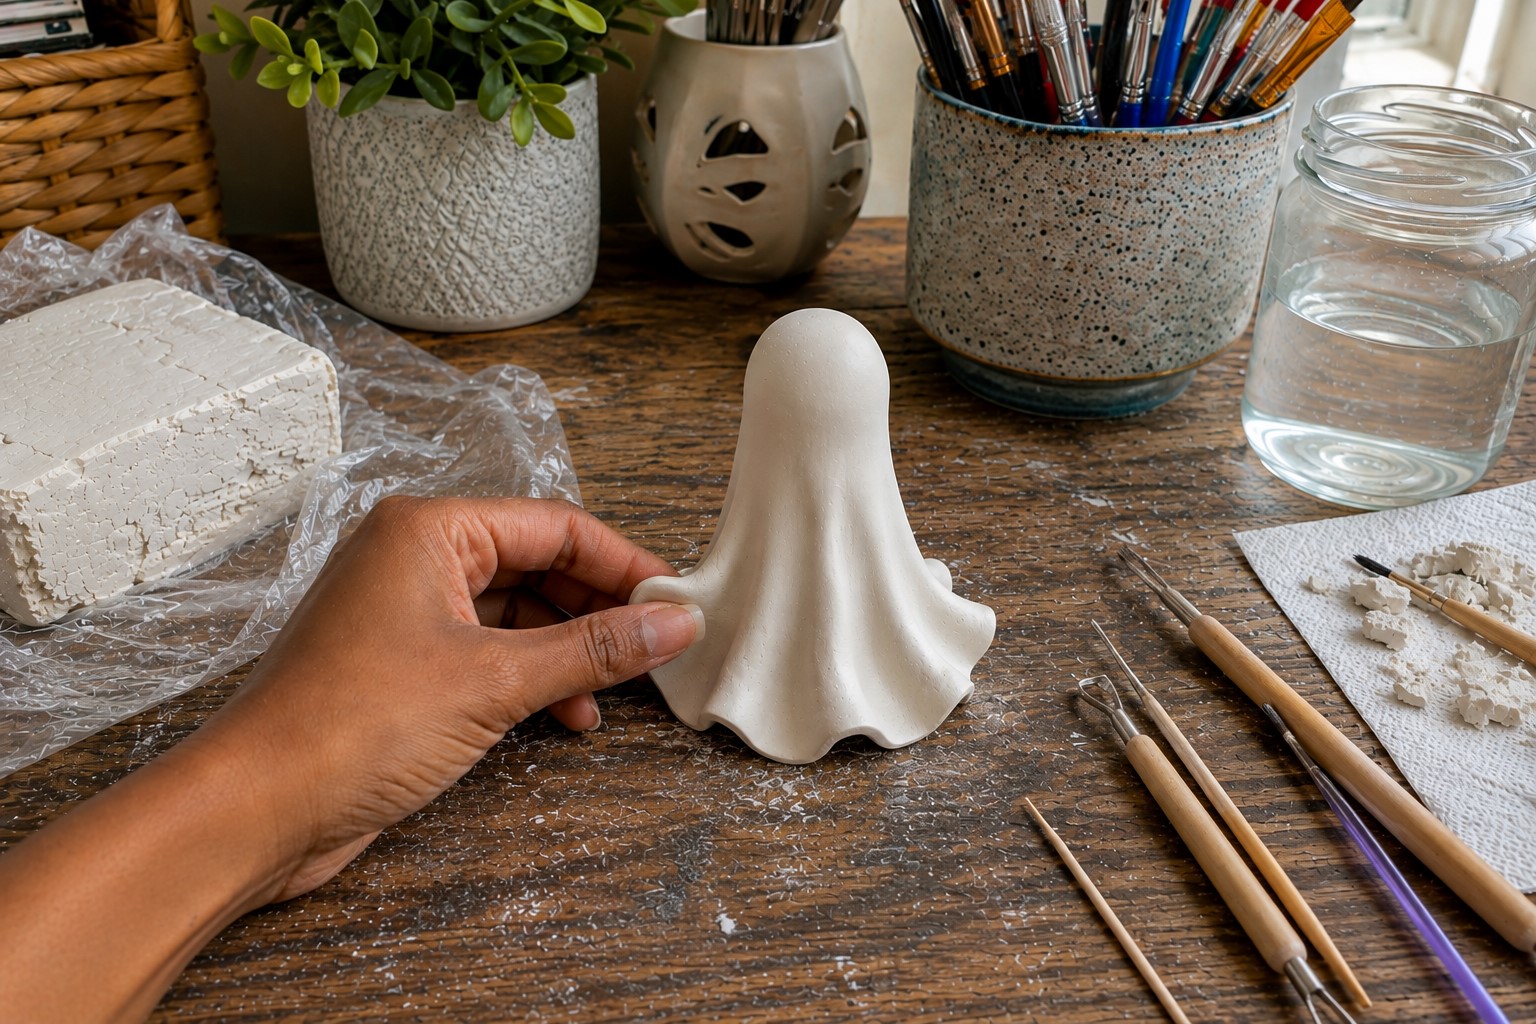
The folds give your ghost movement and personality. Even a simple ghost looks much more magical when the bottom has gentle curves instead of a straight edge.
Start by choosing three to five spots around the bottom of the ghost. Press lightly between those spots with your finger or a clay tool.
This creates soft dips while leaving the raised areas to look like flowing fabric. There is no need to make every fold the same size. In fact, a little variety makes the ghost look more natural.
Now lift and shape each raised section with your fingertips. I like to curve some folds inward and let others bend slightly outward. Those little changes keep the ghost from looking stiff or flat.
As you shape the folds, check that the ghost still stands well on the table. If it begins to wobble, gently adjust the bottom until it sits firmly again.
I always test this several times because it is much easier to fix now than after the clay dries.
When you finish, smooth the edges of each fold with your fingertips. You want the curves to flow into one another without sharp lines. The ghost should already look like it is gently floating through the air.
Step 4: Add the Face and Small Details
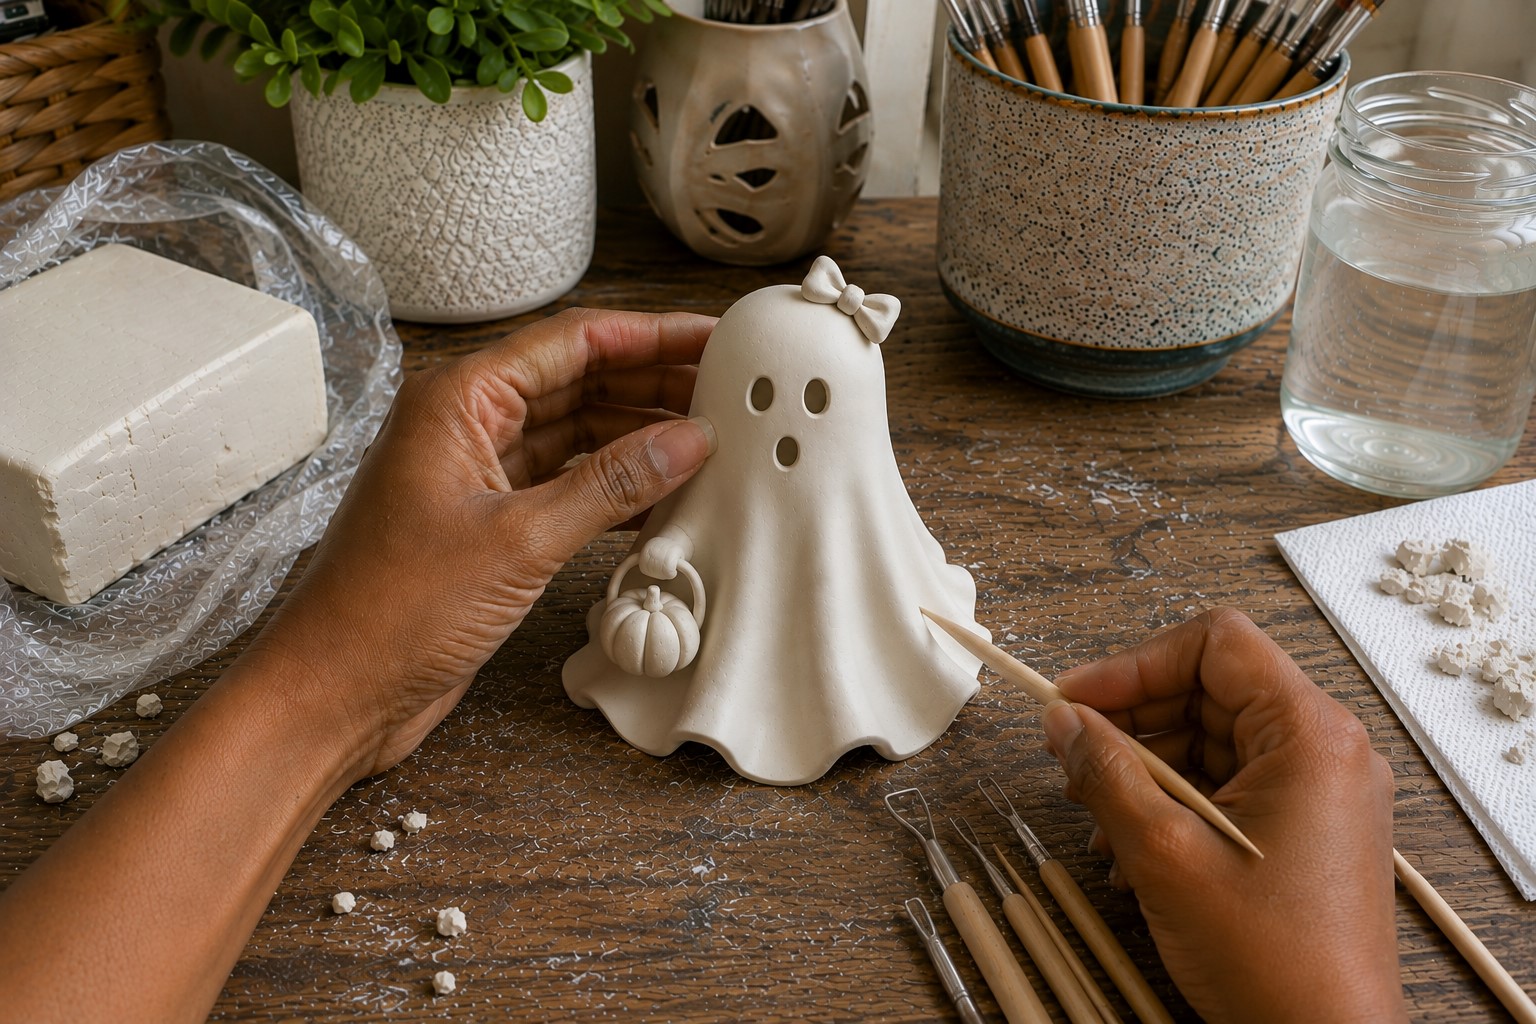
This is the step that gives your ghost its own personality. I love seeing how a few tiny details can completely change its expression.
Decide where you want the face before making any marks. I usually hold the ghost at eye level for a moment to find the side that looks most balanced.
Then I lightly mark the eye placement with a toothpick before making the final details.
For a classic ghost, make two small oval eyes and a tiny round or oval mouth. Keep the features simple because oversized eyes can make the ghost look more like a cartoon. If you prefer a friendlier style, add a small smiling mouth instead.
Now take a moment to look at the face from the front. If one eye sits higher than the other, gently smooth the clay and try again.
One thing I have learned is that making small changes early saves a lot of frustration later.
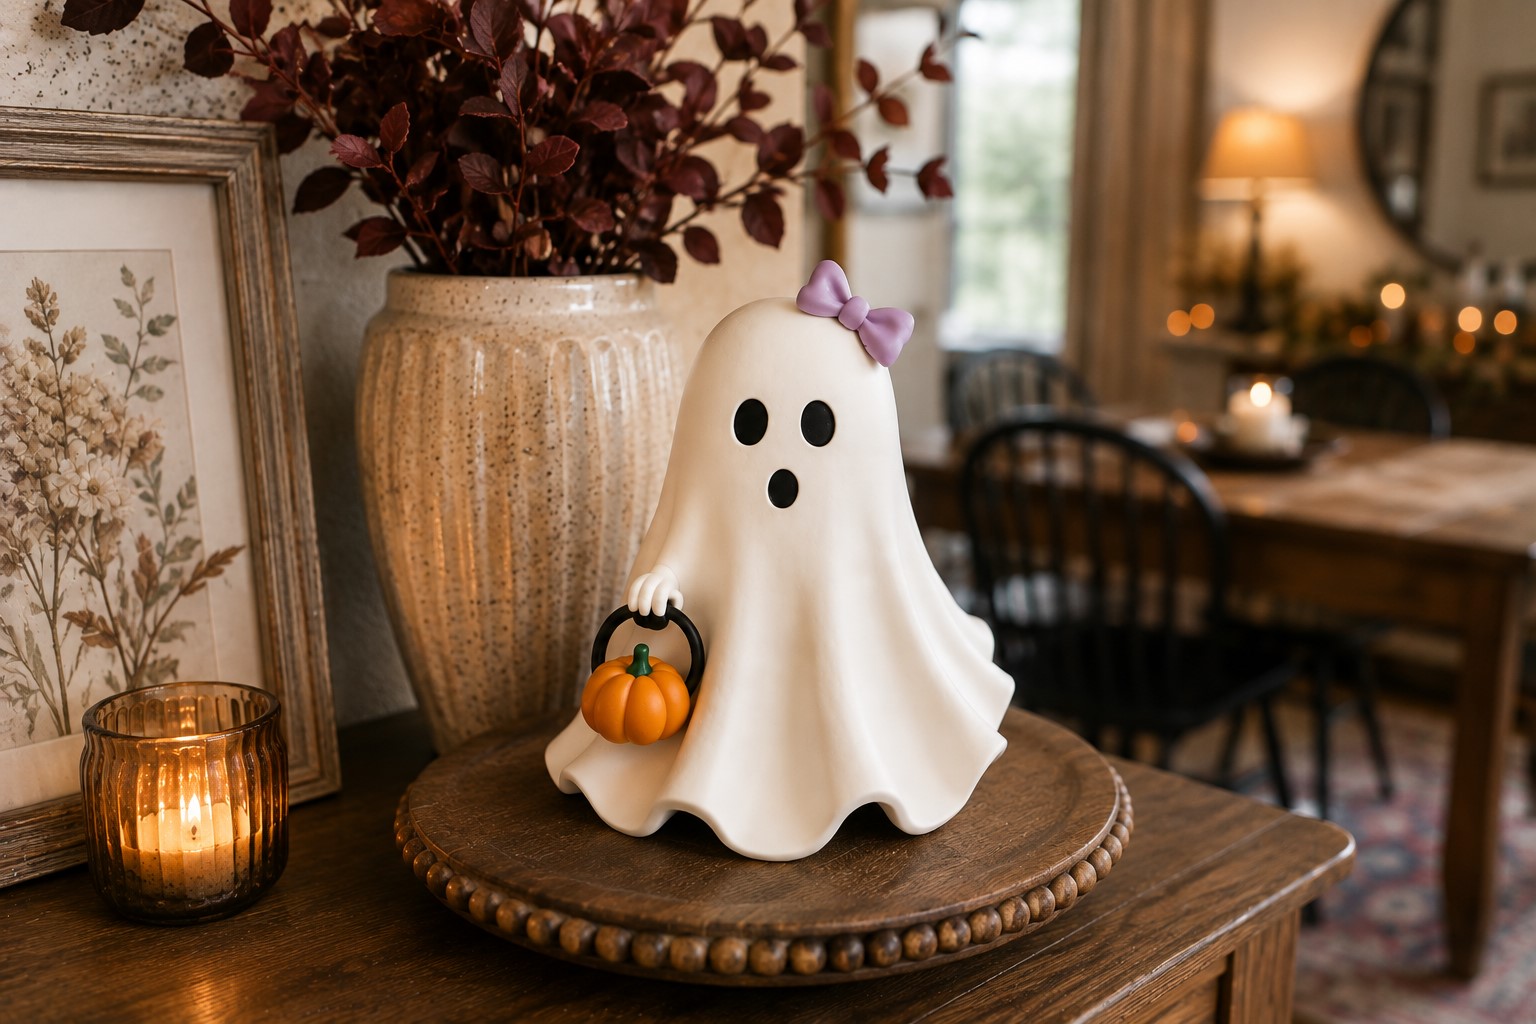
If you want to make your ghost even more whimsical, add tiny accessories. A little pumpkin, a miniature witch hat, a bow, or a small flower can make every ghost feel different. Keep the decorations small so they do not overpower the ghost itself.
After adding the details, lightly smooth the area around the face without changing the features. Your ghost should now have its own unique charm and be ready for the drying stage.
Step 5: Check the Shape and Smooth the Surface
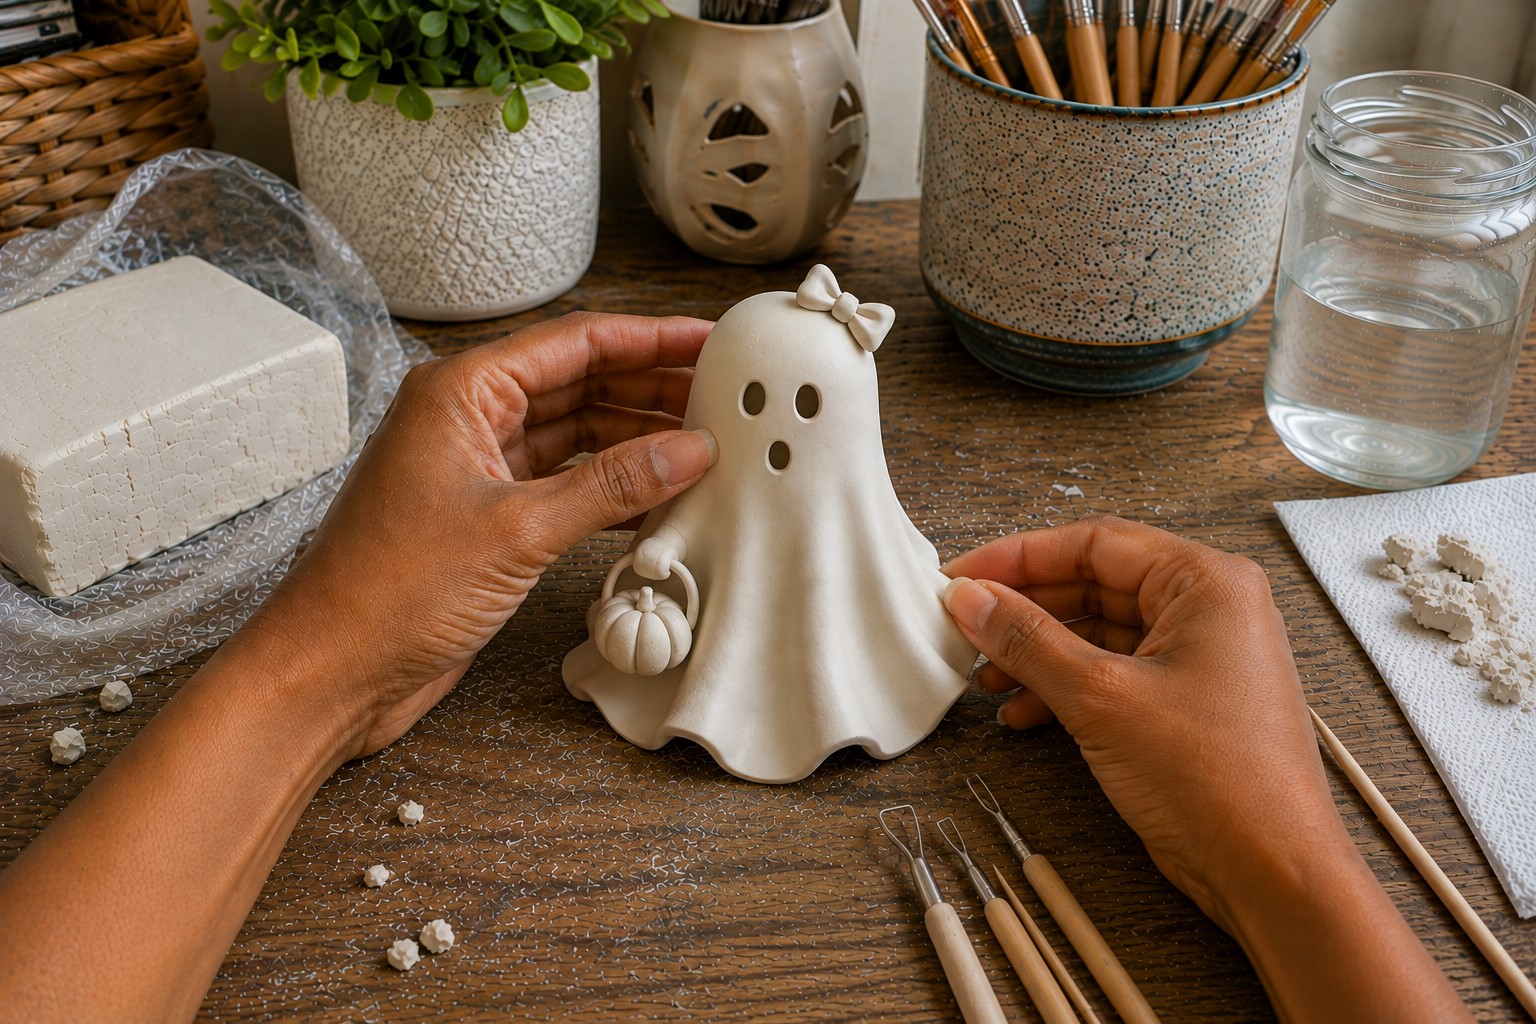
Before the clay starts drying, I always give the ghost one final inspection. This step may seem small, yet it can make the finished decoration look much more polished.
Place the ghost on a flat surface and look at it from the front, both sides, and the back. Check that it stands evenly and that the folds still look soft and balanced.
If one side appears larger, gently press or pull the clay until everything looks more even.
Next, smooth the entire surface with your fingertips. For tiny fingerprints or tool marks, dip a soft paintbrush into clean water and wipe away most of the moisture.
Then lightly brush over the rough areas. Use only a little water because too much can soften the details you worked so hard to create.
Take another look at the face before moving on. Make sure the eyes and mouth still look clean and well-shaped.
Once you feel happy with the overall appearance, set the ghost aside without touching it again. A few careful minutes now can save you from fixing small flaws after the clay hardens.
Step 6: Let Your Ghost Dry Properly
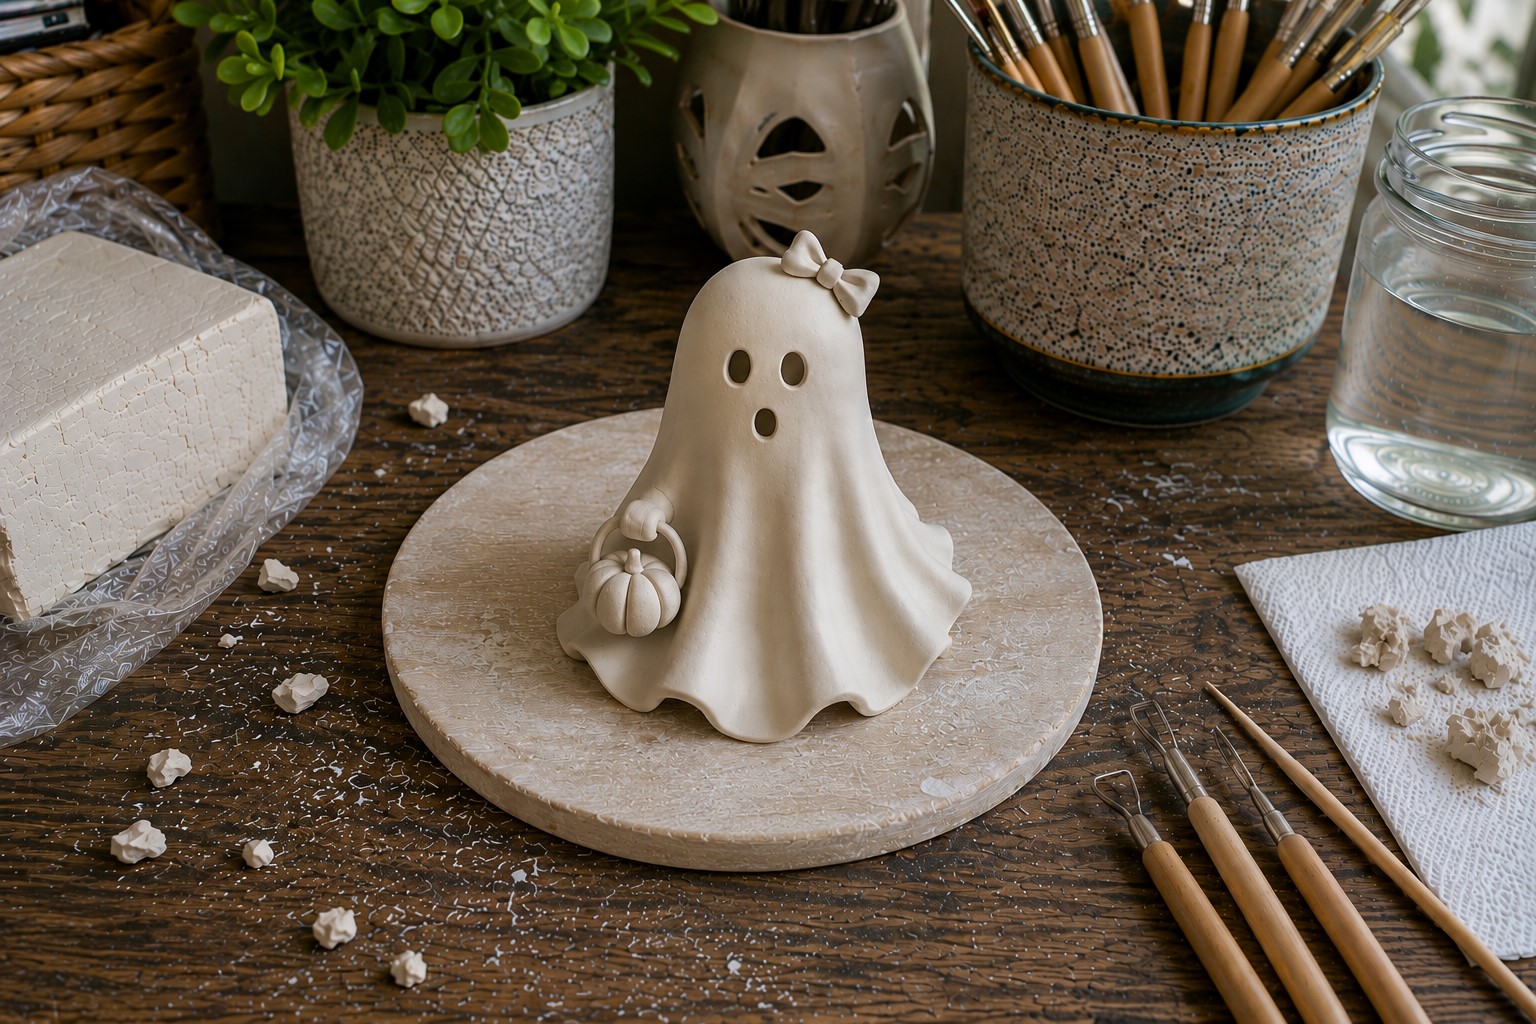
Drying takes patience, but it is one of the most important parts of the project. I have learned that rushing this stage often leads to cracks or uneven drying.
Place the ghost on a flat surface where it can stay undisturbed. Pick a spot with good airflow, but keep it away from direct sunlight or strong heat. Drying too quickly can cause the clay to crack.
As the ghost dries, avoid picking it up every few minutes to check it. I know it is tempting because I used to do the same thing. Now I simply let it rest and allow the clay to dry at its own pace.
Depending on the size of your ghost, drying may take one or two days. Larger ghosts sometimes need a little longer.
Once the clay feels completely hard and cool spots are gone, it is ready for painting. If you notice tiny rough patches, lightly smooth them with fine-grit sandpaper before moving to the next step.
Step 7: Paint Your Clay Ghost
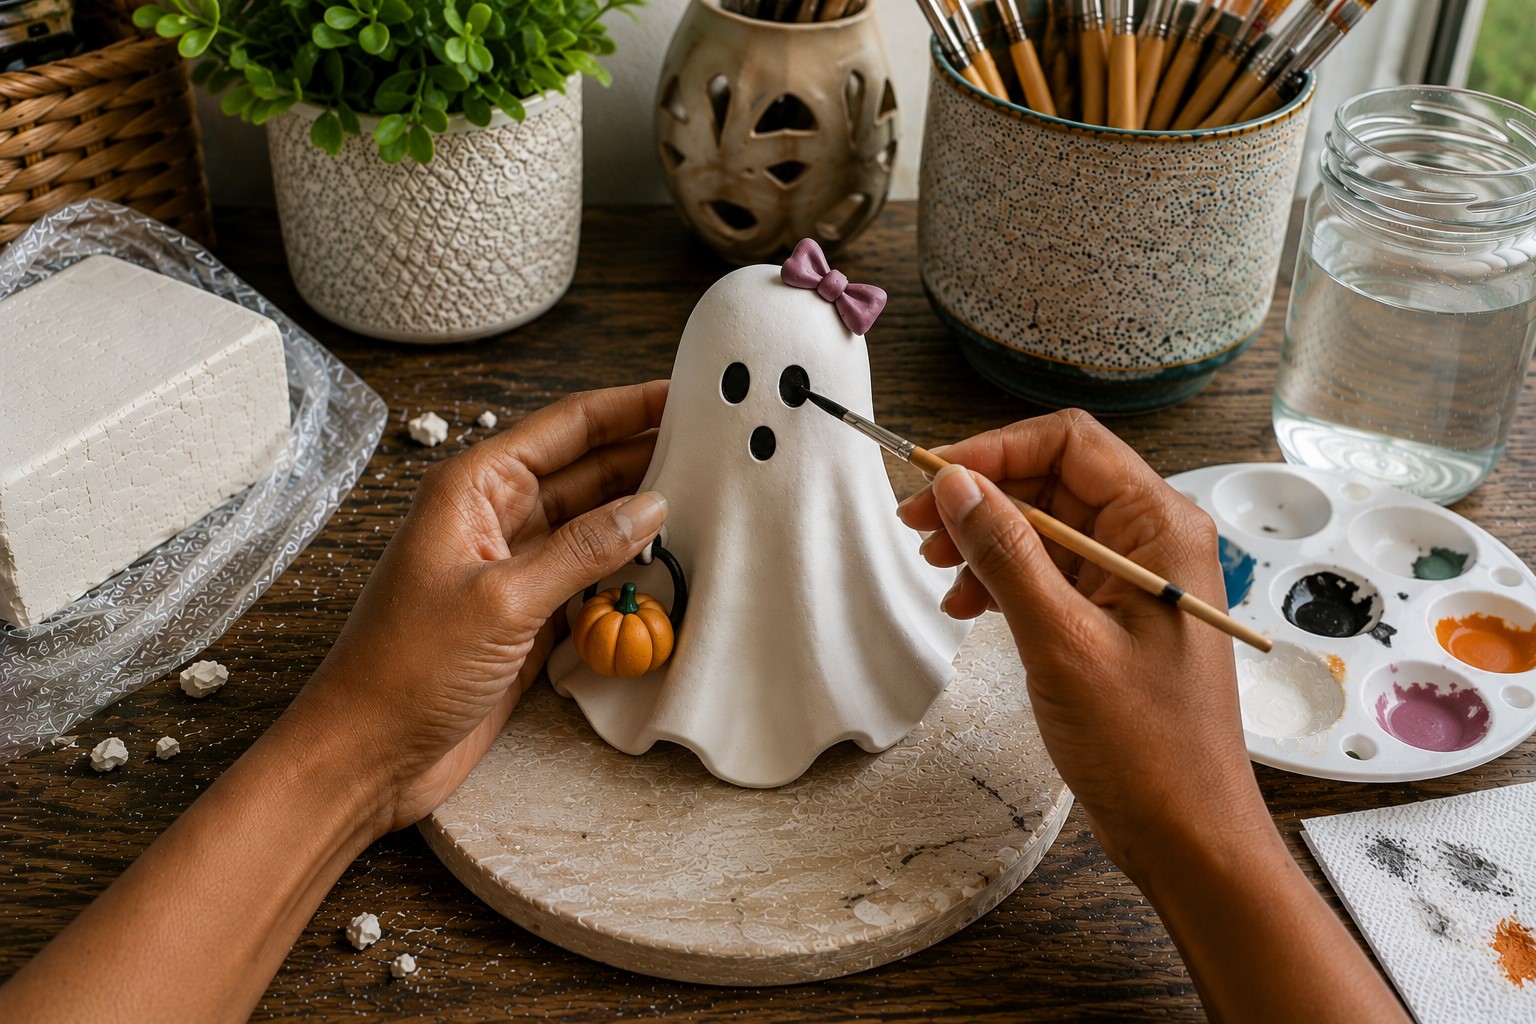
Painting always feels like the most rewarding part because the ghost finally comes to life. Even though most ghosts stay white, a few simple details make a big difference.
Start with a thin coat of white acrylic paint if the clay looks dull or uneven after drying. Let the paint dry completely before adding another coat.
Two light coats usually give better coverage than one thick coat.
Once the white paint dries, use a fine brush to paint the eyes and mouth. I like keeping the facial features small because they look softer and more charming.
If you make a mistake, let the paint dry first before painting over it.
You can also add a little color if you want a more whimsical look. Soft pink cheeks, a pale blue bow, tiny gold stars, or a lavender hat can make your ghost stand out without taking away its Halloween charm.
I usually stop before adding too many colors because simple designs often look the most elegant.
After the paint dries, step back and admire your work. It is amazing how a few careful brushstrokes can transform a plain clay figure into a magical Halloween decoration.
Step 8: Seal Your Finished Ghost
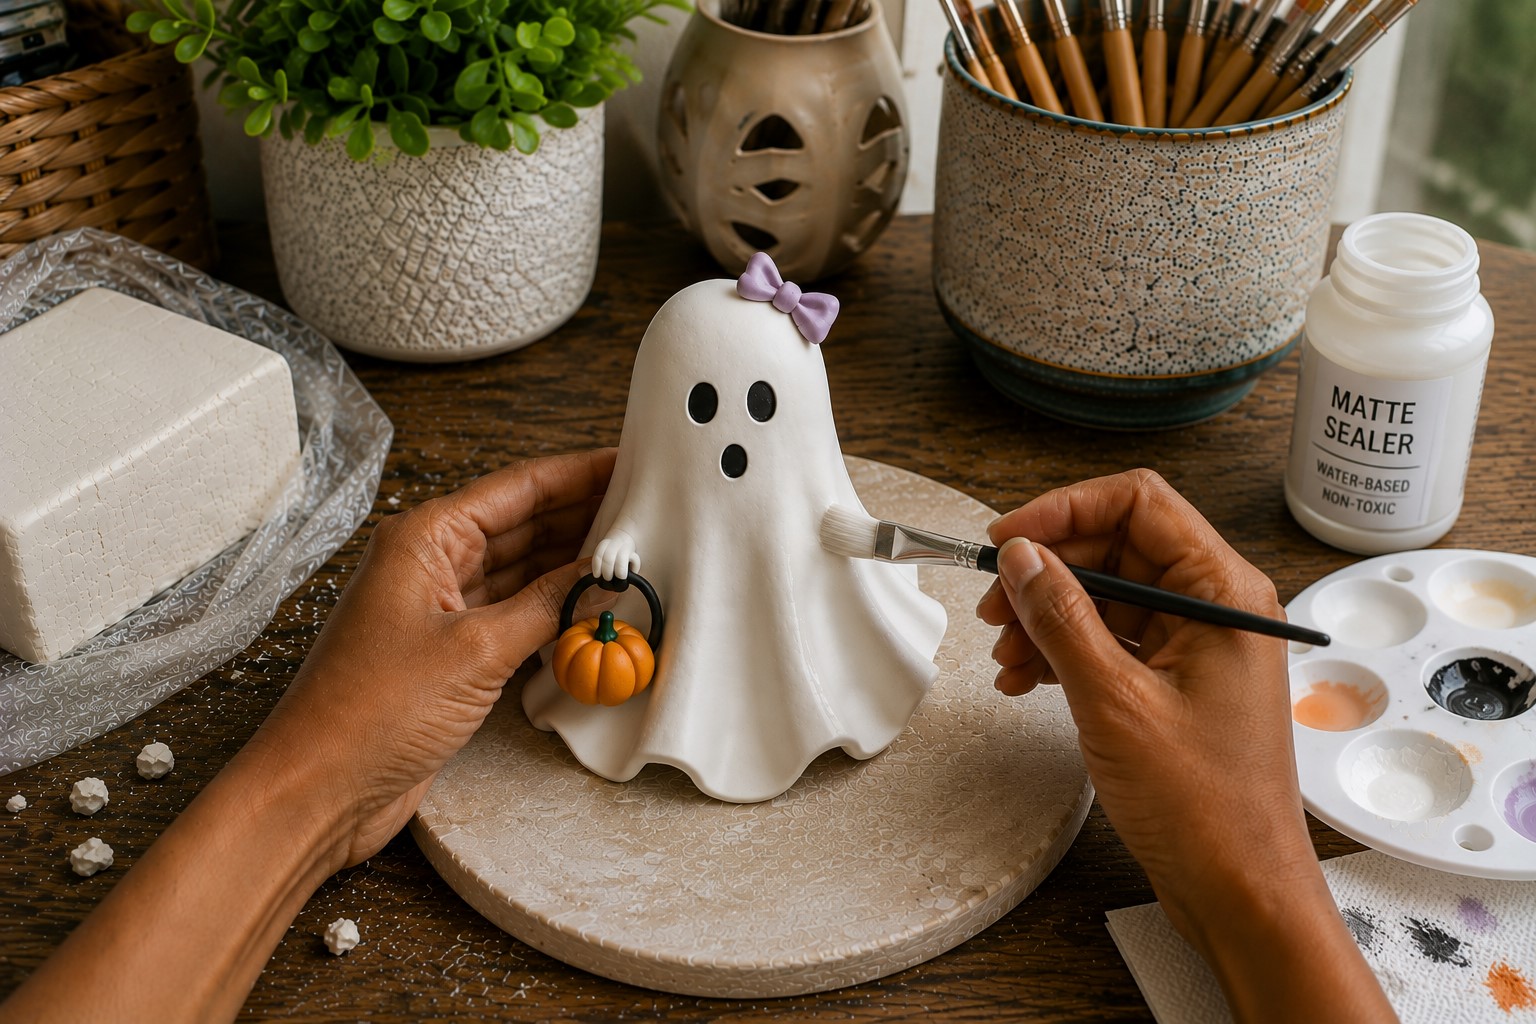
After spending time shaping and painting your ghost, it makes sense to protect your hard work. A good sealer helps the paint last longer and keeps the surface looking clean.
I like using a matte sealer because it gives the ghost a soft, natural finish. If you prefer a slight shine, a satin sealer also works well.
Before you begin, make sure the paint has dried completely. If the paint still feels tacky, give it more time.
Apply a thin, even coat with a clean brush or follow the directions on a spray sealer. Try not to let the sealer collect in the eyes, mouth, or other small details. A light coat usually gives better results than a thick one.
Set the ghost aside until the sealer dries completely. Once it finishes drying, gently touch the surface to make sure it feels smooth and no longer sticky. Your ghost is now ready to decorate your home.
Step 9: Add Optional Decorative Touches
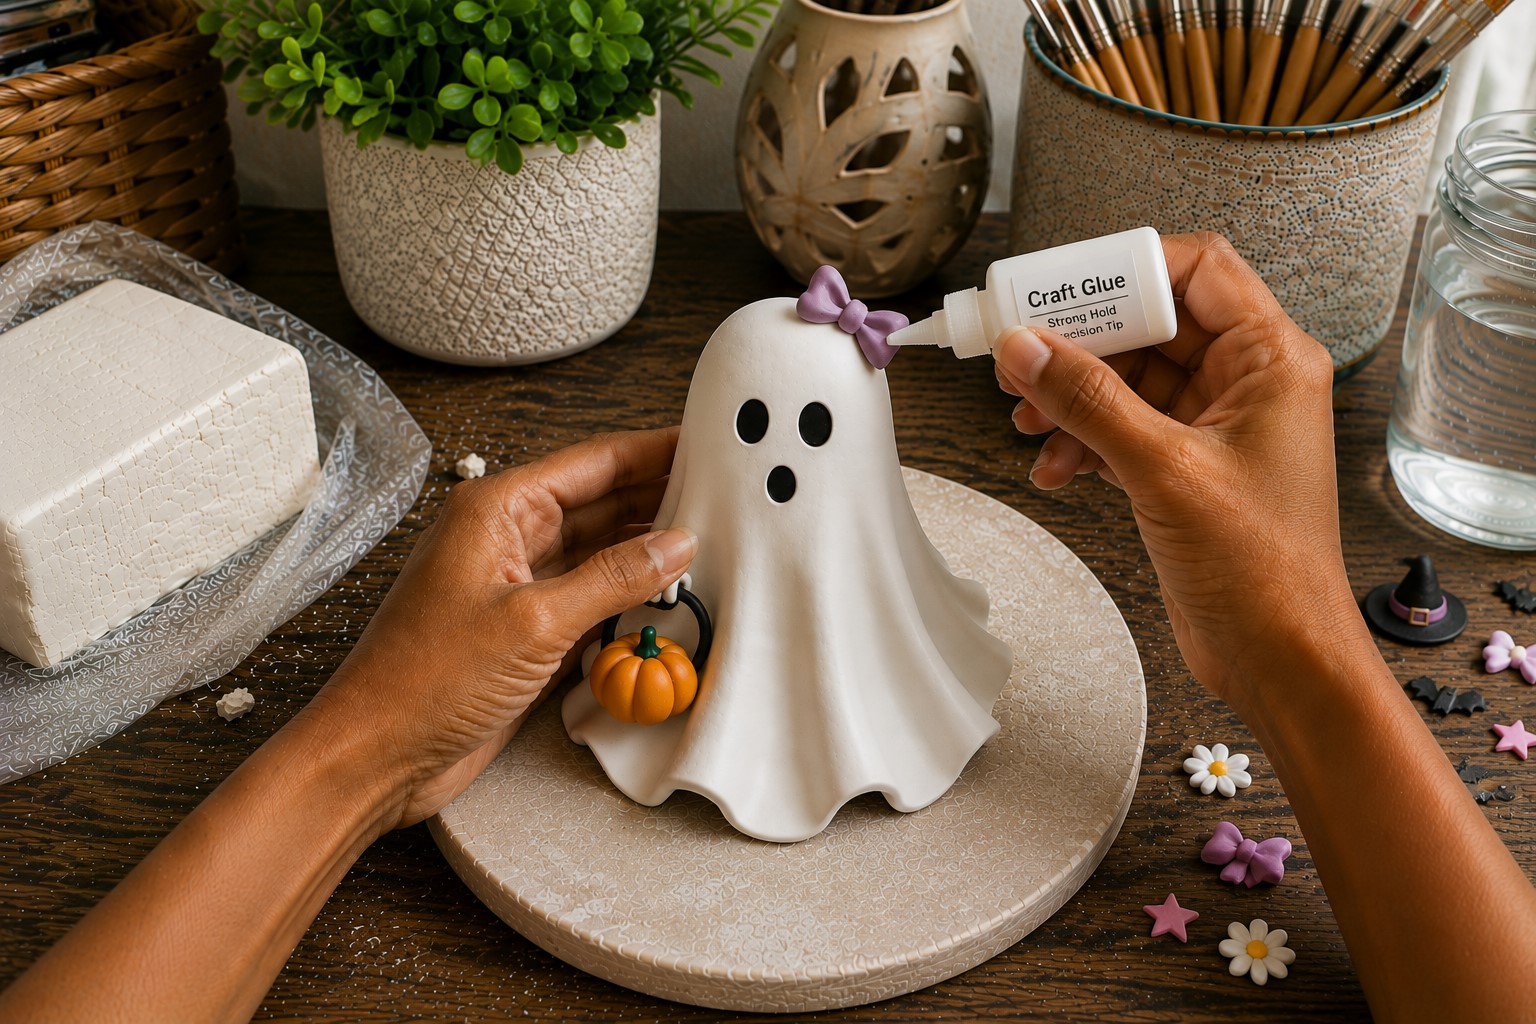
This is the step where I have the most fun because I can make every ghost look different. Even small details can give each one its own personality.
If you enjoy a classic Halloween style, leave the ghost just as it is. A simple white ghost with tiny black eyes always looks charming.
Still, if you want something more whimsical, this is the perfect time to get creative.
You can glue on a tiny bow, a miniature witch hat, or a little pumpkin. Small flowers, stars, or even a tiny broom also look adorable.
I like making several ghosts with different accessories because they look more interesting when displayed together.
Keep the decorations in proportion to the ghost. Oversized pieces can hide the shape you worked so hard to create.
I usually place each accessory on the ghost without glue first. That lets me decide if I like the arrangement before making it permanent.
When everything looks balanced, attach the decorations with a strong craft glue. Let the glue dry fully before handling the ghost again.
Step 10: Display Your Whimsical Clay Ghosts
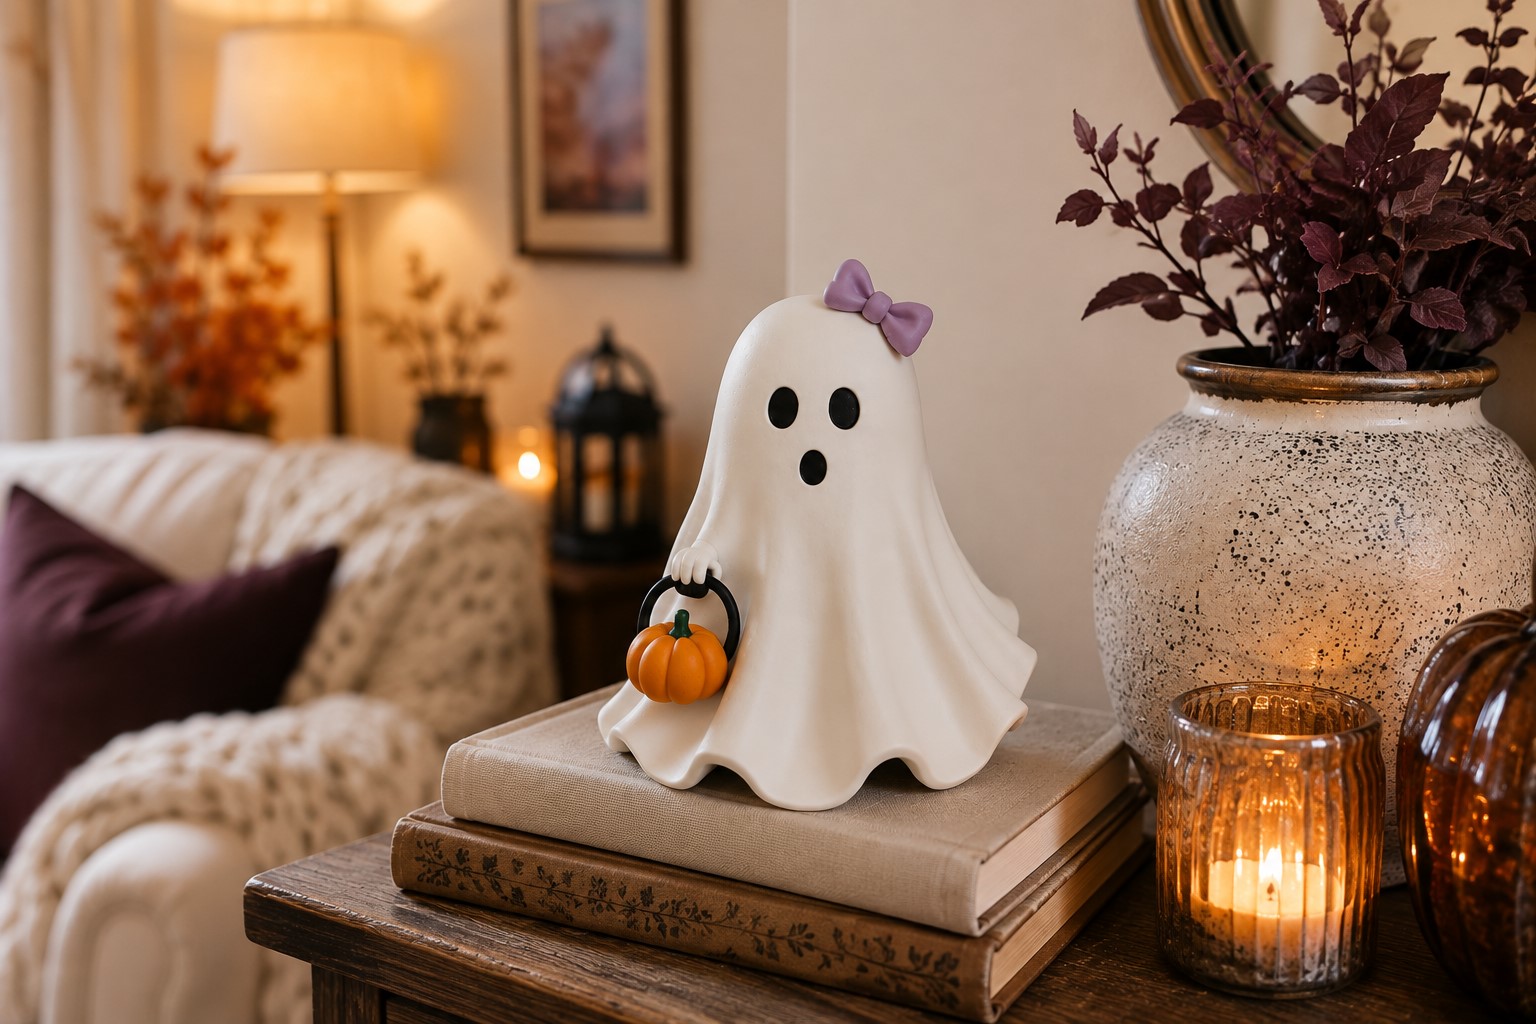
Now comes the moment I always look forward to. It is time to find the perfect place for your finished ghosts.
I like displaying mine in small groups instead of placing them one at a time around the house. Three or five ghosts with different expressions create a playful scene that catches people’s attention right away.
These little decorations look beautiful on bookshelves, coffee tables, fireplace mantels, tiered trays, entryway tables, and Halloween centerpieces.
You can also place them inside a shadow box or mix them with pumpkins, candles, and autumn leaves for a cozy display.
If you made several ghosts, try giving each one a different expression or accessory. Some can smile, while others can look surprised or sleepy.
Those little differences make the collection feel more handmade and full of character.
I also enjoy making a few extra ghosts every year as small gifts. Friends always appreciate receiving something handmade, and it feels even more special knowing that no two ghosts look exactly alike.
Tips for Making Every Ghost Look Magical
The more ghosts I make, the more I notice that tiny details often have the biggest impact. You do not need advanced skills to create beautiful results.
A few simple habits can make every project look much better.
Always knead the clay well before shaping it. Soft clay feels easier to work with and helps prevent cracks as it dries.
Take your time when forming the folds. Gentle curves usually look more natural than deep, sharp ones.
Keep the facial features small and evenly spaced. A simple face often gives the ghost more personality than one with lots of details.
Make ghosts in different sizes instead of making every one identical. Grouping different heights together creates a more interesting display.
Allow plenty of drying time before painting. Waiting an extra day is much better than repairing cracked paint later.
Do not feel pressured to make every ghost perfect. Handmade decorations often look more charming because each one has its own unique character.
Common Mistakes to Avoid
I. Rushing the shaping process
Many beginners hurry through the early stages. Slow, gentle adjustments usually create smoother and more balanced ghosts.
II. Using too much water
A little water helps smooth the clay, but too much makes it sticky and weakens small details.
III. Making the base too narrow
A narrow base may cause the ghost to tip over after drying. Always check that it stands firmly before moving on.
IV. Painting before the clay dries
Even if the outside feels dry, the inside may still hold moisture. Wait until the ghost feels completely dry before painting.
V. Adding too many decorations
Small accessories should complement the ghost, not cover it. Keeping the design simple often creates the best result.
Frequently Asked Questions
Can I use oven-bake clay instead of air-dry clay?
Yes, you can. I still recommend air-dry clay for this project because it feels beginner-friendly and does not require baking.
If you decide to use oven-bake clay, follow the baking instructions that come with your clay. Every brand has slightly different temperature and baking times.
How long do clay ghosts last?
If you handle them carefully, they can last for years. I keep mine in a storage box after Halloween and wrap each one in tissue paper.
That simple habit helps prevent chips and scratches while they wait for the next holiday.
My clay ghost cracked while drying. Can I fix it?
Yes. Small cracks are usually easy to repair. Mix a little clay with a few drops of water until it forms a paste.
Press the paste into the crack, smooth it with your finger, and let it dry again. Once everything hardens, lightly sand the area if needed before painting.
Can children make this project?
Absolutely. Younger children may need help with shaping and painting, but this project works well for family craft time.
I like giving kids the freedom to create funny faces because every ghost ends up looking different.
What colors work best for whimsical clay ghosts?
White always looks timeless, but you can add soft pastel colors for a magical touch. Light pink, pale blue, lavender, mint green, and tiny gold accents all work beautifully. I usually keep the colors subtle so the ghost still feels like a Halloween decoration.
Can I make these ghosts for outdoor decorations?
I mainly use mine indoors because air-dry clay does not hold up well in rain or damp weather. If you want to display them outside, place them in a covered area where they stay dry.
Final Thoughts
Making handmade Halloween decorations has become one of my favorite traditions because every project feels a little different.
Some ghosts turn out tall and elegant, while others end up with funny expressions that make me smile every time I walk past them.
That is one reason I keep coming back to this craft year after year. It is simple, relaxing, and always rewarding.
I hope this guide gives you the confidence to create your own collection of whimsical ghosts. As you practice, you will naturally discover little touches that become part of your own style.
Do not worry about making every ghost identical. Those tiny differences are what make handmade decorations feel warm and special.
Before long, you may even find yourself looking forward to making a few new ghosts every Halloween.
If you enjoyed learning How to Make Clay Ghosts for Halloween, keep experimenting with new expressions, accessories, and display ideas.
Every new project teaches you something useful, and each ghost becomes another piece of your Halloween memories. Most of all, have fun with the process.
The best handmade decorations are not always the most perfect ones. They are the ones made with creativity, patience, and a little imagination.