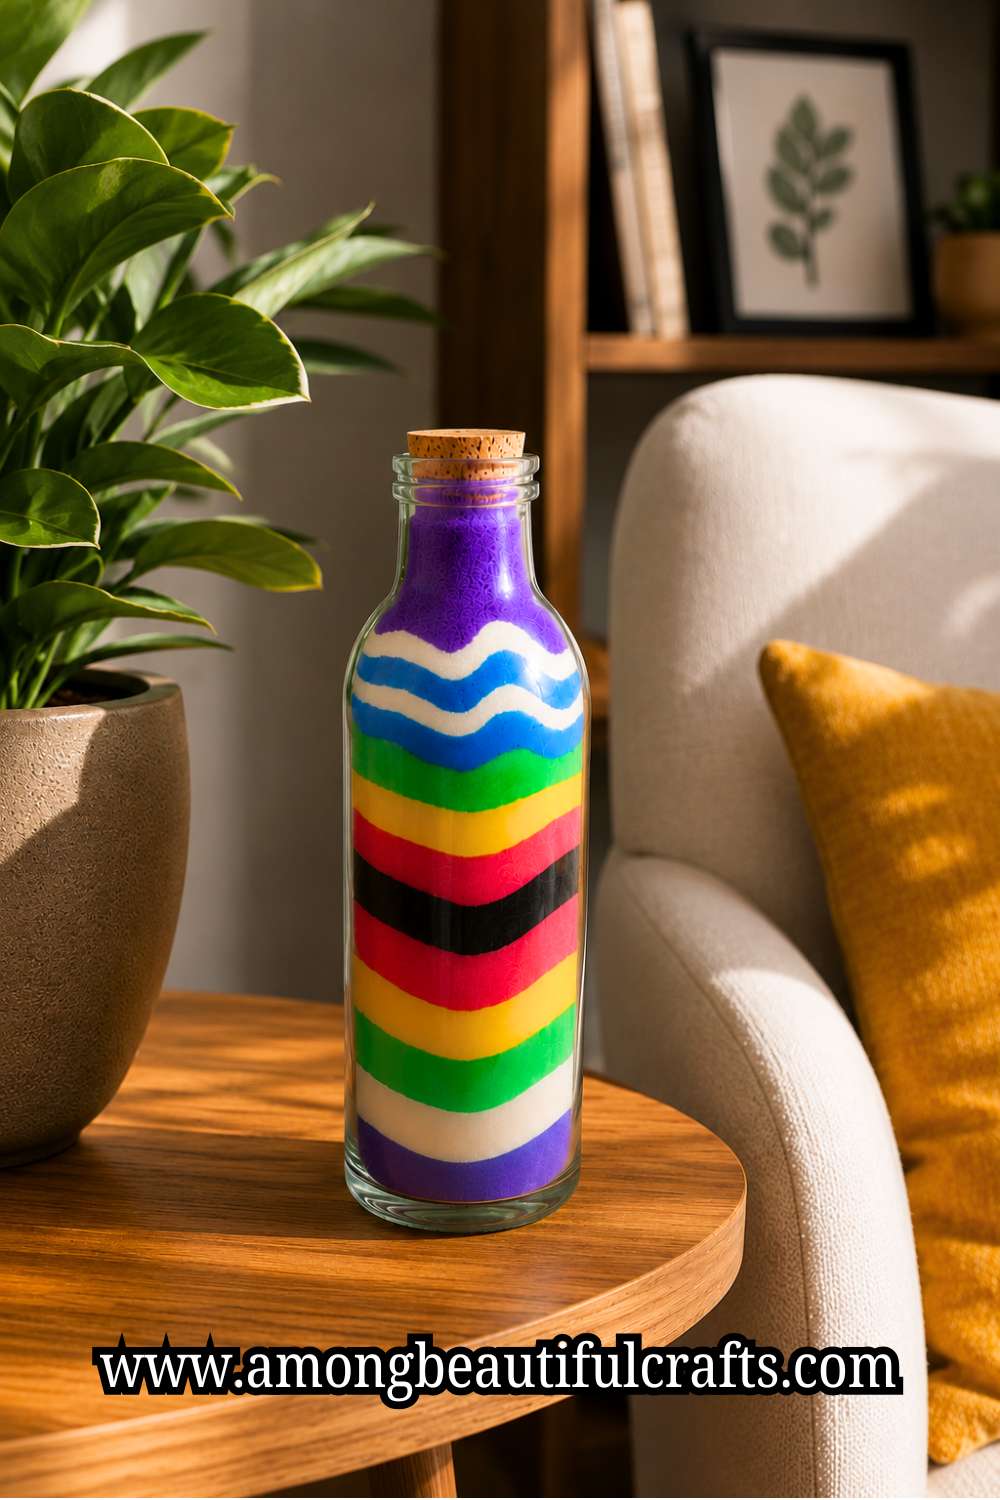
One thing you will notice about sand art is that it makes you slow down. You cannot rush through a bottle and expect neat layers. Every little move shows in the finished design.
Pour too much sand at once, and the colors can mix together. Tap the bottle too hard, and the pattern can change before you even notice.
That is why learning How to Make Sand Art in a Bottle is more about control than speed.
You might think beautiful sand art comes from expensive supplies or special skills. It really doesn’t. The biggest difference comes from the small things you do while filling the bottle.
The way you pour the sand, the tool you use, and even the amount you add each time all matter. Once you understand those little details, the whole project becomes much easier.
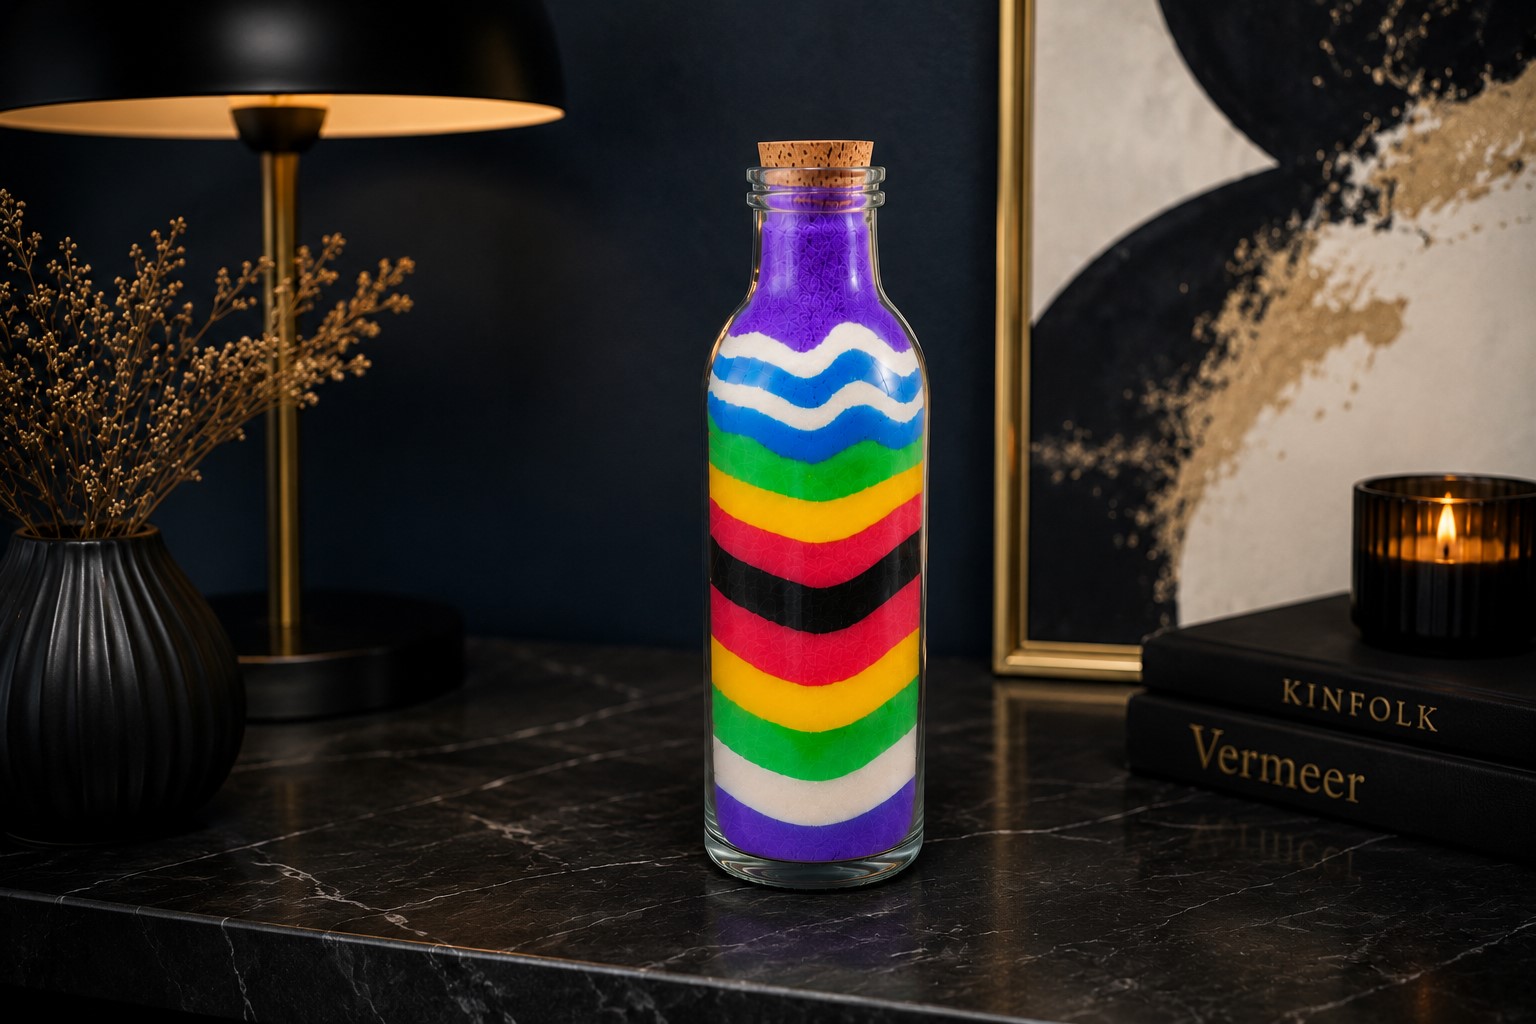
In this guide, I will walk you through the process just as I would if we were crafting together.
We will start with the right supplies before adding the first layer of sand. Then we will build the design one step at a time without rushing.
Along the way, I will point out the mistakes that often cause colors to mix and show you the simple tricks that help keep every layer clean from the bottom of the bottle to the top.
Things You’ll Need
- Clear glass or plastic bottle
- Fine colored sand
- Small funnel
- Teaspoon
- Wooden skewer, chopstick, or knitting needle
- Soft cloth or towel
- Small bowls for holding sand
- Bottle cork or lid
- Craft glue (optional for sealing)
How to Make Sand Art in a Bottle Without the Colors Mixing
Step 1: Pick a Bottle That Is Easy to Fill
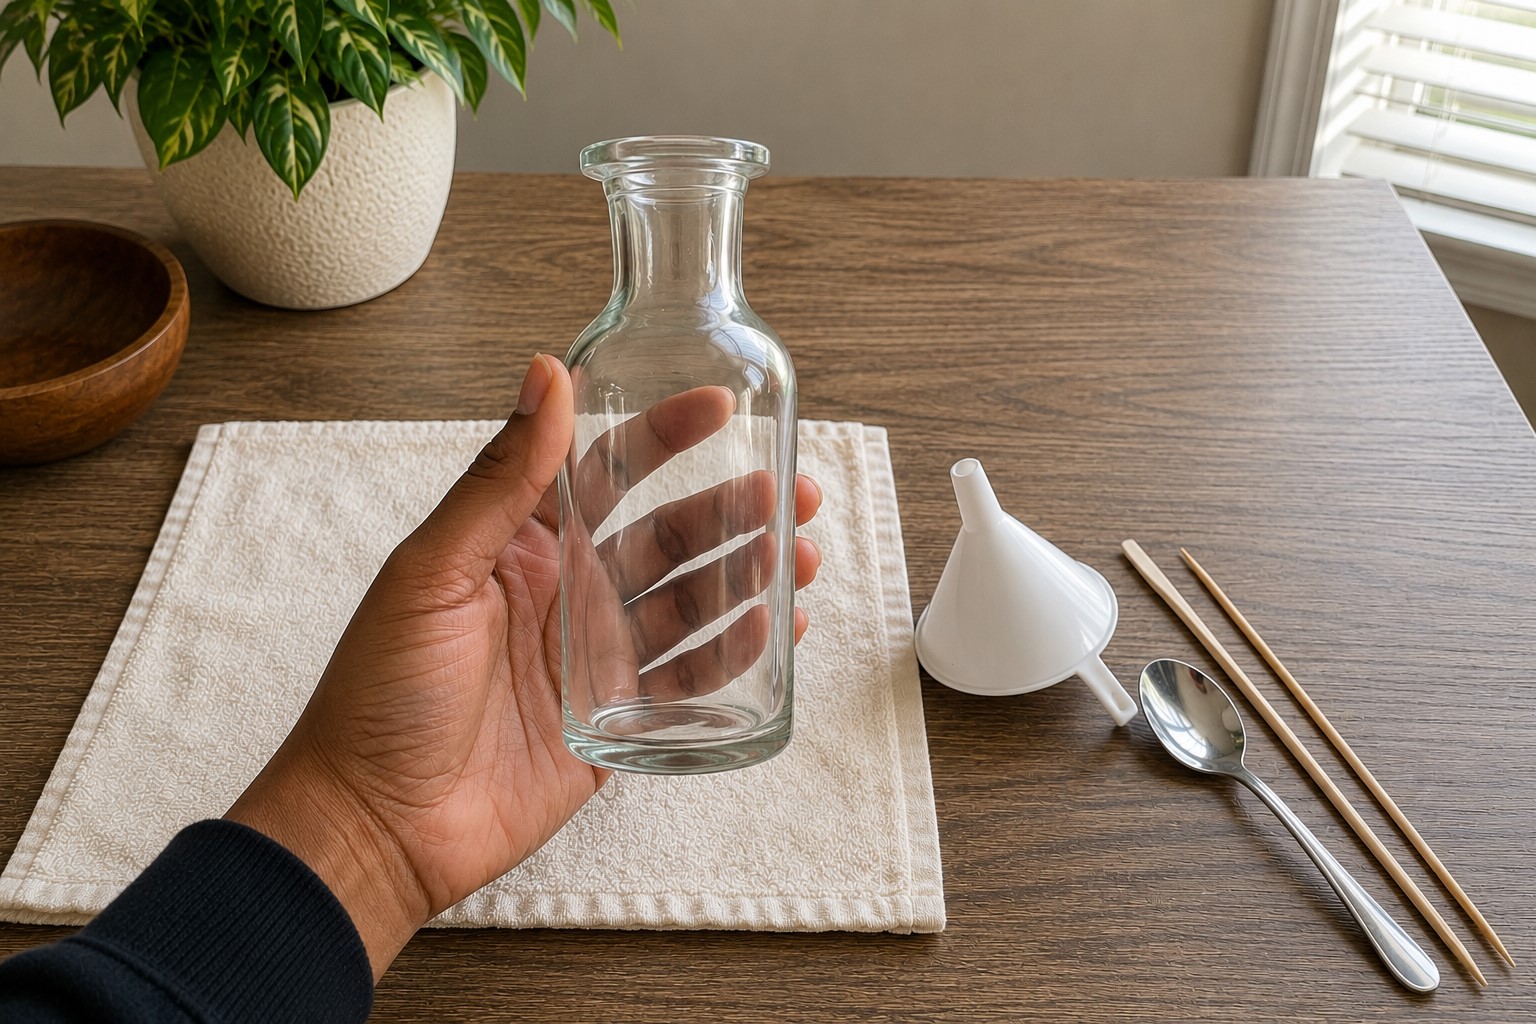
Before you open the bags of colored sand, spend a little time choosing the right bottle. It might not seem important at first, yet it can make the whole project much easier.
A bottle with a medium-sized opening gives you enough room to pour the sand without feeling frustrated.
If the opening is too small, you may struggle to guide the funnel or shape the layers neatly.
A clear glass bottle is my favorite because it shows every color beautifully. You can also use a clear plastic bottle if you want something lighter or if children will help with the project.
Before you begin, check that the bottle has no cracks or chips. Then look inside to make sure it is clean and completely dry.
Even a little dust can stand out once the colorful layers start filling the bottle.
The shape of the bottle also changes the final look. Straight bottles create neat horizontal layers, while curved bottles give the design a softer feel.
Think about where you want to display your finished bottle too. A small bottle fits nicely on a desk, while a taller one stands out on a shelf.
Taking a few extra minutes to choose the right bottle will make the rest of the project much more enjoyable.
Step 2: Gather the Best Sand and Simple Tools
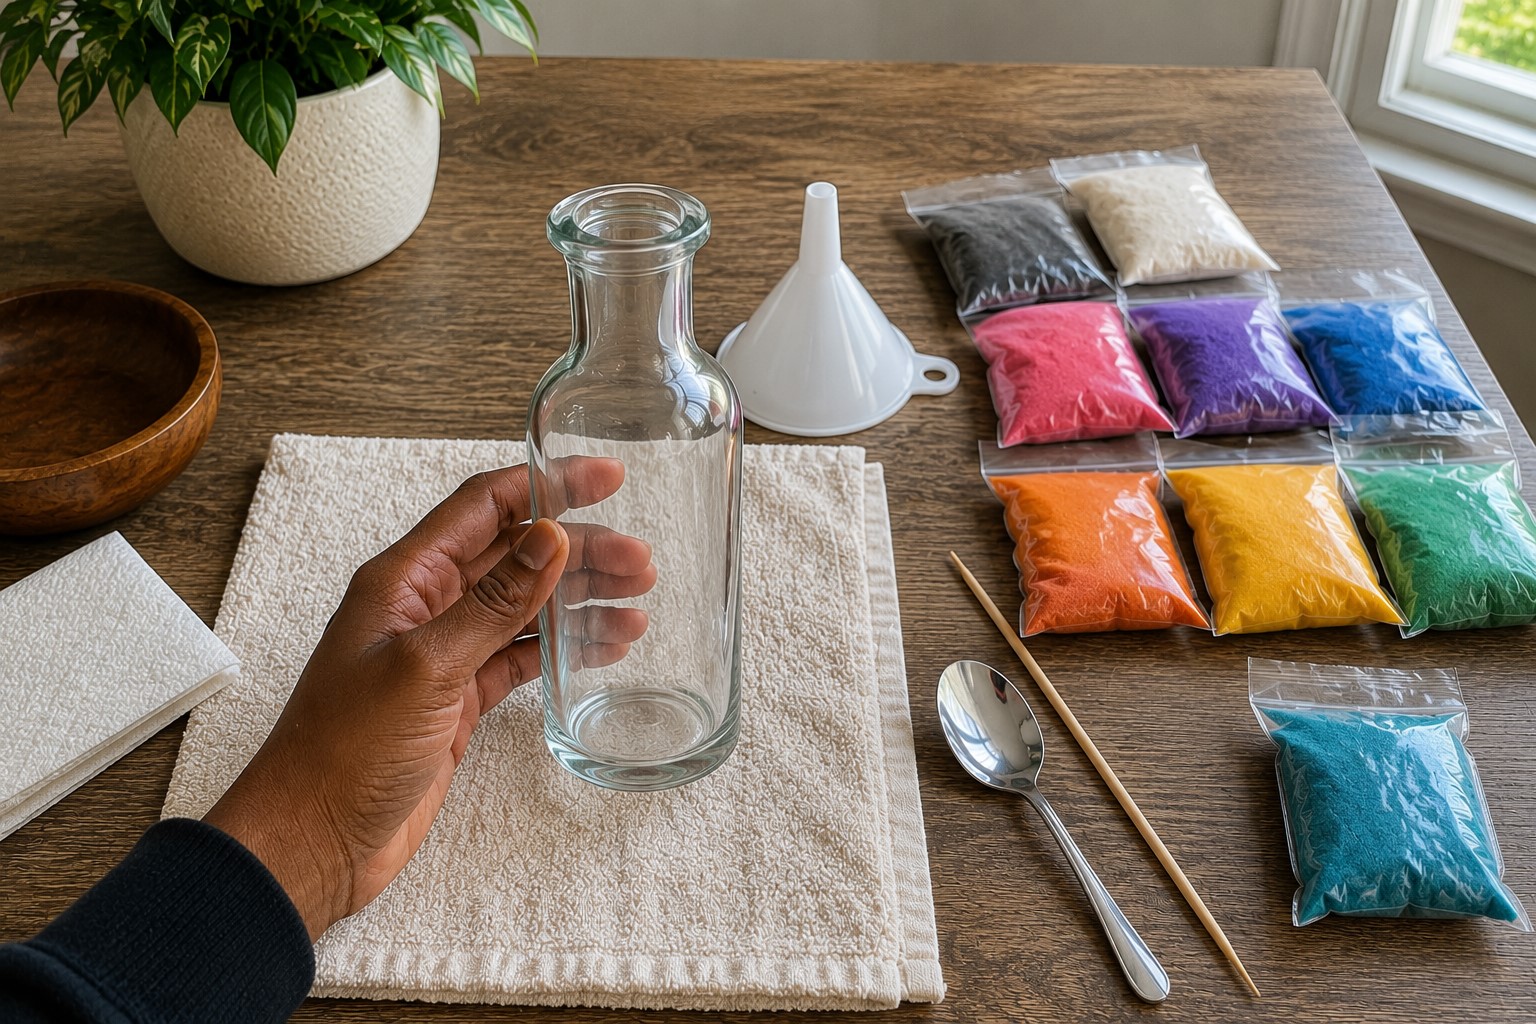
Once you have your bottle, collect the rest of your supplies before you start. This keeps everything within reach, so you can enjoy the project without stopping every few minutes.
Fine, dry sand gives the best results because it settles into smooth, even layers. If the sand feels damp, let it dry completely before using it.
Moisture can make the grains stick together, and that makes it harder to create clean lines. You also do not need lots of colors.
Four to six colors usually give a beautiful result without making the design look too busy.
Next, place your funnel, teaspoon, and shaping tool on the table. The funnel guides the sand into the bottle without making a mess, while the teaspoon helps you add small amounts at a time.
A wooden skewer, chopstick, or knitting needle works well for shaping curves and fixing small spots as you work.
Finally, put a soft towel under the bottle to stop it from sliding around. Once everything is ready, you can focus on building your design one careful layer at a time.
Step 3: Clean and Dry the Bottle Before Adding Sand
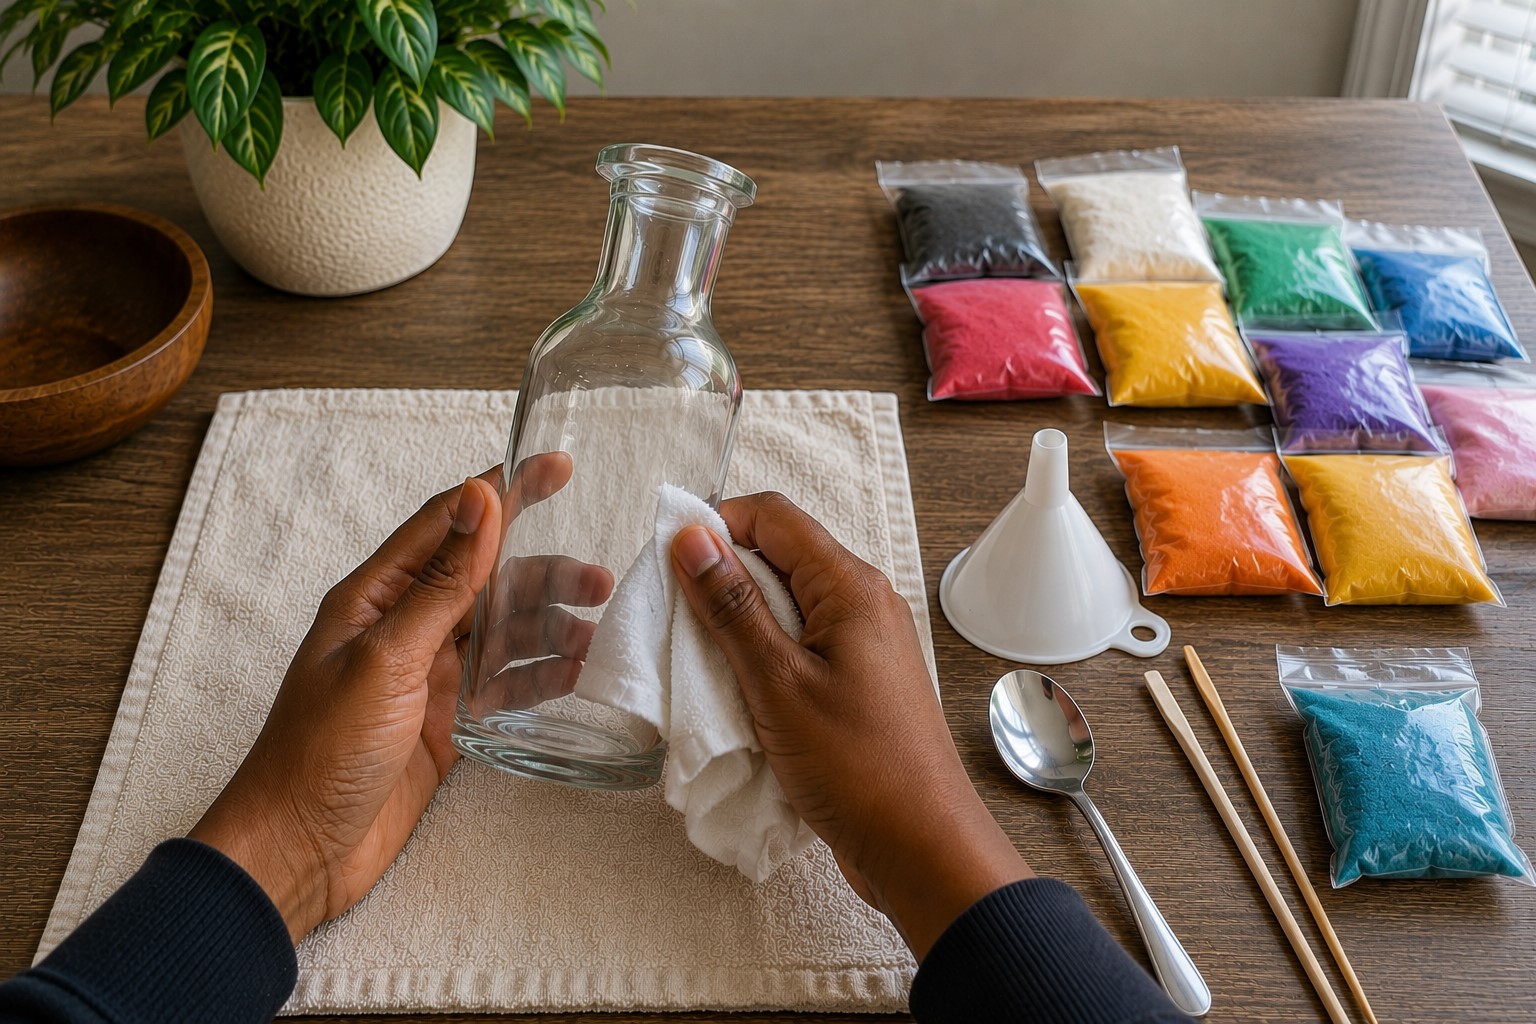
Even if your bottle looks clean, take a closer look before you begin. Tiny bits of dust or lint can hide inside the bottle.
Once you add the colored sand, those little specks become much easier to notice.
If needed, rinse the bottle with clean water. Then leave it upside down until every drop dries.
Do not rush this step because damp spots can cause the sand to stick together instead of flowing smoothly. That makes it harder to create neat layers.
After the bottle dries, wipe the outside with a soft cloth. Then place it on the towel you prepared earlier.
A steady bottle helps you pour with more confidence and reduces the chance of knocking it over while you work.
Step 4: Plan Your Color Pattern Before You Start
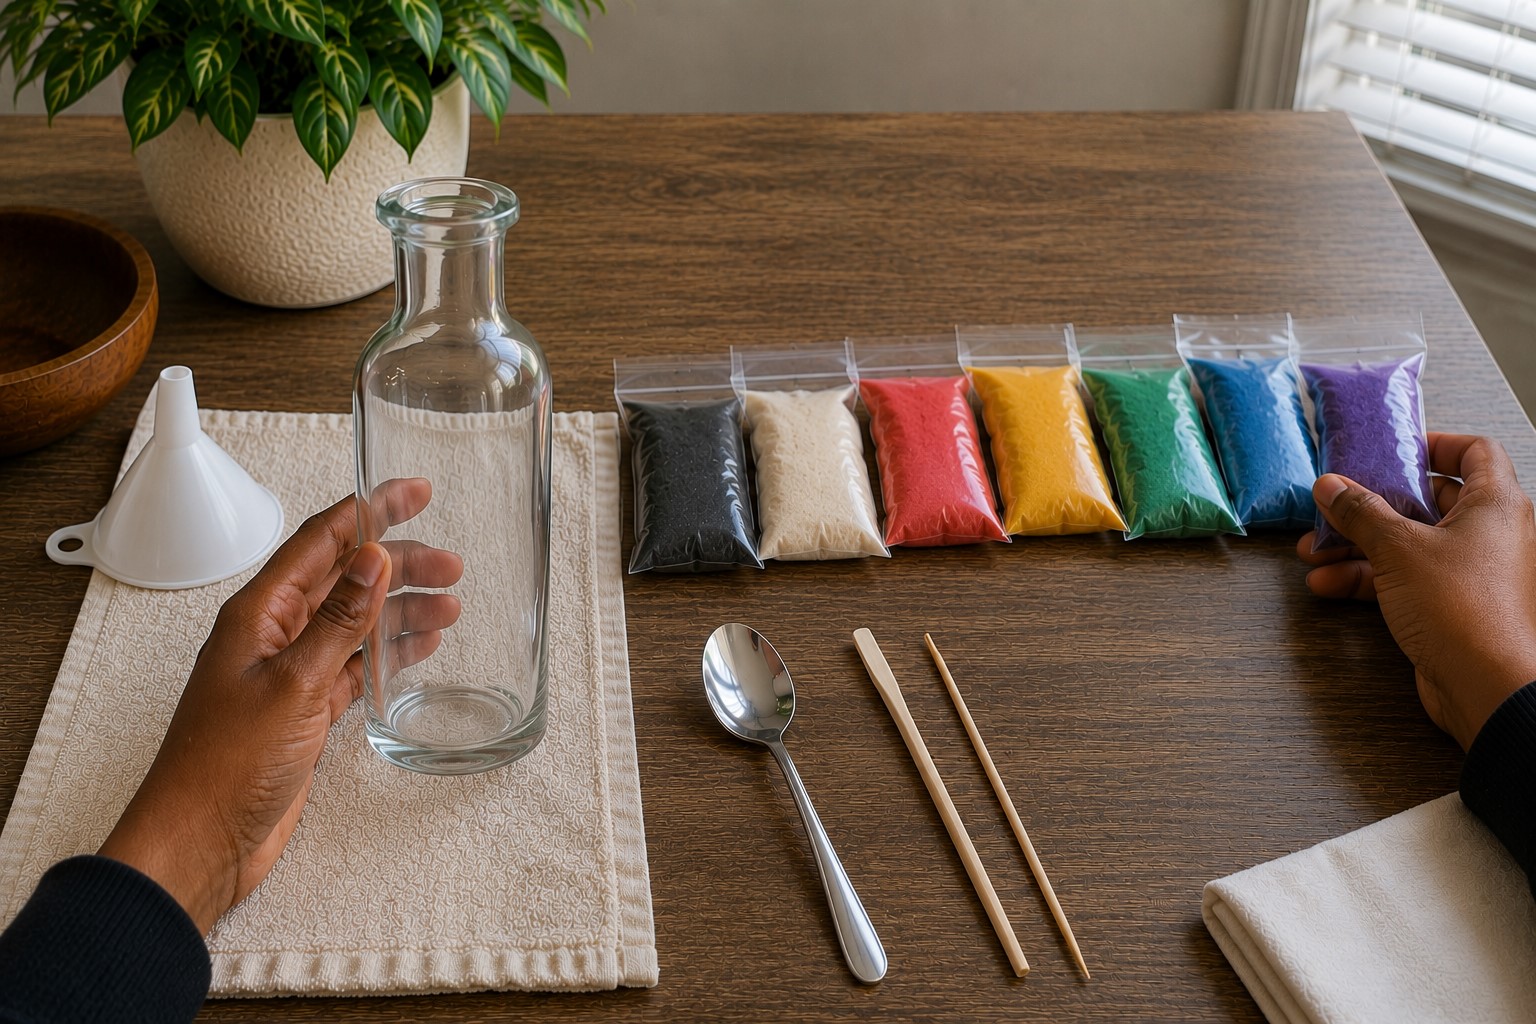
Many beginners start pouring sand as soon as they open the bags. A few minutes of planning can save you from changing your mind halfway through the project.
Place all your sand colors on the table where you can see them. Move them around until you find a combination you like.
You can alternate light and dark colors to make each layer stand out. You can also repeat one or two colors later in the bottle to make the whole design feel balanced.
Now think about the pattern you want to create. Straight layers are perfect for beginners because they are easy to build.
Gentle waves and simple curves also look beautiful once you feel more comfortable. You do not need a perfect plan.
Just having a simple idea in mind will help you work with more confidence.
Step 5: Pour the First Layer Slowly
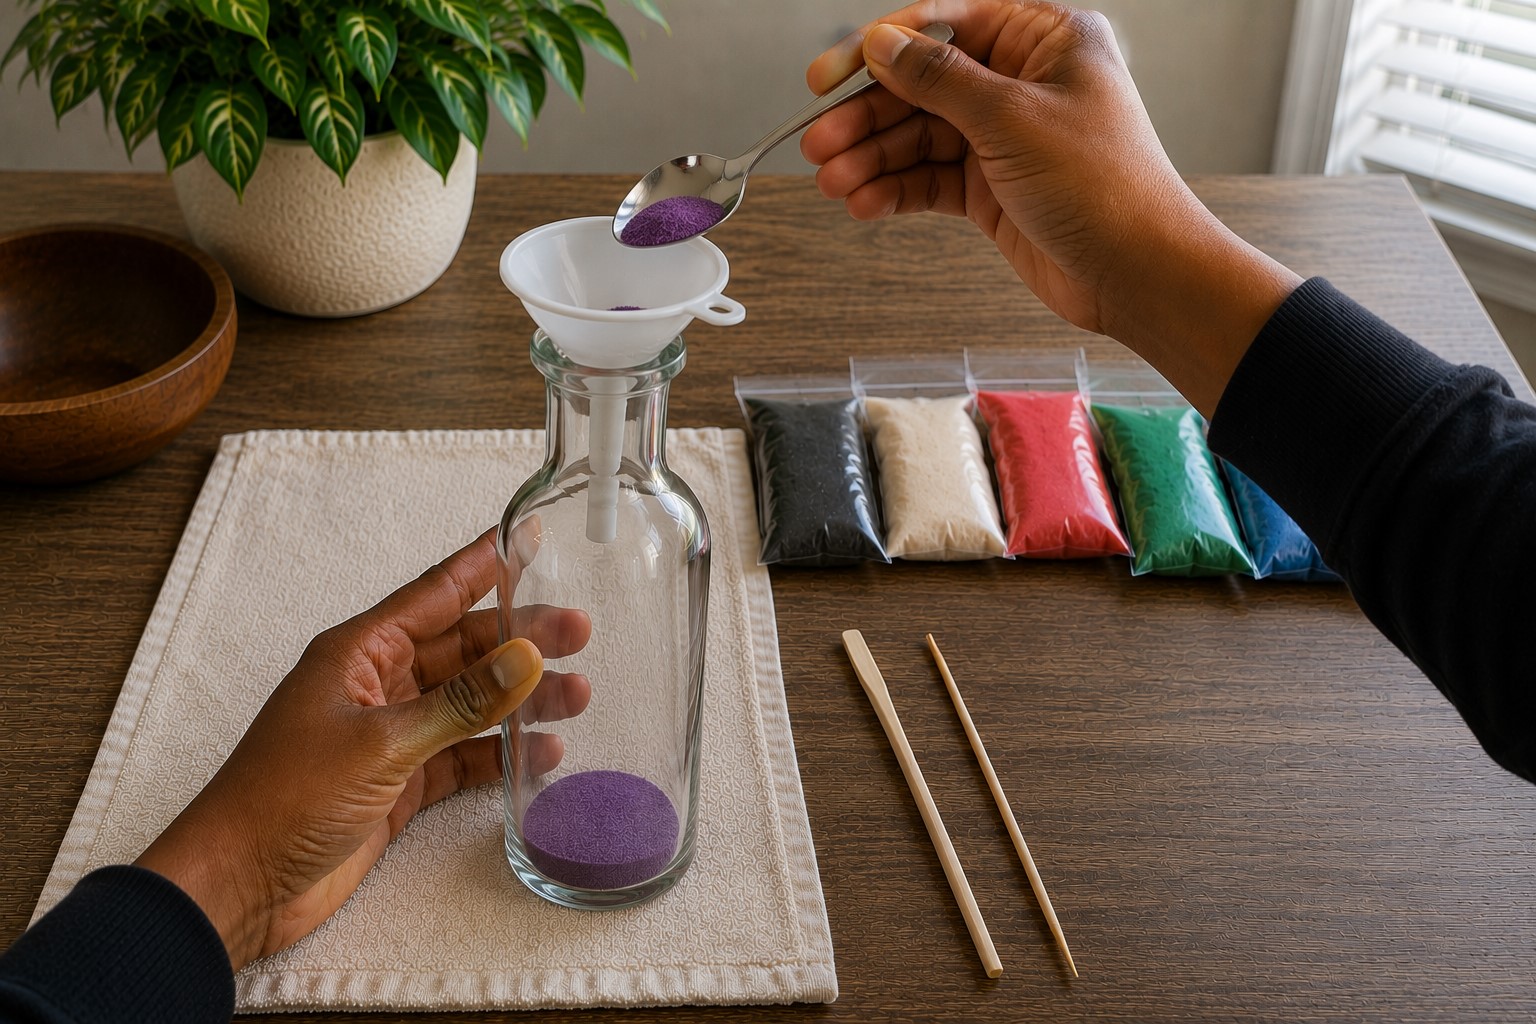
The first layer is the foundation for every layer above it. If it looks uneven, the rest of the design may not look as neat as you hoped.
Place the funnel into the bottle and use a teaspoon to add a small amount of sand. Pour slowly instead of adding a large amount at once.
Taking your time gives you much better control over the shape and thickness of the layer.
Before moving to the next color, look at the bottle from different angles. If one side sits a little higher, use your skewer or chopstick to move the sand gently into place.
Small adjustments now will make the next layers much easier to build.
Step 6: Build the Layers One at a Time
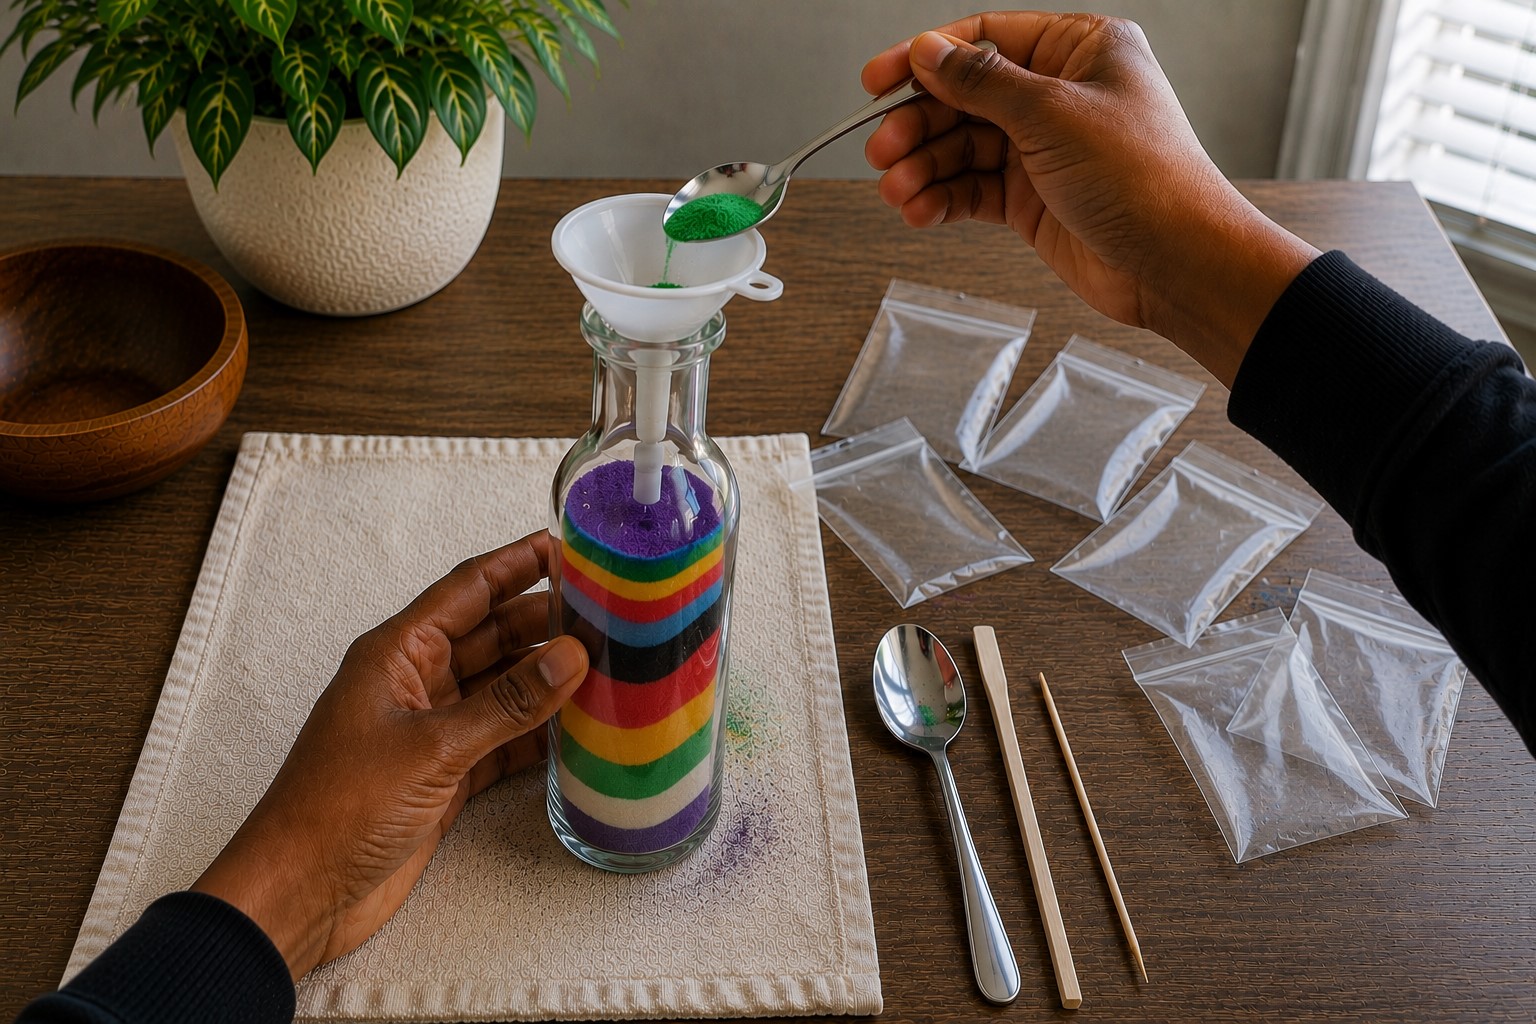
Once the first layer looks good, you can begin adding the remaining colors. Keep the same slow pace from the beginning. It may feel tempting to speed up, yet patience gives the best results.
Add each new color in small spoonfuls. Watch the layer grow before adding more sand. This gives you better control and helps you notice any uneven spots early.
If you pour too much at once, the weight of the sand can push into the layer below and cause the colors to mix.
Every few layers, stop for a moment and look at your bottle. Turn it slowly and check every side.
You can still fix small problems now, but they become much harder to correct once the bottle gets fuller. A few short pauses during the project often lead to a much cleaner finished design.
Step 7: Shape Simple Designs Without Mixing the Colors
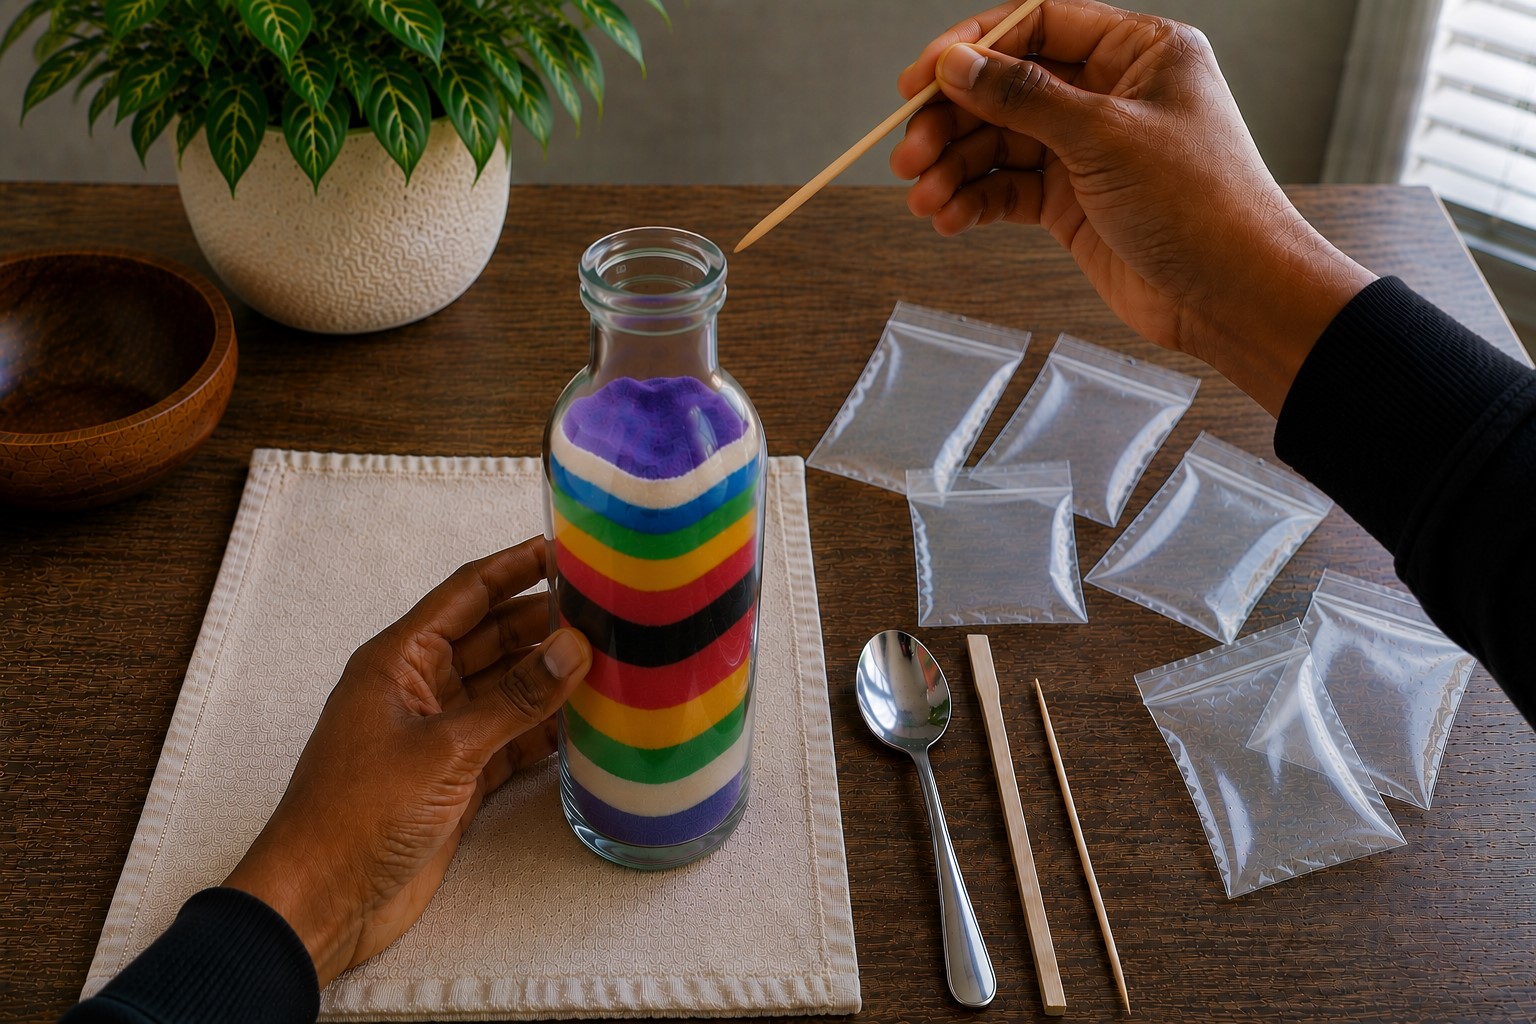
After making a few straight layers, you can start creating simple patterns. This is the fun part because you begin to see your bottle come to life.
Use your skewer or chopstick to move the sand gently. Push only one layer at a time instead of digging through several colors.
Slow, gentle movements create soft curves without disturbing the rest of the design. If you move the tool too quickly, the colors can blend together.
Do not feel like you need complicated patterns. Gentle waves, small hills, and curved lines often look just as beautiful as detailed designs.
As you practice, your hands will become steadier, and creating different shapes will feel much easier.
Step 8: Fix Small Mistakes Before You Add Another Layer
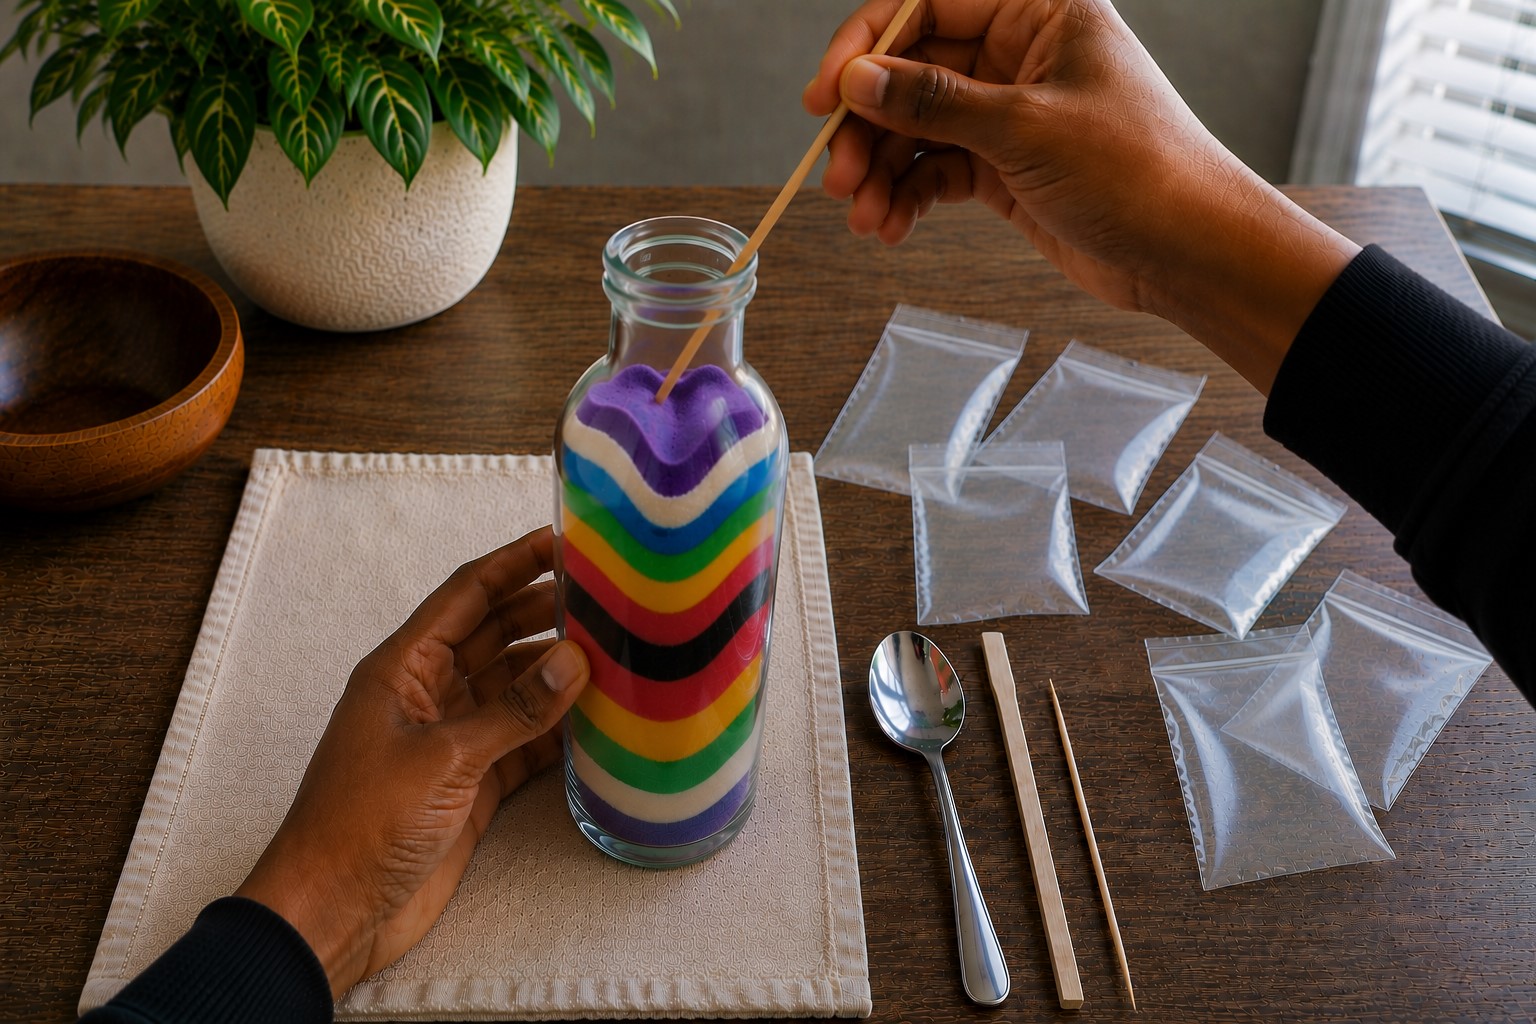
Even if you pour carefully, small mistakes can still happen. Do not let them discourage you because almost every sand art bottle needs a little adjustment.
The important thing is to fix the problem before adding another color. Once you cover it with more sand, it becomes much harder to correct.
If you notice a little sand in the wrong place, do not shake the bottle. Shaking usually makes the problem worse.
Instead, use your skewer or knitting needle to move the sand slowly. Work with a light touch and move only the area you want to fix. If you rush this part, you may disturb the layers around it.
Sometimes a layer looks thicker on one side than the other. When that happens, add a small spoonful of the same color to the lower side instead of pushing the higher side down.
This simple trick helps you keep the layer smooth without mixing the colors underneath. Before you continue, turn the bottle slowly and look at it from different angles.
A quick check now can save you from bigger mistakes later.
Step 9: Fill the Bottle Until There Is No Empty Space
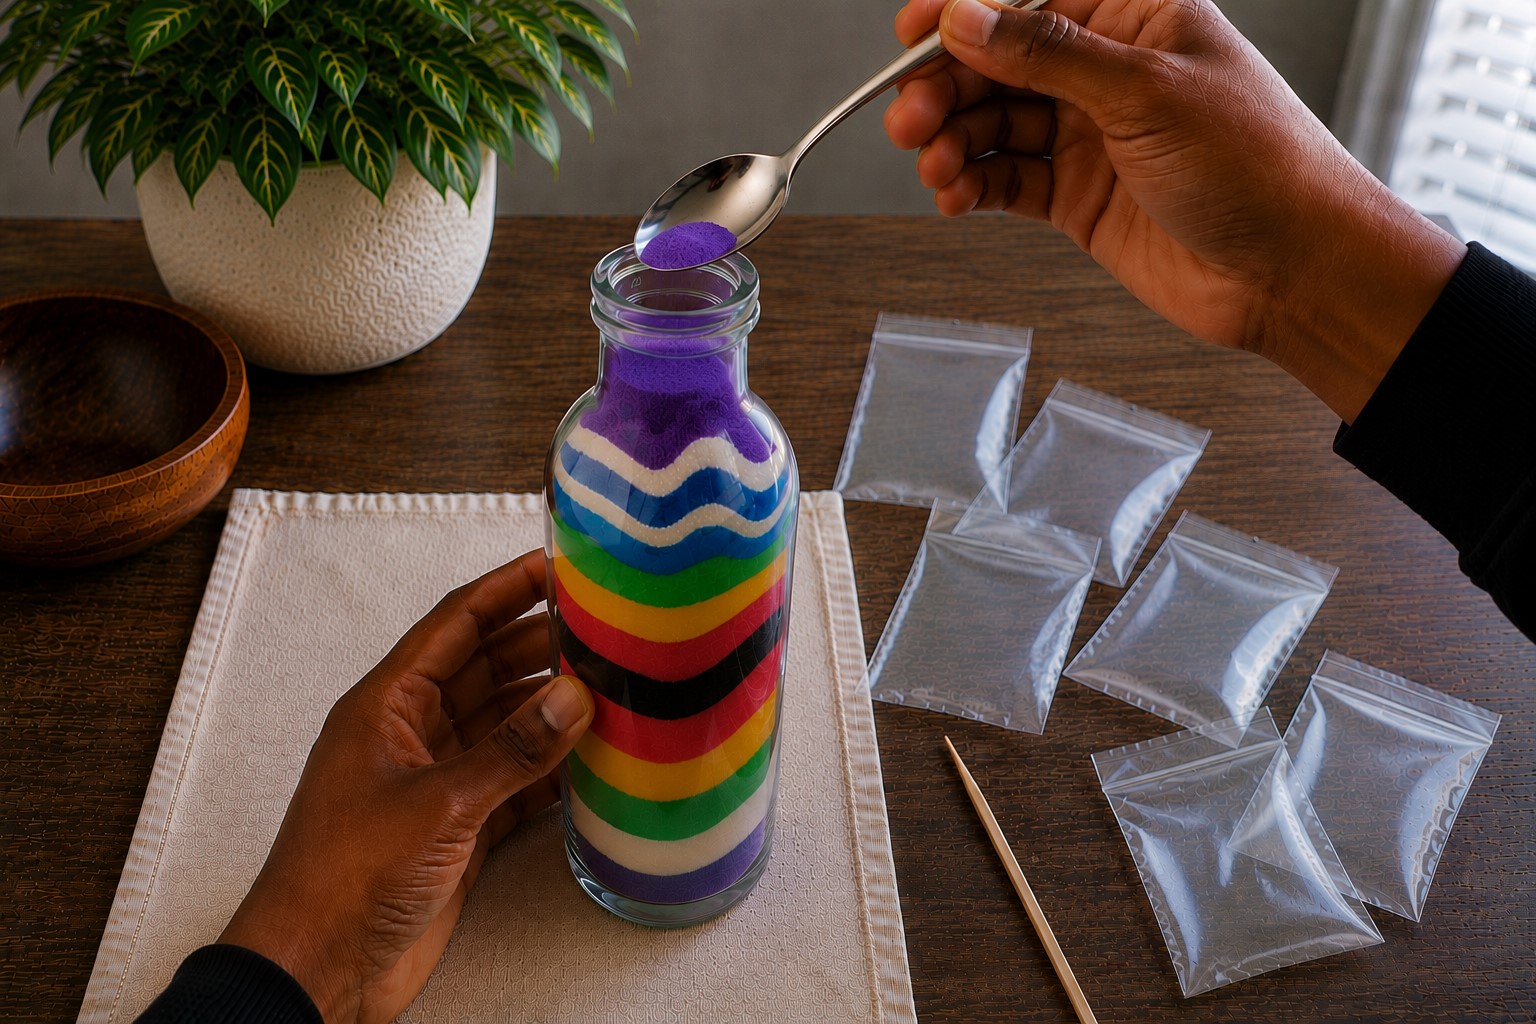
As you get closer to the top, you may feel excited to finish the project. Even so, keep using the same slow pace that helped you create the lower layers.
Rushing through the last part can undo all the careful work you have already done.
Keep adding small spoonfuls of sand until it reaches the neck of the bottle. You may notice tiny gaps between some of the layers. That is completely normal.
Instead of pouring in a large amount of sand, use your skewer to guide small amounts into those spaces. This helps the sand settle naturally without disturbing the pattern.
Try not to leave empty space at the top of the bottle. Even a small gap gives the sand room to move every time someone picks up the bottle.
A tightly filled bottle helps hold the layers in place and keeps your design looking just the way you created it.
Once you think the bottle is full, look inside one last time to make sure there are no spaces left.
Step 10: Seal the Bottle So Your Design Stays in Place
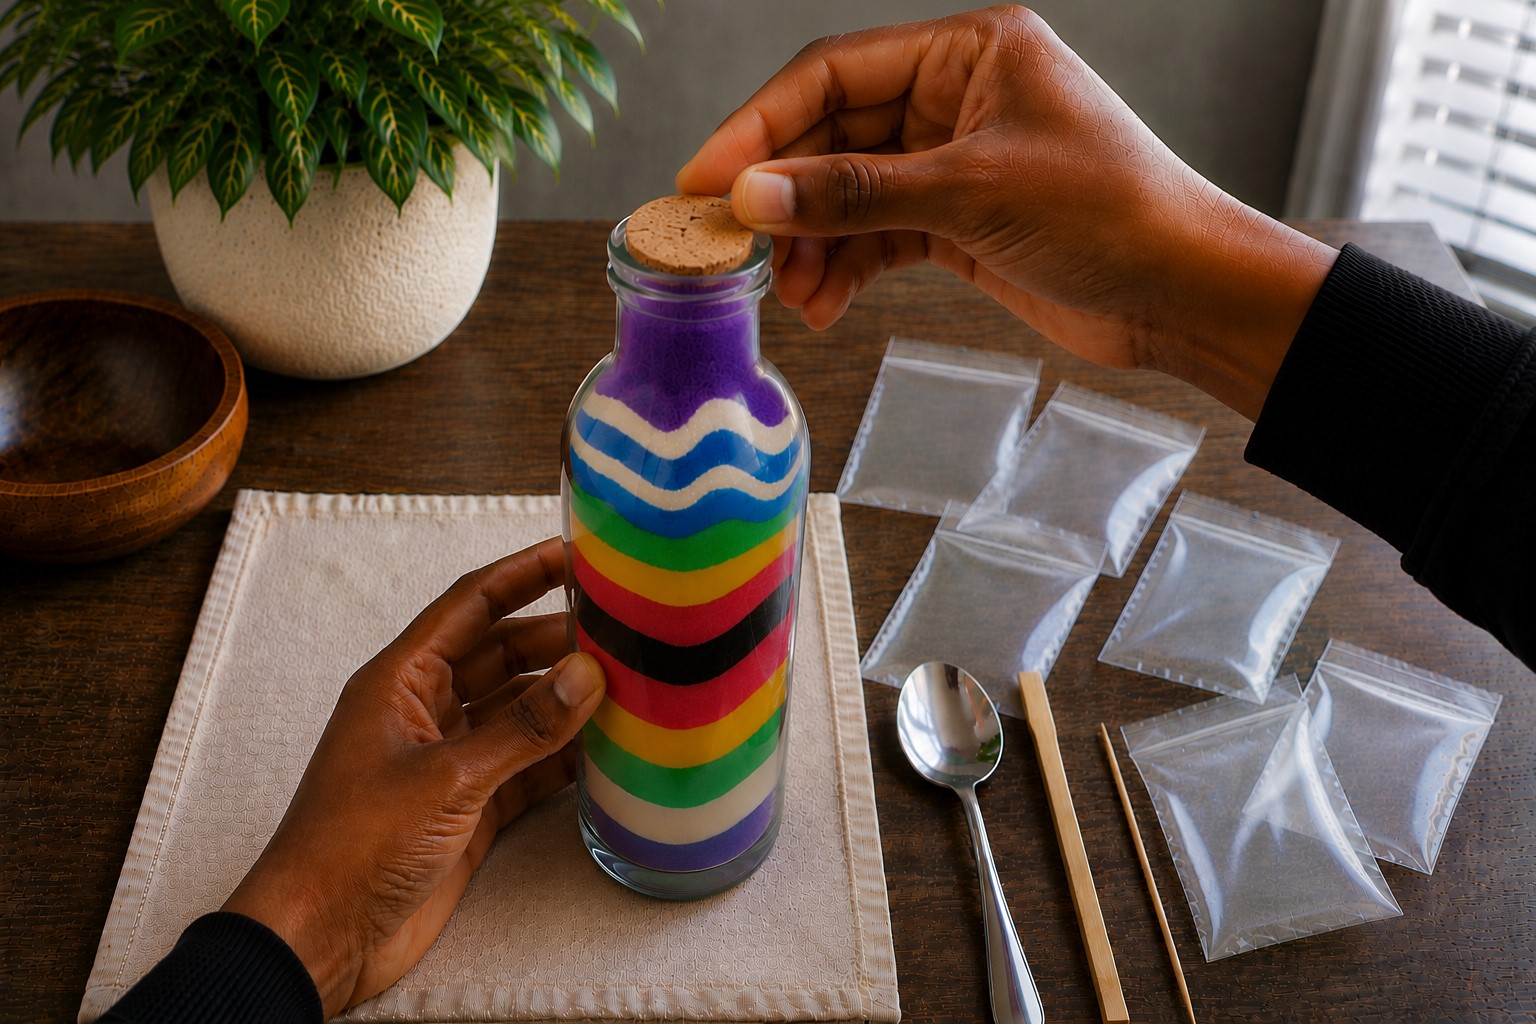
Now it is time to lock all your hard work inside the bottle. A loose cork or lid can allow the sand to shift over time, so take a few extra minutes to seal it properly.
If your bottle has a cork, press it down firmly until it fits tightly. If it feels loose, add a thin line of craft glue around the edge before putting it back in.
You only need a small amount. Too much glue can squeeze out and leave marks around the opening.
If your bottle has a screw-on lid, wipe away any loose grains before closing it. Sand caught in the threads can stop the lid from closing completely.
After sealing the bottle, hold it gently and turn it from side to side. This is not to shake the sand. It simply helps you check that the cork or lid stays secure.
Once everything feels firm, you can move on to the final touches.
Step 11: Clean the Bottle and Check Every Detail
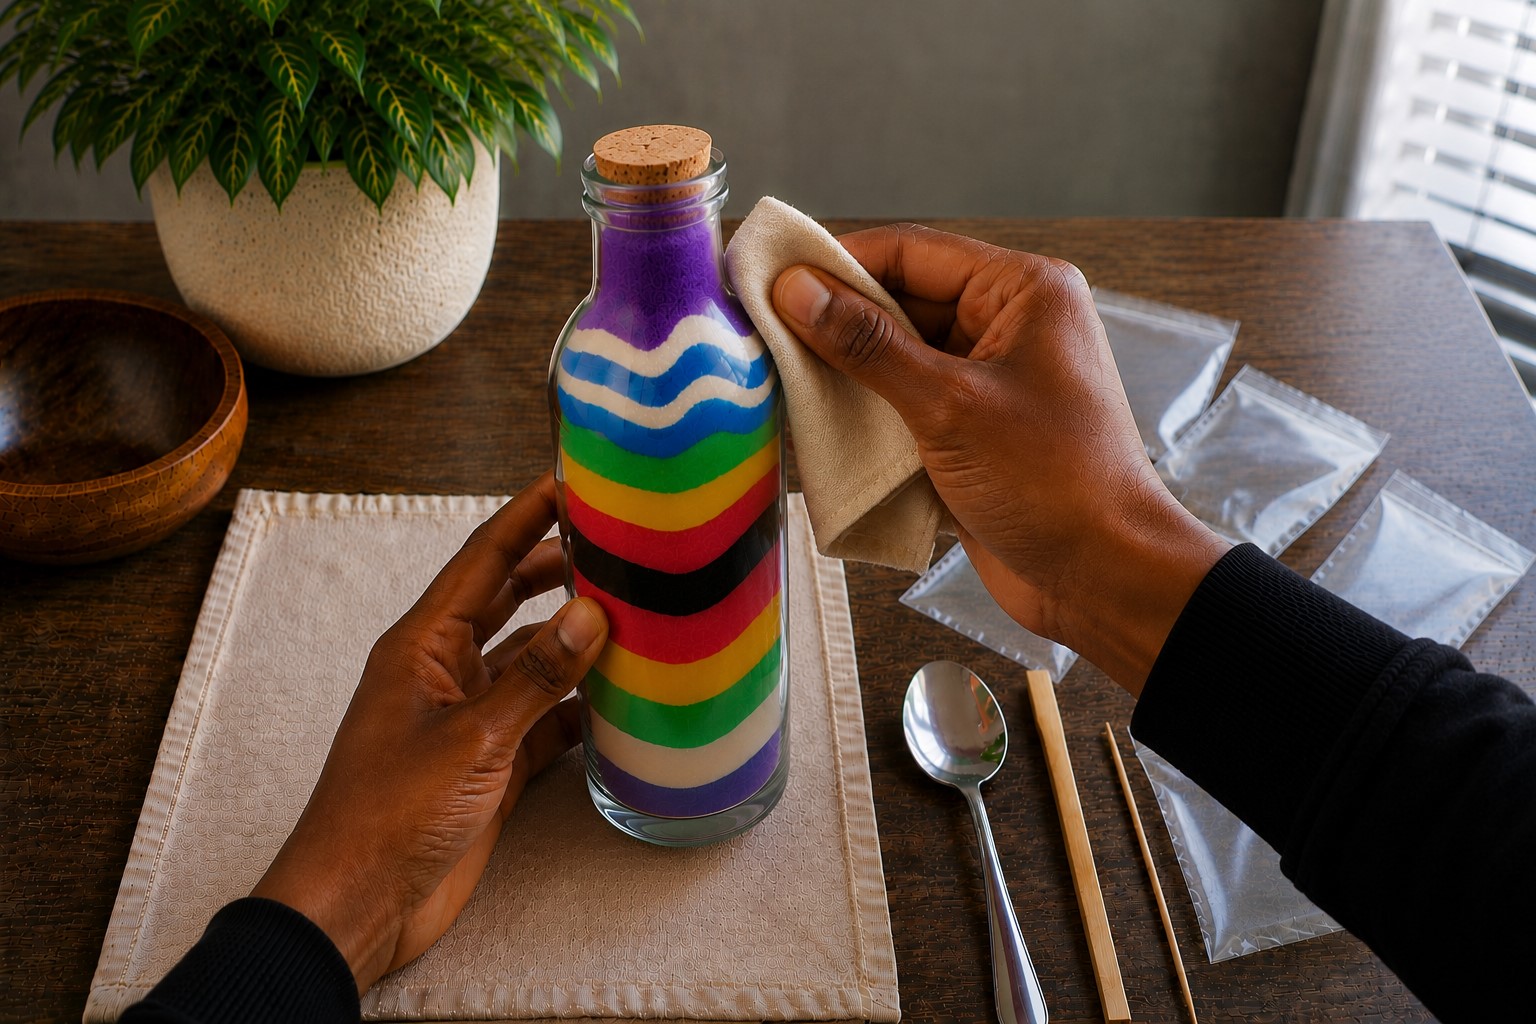
Your bottle may already look beautiful, but a quick clean makes it look even better.
During the project, it is easy to leave fingerprints or tiny grains of sand on the outside of the glass. Cleaning them takes only a minute, yet it makes the colors stand out much more.
Use a soft, dry cloth to wipe the bottle from top to bottom. Turn it slowly as you clean so you do not miss any spots.
If you find a little sand near the opening, brush it away gently instead of using water. Water can leave marks on the glass if it does not dry properly.
Now hold the bottle where natural light can shine through it. Look at the layers from every side. You may notice how the colors change as you turn the bottle.
This is also a good time to make sure the lid feels secure and that the bottle stands evenly on a flat surface. Taking one final look lets you enjoy the result before placing it on display.
Step 12: Display Your Sand Art the Right Way
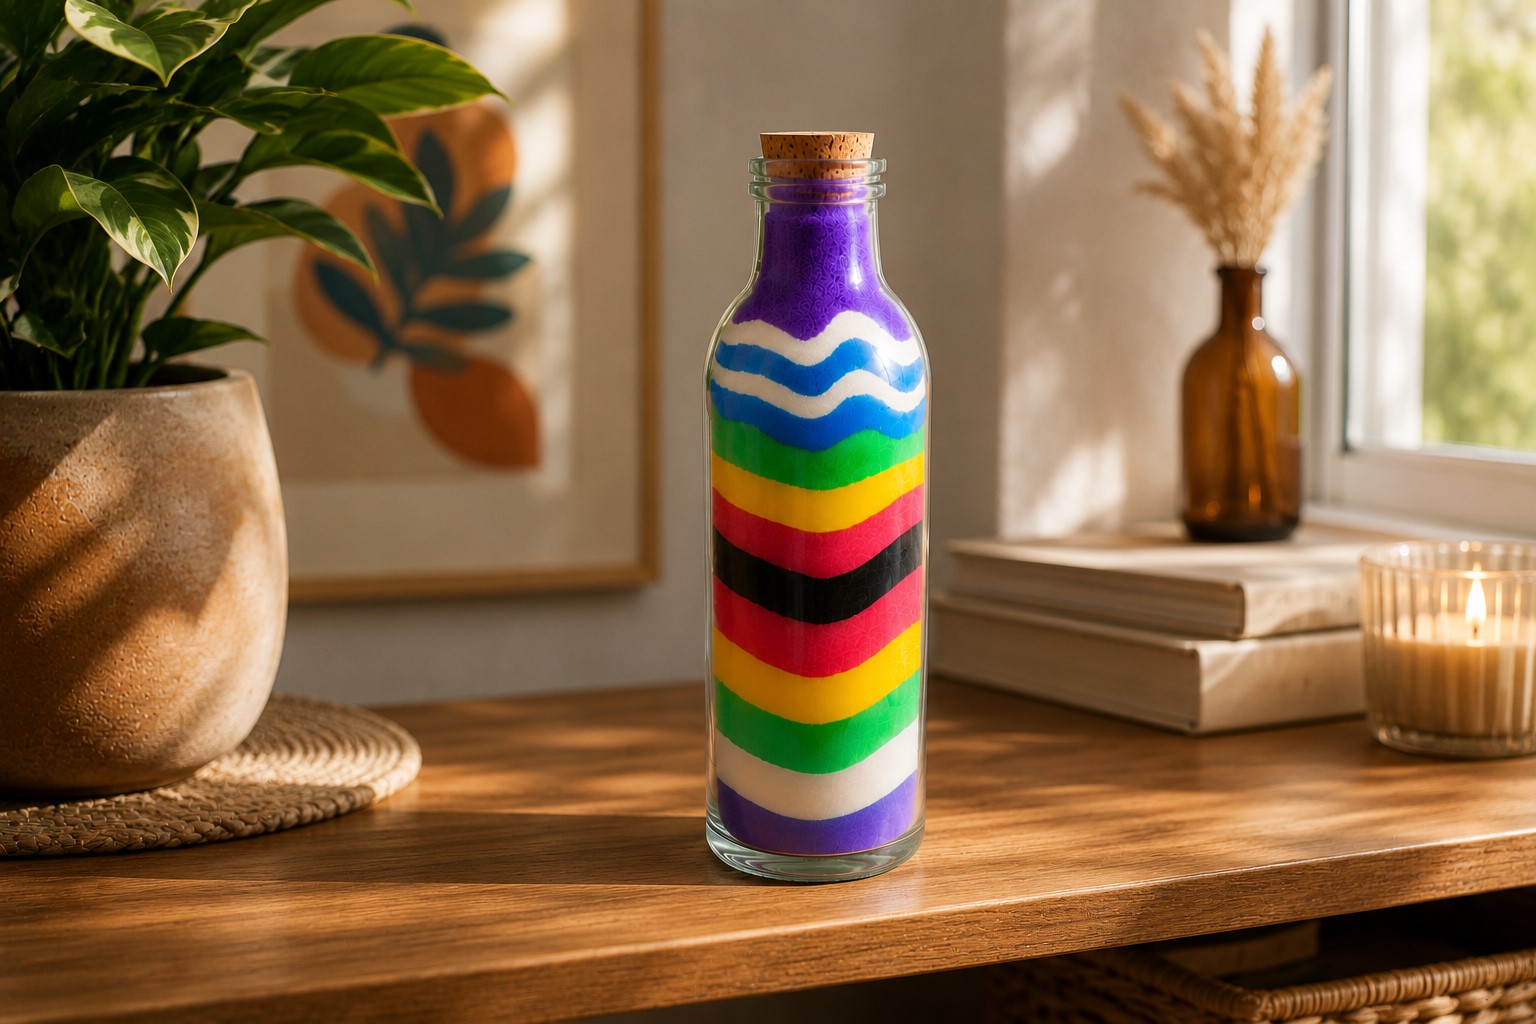
After spending time creating your bottle, you will want to keep it looking beautiful for a long time. Choosing the right place to display it makes more difference than many people expect.
Find a spot where the bottle will not get knocked over easily. A bookshelf, display cabinet, or side table works well because people are less likely to bump into it.
If you have young children or playful pets at home, place the bottle somewhere they cannot reach.
Try to keep your sand art away from direct sunlight for long periods. Some colored sand can become lighter after months of strong sunlight.
It is also best to avoid places with lots of vibration, such as beside a speaker or near a door that closes hard. With a little care, your bottle can stay bright and beautiful for years.
If you enjoy making sand art, create a few more bottles using different color combinations. Displaying them together makes an even more eye-catching decoration.
Keep These Tips in Mind
Before you start your next sand art bottle, remember these simple tips.
- Choose a bottle that is easy to fill and clean it well before you begin.
- Gather all your supplies first so you do not have to stop halfway through.
- Use fine, completely dry colored sand for the cleanest layers.
- Plan your color pattern before pouring the first spoonful of sand.
- Build the design slowly, one layer at a time.
- Shape your patterns gently with a skewer, chopstick, or knitting needle.
- Fix small mistakes as soon as you notice them.
- Fill the bottle all the way to the top before sealing it.
- Close the bottle tightly to keep the sand from shifting.
- Wipe the outside clean and display your finished bottle somewhere safe.
Also remember to avoid the mistakes that often spoil a beautiful design. Do not pour too much sand at once, use damp sand, shake the bottle to fix a problem, skip planning your colors, leave empty space at the top, or rush through the project.
Taking your time is the easiest way to keep your sand layers neat and your colors from mixing.
Frequently Asked Questions
Can I use sand from the beach?
Yes, but you need to clean and dry it first. Beach sand often contains tiny stones, shells, and dirt. Sift it well before using it.
If you want bright colors, you will also need to dye the sand because natural beach sand usually comes in only a few shades.
What is the best bottle for beginners?
A clear bottle with a medium-sized opening is the easiest choice. It gives you enough space to pour the sand and fix small mistakes.
Once you gain more confidence, you can try bottles with narrower openings or unusual shapes.
Can children make sand art in a bottle?
Yes, children can enjoy this craft with adult supervision. Younger children may need help using the funnel and pouring the sand slowly.
Choosing larger bottles also makes the project easier for little hands.
Why do my colors keep mixing?
The most common reasons include pouring too much sand at once, using damp sand, shaking the bottle, or trying to fix mistakes too roughly.
Taking your time during each layer usually solves these problems.
How do I keep the sand from moving later?
Fill the bottle almost to the top and seal it tightly with a cork or lid. If needed, add a little craft glue before closing the bottle. This helps keep the design secure.
Can I make patterns without special tools?
Yes. A wooden skewer, chopstick, knitting needle, or even a thin craft stick works well. You do not need expensive tools to create beautiful curves and simple designs.
How long does sand art last?
If you keep the bottle sealed and display it in a safe place, it can last for many years. Try not to drop or shake the bottle, and keep it away from strong sunlight for long periods.
Final Thoughts
Making sand art is one of those crafts that teaches patience in the best way. You do not need to rush because every careful step adds something special to the finished bottle.
Even if your first design is not perfect, you will learn something useful every time you make another one.
I hope this guide has shown you that beautiful sand art comes from simple techniques instead of complicated tools.
Once you understand the small details, the whole project becomes much less intimidating.
Before long, you will feel comfortable trying new color combinations and creating your own unique patterns.
Most importantly, enjoy the process. Every bottle tells a different story because no two designs ever turn out exactly the same.
So gather your supplies, take your time, and have fun creating something colorful that you will enjoy looking at for years to come.