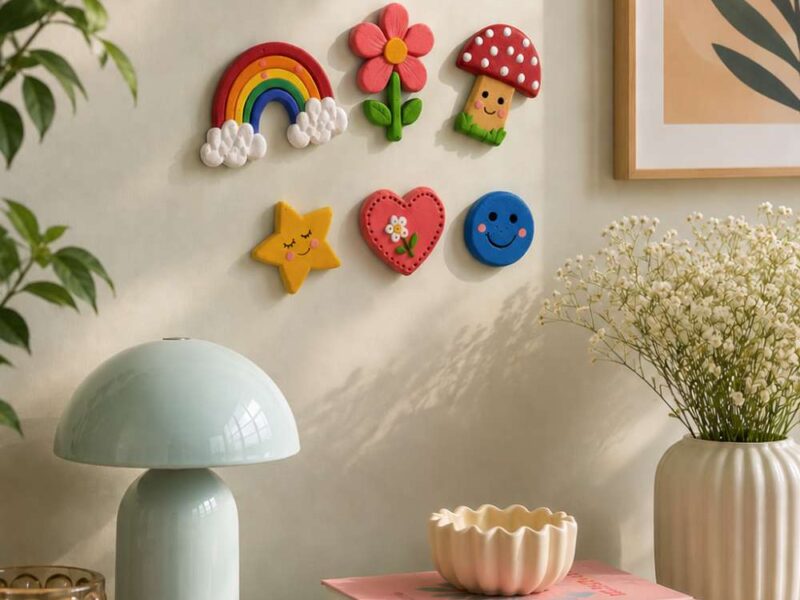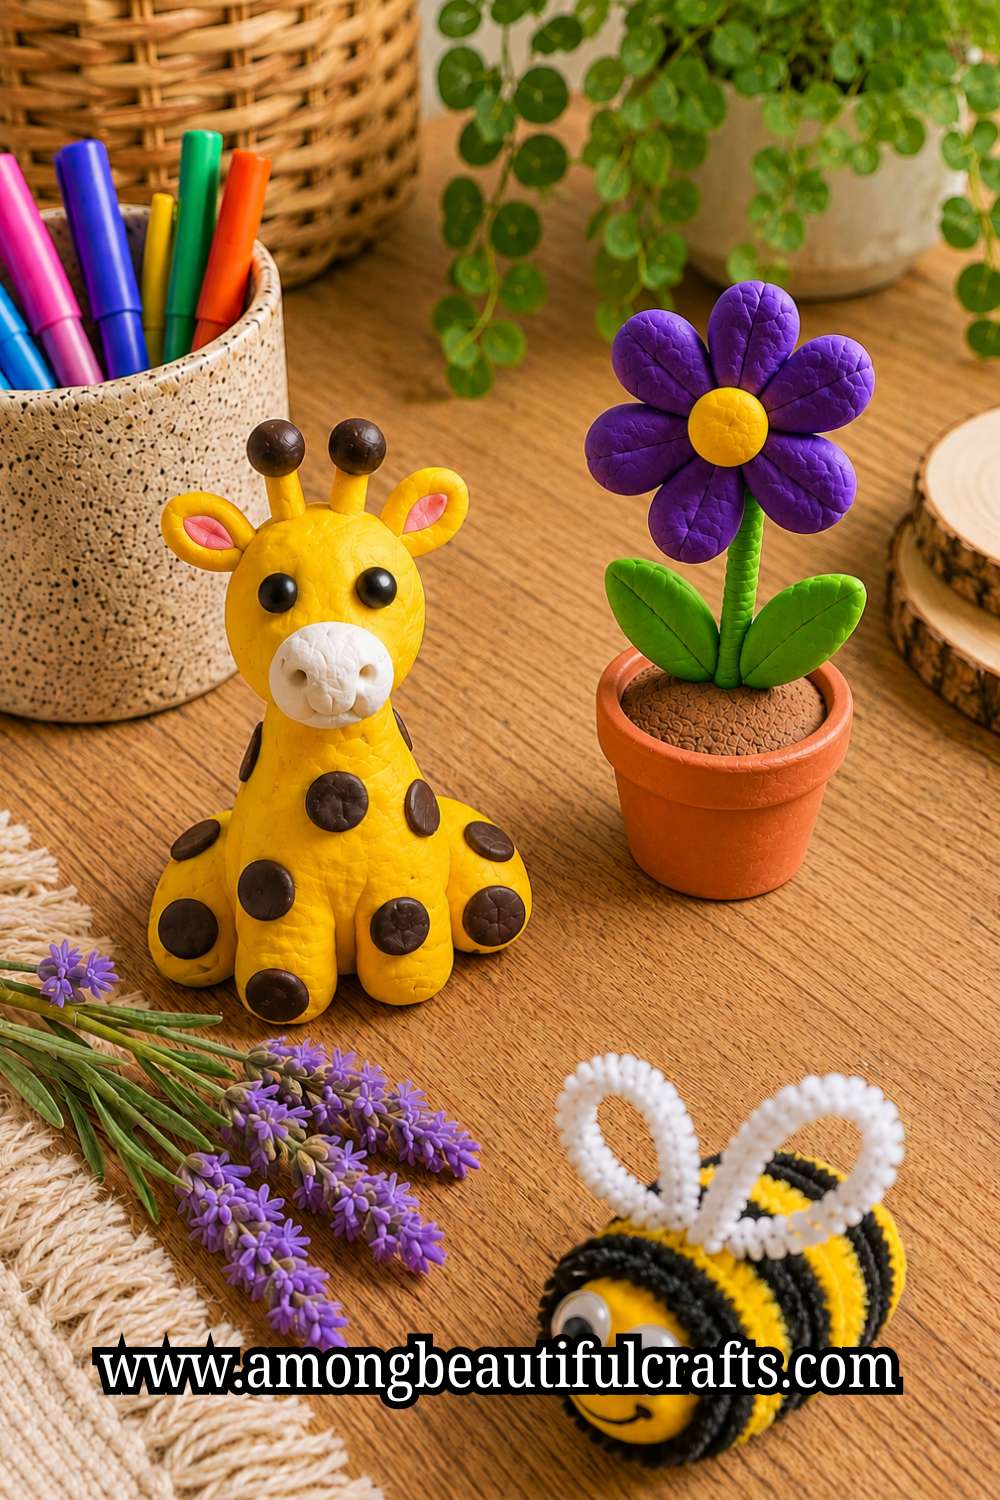
A child can sit quietly with a lump of clay for a few minutes. Then a handful of colorful pipe cleaners lands on the table, and everything changes. Clay and Pipe Cleaner Crafts turn simple supplies into endless possibilities.
One minute, kids shape a tiny turtle. Next, they twist bright legs onto it and proudly call it their newest pet. I love projects like these because they grow with a child’s imagination.
There is no pressure to make everything look perfect. Every bend, twist, and fingerprint becomes part of the finished creation.
Children do not need long supply lists or difficult instructions to stay excited. They only need projects that match their skills and let them see progress quickly.
That is why I always suggest combining clay with pipe cleaners. The clay forms the body, while the pipe cleaners bring every project to life.
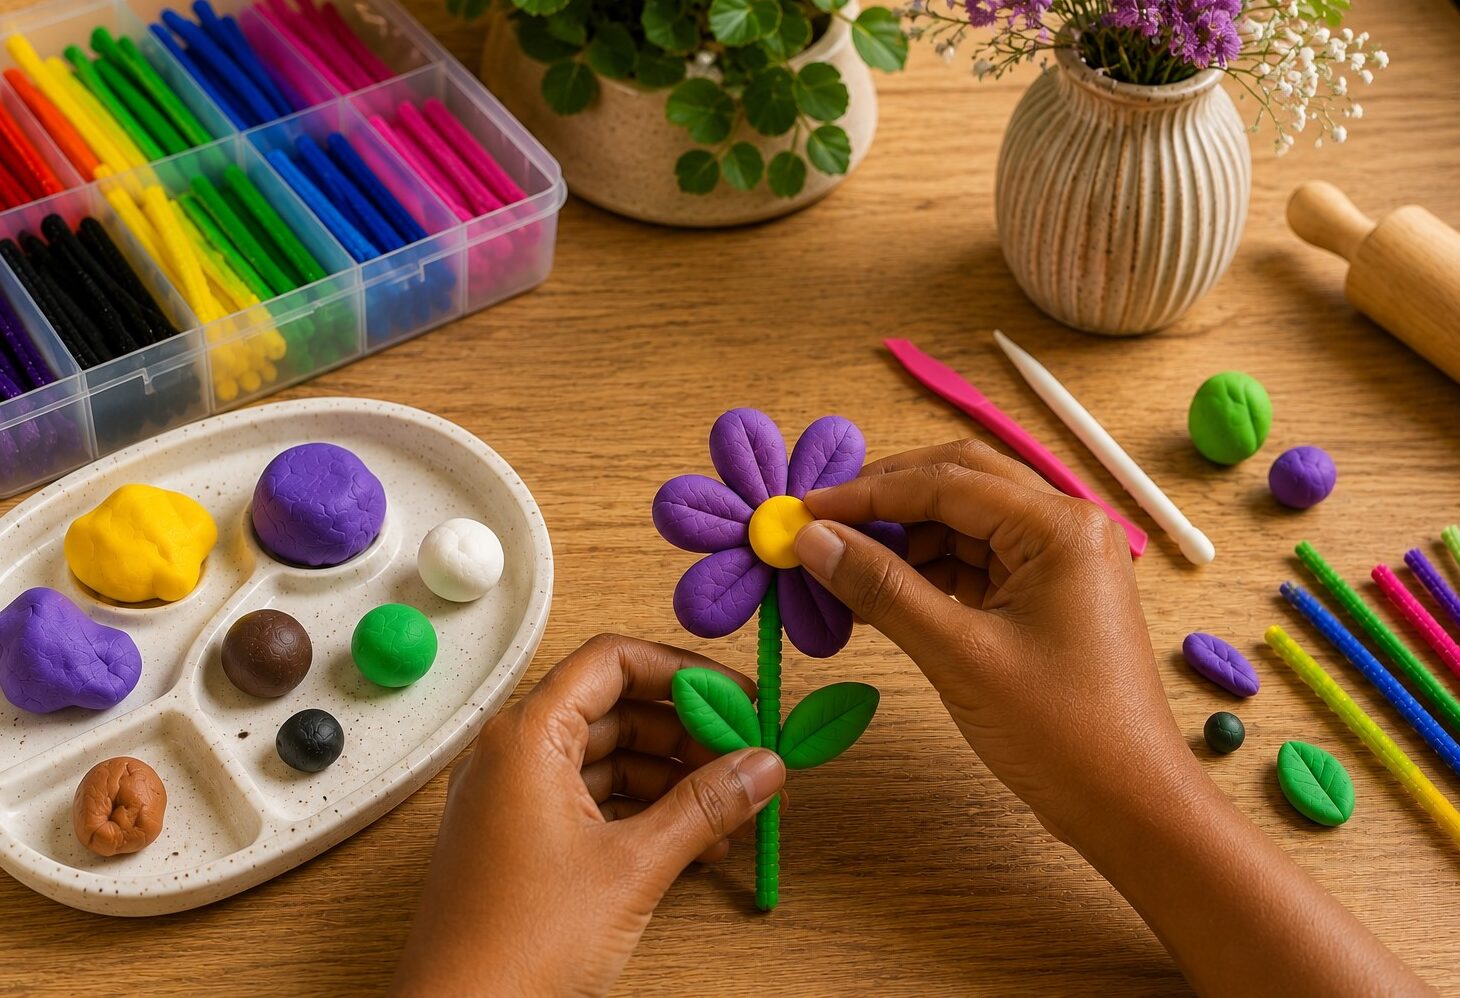
Kids can create curly tails, fuzzy wings, funny hair, long legs, or colorful stems in just a few minutes. Even better, most mistakes disappear with one small adjustment, so children keep creating instead of giving up.
This collection brings together nineteen fun ideas that children can actually enjoy from start to finish. I will break each project into simple steps and share little tips that make crafting easier along the way.
Some ideas work well for preschoolers with help, while older kids can add extra details and make each design their own. You can use these projects during school breaks, rainy afternoons, birthday parties, family craft nights, or quiet weekends at home.
By the end of this guide, you will have plenty of creative ideas that keep little hands busy and leave kids smiling long after craft time ends.
19 Easy Clay and Pipe Cleaner Crafts Kids Will Want to Make
1. Funny Clay Caterpillar
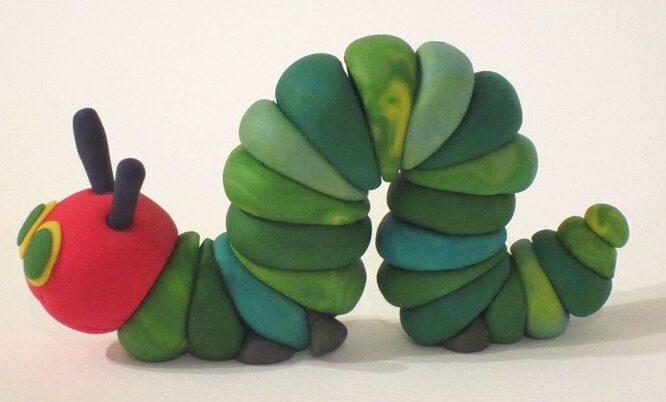
Start by rolling six or seven clay balls that are close to the same size. Press each one gently against the next until you create a long body. Then roll one slightly larger ball for the head.
Cut two short pieces of pipe cleaner and curl the ends around a pencil before pushing them into the head. Those little antennae instantly bring the caterpillar to life.
Finish by adding googly eyes and a tiny smile. If you have extra clay, make little flowers, leaves, or mushrooms around the caterpillar.
Children usually enjoy building an entire garden instead of stopping with just one craft. Before long, every caterpillar has its own colorful home and personality.
2. Colorful Clay Flowers
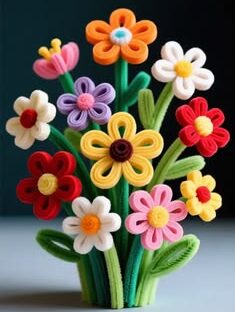
Flowers always make children smile because there are no rules about the colors they should use. One child may create bright blue petals, while another chooses rainbow colors from top to bottom. That freedom encourages creativity instead of making children worry about getting everything right.
Roll five or six small clay balls and flatten each one to form petals. Next, roll another small ball for the center and press the petals around it.
Twist a green pipe cleaner into the bottom of the flower to create a sturdy stem. Then wrap another short piece around the stem to make a pair of simple leaves.
Once the flower dries, children can paint little details across the petals or add tiny clay dots for decoration. Encourage them to make several flowers instead of only one.
Soon they will have a colorful bouquet that never needs watering and looks beautiful on a shelf or windowsill.
3. Cute Clay Snail
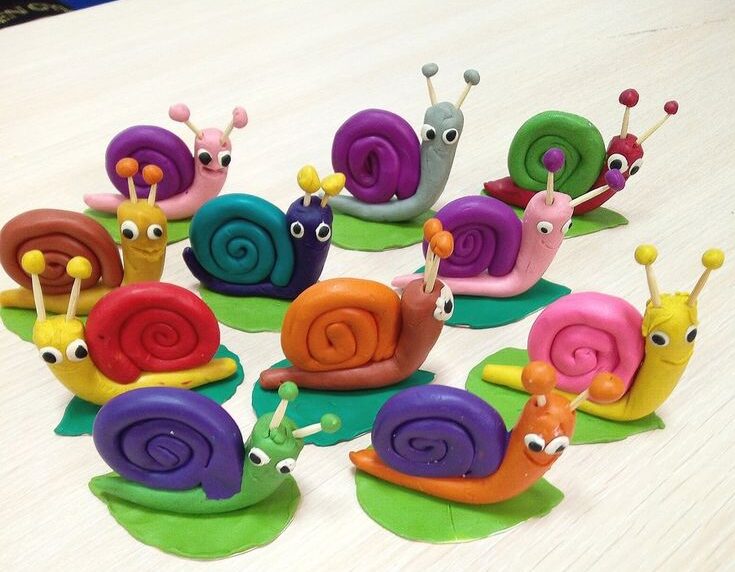
Roll a medium-sized ball of clay and shape it into a thick spiral for the shell. Then roll another piece into a long teardrop shape for the body.
Press the shell gently onto the back before smoothing the connection with your fingers. Next, cut two short pieces of pipe cleaner and insert them into the front of the head to create eye stalks. Glue tiny googly eyes on the ends once everything feels secure.
Finish by drawing a smile with a marker after the clay dries. If your child enjoys storytelling, create a whole snail family with different shell colors and sizes.
You can even add tiny clay leaves, flowers, and mushrooms around them. Before long, the table turns into a cheerful little woodland scene.
4. Friendly Clay Spider
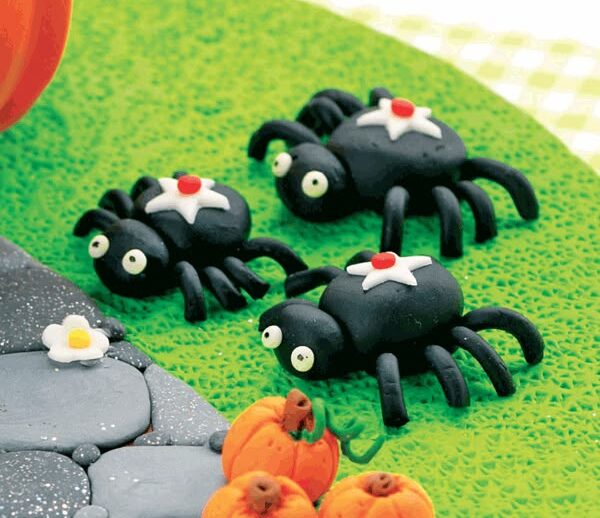
Many children feel nervous when they see a real spider. Still, they usually love making one from clay because it looks funny instead of frightening.
This project also helps children practice placing pieces evenly, which improves their fine motor skills while they create.
Begin by shaping one large clay ball for the body and another smaller one for the head. Cut four pipe cleaners in half to make eight legs.
Push the legs evenly into both sides of the body, then bend each one slightly so the spider stands without falling over.
Try using different pipe cleaner colors instead of black if your child wants a brighter look.
Complete the spider with oversized googly eyes and a happy grin. Some children even enjoy making tiny clay flies or building a simple web from white pipe cleaners.
Once everything comes together, the finished spider looks much more adorable than spooky.
5. Rainbow Butterfly
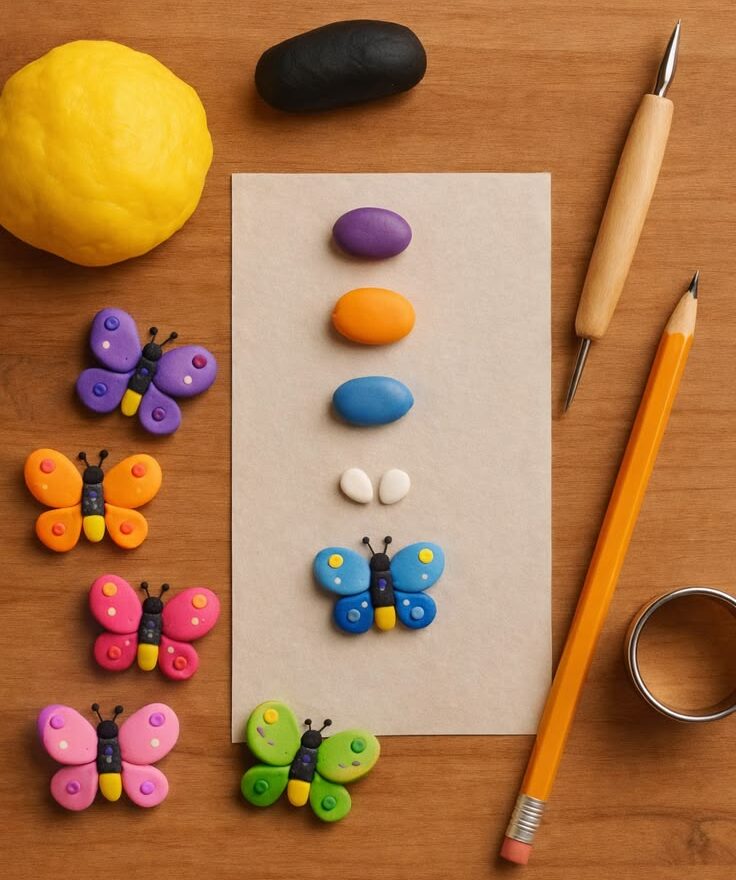
Roll a small piece of clay into a smooth cylinder for the butterfly’s body. Fold two colorful pipe cleaners into matching loops and press them into each side to create the wings.
Then curl another short pipe cleaner into delicate antennae before attaching it to the top of the head. Make sure every piece sits firmly before moving on.
Decorate the wings with tiny clay dots, glitter glue, or painted patterns after the clay dries. Encourage children to invent their own butterfly species with unusual colors and wing shapes.
Their imagination often creates designs that look even more beautiful than real butterflies.
6. Smiling Turtle
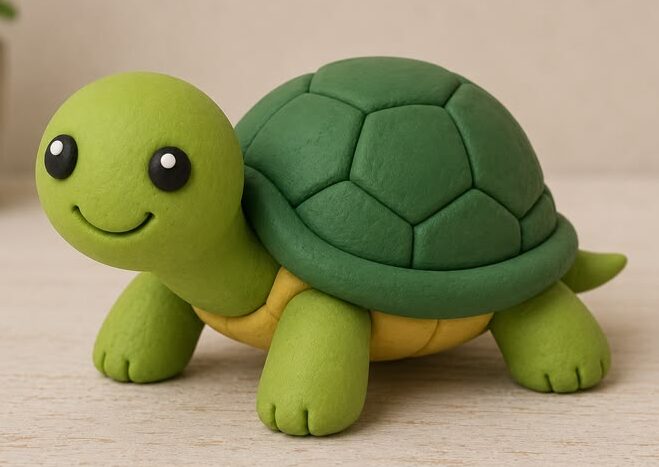
A turtle may seem difficult at first, yet it quickly becomes one of the easiest projects in this collection.
Children especially enjoy decorating the shell because they can create endless patterns without following strict rules. Every finished turtle ends up looking completely unique.
Start by flattening a ball of clay into a rounded shell. Roll four short legs, one small tail, and a rounded head before attaching them underneath.
Smooth each connection with your fingers so the pieces stay together. Next, twist a green pipe cleaner into gentle swirls or loops and press it onto the shell for extra texture.
Add small eyes and a friendly smile before the clay dries. If your child wants to build a complete habitat, make tiny rocks, lily pads, and flowers nearby.
Soon the turtle has its own peaceful little pond to explore.
7. Happy Octopus
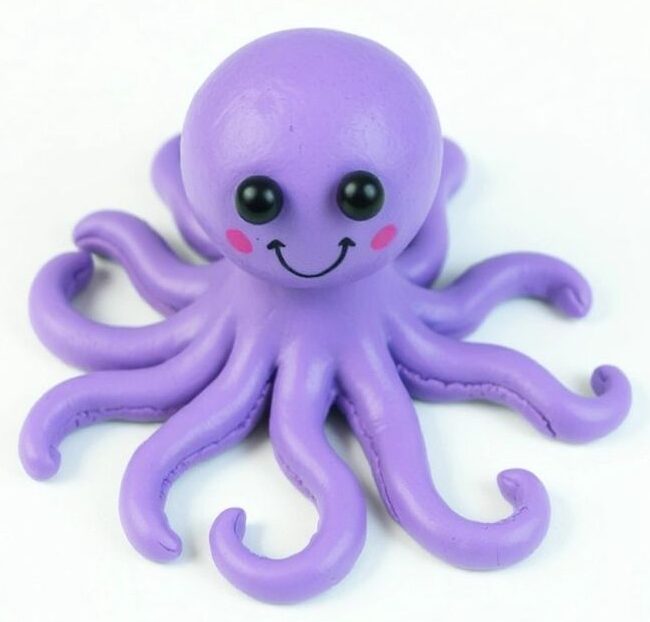
Roll one large clay ball for the head and flatten the bottom slightly. Cut four pipe cleaners in half to create eight tentacles.
Press each one into the underside before curling the ends around a pencil. Those twists instantly give the octopus a playful appearance.
Finish with large eyes and a wide smile. Then add tiny clay seashells, fish, bubbles, or starfish around it. A simple blue sheet of paper underneath can even become an ocean floor where every sea creature belongs.
8. Clay Ice Cream Cone
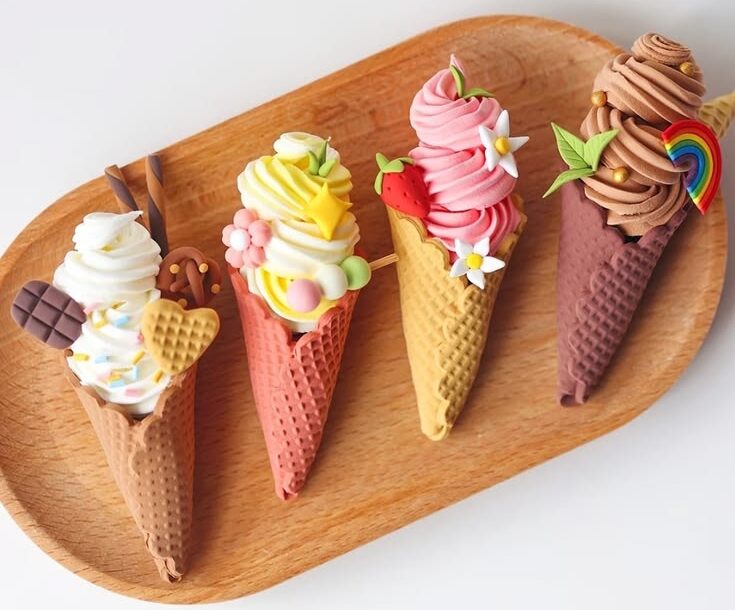
Children always enjoy pretend desserts because they can choose any flavor they imagine. This sweet-looking craft stays on display much longer than real ice cream, and it never melts on a warm afternoon. That makes it one of the most popular Clay and Pipe Cleaner Crafts in this collection.
Roll brown clay into a cone shape, then press crisscross lines across it with a toothpick to create a waffle pattern.
Next, roll colorful clay into one or two scoops and stack them neatly on top. Press gently so everything stays in place while the clay dries.
Cut colorful pipe cleaners into tiny pieces to create fun sprinkles across the scoops. Finish with a clay cherry or whipped cream swirl if you have extra time.
Children often enjoy making several cones in different colors and pretending they own their own ice cream shop.
9. Little Ladybug
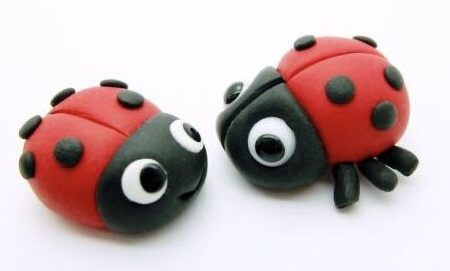
Shape one rounded piece of red clay into the body and another smaller piece of black clay into the head. Press them together gently before adding two short black pipe cleaners for the antennae. Once the clay dries, paint black spots across the wings with a small brush or marker.
Display several ladybugs on a green paper leaf or beside clay flowers. Children can make large parents, tiny babies, and even funny rainbow ladybugs with colorful spots. Their little garden quickly becomes full of cheerful insects.
10. Funny Monster
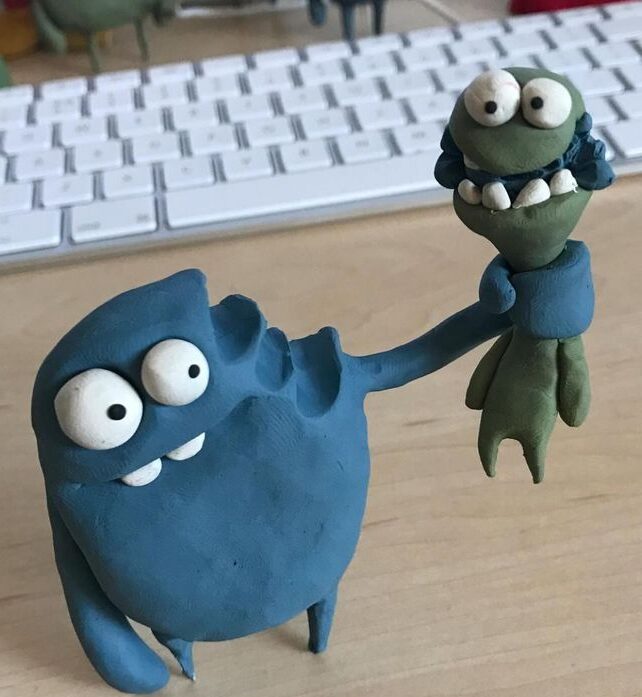
Monsters give children complete creative freedom because there are absolutely no rules. One monster can have one eye, while another has five.
Some children create giant horns, and others choose curly hair instead. Every finished monster tells its own silly story.
Start with any clay shape you like. Round monsters look cute, while tall ones appear extra funny. Next, twist colorful pipe cleaners into wild hair, long arms, curly tails, or funny horns before pressing them into the clay. The more unusual the features become, the more children laugh while creating them.
Glue on googly eyes and draw a huge smile after the clay dries. Encourage children to give each monster a funny name and imagine where it lives.
Those little stories make craft time even more memorable and keep kids engaged long after the project ends.
11. Busy Clay Bee
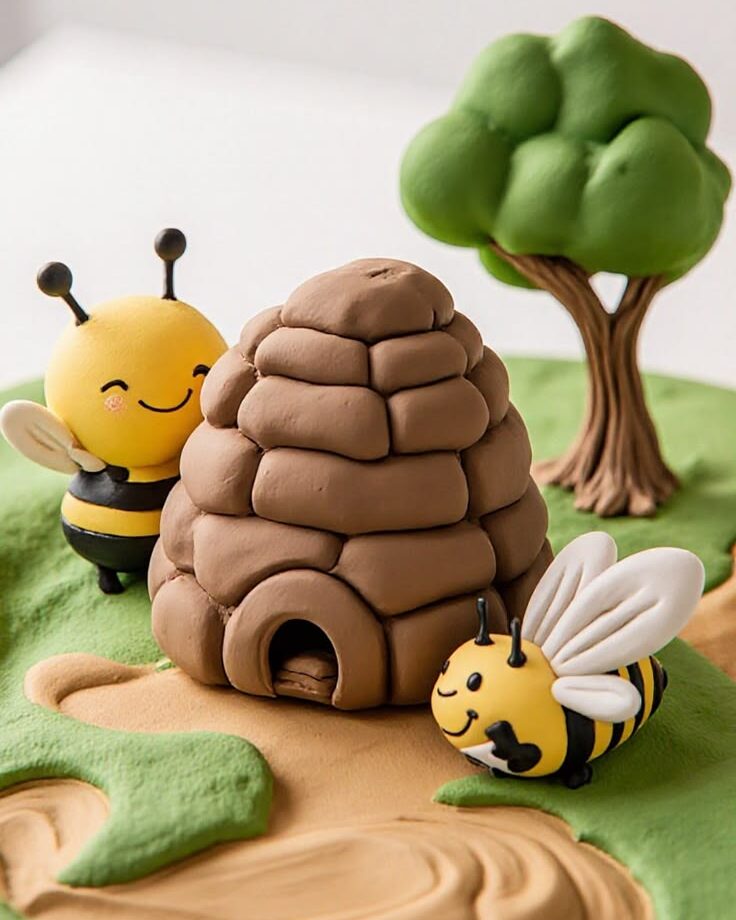
Roll a piece of yellow clay into an oval for the body. Then add thin black clay strips around the middle to create the bee’s signature pattern.
Fold two white or light blue pipe cleaners into small loops and press them into the top of the body to form the wings. Finally, twist two short black pipe cleaners into antennae and attach them above the eyes.
Complete the bee with tiny eyes and a cheerful smile. If your child wants to expand the project, make a few clay flowers nearby so the bee has somewhere to collect nectar.
You could even build a whole garden filled with buzzing bees and colorful blooms.
12. Mini Clay Bird
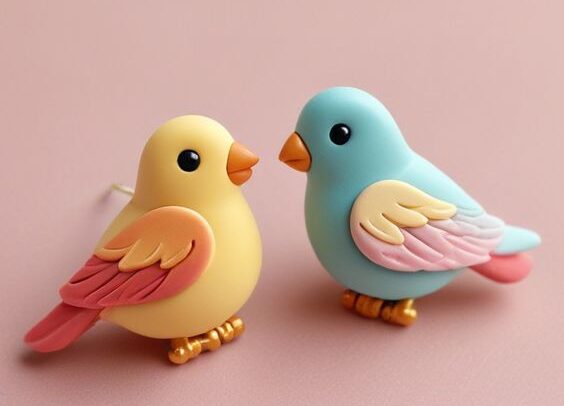
Birds are easy to customize because children can use almost any color they like. Some may create a bright blue bird, while others choose pink, purple, or rainbow feathers.
Since there is no right or wrong design, every child finishes with something unique.
Shape one medium-sized clay ball into a rounded body and another smaller one into the head. Press them together gently before adding a tiny orange beak.
Next, cut several colorful pipe cleaners into short pieces and arrange them at the back to create a full, fluffy tail. You can also add tiny wings with flattened clay pieces.
Finish by drawing small feather details after the clay dries. If your child enjoys nature, make a clay nest with tiny eggs beside the bird.
That simple addition turns one small craft into a complete woodland scene.
13. Clay Dinosaur
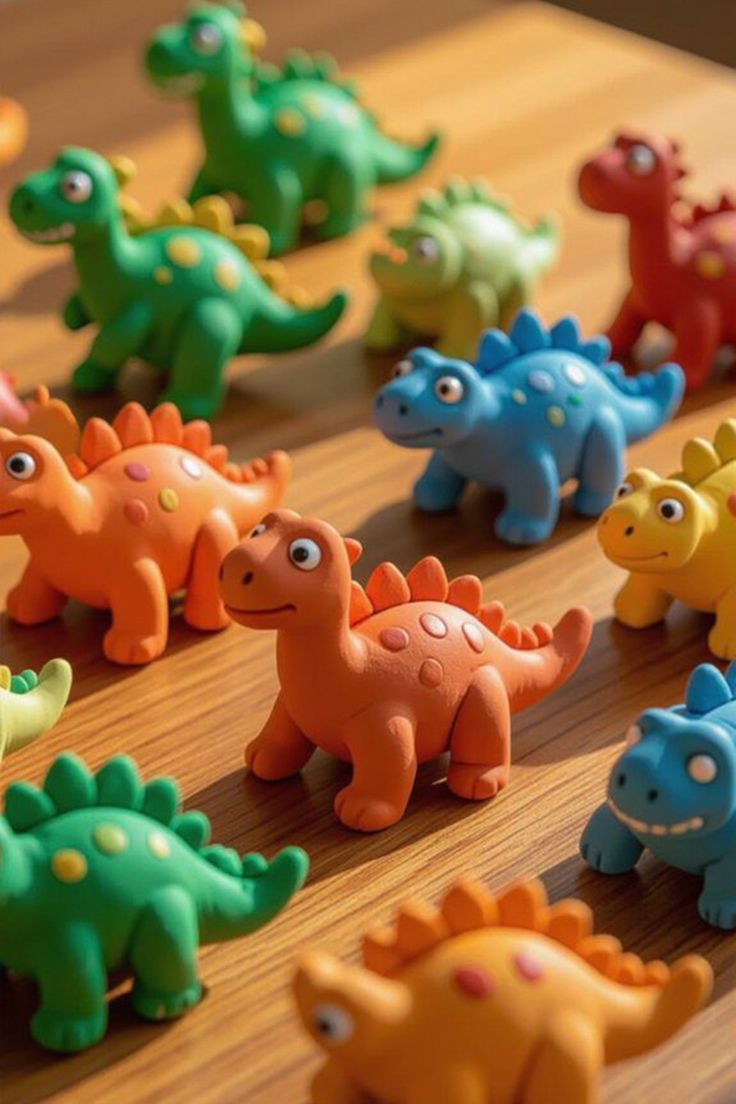
Dinosaurs never seem to go out of style. Many children already have a favorite dinosaur, so they become excited the moment this project begins.
Better still, this idea lets them use their imagination instead of trying to copy a real animal exactly.
Roll a large piece of clay into a sturdy body with a long tail. Then shape four thick legs and a rounded head before attaching everything together.
Smooth each connection with your fingers so the dinosaur stays strong. Next, cut colorful pipe cleaners into short pieces and press them along the back to create fun spikes.
Give your dinosaur bright eyes and a friendly smile instead of sharp teeth. Children can also make tiny volcanoes, rocks, or palm trees from extra clay.
Soon enough, they have their own prehistoric world sitting on the craft table.
14. Rainbow Fish
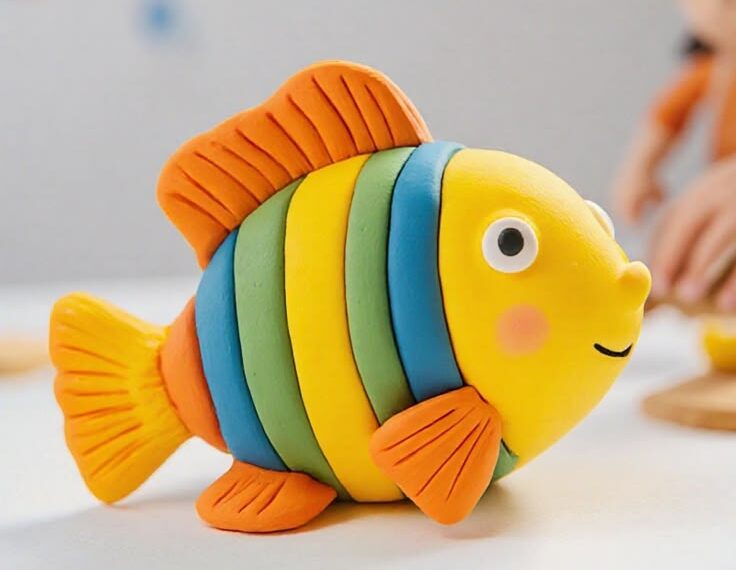
Fish are always fun because children can mix as many colors as they want. Bright fins and colorful scales make this project stand out, even after it dries. It is also a great way to use leftover clay from earlier crafts.
Shape the body into a smooth oval and flatten one end to create the tail. Roll several tiny clay balls and press them gently onto the body as scales.
Then cut colorful pipe cleaners into short pieces and attach them as fins along the top, bottom, and sides.
After the clay dries, paint a few shiny details across the scales to make them sparkle. Place your finished fish on a blue sheet of paper with clay seashells and seaweed. That simple background makes the whole craft look even more lively.
15. Clay Hedgehog
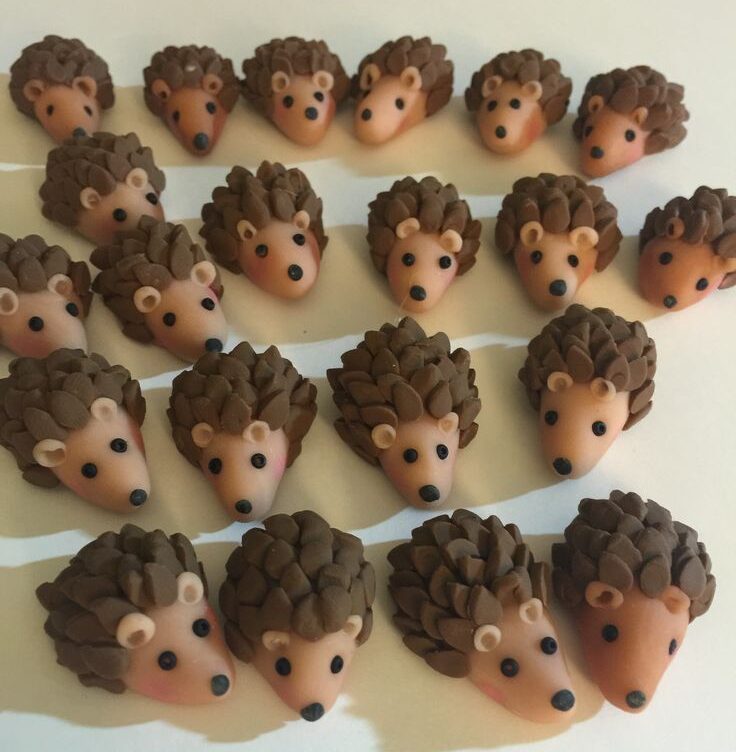
A hedgehog may look detailed, yet it is surprisingly simple to build. Children especially enjoy adding the spiky back because it transforms a plain clay shape into a recognizable woodland animal. This project also gives them extra practice with fine motor skills.
Roll a piece of brown clay into an oval with one pointed end for the nose. Add two tiny ears and small feet before smoothing each piece into place.
Next, cut brown pipe cleaners into short sections and press them across the back. Fill the space evenly until the hedgehog looks nice and full.
Finish with tiny eyes and a little black nose. If your child has extra clay, create mushrooms, acorns, or fallen leaves around the hedgehog.
Those small details help tell a story and make the finished display much more interesting.
16. Bright Balloon Bouquet
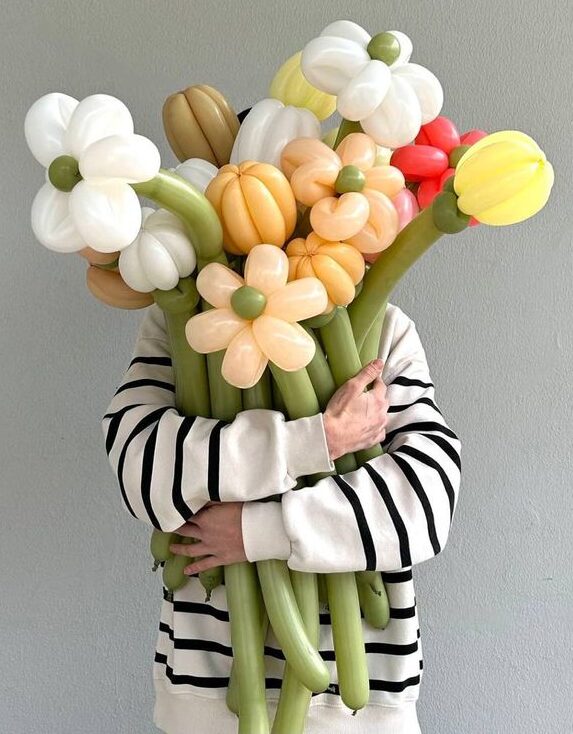
Balloon bouquets brighten any room, and children enjoy choosing colors that match birthdays, parties, or their favorite celebrations. Even younger kids usually complete this project without much help.
Roll several tiny clay balls in different colors and flatten the bottoms slightly. Push a short pipe cleaner into each one to create the balloon strings.
Then shape a small clay flower pot and gather all the balloons together inside it. Press the strings firmly into the pot so everything stays upright.
You can decorate the flower pot with painted hearts, stars, or dots after it dries. Children often enjoy making several bouquets with different color themes.
17. Clay Dragon
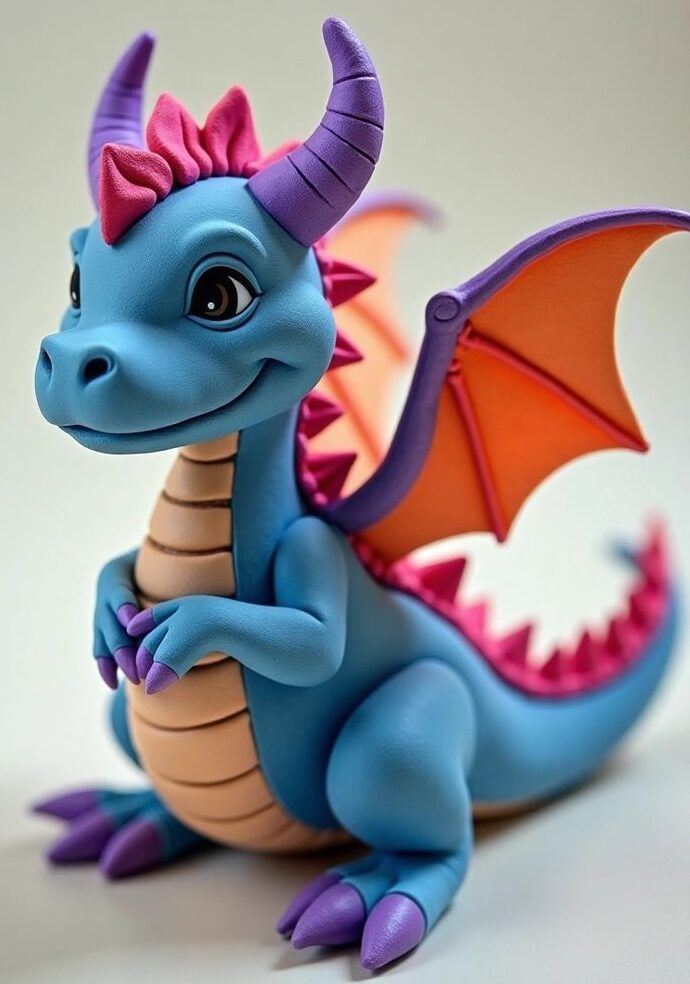
Dragons encourage children to dream big because there are no limits to what they can create. One dragon may have giant rainbow wings, while another has curly horns and a long twisting tail. Every finished project feels like its own magical character.
Shape a long clay body with four sturdy legs and a rounded head. Add a thick tail and smooth all the connections before moving on.
Next, fold colorful pipe cleaners into large wings and press them securely into the dragon’s back. Twist another piece into a curly tail tip or playful horns.
Finish with bright eyes and a friendly smile. Instead of making a scary dragon, encourage children to create one that looks kind and welcoming. They can even build a tiny clay castle where their dragon lives.
18. Cheerful Clay Tree
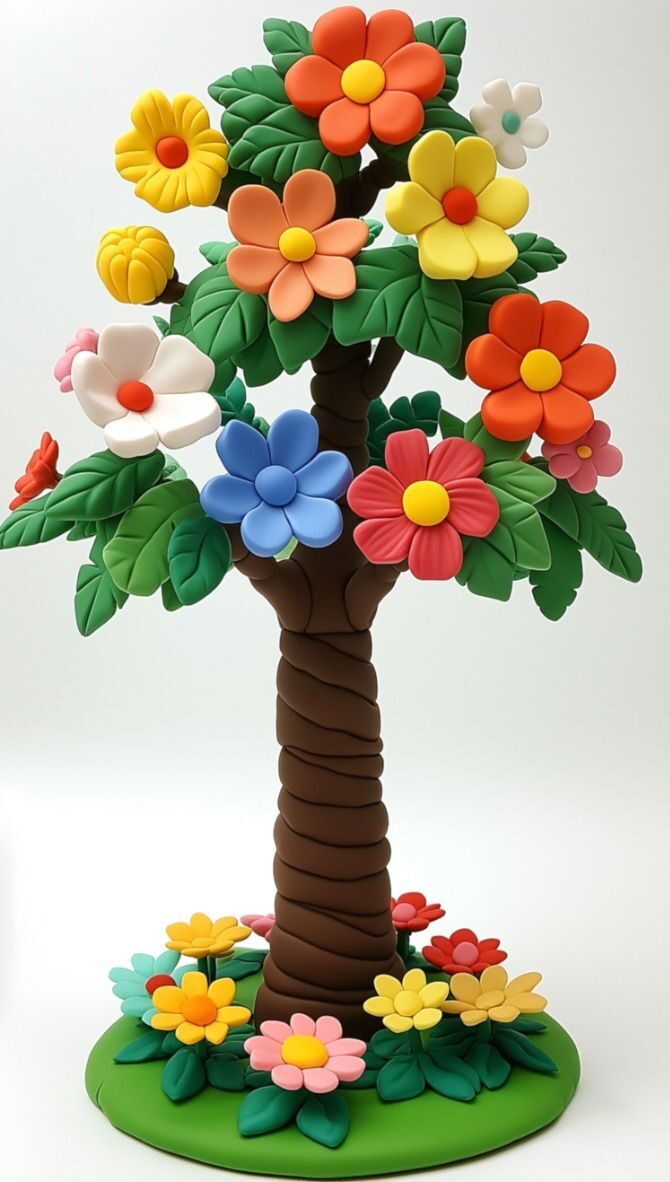
Roll brown clay into a thick trunk and press a large green clay circle on top for the leafy part of the tree. Twist green pipe cleaners through the top to create textured branches. Then add tiny clay flowers, fruit, birds, or nests to bring the tree to life.
If children make several trees, arrange them together to create a miniature forest. Add little animals from the earlier projects around the trees to build one large display.
Watching all the crafts come together is often the most exciting part of the activity.
19. Silly Clay Puppy
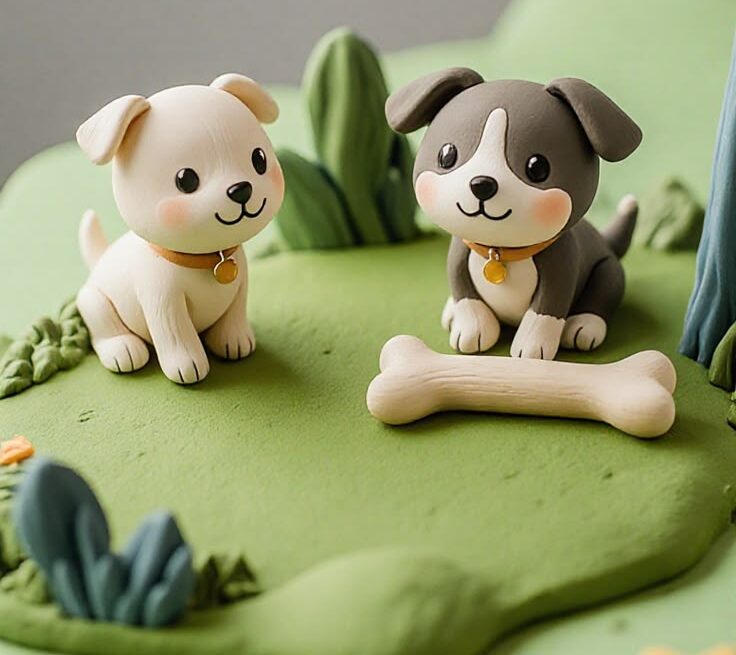
A puppy makes the perfect project to finish this list because almost every child loves dogs. The floppy ears, wagging tail, and happy face make this craft impossible to resist.
Even if two children follow the same steps, their puppies always end up looking completely different.
Shape one larger piece of clay into the body before rolling four short legs and a rounded head. Attach each piece carefully and smooth the joints with your fingers.
Next, bend two brown or black pipe cleaners into floppy ears and attach another curled piece as the tail. The pipe cleaners add movement that plain clay cannot create on its own.
Complete your puppy with a little black nose, bright eyes, and a wide smile. Children often enjoy making another puppy in different colors or adding a clay food bowl, bone, or doghouse beside it.
By the end of the activity, they have created a playful pet that will never outgrow its favorite spot on the shelf.
Final Thoughts
Craft time becomes much more enjoyable when children can turn simple supplies into something they proudly show off. These Clay and Pipe Cleaner Crafts prove that creativity does not need expensive materials or complicated instructions.
In fact, some of the best memories come from rolling a little clay, twisting a few colorful pipe cleaners, and laughing together as every project takes shape.
The goal is not to make everything perfect. Instead, it is to encourage children to experiment, solve small problems, and enjoy the creative process from beginning to end.
As your child works through these ideas, remember that every finished craft will look different. That is exactly what makes handmade projects so special.
Some children love adding extra decorations, while others keep their creations simple. Let them make those choices because it helps build confidence and keeps their imagination growing.
You can also revisit these projects throughout the year by changing colors or adding seasonal details. A butterfly made in spring can become a snowflake-themed butterfly in winter with just a few small changes.
I hope these Clay and Pipe Cleaner Crafts inspire many fun afternoons filled with smiles, stories, and colorful creations.
Pick one idea to start with, then come back and try another when your child feels ready for a new challenge. Before long, you will have a collection of handmade keepsakes that remind you of the wonderful time you spent creating together.
Most importantly, enjoy every moment, celebrate every little success, and let each project encourage even bigger creative adventures.