How many books have you opened only to find an old receipt, a grocery list, or a random piece of paper marking your page? It works for the moment, but it never feels quite right.
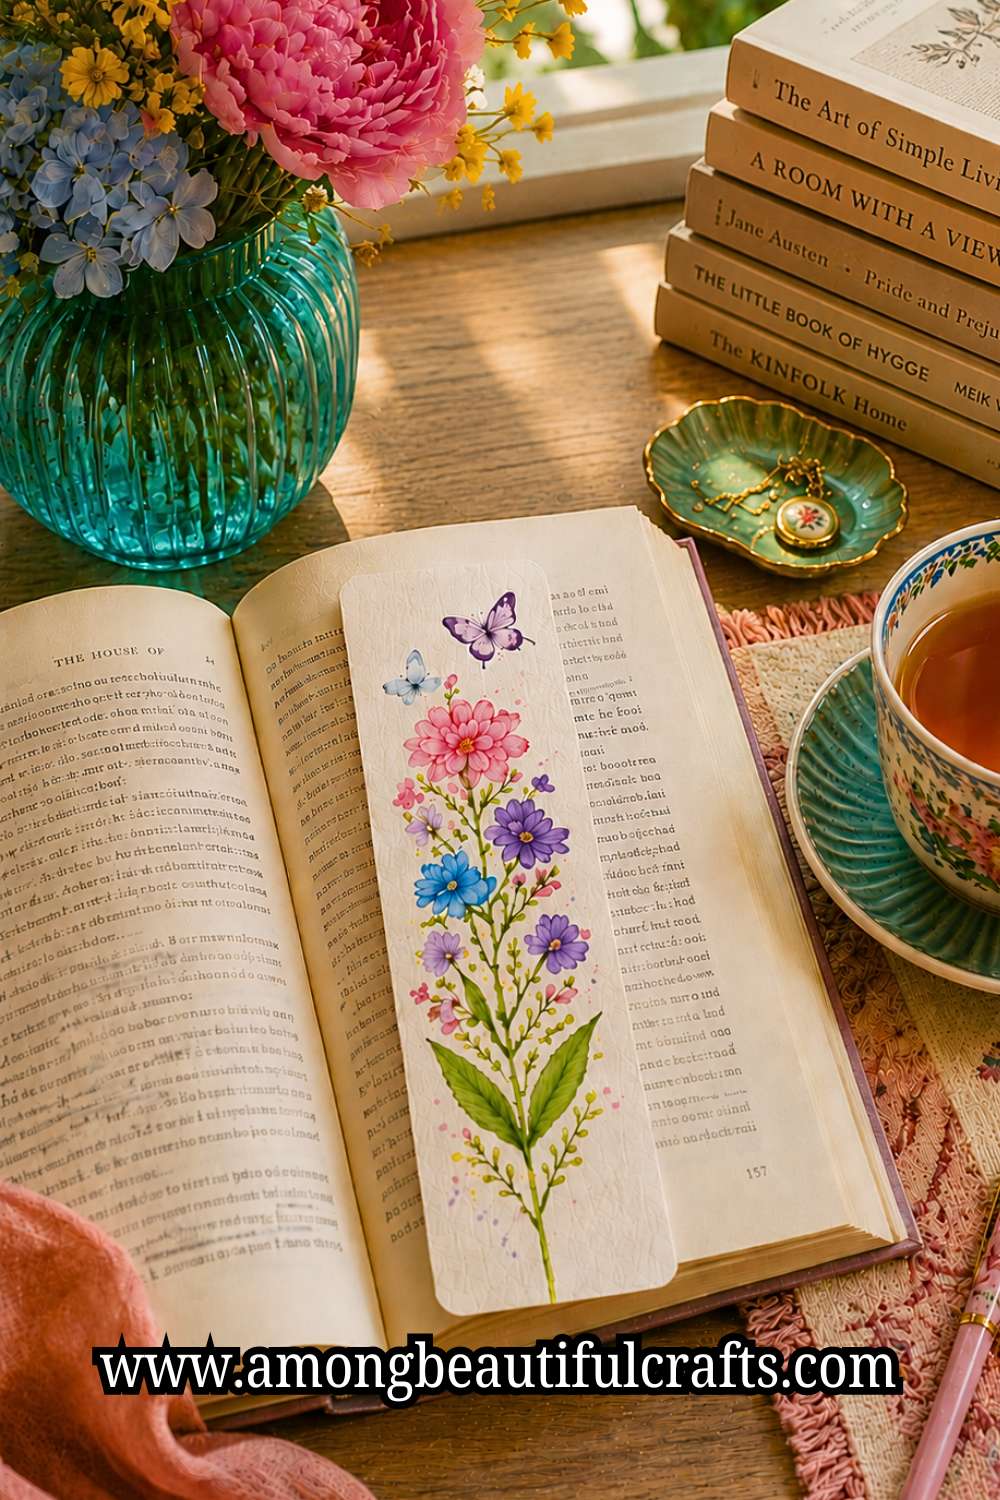
A handmade watercolor bookmark changes that in the simplest way. In less than thirty minutes, a plain strip of paper can become something colorful that makes every reading session feel a little more special.
That is one reason so many people enjoy learning How to Paint a Watercolor Bookmark. It is quick, relaxing, and leaves you with something you will actually use.
You can paint flowers, leaves, skies, abstract patterns, or anything that matches your style. Even if you have never picked up a watercolor brush before, this small project gives you an easy place to start without feeling overwhelmed.
So, set a book aside for a little while and make something that deserves to hold your place instead. I will walk you through each step just as I would if we were crafting together at the same table.
Along the way, I will share practical tips that make painting easier, help your colors look brighter, and keep your bookmark looking great long after the paint dries.
Before you know it, you will have a handmade bookmark that turns every page into a reminder of what you created with your own hands.
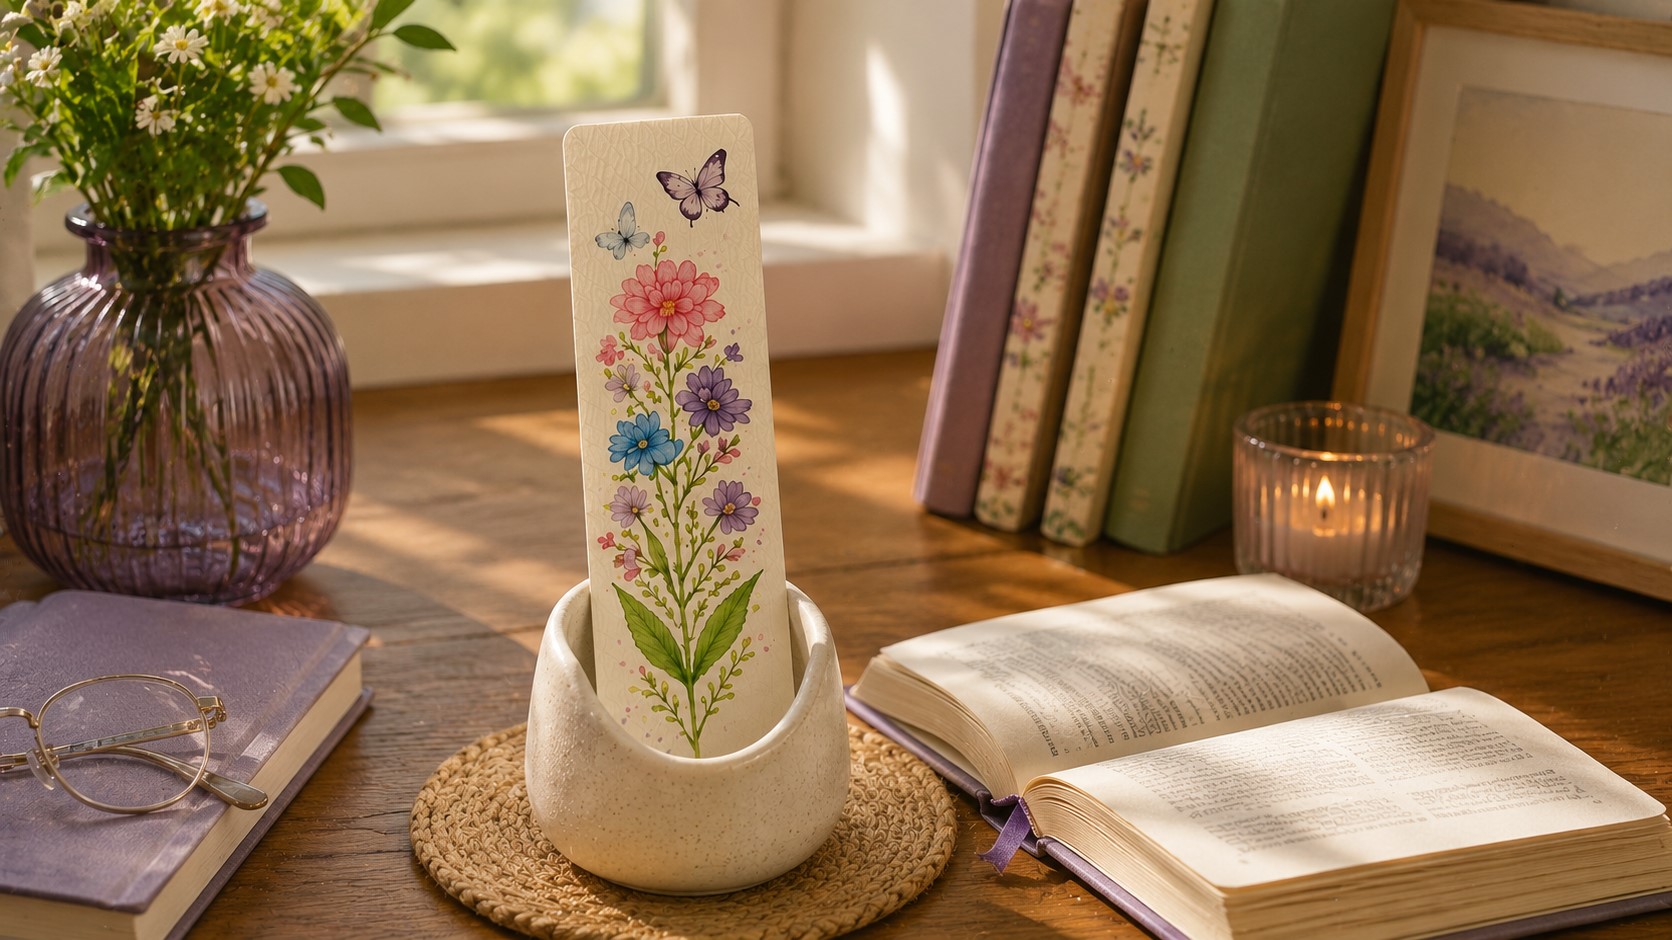
Materials You’ll Need
Before you begin, gather everything on your table. You do not need a long shopping list for this project. In fact, keeping your supplies simple often makes the painting process more enjoyable. Once everything sits within reach, you can focus on painting instead of searching for missing items.
Here is what I recommend:
- Watercolor paper, at least 140 lb (300 gsm)
- Watercolor paints
- Two round brushes, one medium and one small
- A cup of clean water
- A mixing palette or ceramic plate
- Pencil
- Eraser
- Ruler
- Scissors or a paper trimmer
- Paper towel or clean cloth
- Washi tape or painter’s tape (optional)
- Black waterproof fine liner (optional)
- Hole punch and ribbon (optional)
Take a minute to check your watercolor paper before you start. Thick paper handles water much better than regular cardstock.
It stays flatter and gives your colors a smoother finish. That one choice can improve your final bookmark more than buying expensive paints.
How to Paint a Watercolor Bookmark in Under 30 Minutes
Step 1: Cut Your Bookmark to the Right Size
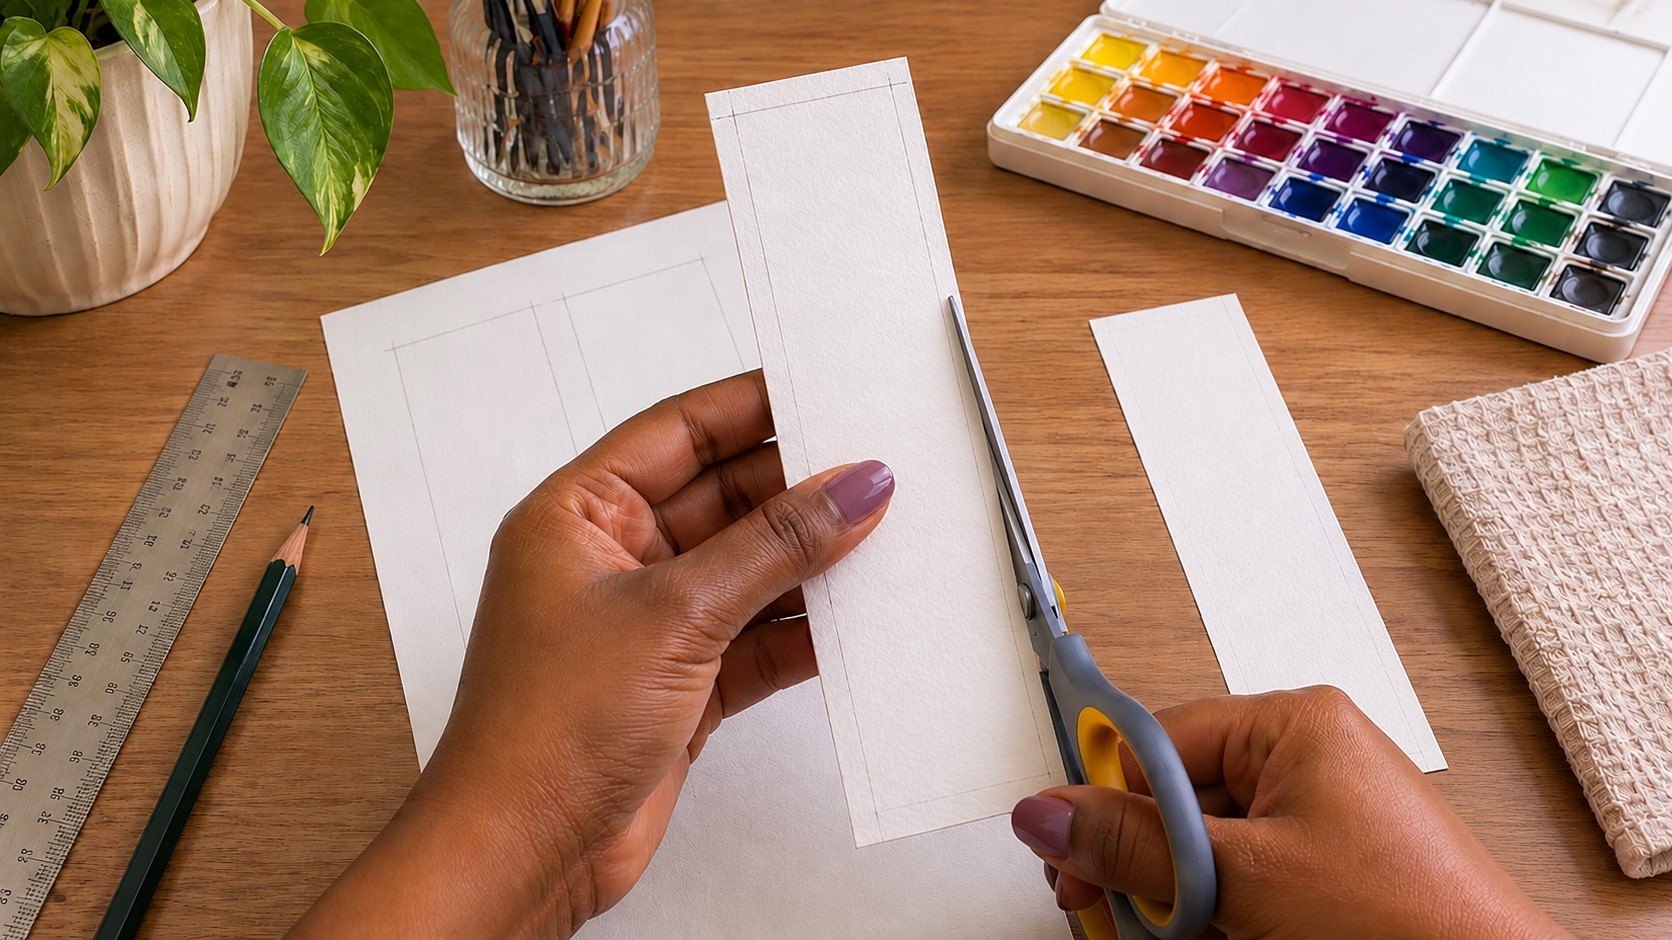
The first step sets the stage for everything that follows. A bookmark that feels comfortable in your hand also looks better inside a book.
So, take your ruler and lightly measure your paper before making any cuts.
A bookmark usually measures about 2 inches wide and 6 to 7 inches long. You can make it a little longer if you enjoy reading large hardcover books.
On the other hand, a shorter bookmark works well for novels and journals.
Draw your cutting lines with a pencil instead of guessing. Even a tiny difference can make the edges look uneven.
Next, cut slowly with sharp scissors or a paper trimmer. Clean edges give the project a polished look from the beginning.
If you plan to make several bookmarks, cut them all now. Then you can paint different designs while your colors are already on the palette.
This also helps you make the most of your painting time.
Step 2: Protect Your Work Area
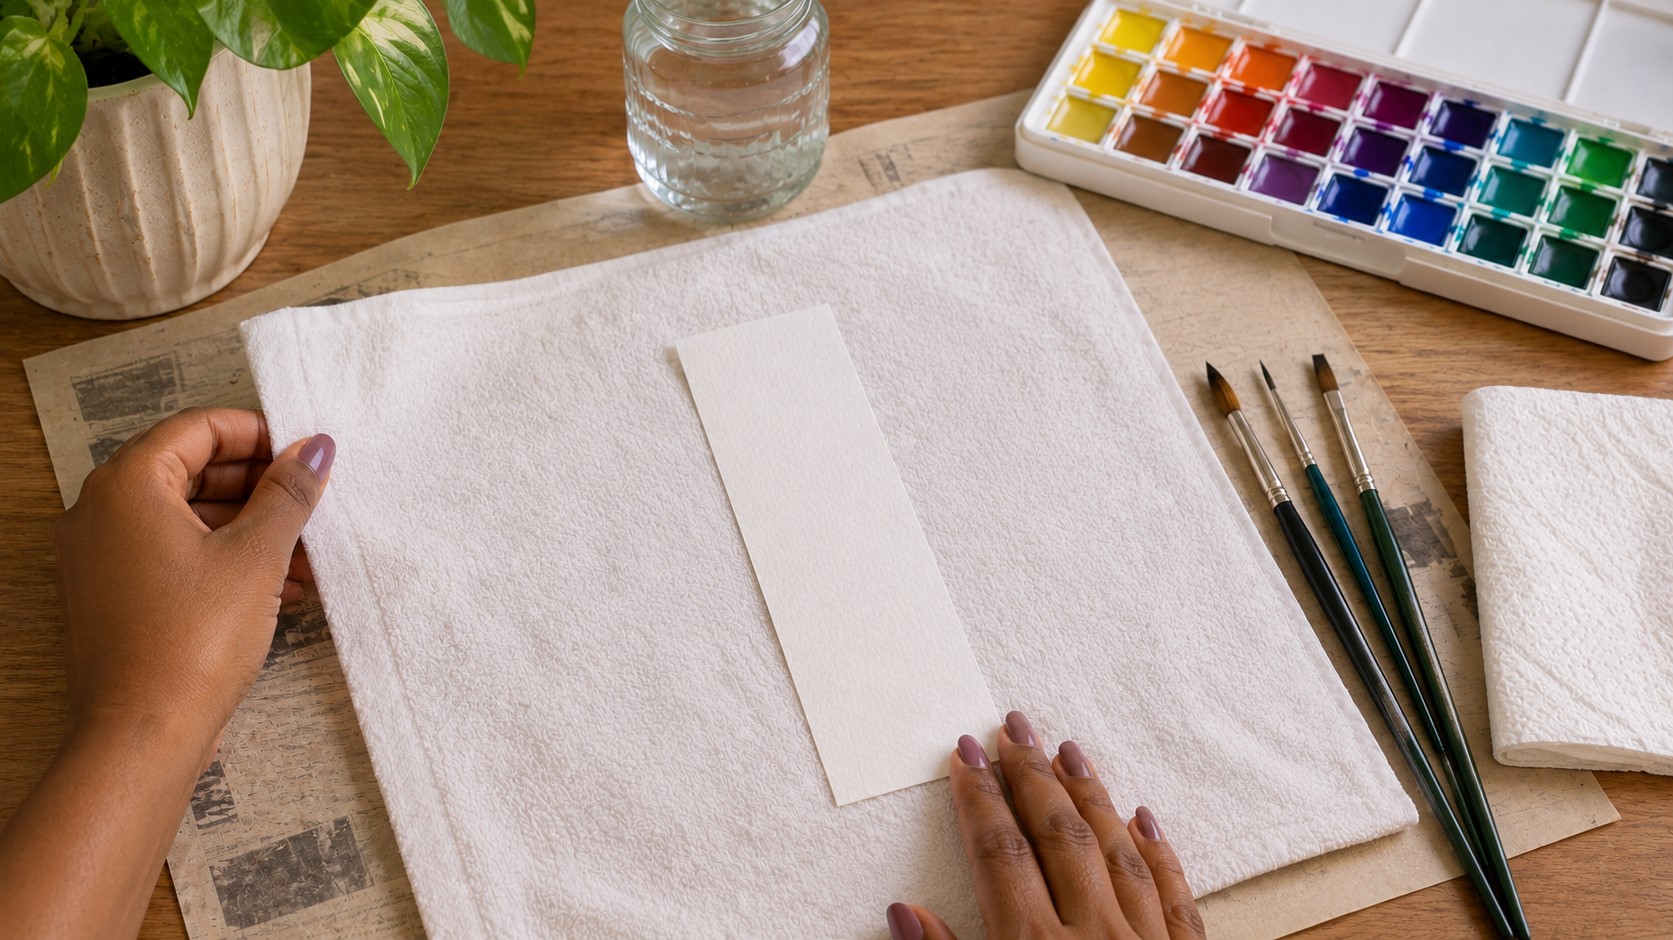
Before opening your paints, spend one minute preparing your workspace. It may seem like a small job, yet it saves a lot of cleanup later.
Place an old towel, craft mat, or several sheets of newspaper under your paper. Keep your water cup on one side and your paints on the other.
Leave enough room for your brushes so they do not roll onto your painting.
Next, keep a folded paper towel nearby. You will use it often to remove extra water from your brush. This simple habit helps you control your paint instead of letting it spread everywhere.
Good lighting also makes a difference. Natural daylight lets you see the true color of your paint. If you paint at night, place a bright lamp above your table so you can notice details more easily.
Step 3: Sketch a Simple Design
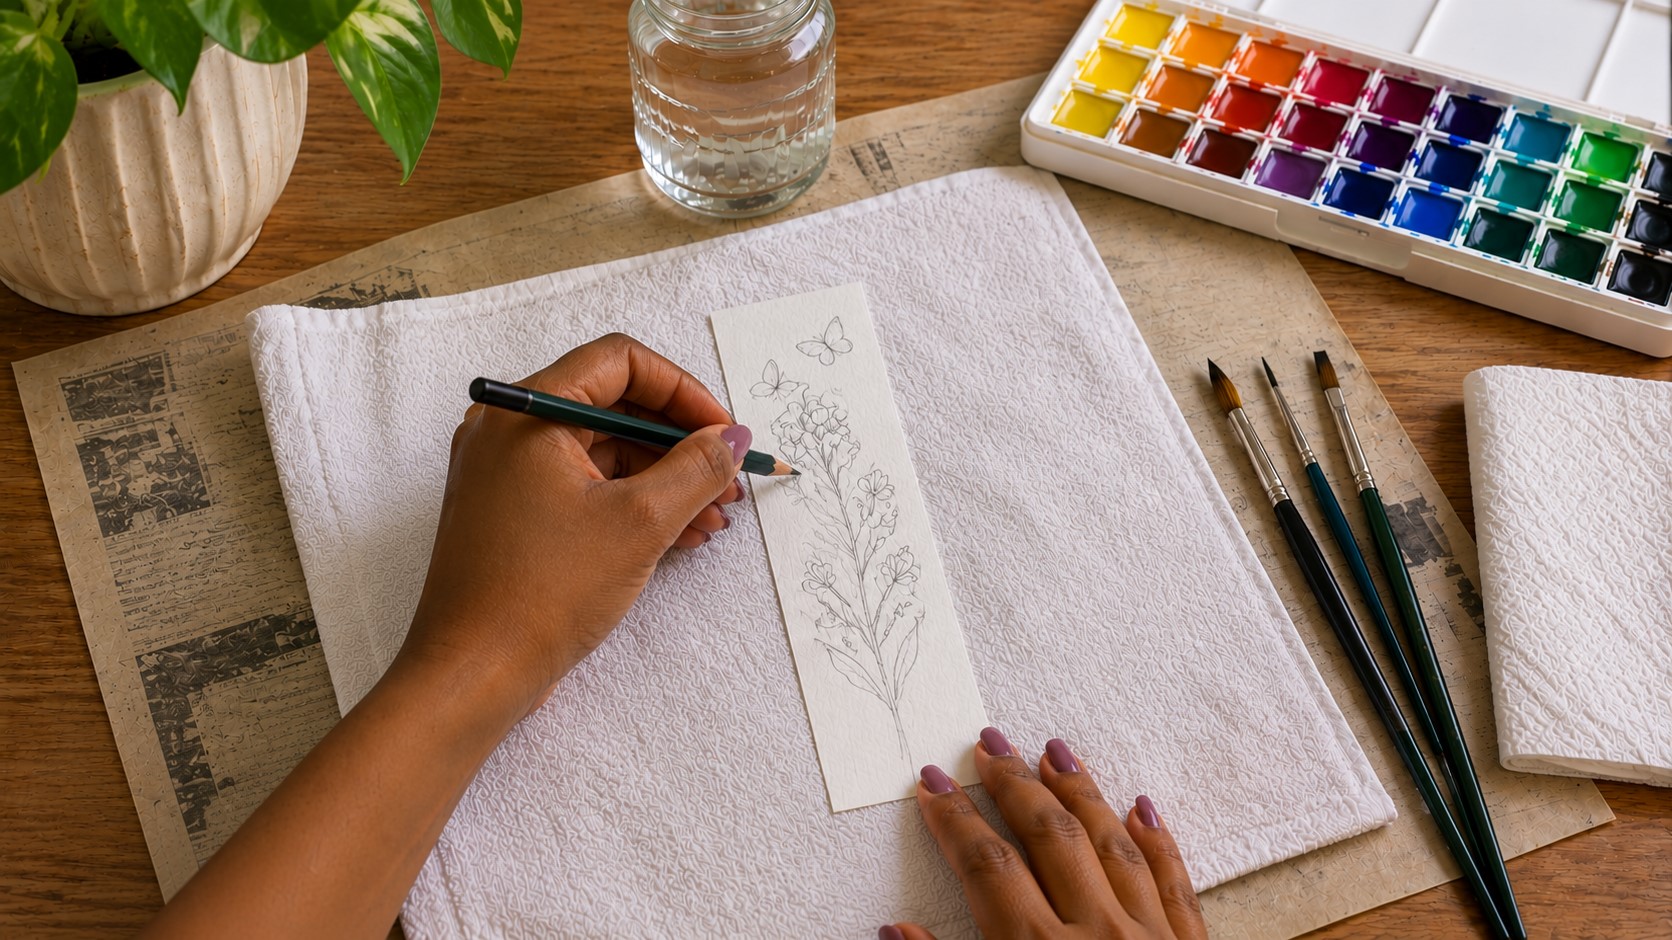
Many beginners skip this step because they want to start painting right away. I understand the excitement. Even so, a quick sketch gives your painting direction and helps you avoid last-minute changes.
Use a pencil with a light touch. You should barely see the lines. Heavy pencil marks often show through transparent watercolor paint.
Keep your design simple. A bookmark has a narrow shape, so large scenes usually feel crowded. Instead, choose one main idea.
You could sketch:
- A row of wildflowers
- Small leafy branches
- Loose lavender stems
- Tiny hearts
- Butterflies
- A sunset sky
- Soft clouds
- Abstract shapes
- Delicate vines
Leave some empty space around your drawing. Watercolor paintings look more elegant when they have room to breathe. You do not need to fill every inch of the paper.
If drawing feels difficult, practice your idea on scrap paper first. Once you like it, copy it onto your bookmark.
Step 4: Mix Your Colors Before You Paint
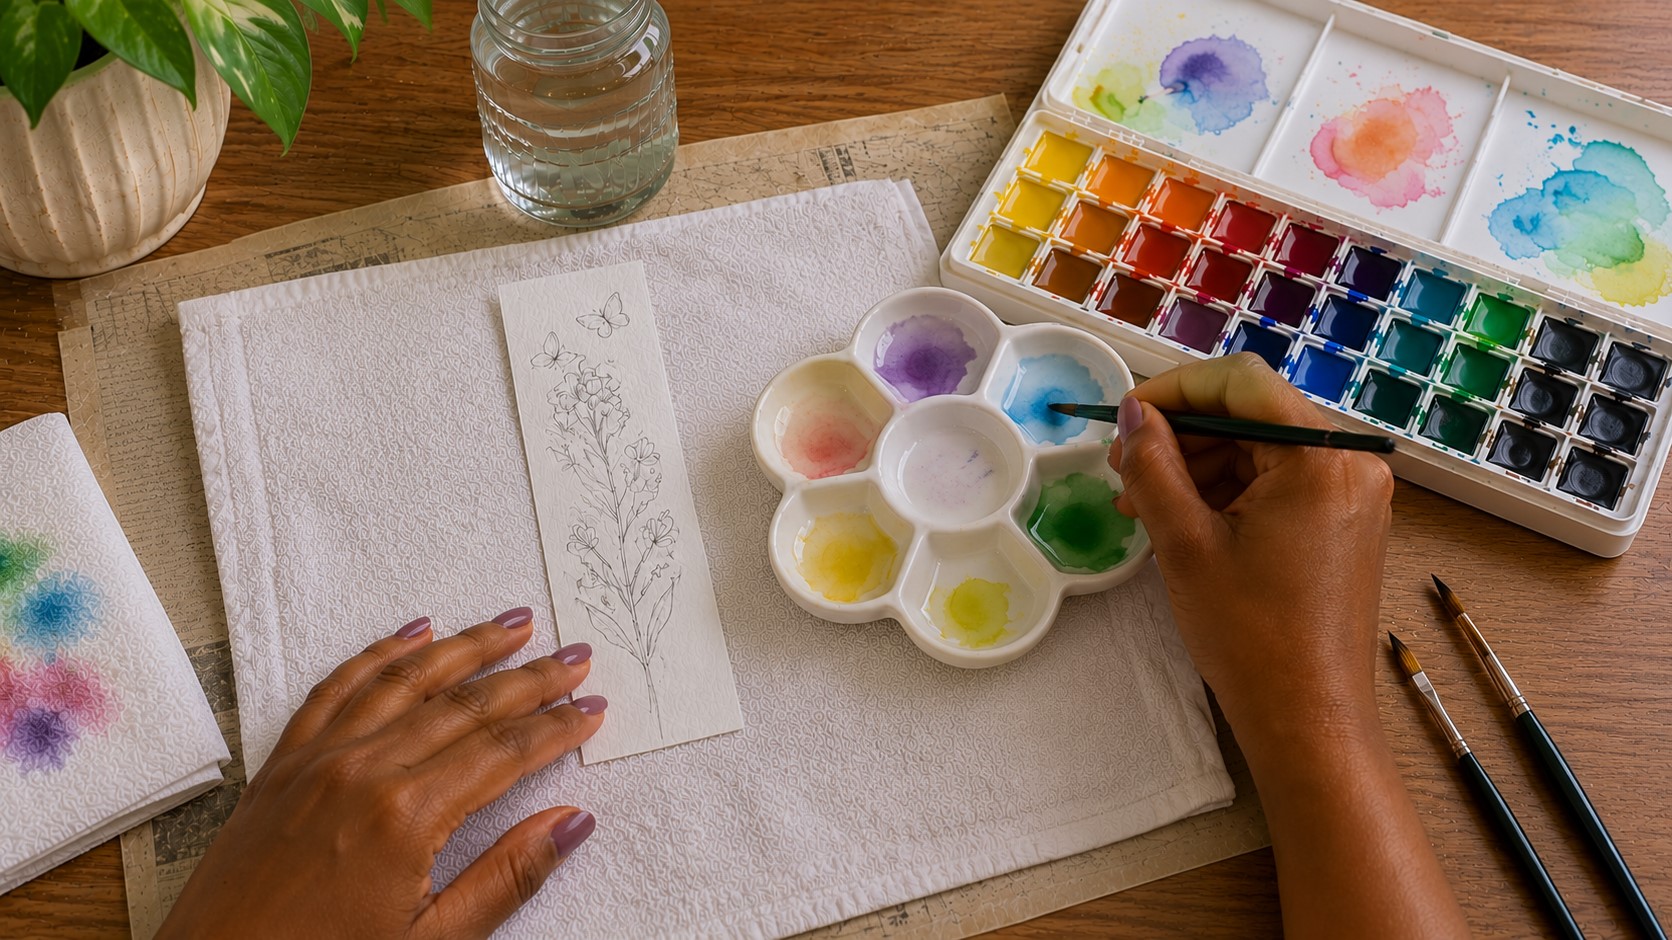
This step often gets overlooked, yet it makes painting much smoother.
Instead of choosing colors one by one while you work, prepare them first. Add a little water to each paint color and test it on a scrap piece of watercolor paper.
You may notice that some colors dry lighter than they first appear. Others become much brighter after adding more water. Testing them now prevents surprises later.
Choose three to five colors that work well together. Too many shades can make a small bookmark look busy.
Some beautiful color combinations include:
- Blue, teal, and green
- Pink, coral, and peach
- Purple, blue, and lavender
- Yellow, orange, and red
- Sage green with soft pink flowers
While mixing colors, think about where each one will appear. Having a rough plan keeps the painting balanced from top to bottom.
Step 5: Paint the Largest Areas First
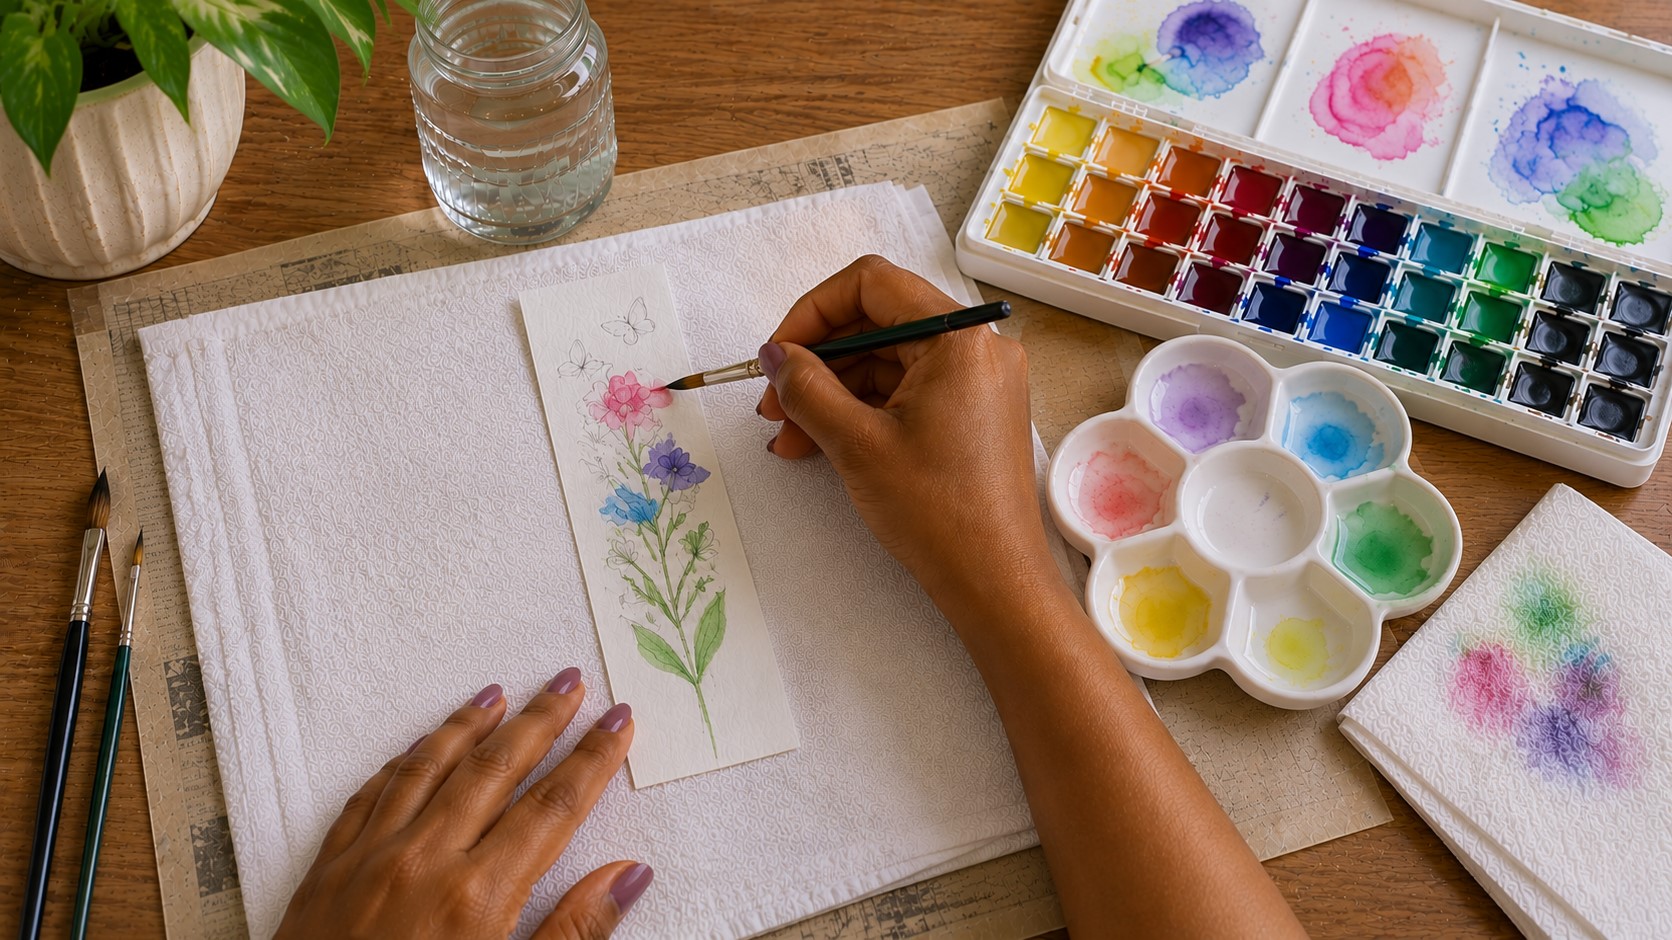
Now comes the exciting part. Dip your brush into clean water, pick up some paint, and begin with the biggest shapes in your design.
If you are painting flowers, start with the petals. If you are creating leaves, paint the larger leaves before the tiny ones. For a landscape, begin with the sky before adding trees or grass.
Do not rush to add every detail. Watercolor looks its best when soft washes have room to shine.
Keep your brush moving with gentle strokes. If one area becomes too wet, blot your brush on the paper towel before picking up more paint.
As you paint, remember that white paper is part of the artwork. Leaving small white spaces creates highlights without using white paint.
The colors may spread into each other a little. That is one of the reasons watercolor feels so relaxing. Instead of fighting every movement, let the paint create soft, natural blends.
Take your time during this step. A careful start makes the rest of the bookmark much easier to finish.
Step 6: Build Soft Layers for More Depth
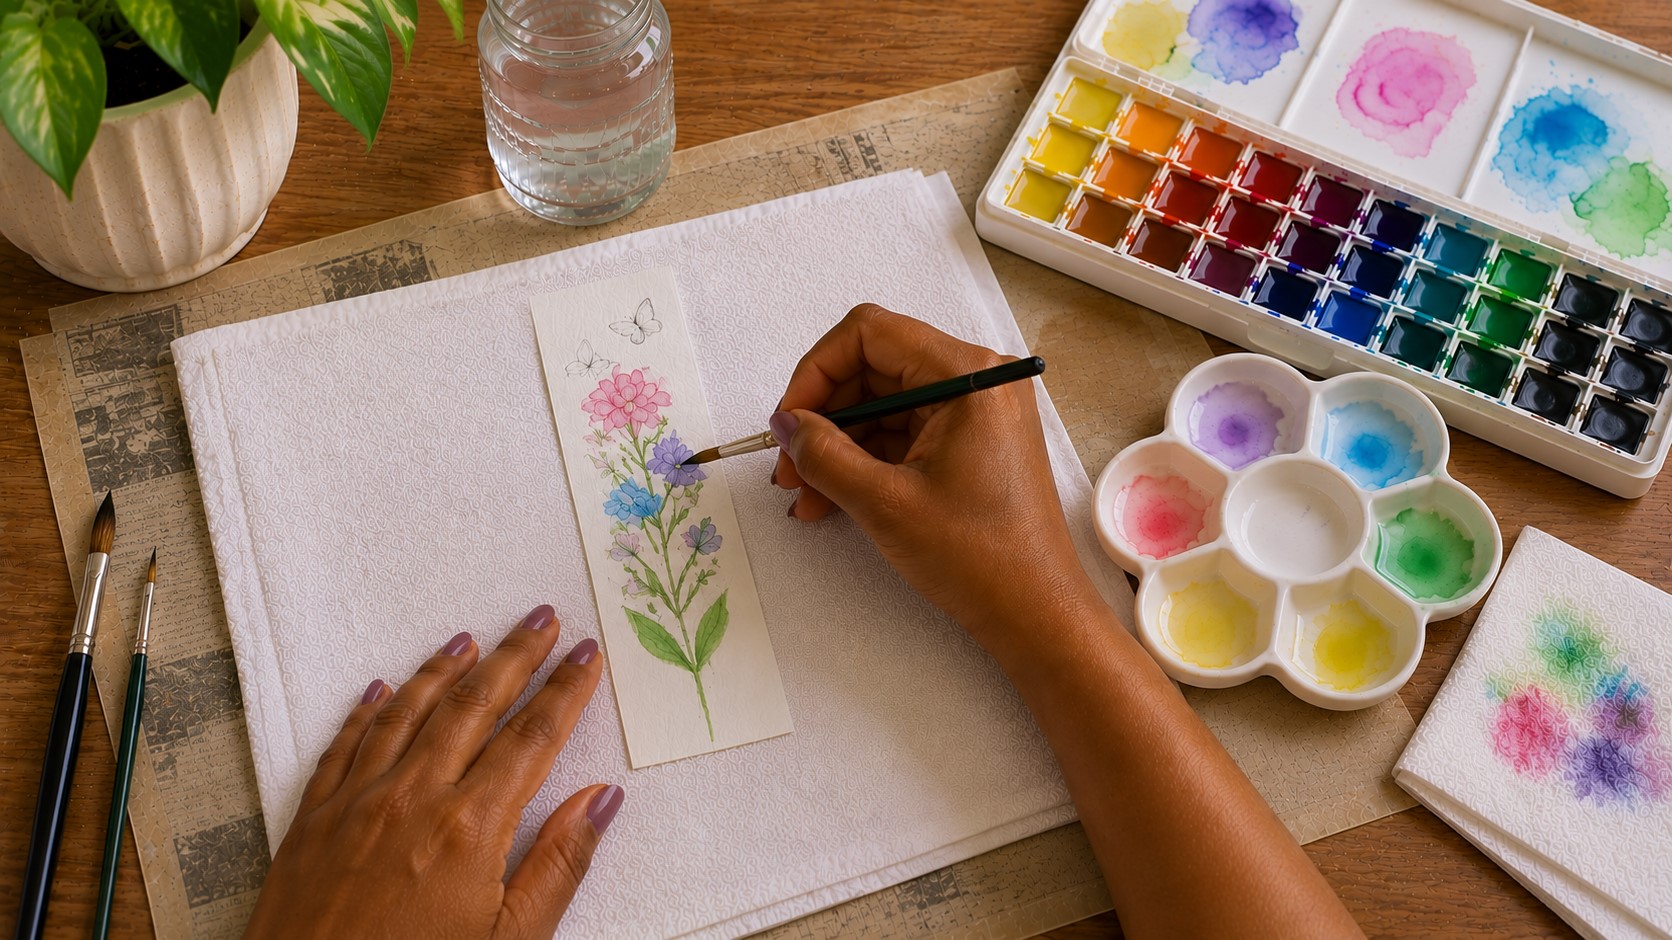
At this point, your bookmark may look a little lighter than you expected. Do not worry. Watercolor almost always dries softer than it looks when it is wet.
This is why I like building color in layers instead of trying to make everything dark at once.
First, let the first layer dry completely. If you paint over wet paper too soon, the colors will spread more than you want. A little patience here gives you much better control.
Next, choose one area to deepen. Add another light layer to flower petals, leaves, or the background. Keep this layer thin. You can always add more later if needed.
Stand back every few minutes and look at your bookmark from a short distance. This simple habit helps you notice if one area looks too dark or if another needs more color. Small adjustments often make the biggest difference.
Step 7: Add the Smaller Details
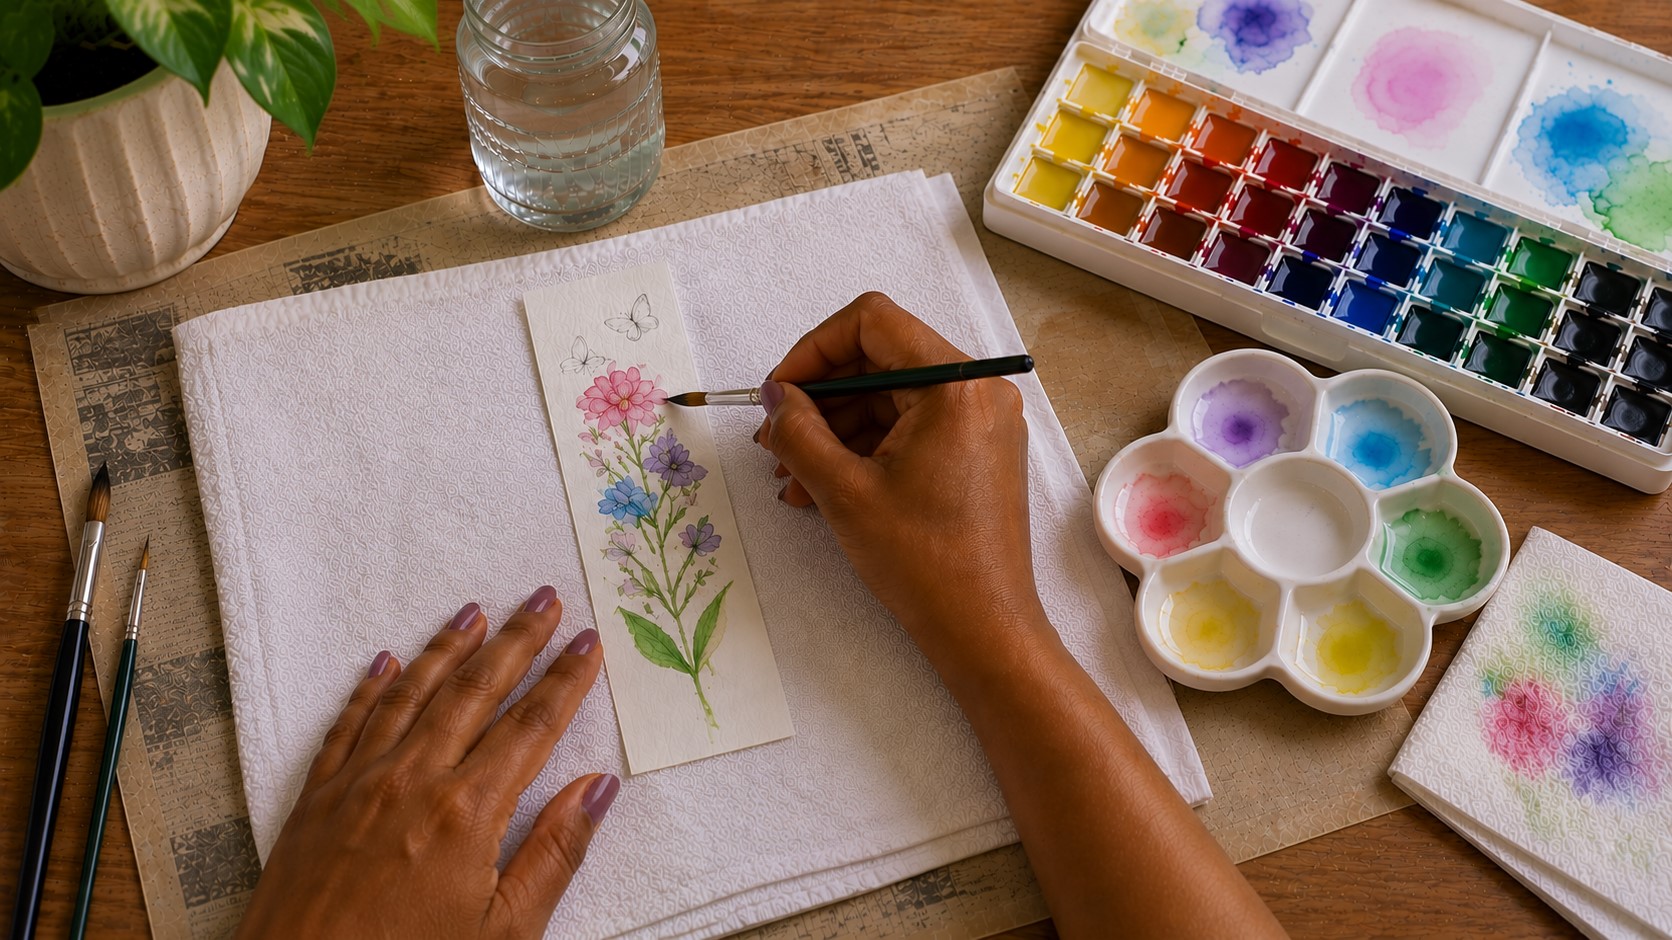
Once the larger shapes have dried, switch to your smaller brush. Now you can bring your design to life with little details that catch the eye.
If you painted flowers, add tiny centers, extra petals, or a few delicate buds. For leafy branches, paint thinner stems and smaller leaves.
If you chose an abstract design, add dots, lines, or soft splashes of color.
Do not feel like every empty space needs decoration. A bookmark with breathing room often looks more elegant than one filled from top to bottom.
Keep your hand relaxed while painting these details. Pressing too hard can create thick lines that overpower the softer parts of the design.
Every now and then, rinse your brush in clean water. Dirty water can change your colors without you noticing. Fresh water keeps each shade bright and clear.
Step 8: Create Gentle Color Blends
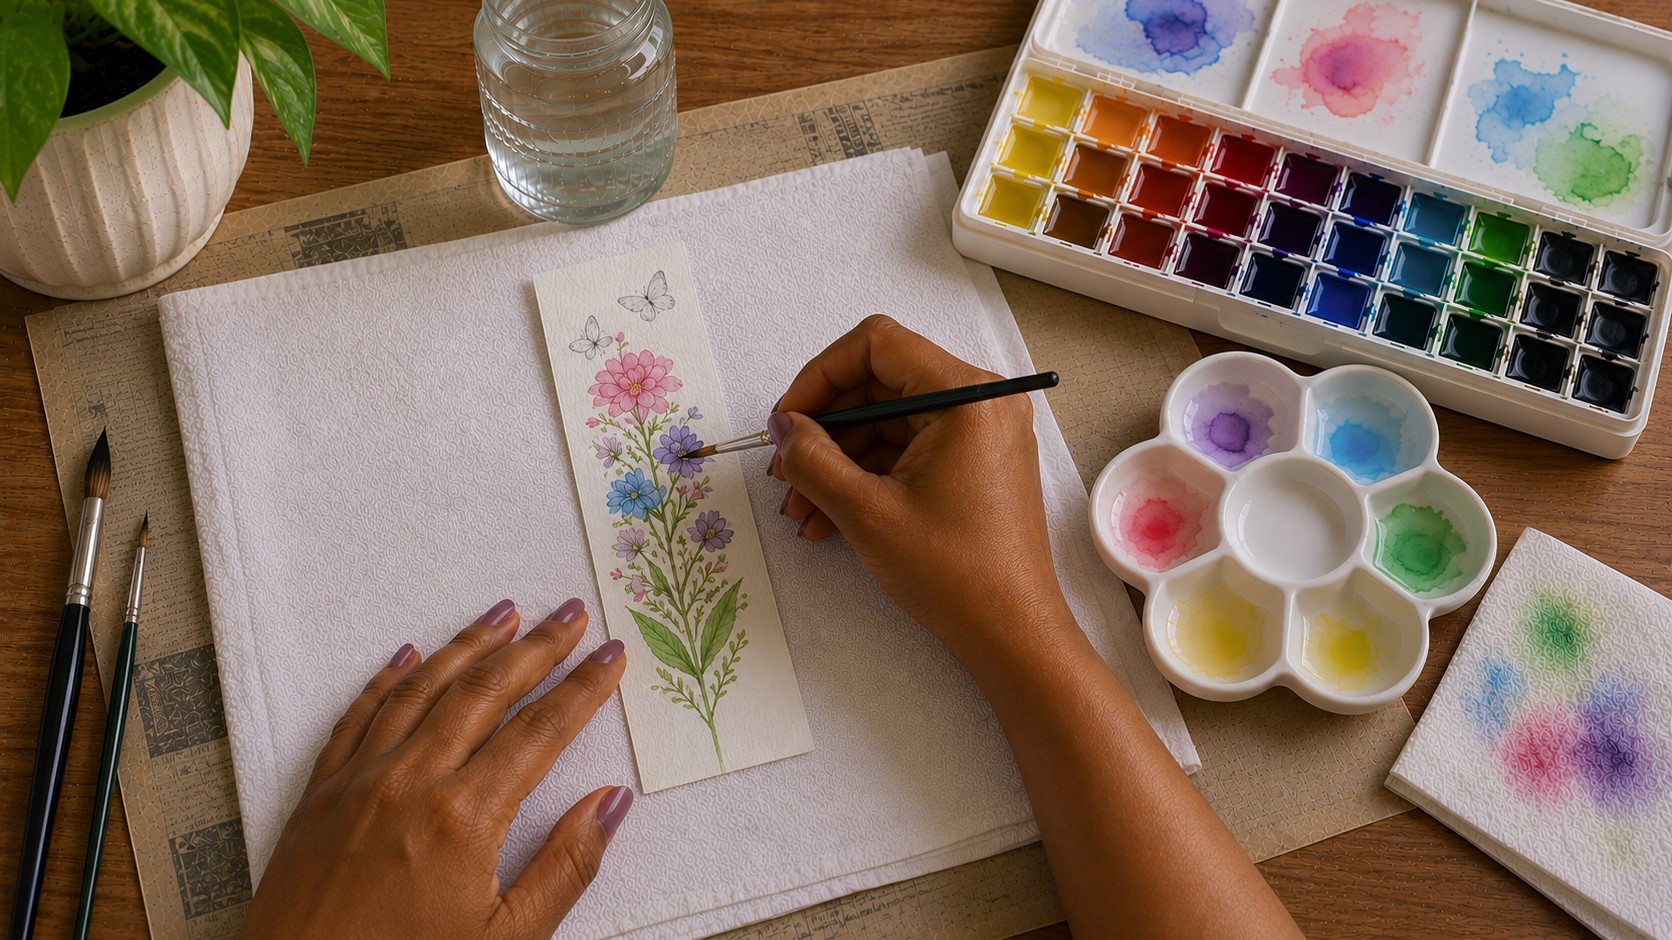
This step gives your bookmark a soft watercolor look instead of a flat painted appearance.
Load your brush with a small amount of clean water. Then touch the edge where two colors meet. You will see the colors begin to blend naturally.
Work slowly across the area instead of brushing back and forth quickly. Too much brushing can make the paper look rough and muddy.
If the paint starts moving more than you want, lift your brush and let everything dry for a few minutes. Then continue blending.
Sometimes the prettiest effects happen by accident. A soft bloom or gentle fade can make the bookmark look more artistic. So, enjoy the process instead of trying to control every tiny movement.
Step 9: Let the Bookmark Dry Completely
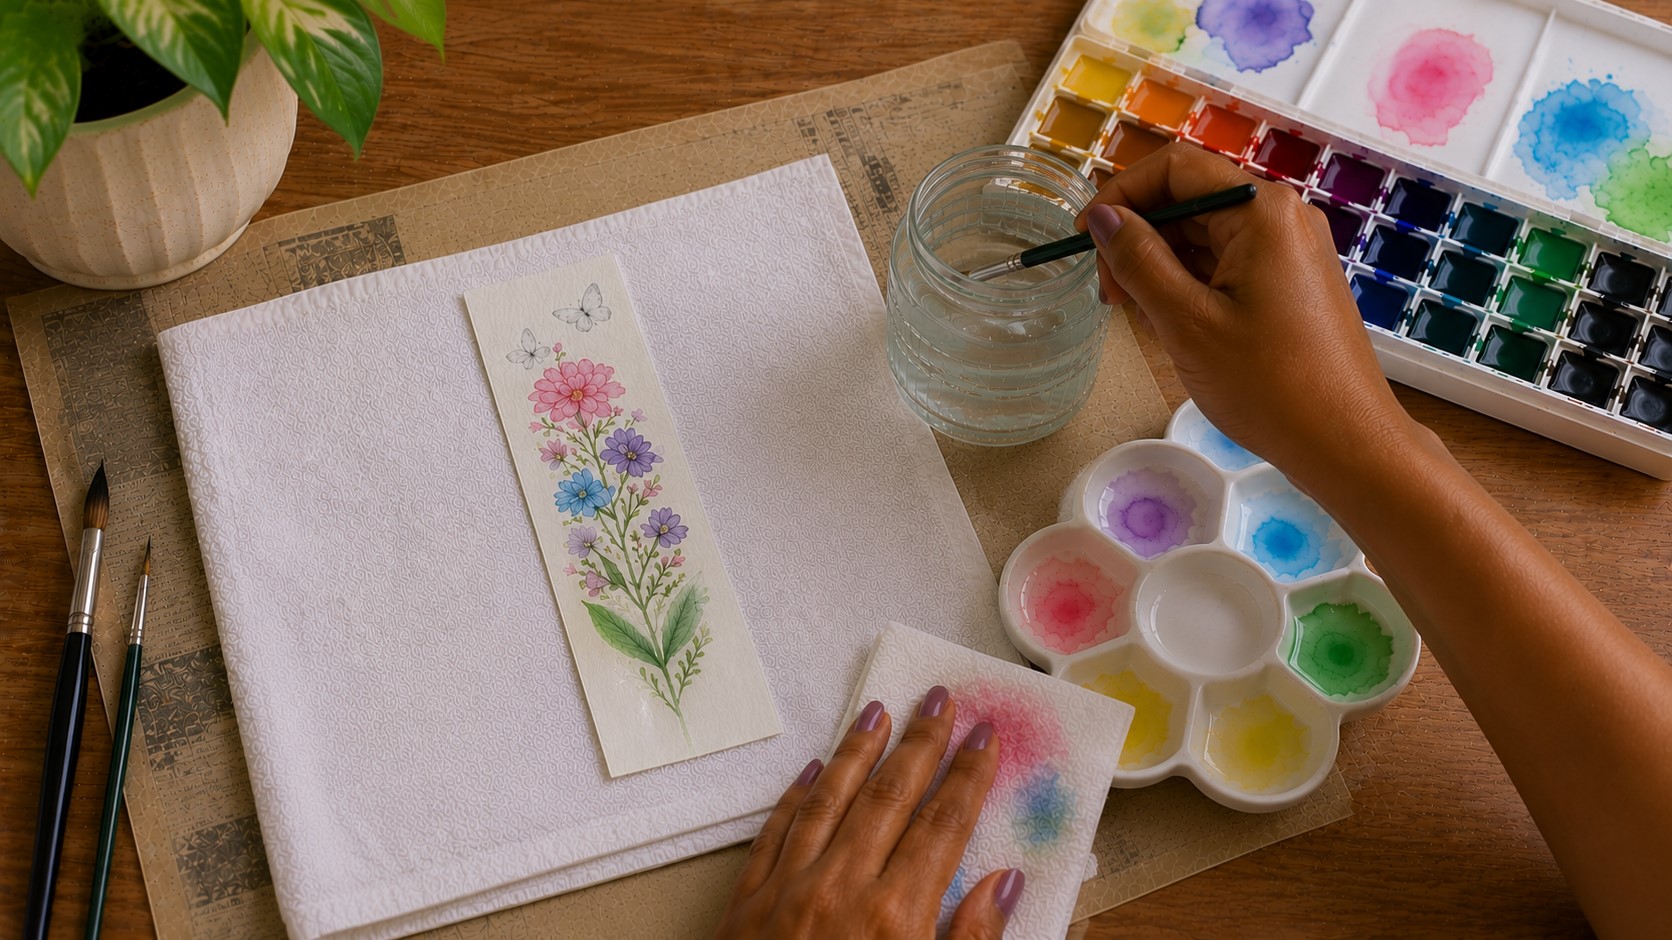
This step feels easy to skip, especially when you are excited to see the finished result. Even so, giving the paint enough time to dry protects all the work you have done.
Lay the bookmark on a flat surface where nobody will touch it. Avoid placing it in direct sunlight because the paper can dry unevenly.
You can use this waiting time to wash your brushes and tidy your workspace. By the time you finish cleaning, your painting will usually be ready for the next step.
Touch one corner gently before moving on. If it feels cool or damp, give it a few more minutes. Dry paper accepts final details much better than wet paper.
Step 10: Add Finishing Touches
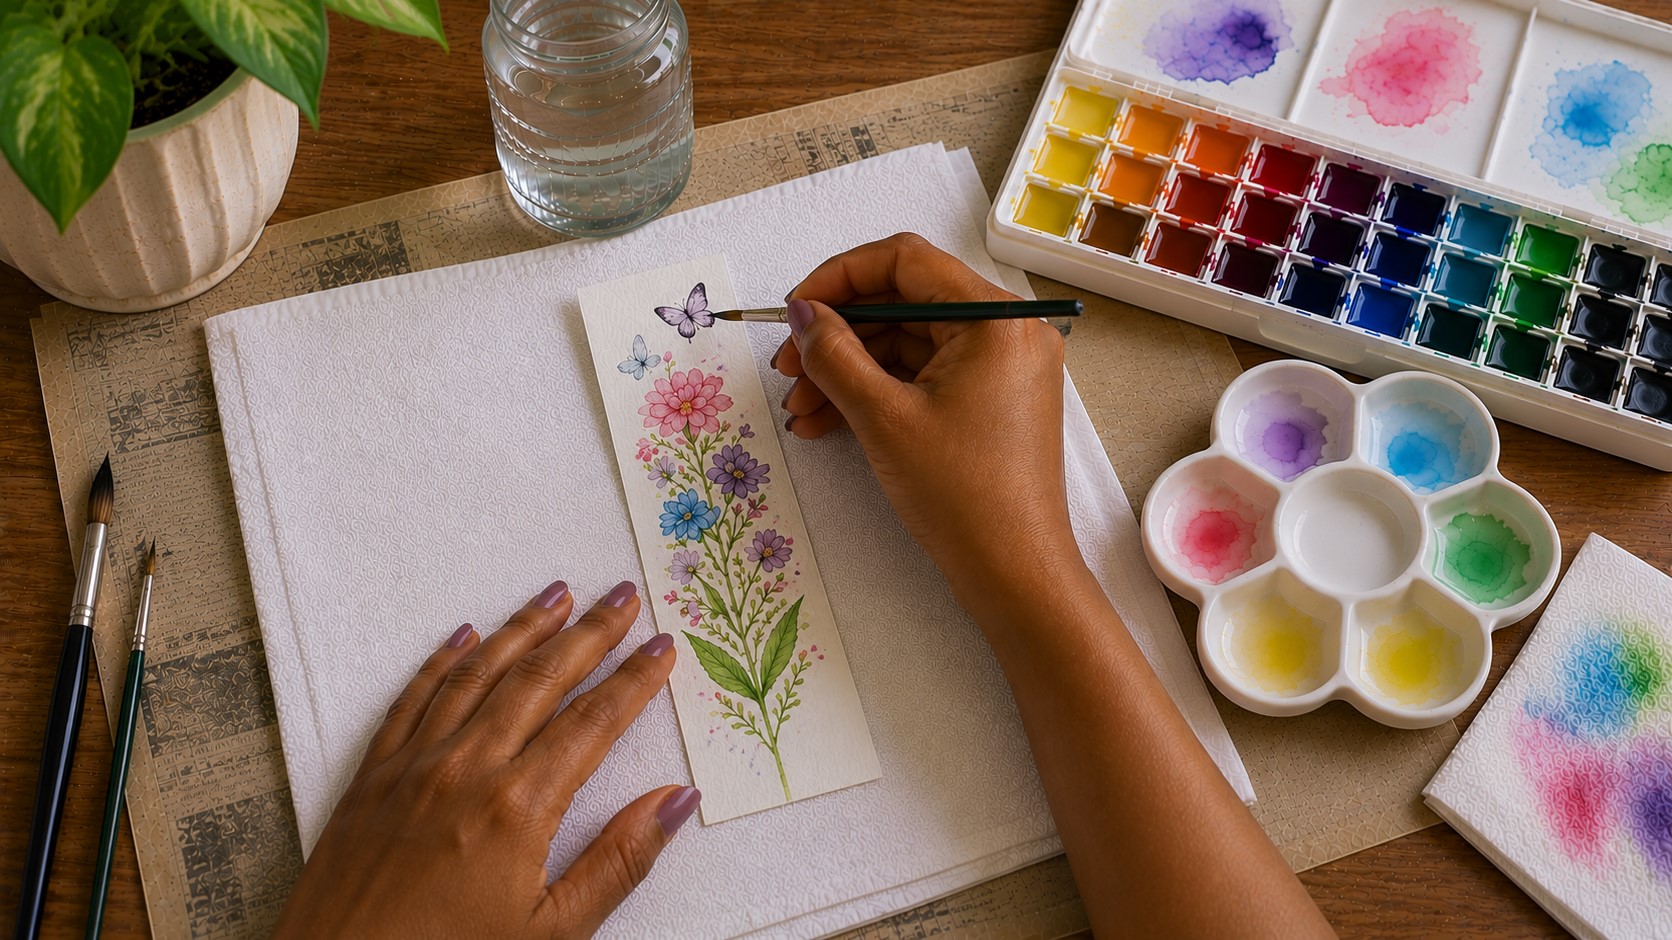
Now your bookmark should already look beautiful. Still, a few finishing touches can make it feel complete.
Look closely at the painting. Does one flower need another petal? Could a leaf use a darker shadow? Would a tiny splash of color brighten one corner?
Make only small changes. Too many last-minute additions can cover the fresh look that makes watercolor so appealing.
If you enjoy line art, use a waterproof fine liner to outline only a few areas. Thin outlines can add definition without making the painting feel heavy.
Some people also like adding tiny paint splatters. If you try this, cover the parts you want to protect first. Then tap your brush gently to create fine speckles instead of large drops.
Remember, simple designs often leave the strongest impression.
Step 11: Trim the Edges and Smooth the Corners
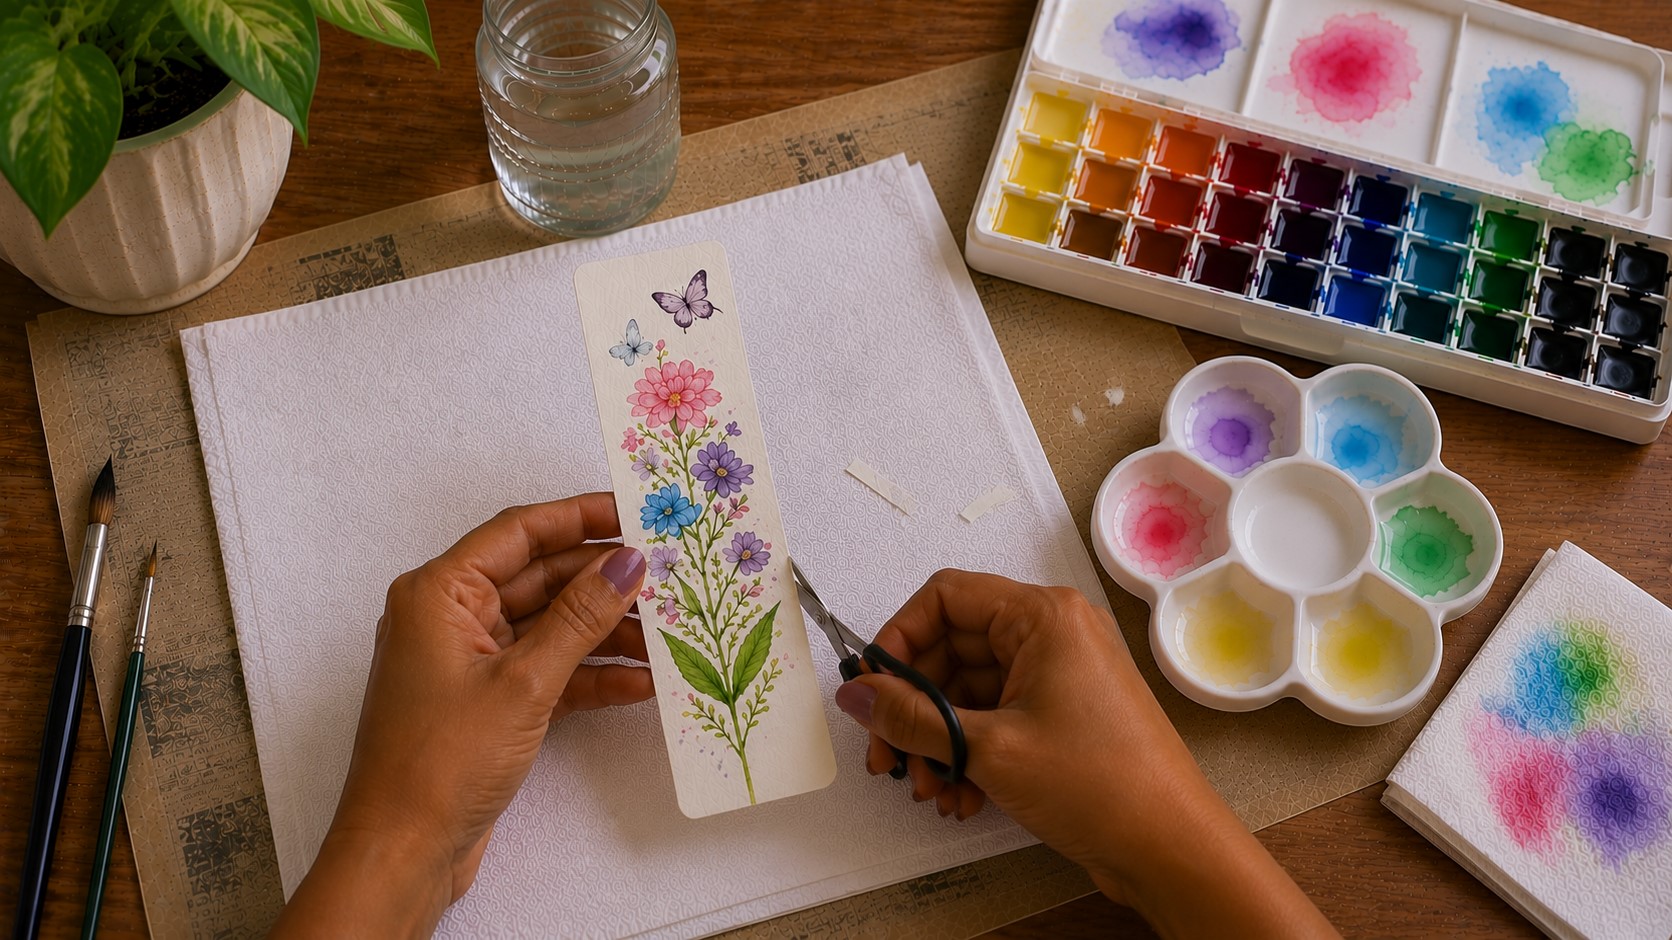
Once everything has dried, inspect the edges of your bookmark.
Sometimes watercolor paper curls a little while drying. If that happens, place the bookmark under a heavy book for several hours. It will flatten nicely.
Next, trim away any uneven edges with sharp scissors or a paper trimmer. Straight edges instantly make your work look more professional.
You can also round the corners using scissors or a corner punch. Rounded corners stay neat longer because they do not bend as easily inside books.
Hold the bookmark in your hand before moving on. It should feel comfortable and balanced. Small adjustments now will make it more enjoyable to use every day.
Step 12: Protect Your Bookmark
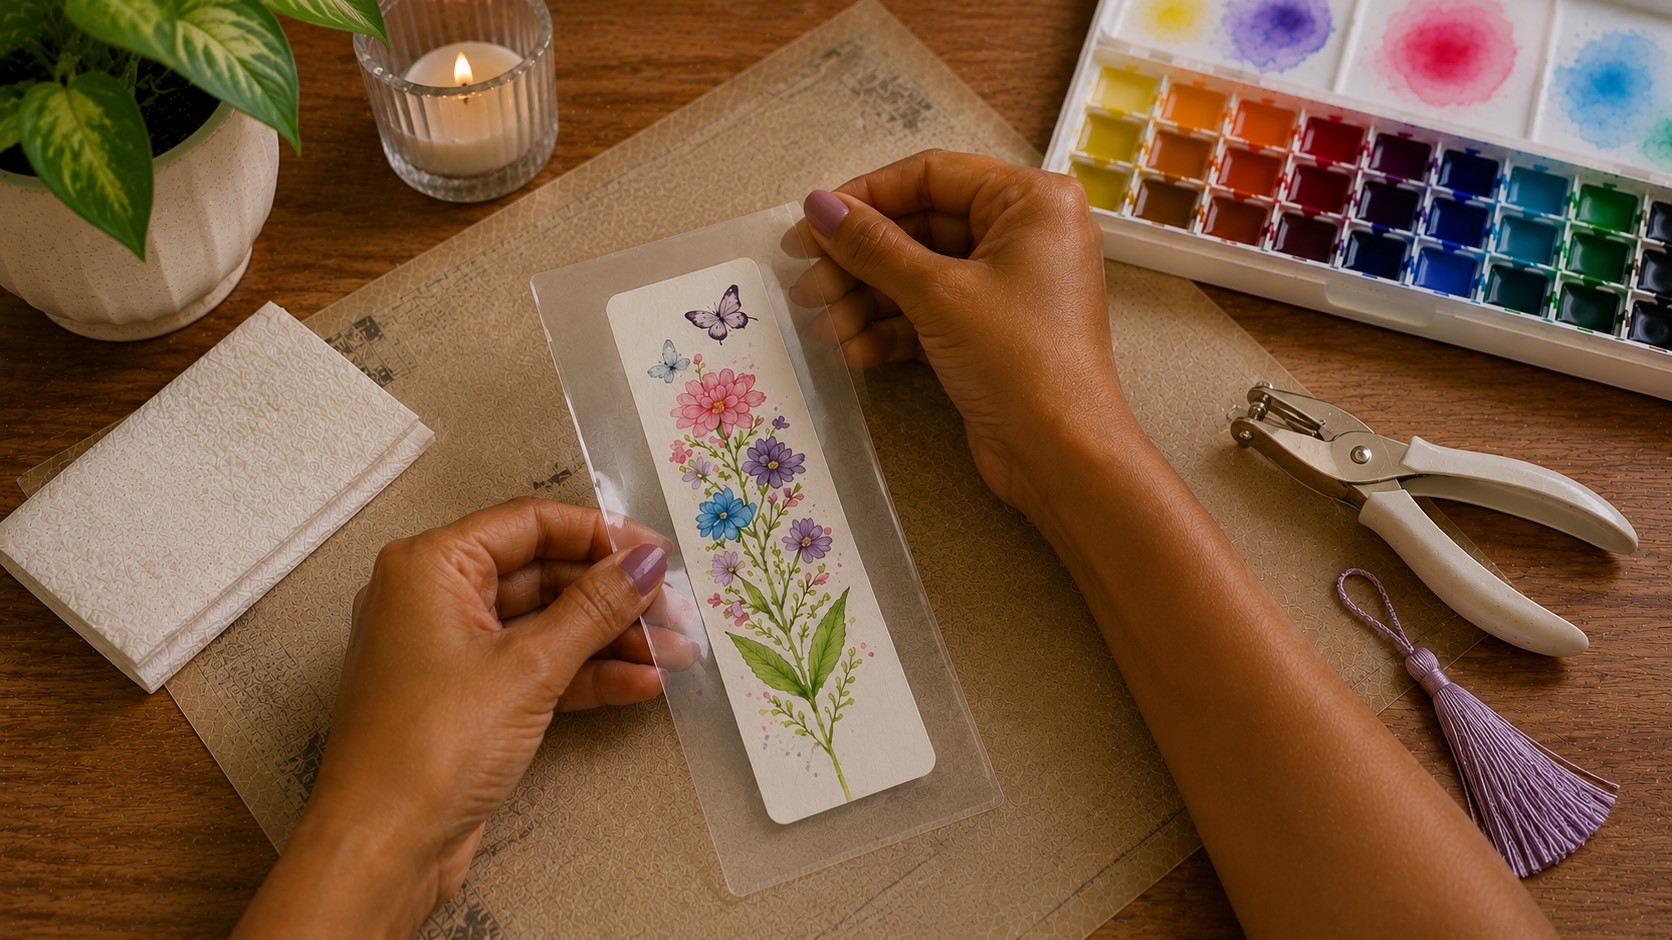
This final step helps your artwork last much longer. If you plan to use the bookmark often, consider protecting it from moisture and everyday wear.
You can laminate it with a laminating machine or use clear self-adhesive laminating sheets. Both options keep the colors looking fresh while making the bookmark stronger.
If you prefer the natural feel of watercolor paper, simply leave it unlaminated. Just remember to keep it away from water and avoid folding it inside your book.
For an extra decorative touch, punch a hole near the top and thread a ribbon or tassel through it. Choose a ribbon that matches your painting without stealing attention from it.
Once you finish this step, take a moment to admire your work. You started with a plain strip of paper, and now you have a handmade piece that adds a little beauty every time you open a book.
That is one of the reasons Painting a Watercolor Bookmark remains such a rewarding project for beginners and experienced painters alike.
Tips for Better Watercolor Bookmarks
- Start with light washes: Build the color little by little instead of using thick paint right away. This gives you much more control over the final look. If you want stronger colors, simply add another light layer after the first one dries.
- Keep two cups of water nearby: Use one for rinsing dirty brushes and the other for clean water. Your colors will stay brighter because you are not mixing clean paint with cloudy water. It also saves time since you will not need to replace your water as often.
- Turn the paper while painting: Rotate your bookmark instead of twisting your wrist into awkward positions. You will notice your brush moves more naturally, especially when painting thin stems or curved leaves. This small habit can make your lines look much smoother.
- Test every color first: Paint a quick swatch on a scrap piece of watercolor paper before using it on your bookmark. Some colors dry much lighter than they appear in the palette. Testing them first helps you avoid unexpected results.
- Stop before you overwork the paper: It is easy to keep adding brushstrokes because you want everything to look perfect. In many cases, the bookmark already looks finished before you realize it. Putting your brush down at the right time keeps the colors fresh and the paper in good condition.
Common Mistakes to Avoid
- Using thin paper: Printer paper cannot handle much water, so it wrinkles and tears easily. Watercolor paper stays flatter and lets the paint spread more evenly. That simple upgrade can improve your results immediately.
- Painting over wet layers too soon: Give each layer enough time to dry before adding more paint. The colors will stay cleaner, and your details will not blur together. A little patience makes a noticeable difference.
- Using too many colors: It may seem fun to use every shade in your paint set, yet the finished bookmark can end up looking busy. Three to five colors usually create a more balanced design. A limited color palette also makes blending much easier.
- Skipping the pencil sketch: A quick sketch helps you place your design before you start painting. It reduces mistakes and keeps the artwork balanced from top to bottom. Draw lightly so the pencil lines stay hidden after painting.
- Trying to fill every space: Empty areas are not unfinished spaces. They help the painted sections stand out and give the bookmark a cleaner appearance. White space is one of the easiest ways to create an elegant watercolor design.
Final Thoughts
Small projects often leave the biggest impression. A watercolor bookmark proves that you do not need a full day or a table full of supplies to create something beautiful.
With a little paper, a few paints, and some quiet time, you can make a bookmark that adds color to every reading session.
Even better, each one helps you build confidence with your watercolor skills without feeling overwhelmed.
As you continue practicing, do not worry about making every bookmark look perfect. Some designs will come out exactly as you imagined, while others may surprise you in the best way.
Every brushstroke teaches something new, and every finished bookmark becomes part of your creative journey.
That is one reason I continue recommending learning How to Paint a Watercolor Bookmark to anyone looking for a relaxing and rewarding art project.
Now it is your turn to gather your paints and give it a try. Start with simple shapes, enjoy the process, and let the colors flow naturally.
Before long, you will have a collection of handmade bookmarks ready for your favorite books or thoughtful gifts for people you care about.
Most importantly, you will discover that learning How to Paint a Watercolor Bookmark can become the beginning of many enjoyable watercolor projects.