If you asked me to choose one back-to-school project that almost anyone could make, this would probably be it. It does not take a long list of supplies, and you do not need years of painting experience.
Even so, the finished piece can make a desk feel completely different. That is one reason I enjoy showing people How to Paint a Desk Name Sign. It is simple enough for beginners, yet it gives you plenty of room to be creative.
I also like that every desk name sign tells its own story without saying much. Two people can start with the same wooden plaque, the same paint colors, and the same brushes.
Still, they will end up with completely different results. One person may choose bold colors and playful patterns. Someone else may keep everything soft and neat.
Neither choice is wrong because the best design is the one that feels right to the person using it every day.

When I make projects like this, I never rush to open the paint first. I spend a little time thinking about the name, the colors, and the small details that will tie everything together.
That is exactly how I want to guide you through this tutorial. We will begin with the materials, plan the layout before painting, and work through each stage one step at a time.
I will point out the little details that often get overlooked because they matter just as much as the painting itself.
By the time you finish, you will have a personalized desk name sign that looks thoughtful, feels unique, and is ready for the first day of school.
Supplies You Will Need
Before you pick up a paintbrush, spend a few minutes gathering everything you need. This project moves along much more smoothly when your supplies stay within reach.
You can focus on painting instead of searching for missing items halfway through.
You do not need an expensive craft collection to make a beautiful desk name sign. In fact, many of the supplies are things you may already have at home.
A few good basics and a little creativity will take you much further than buying lots of fancy tools.
You will need:
- A wooden plaque or MDF name sign
- Acrylic paints
- Small and medium paintbrushes
- Fine detail brush
- Pencil
- Eraser
- Ruler
- Fine-grit sandpaper
- Soft cloth
- Paint palette or paper plate
- Cup of clean water
- Carbon paper or tracing paper (optional)
- Paint marker (optional)
- Clear acrylic sealer
- Decorations like flowers, stars, books, pencils, hearts, or leaves
How to Paint a Personalized Back-to-School Desk Name Sign
Step 1: Choose the Perfect Name Sign Base

Every great project starts with a good foundation. Before you think about colors or decorations, take a close look at the surface you plan to paint. A smooth and sturdy base makes every step much easier later.
I usually spend a few extra minutes choosing the plaque instead of grabbing the first one I see. That small decision saves me plenty of time because I do not have to fight rough edges or uneven surfaces while painting.
Pick a Size That Fits the Name
Think about the name before buying the plaque. A short name like Ava needs much less room than a longer name like Christopher. If the plaque feels too small, the letters may end up squeezed together.
I also like leaving a little empty space around the name. That extra room gives the design a balanced look. It also leaves enough space for small decorations without making the sign feel crowded.
Step 2: Prepare the Surface

Once you have your plaque, resist the urge to start painting right away. Even a new wooden plaque usually needs a little preparation. This step only takes a few minutes, yet it helps the finished project look much cleaner.
Run your hand across the surface before doing anything else. Sometimes the wood feels smooth at first glance, yet you may notice tiny rough spots as soon as you touch it. Those little bumps can show through the paint if you leave them behind.
Sand Until It Feels Smooth
Use fine-grit sandpaper and gently sand the front, sides, and edges. You do not need much pressure. Slow, even movements usually give the best results.
After sanding, wipe away every bit of dust with a soft cloth. I never skip this part because leftover dust can mix with the paint and leave a rough finish. A clean surface always rewards you with smoother brush strokes.
Step 3: Plan the Layout Before Painting

Now comes one of my favorite parts of the project. Before opening any paint, I like imagining how the finished sign will look. This little planning session often changes the final design for the better.
Many beginners paint first and think later. I understand the excitement because I used to do the same thing. Even so, I learned that spending five extra minutes with a pencil saves much more time than fixing mistakes after the paint dries.
Sketch Everything Lightly
Use a ruler to find the center of your plaque. Then lightly write the name with a pencil. Keep the lines soft because you will erase them later.
After placing the name, sketch your decorations around it. Move things around until everything looks balanced.
Sometimes I erase a flower three times before I finally like its position. That little adjustment often makes the whole design feel much more polished.
Step 4: Choose Colors That Work Together

Choosing paint colors sounds simple, yet it can completely change the mood of your project. Bright colors create a playful feeling, while softer shades give the sign a calm and cozy look.
Instead of picking every favorite color, try limiting yourself to three or four main shades. Too many colors can distract from the name, which should always remain the star of the project.
Test the Colors First
I always place tiny dots of paint on my palette before I begin. Looking at the colors side by side helps me notice combinations that work well together.
Sometimes I swap one color before painting because it feels too bright or too dark. Making that decision now feels much easier than repainting the whole background later.
Step 5: Paint the Background

The background creates the stage for everything else. Once it looks smooth, the lettering and decorations become much easier to notice. I always start here because it allows every other detail to build on top of it.
Load your brush with a small amount of paint instead of covering it completely. Thin coats spread more evenly and leave fewer brush marks.
They also dry much faster, which keeps the project moving along nicely.
Build the Color Slowly
Paint the first coat using long, even strokes. Try brushing in the same direction whenever possible. That simple habit helps the surface look much neater.
Allow the first coat to dry completely before adding another one. Two thin coats almost always look better than one thick layer.
As you paint, check the edges too because they deserve the same neat finish as the front.
Step 6: Add the Name

This is the moment that brings the whole project to life. Up until now, you have only prepared the surface. Once the name appears, the sign immediately starts feeling personal.
Take your time during this step. There is no prize for finishing quickly. Steady brush strokes create cleaner letters, and cleaner letters make the finished sign look much more professional.
Keep the Lettering Neat
If you feel confident, paint directly over your pencil lines with a fine brush. If not, use a paint marker instead. Both methods can produce beautiful results.
Rest your painting hand on the table while working. That little bit of support helps control the brush much better.
I also like turning the plaque instead of twisting my wrist because it keeps every stroke smoother.
Step 7: Decorate Around the Name

Now that the name has dried, it is time to give the sign its personality. This is the part where you can make the project look playful, elegant, colorful, or simple.
I always remind myself that the decorations should support the name instead of stealing attention from it.
Before I paint anything, I place the plaque a short distance away and look at the whole design. That quick pause helps me notice empty spaces and areas that already have enough detail. I find this much easier than adding decorations one by one without a plan.
Choose Decorations That Match the Style
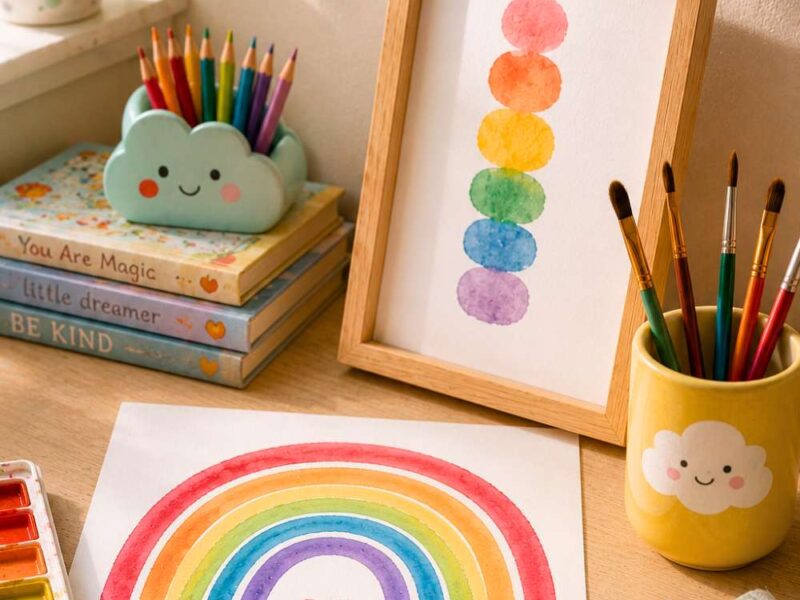
Think about who will use the desk name sign every day. A younger child may enjoy rainbows, smiling clouds, stars, or cute animals.
An older student may prefer flowers, leaves, books, or simple geometric patterns. You can even match the design to a favorite hobby or color.
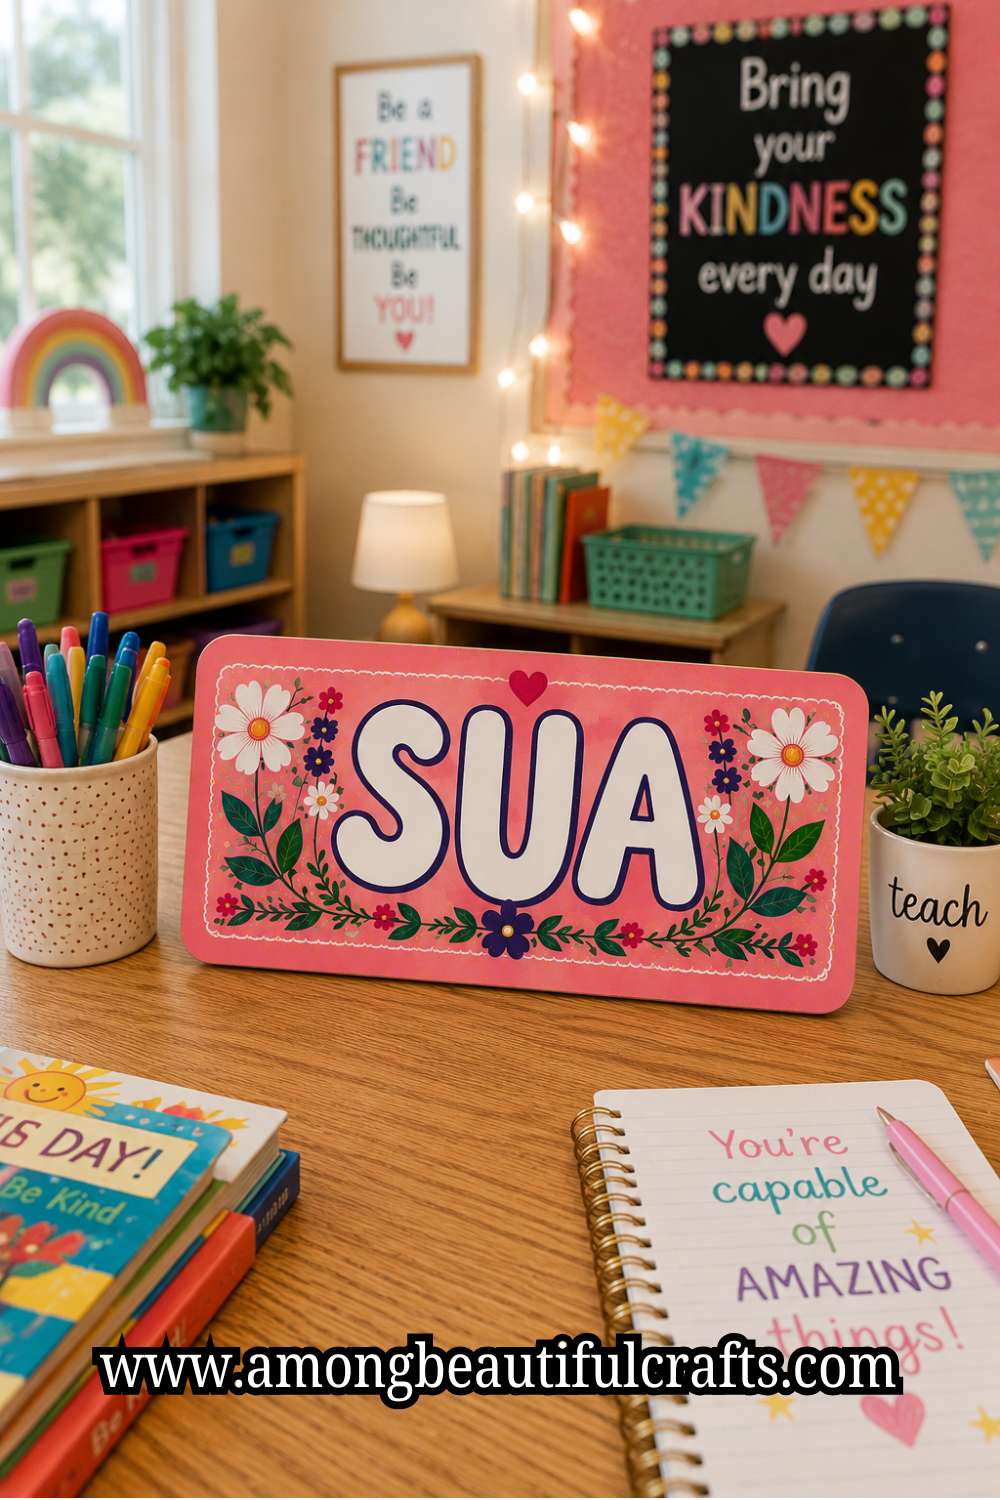
Try repeating the same decoration instead of adding many different ones. For example, if you choose daisies, place a few around the sign instead of mixing flowers, hearts, stars, and butterflies together. Repeating a design creates a cleaner look and helps everything feel connected.
Paint the larger decorations first and leave the tiny details until the end. This order makes it easier to fill the space without covering work you already finished.
As you go, step back every few minutes and check the balance before adding something new.
Step 8: Add Small Details That Make the Sign Stand Out

At this stage, the sign already looks finished. Even so, a few thoughtful details can make it look much more polished. These little touches may seem small, yet they often catch the eye first.
I enjoy this step because it gives me a chance to slow down. There is no need to rush. In fact, taking your time here usually creates the biggest difference between a project that looks homemade and one that looks carefully handcrafted.
Use Fine Details Without Overcrowding
Pick up your smallest brush and add simple accents where they make sense. Tiny dots in the center of flowers, thin outlines around leaves, or little highlights on stars can bring the design to life. A few curved lines can also add movement without making the plaque look busy.
You can outline the name with a thin white or black line if the letters blend into the background. Keep the outline narrow and steady. The goal is to help the name stand out, not make it look heavy.
While working, remember that empty space is part of the design too. Every corner does not need decoration. Leaving a little breathing room helps each painted detail shine.
Step 9: Check Your Work and Make Small Corrections

Before sealing the sign, spend a few minutes looking over everything carefully. I always do this because tiny mistakes become much harder to fix after applying the protective finish.
Place the plaque on a table instead of holding it in your hands. Looking at it from a short distance gives you a fresh perspective.
You may notice a letter that needs another coat or a flower that could use a little more color.
Fix Small Problems Before Moving On
If you find uneven paint, wait until the area feels dry before touching it again. Trying to fix wet paint usually creates a bigger mess.
A second thin coat often solves the problem without much effort.
Look closely at the edges too. Paint sometimes collects there without us noticing. Smooth out those areas while you still can.
Then erase any visible pencil marks that remain around the design. Take your time because those little finishing touches really matter.
Step 10: Seal the Finished Desk Name Sign

You have already put plenty of effort into your project, so it deserves a little protection. A clear sealer helps the paint stay bright and reduces scratches from everyday use.
Since the sign will sit on a desk, it will likely get touched and moved often.
Make sure every part of the design feels completely dry before opening the sealer. I usually wait longer than I think I need. That extra patience gives me peace of mind and helps prevent smudges.
Apply Thin Coats for the Best Finish
Brush on a light coat of sealer or use a spray version if you prefer. Cover the front first, then seal the sides. Keep the layer thin because thick coats can dry unevenly.
Allow the first coat to dry before adding another one. Two light coats usually provide better protection than one heavy coat. Once everything dries, the sign will feel smoother and look more vibrant.
Step 11: Display Your Personalized Desk Name Sign

The best part of any craft project comes when you finally put it to use. After spending time creating something by hand, it feels rewarding to see it brighten a real space.
Even a simple desk can look more welcoming with a personalized sign.
Place the sign where it is easy to see without taking up too much workspace. It can sit beside a pencil holder, rest in front of books, or become the centerpiece of a study corner.
If you made it as a gift, wrap it carefully and include a handwritten note. That small touch makes the present feel even more thoughtful.
Make It Part of a Back-to-School Set
A desk name sign pairs beautifully with other handmade school supplies. You could paint a matching pencil holder, decorate a notebook, or customize a bookmark using the same colors. Keeping everything coordinated creates a finished look without much extra work.
You can also make several signs for siblings, classmates, or teachers. Give each one its own color palette and decorations. They may follow the same idea, yet every sign will still have its own personality.
Easy Ways to Make Your Desk Name Sign Feel More Personal
Once you finish painting, take one last look at your design before calling it complete. Sometimes the smallest changes make the biggest difference.
You may decide to add a tiny heart beside the name, paint a thin border around the edge, or include a few dots between flowers.
Those little details help the sign feel more personal without making it look busy.
You can also match the colors to the person’s favorite school supplies or bedroom décor. A child who loves dinosaurs may enjoy small footprints around the border, while someone who enjoys reading may like tiny books tucked into the corners.
Keep the decorations simple and let the name remain the center of attention. When every detail has a purpose, the finished sign looks balanced and thoughtful.
Final Thoughts
I hope this guide has shown you that a personalized desk name sign does not have to be difficult.
Once you break the project into simple steps, everything feels much more manageable. Take your time, enjoy each stage, and remember that every brush stroke helps you improve.
As you continue practicing, you will start noticing little details that make your work even better. Your brush will feel steadier, your lettering will become cleaner, and choosing colors will feel much easier.
Those improvements happen naturally because every project teaches you something new. Before long, you may even find yourself making signs for friends, teachers, or family members.
Most importantly, have fun while creating. Learning How to Paint a Desk Name Sign is about much more than adding paint to a wooden plaque.
It is about making something that brings personality to a workspace and puts a smile on someone’s face every time they sit down.
I hope your finished sign becomes one of those handmade pieces that stays on a desk long after the school year begins, reminding you that simple projects can leave lasting memories.