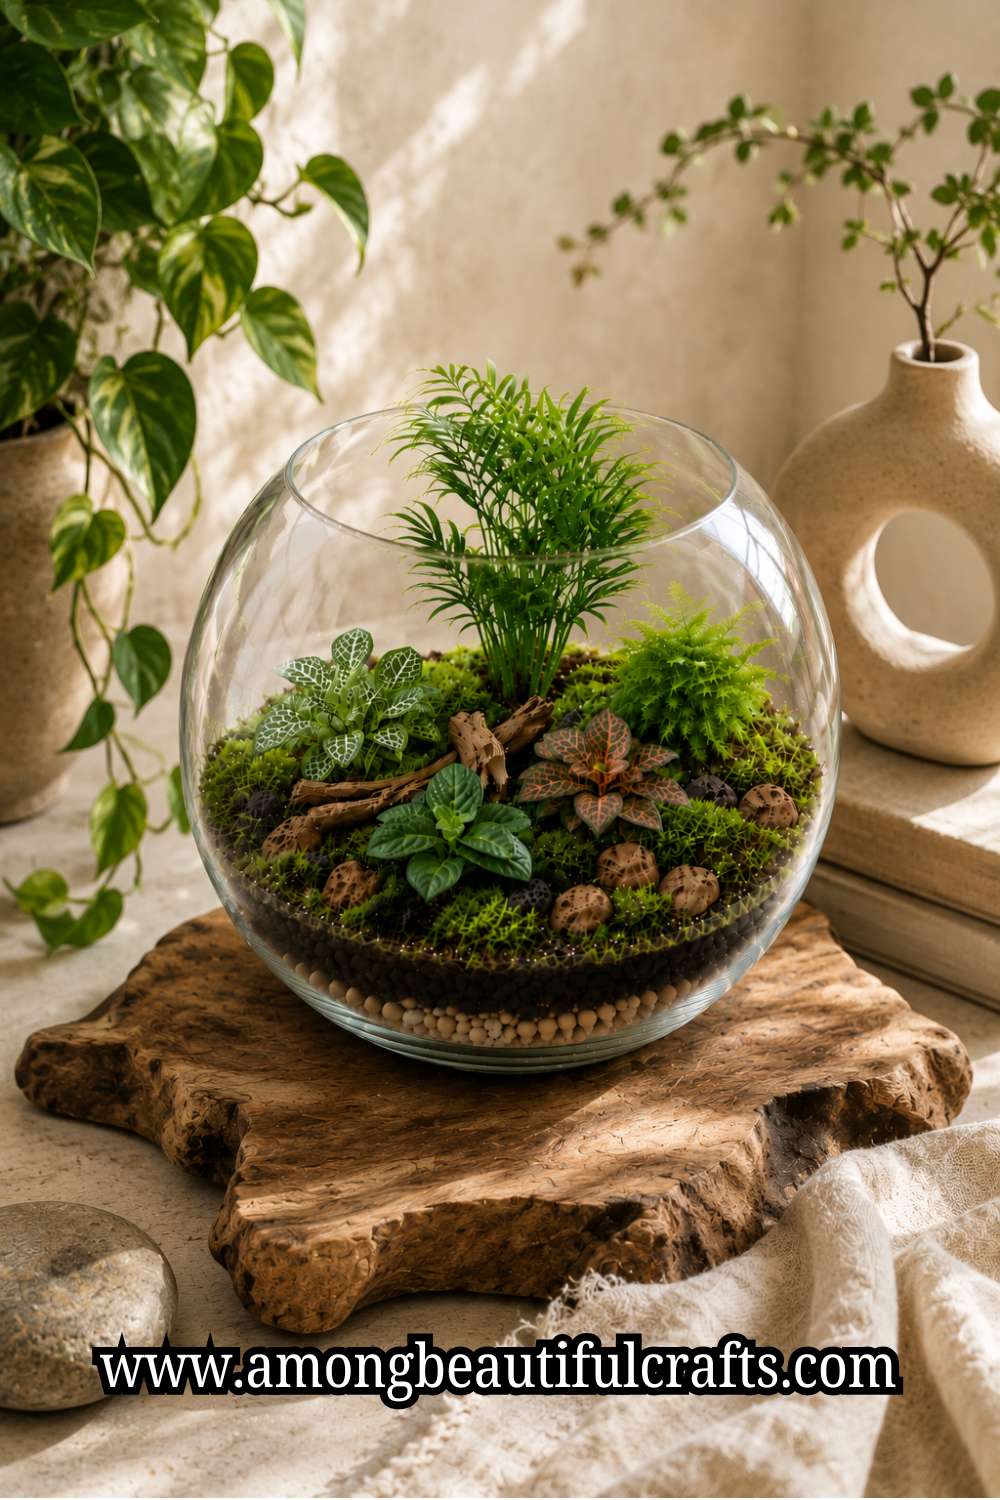
Some craft projects become favorites because they look beautiful from the very first day. A terrarium goes a step further. It keeps changing in the best way when you build it correctly.
The plants settle in, the colors become richer, and the whole glass container starts to look like a tiny piece of nature sitting on your shelf. That is exactly what made me fall in love with terrariums.
I also spent time learning How to Build a Terrarium That Doesn’t Get Moldy, because I wanted that fresh, healthy look to last instead of disappearing after a few days.
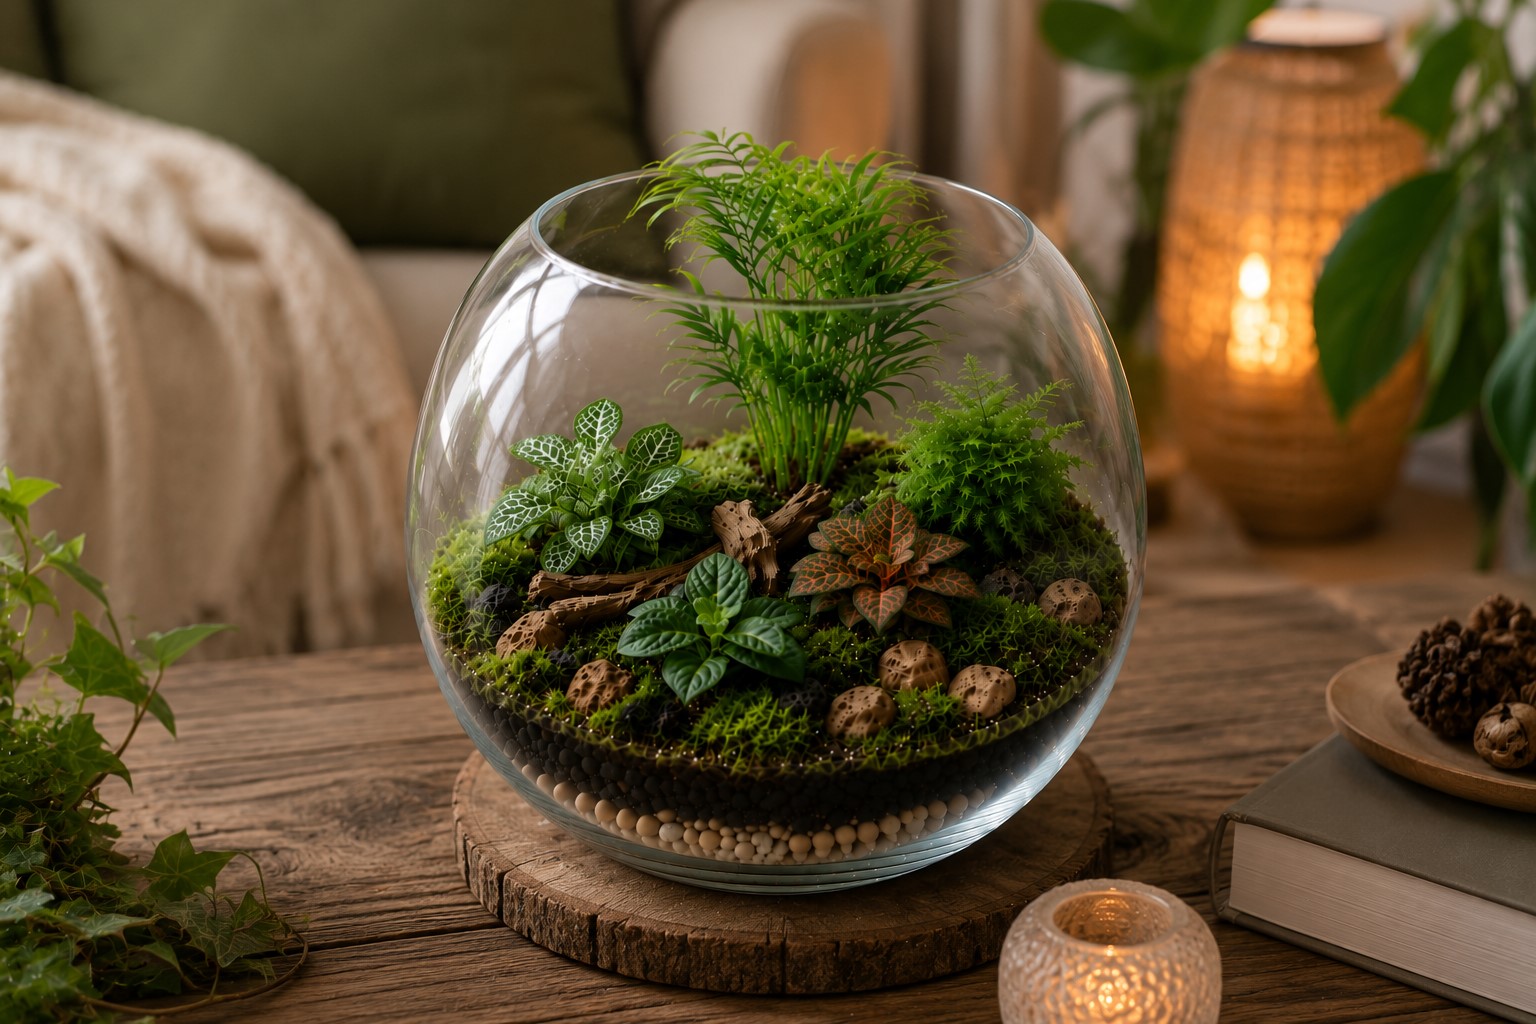
Let’s put everything together, one layer at a time. I’ll share the same tips I use at my own craft table, and I’ll explain every choice along the way.
You won’t need fancy tools or years of gardening experience. Instead, you’ll learn how each layer works, when to add moisture, and how to create the right environment for your plants.
By the end, you’ll have more than a beautiful decoration. You’ll have a tiny indoor garden that stays healthy because you built it with confidence from the very beginning.
Before You Begin
A little preparation makes this project much more enjoyable. I always gather everything before I start because it helps me stay organized and keeps the process moving smoothly.
Tools and Materials
- Clear glass container
- Small pebbles or gravel
- Activated charcoal
- Moss or landscape fabric
- Potting mix
- Small terrarium plants
- Decorative moss
- Small stones or bark (optional)
- Long tweezers or chopsticks
- Small spoon
- Soft paintbrush
- Spray bottle with clean water
How to Build a Beautiful Terrarium
Building a terrarium is all about creating the right layers for your plants. Every layer supports the one above it, so I like to take my time instead of rushing.
Once everything comes together, you’ll have a healthy little garden that stays beautiful for a long time.
Step 1: Choose the Right Glass Container
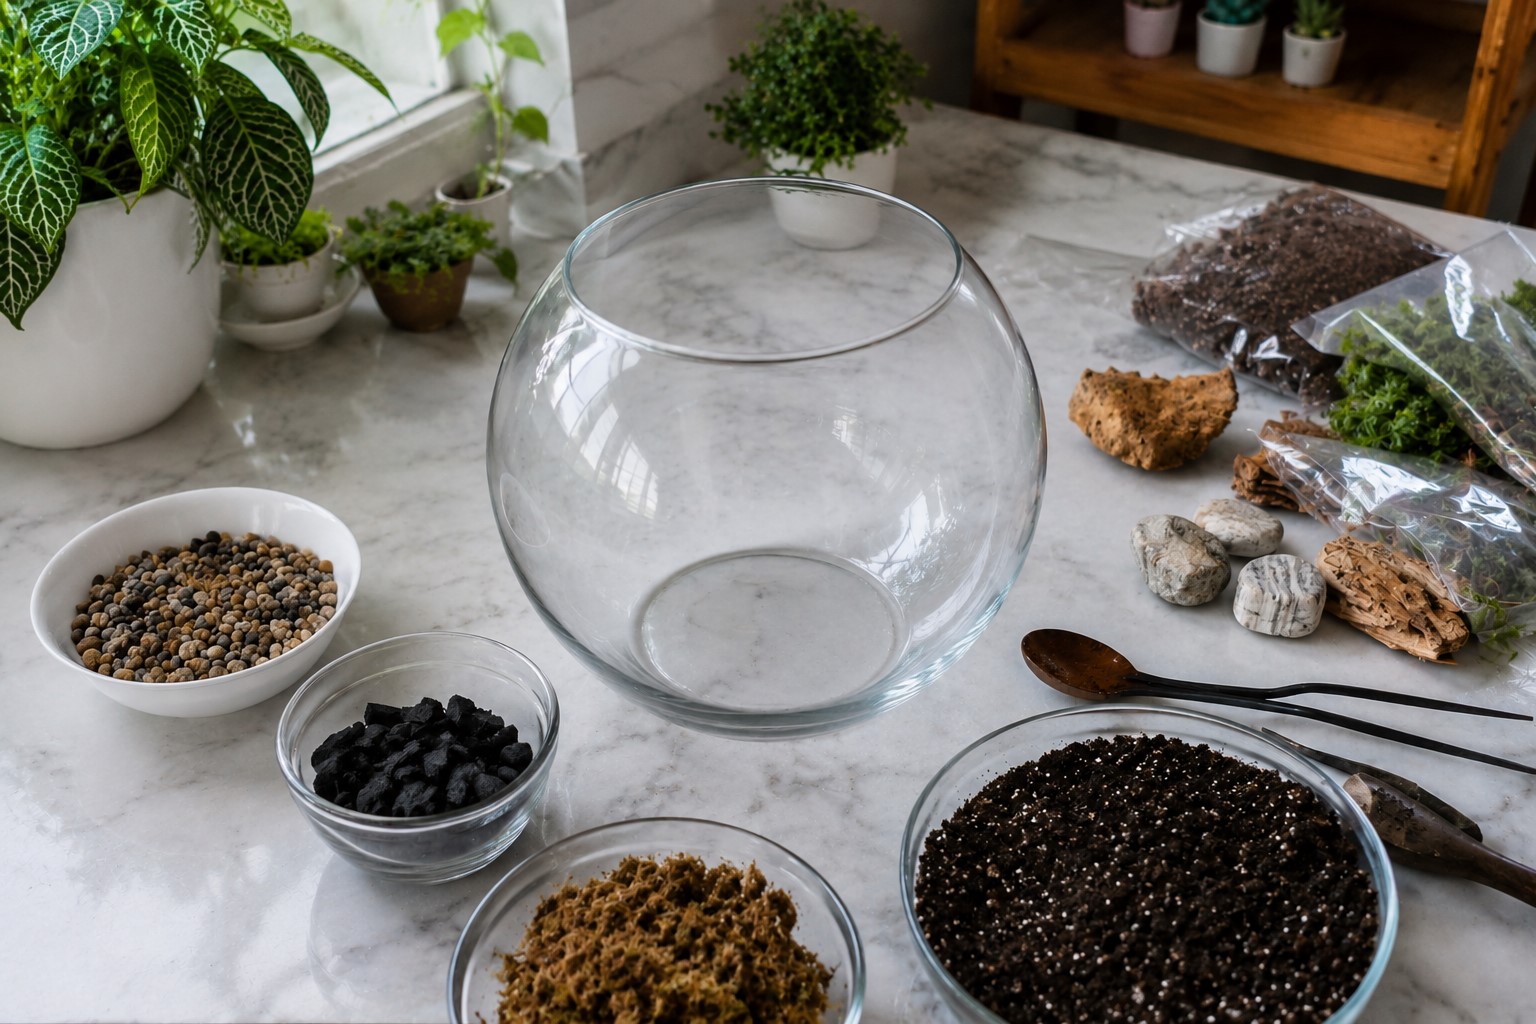
Start by picking a clear glass container that suits the plants you want to grow. A container with a wide opening makes planting much easier, especially if this is your first terrarium. You can reach every corner without disturbing the plants.
Next, decide if you want an open or closed terrarium. Closed containers work well for moisture-loving plants like moss and small ferns.
Open containers suit succulents and cacti because they allow better airflow. Matching the container to your plants gives them the best chance to thrive.
Wash the container with warm water and a little dish soap before you use it. Rinse it well, then dry it with a clean, lint-free cloth.
Even a little dirt can affect the finished look, so I always make sure the glass looks spotless before moving on.
Step 2: Build the Drainage Layer
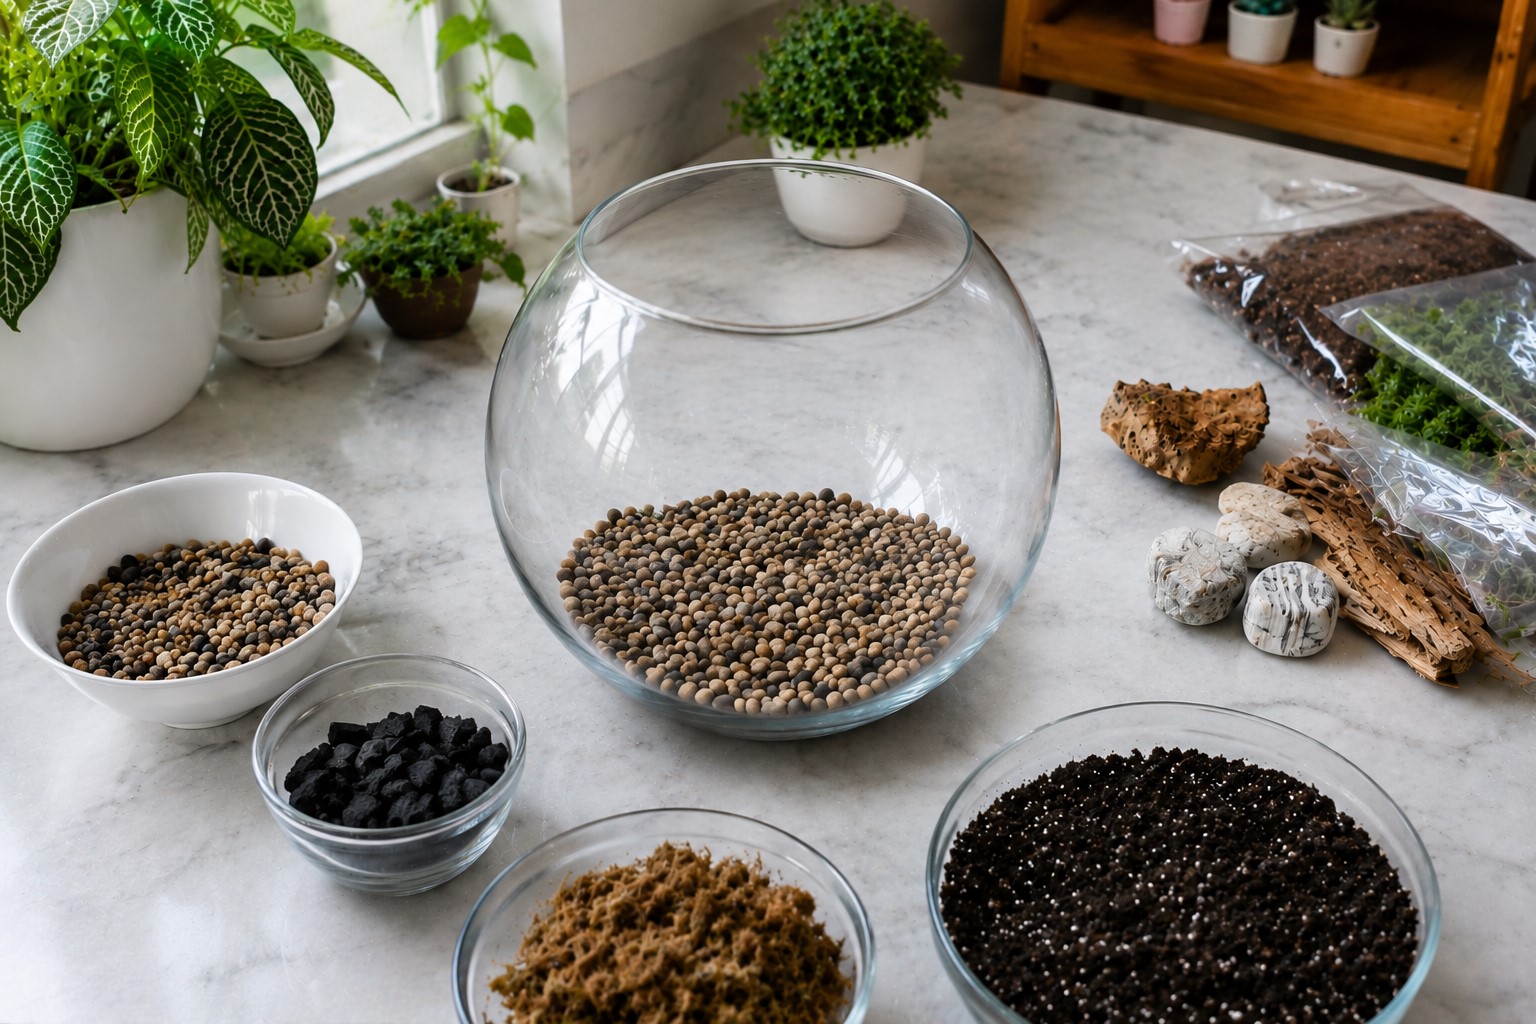
Pour a layer of small pebbles or gravel into the bottom of the container. Spread them evenly with your fingers or a spoon.
The layer should measure about one to two inches deep, depending on the size of your container.
These stones give extra water a place to collect instead of soaking the soil. That simple layer helps protect the roots from sitting in too much moisture.
Since excess water often causes mold, I never skip this step.
Take a moment to level the stones before continuing. An even base helps the rest of the layers stay neat, and it also gives your finished terrarium a cleaner appearance.
Step 3: Add Activated Charcoal
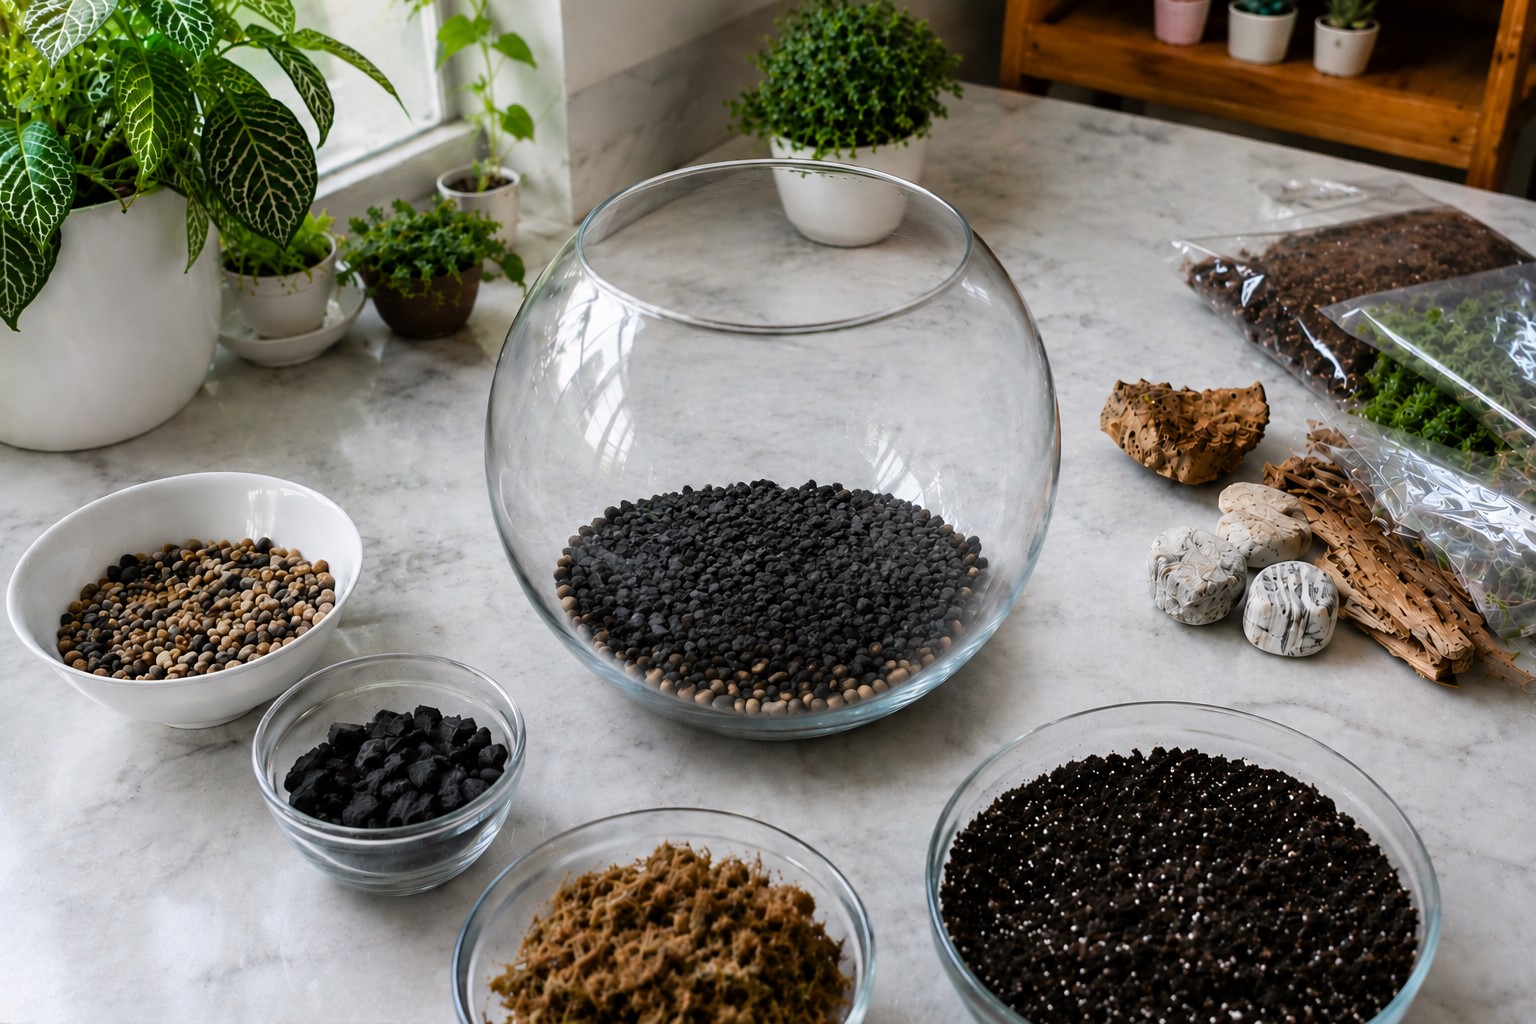
Sprinkle a thin, even layer of activated charcoal over the gravel. You do not need a thick layer because a little goes a long way.
Activated charcoal helps keep the inside of the terrarium fresh. It supports a cleaner growing environment and helps reduce unwanted odors over time.
While many beginners overlook this layer, I always include it because it helps the terrarium stay healthier.
Once you finish, gently spread the charcoal so it covers the gravel from edge to edge. That creates a solid foundation for the next layer.
Step 4: Separate the Drainage Layer From the Soil
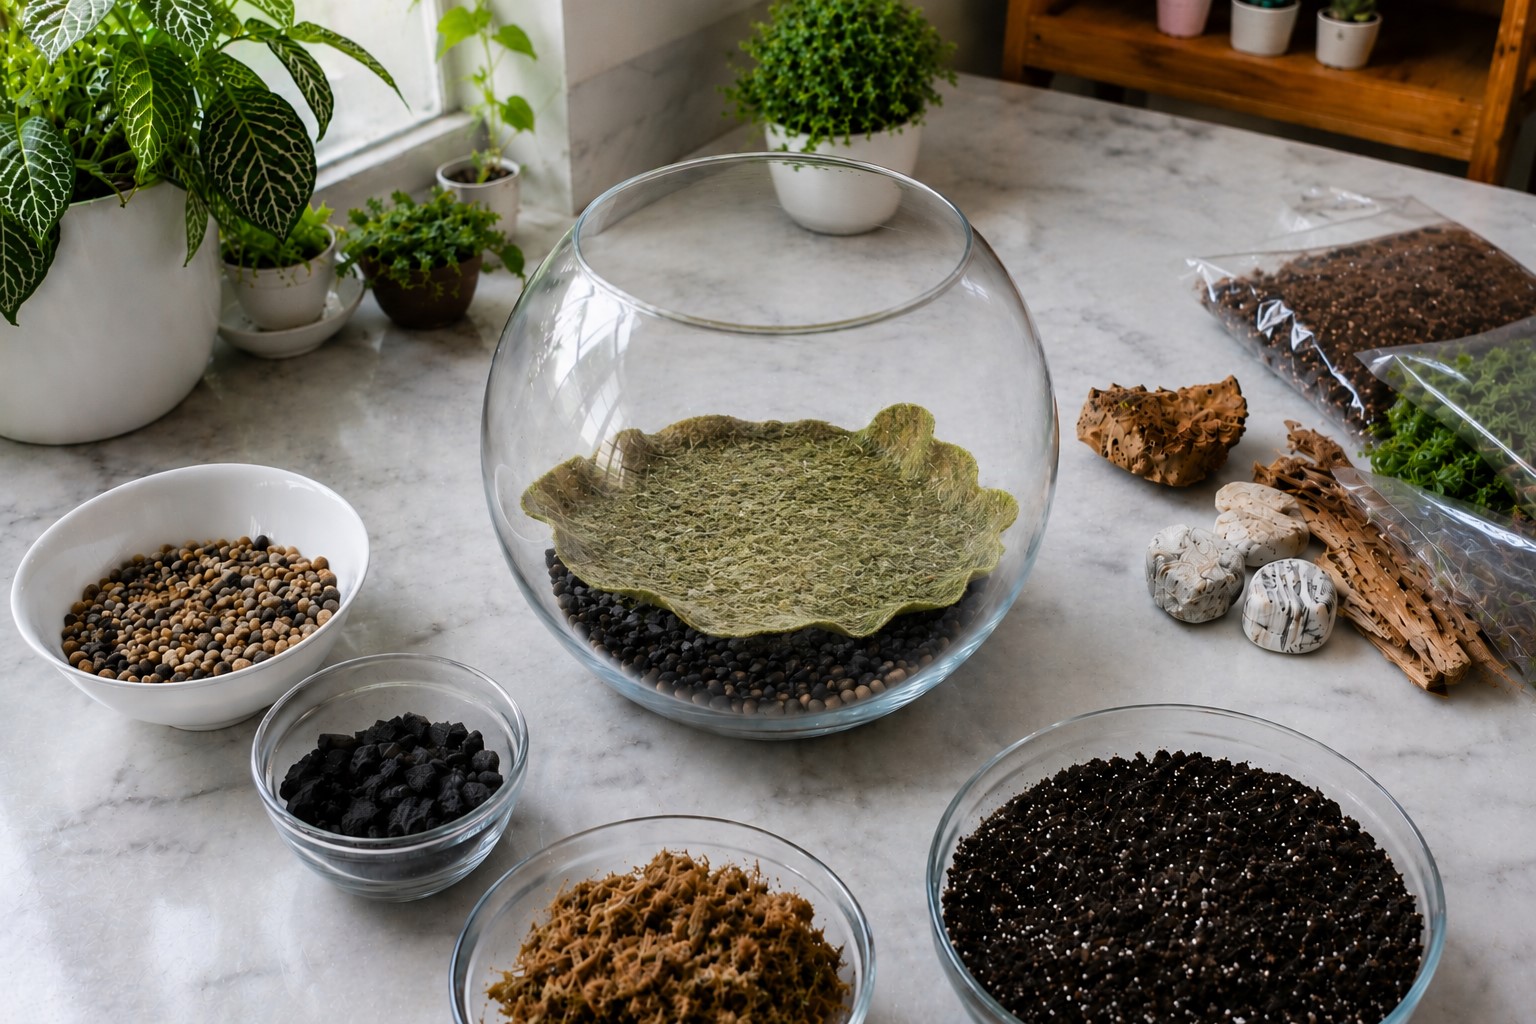
Lay a thin sheet of preserved moss or landscape fabric over the activated charcoal. Trim it with scissors if it extends too far up the sides of the container.
This layer keeps the soil from falling into the gravel. It also helps every layer stay in place while you build the terrarium.
That makes the finished project look much neater from every angle.
Press the moss or fabric down gently until it sits flat. Try not to leave large gaps because soil can slip through them later.
Step 5: Add the Potting Mix
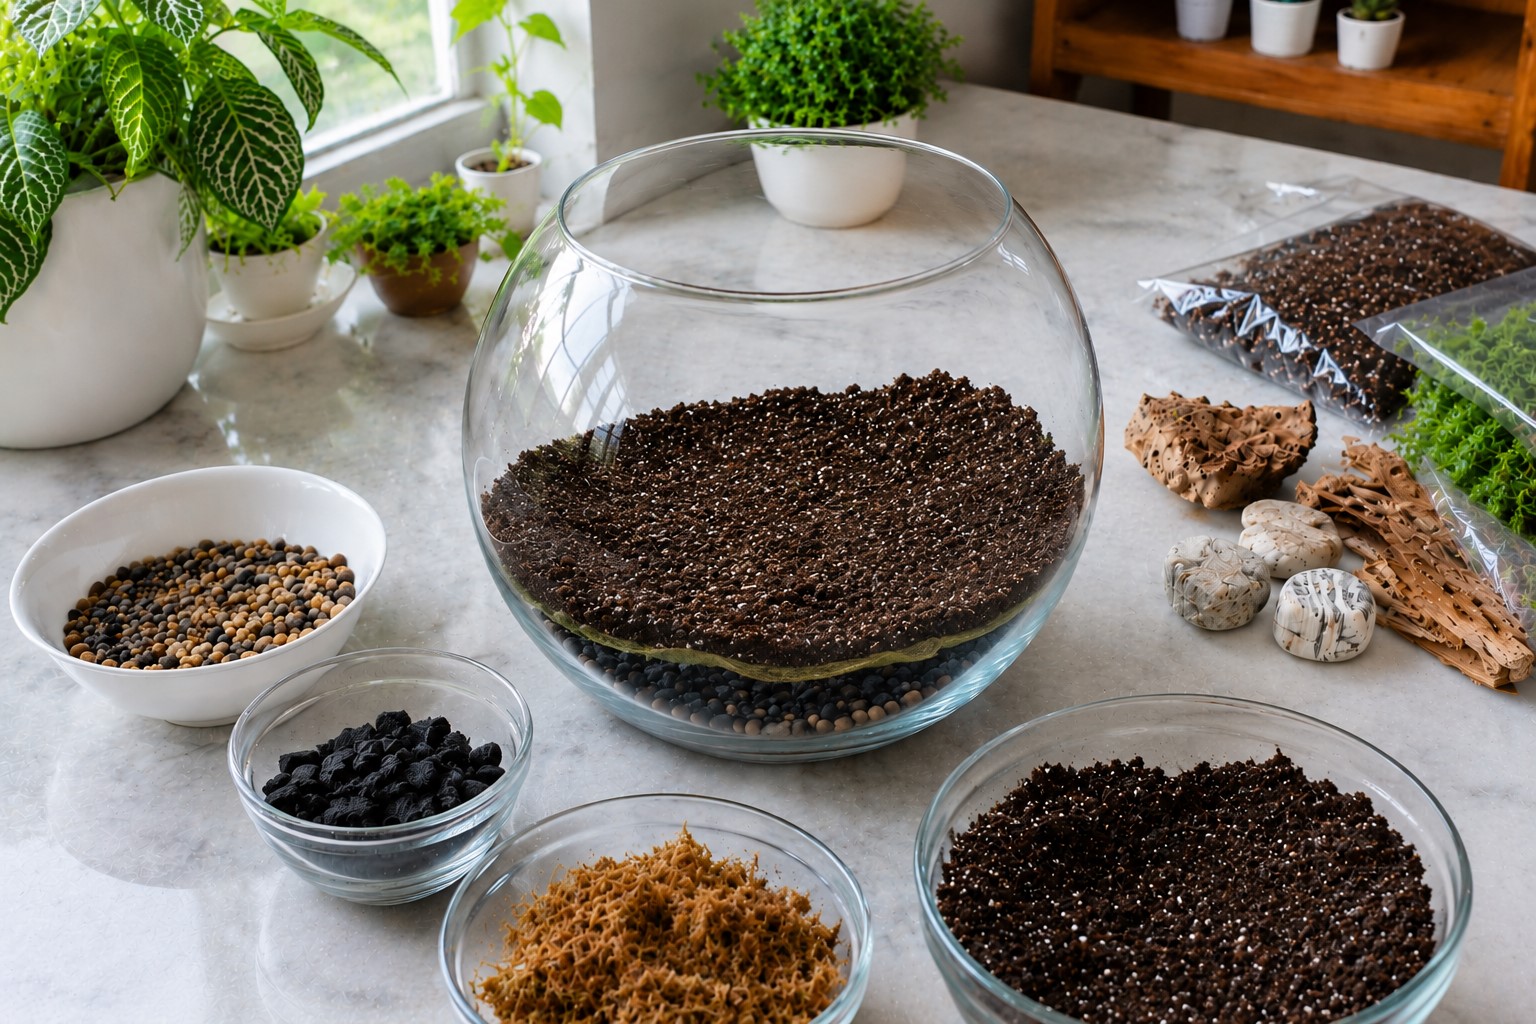
Spoon the potting mix into the container a little at a time. Spread it evenly across the moss or fabric until you have a layer that is deep enough for the plant roots.
Most small plants need about two to three inches of soil. If your plants have longer roots, add a little more.
I like to shape the soil into gentle hills instead of leaving it completely flat. That gives the terrarium a more natural look.
Lightly press the soil with the back of a spoon. Don’t pack it too tightly because the roots still need room to grow. Loose soil also allows air to move more easily around the roots.
Step 6: Plan the Plant Arrangement
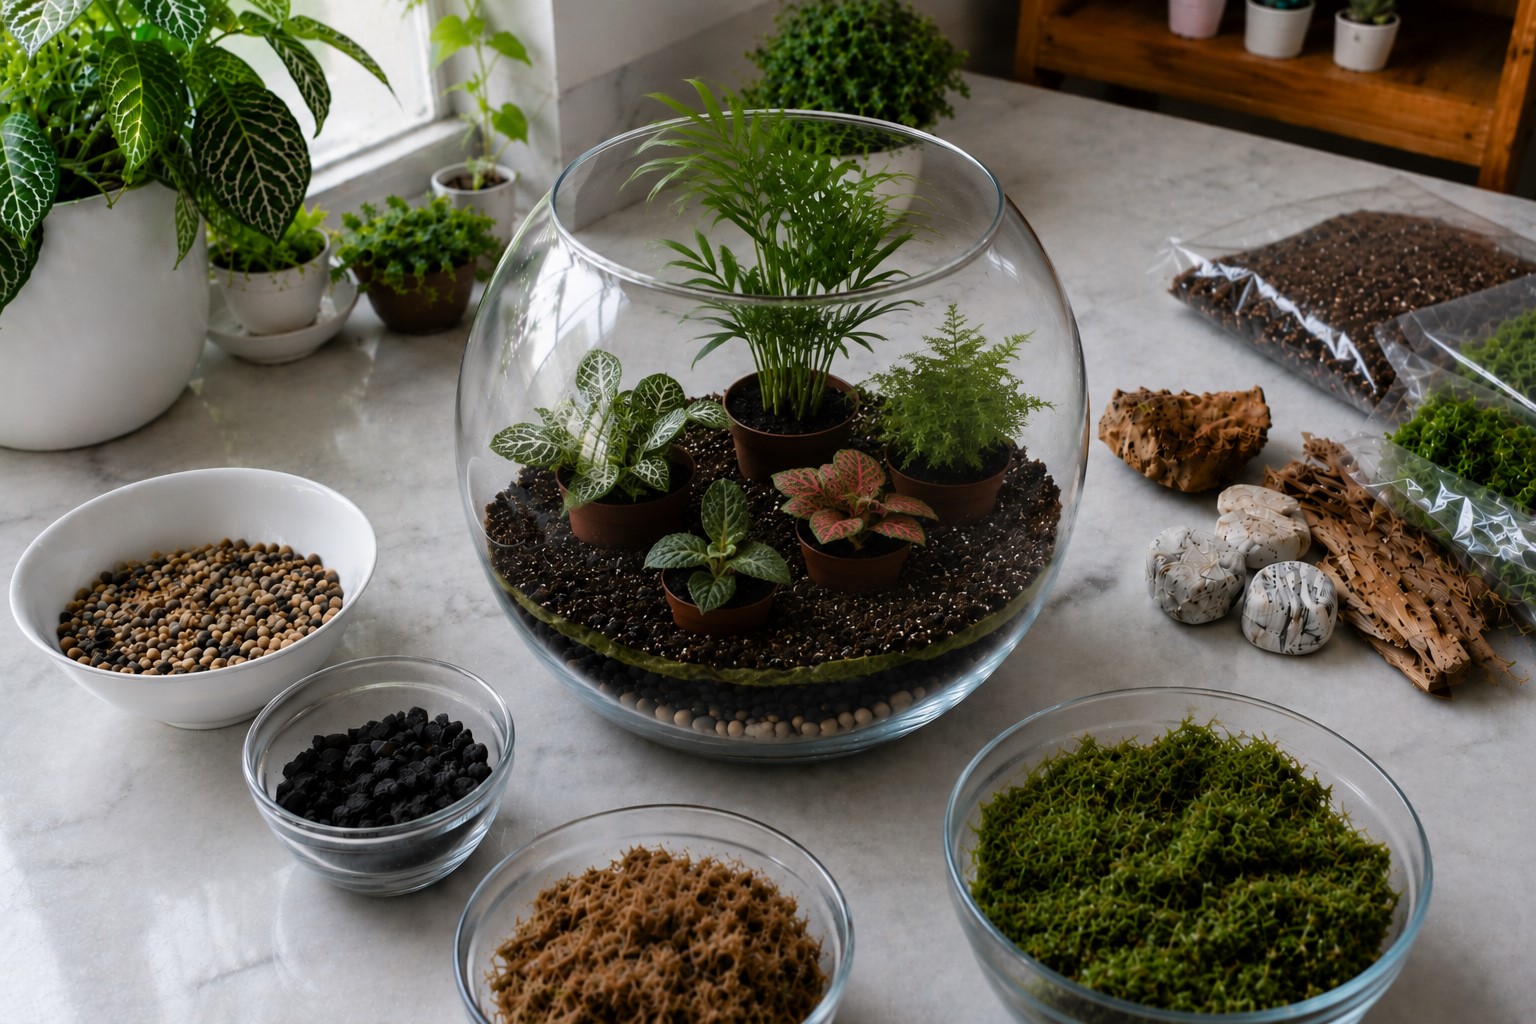
Place your plants on top of the soil before planting them. Move them around until you find an arrangement that looks balanced.
I usually place the tallest plant near the back or in the center. Then I add smaller plants around it. This simple trick creates depth and allows every plant to stand out.
Leave a little space between each plant. They may look small now, yet many of them will spread as they grow.
Giving them extra room helps improve airflow and makes future maintenance easier.
Step 7: Plant One at a Time
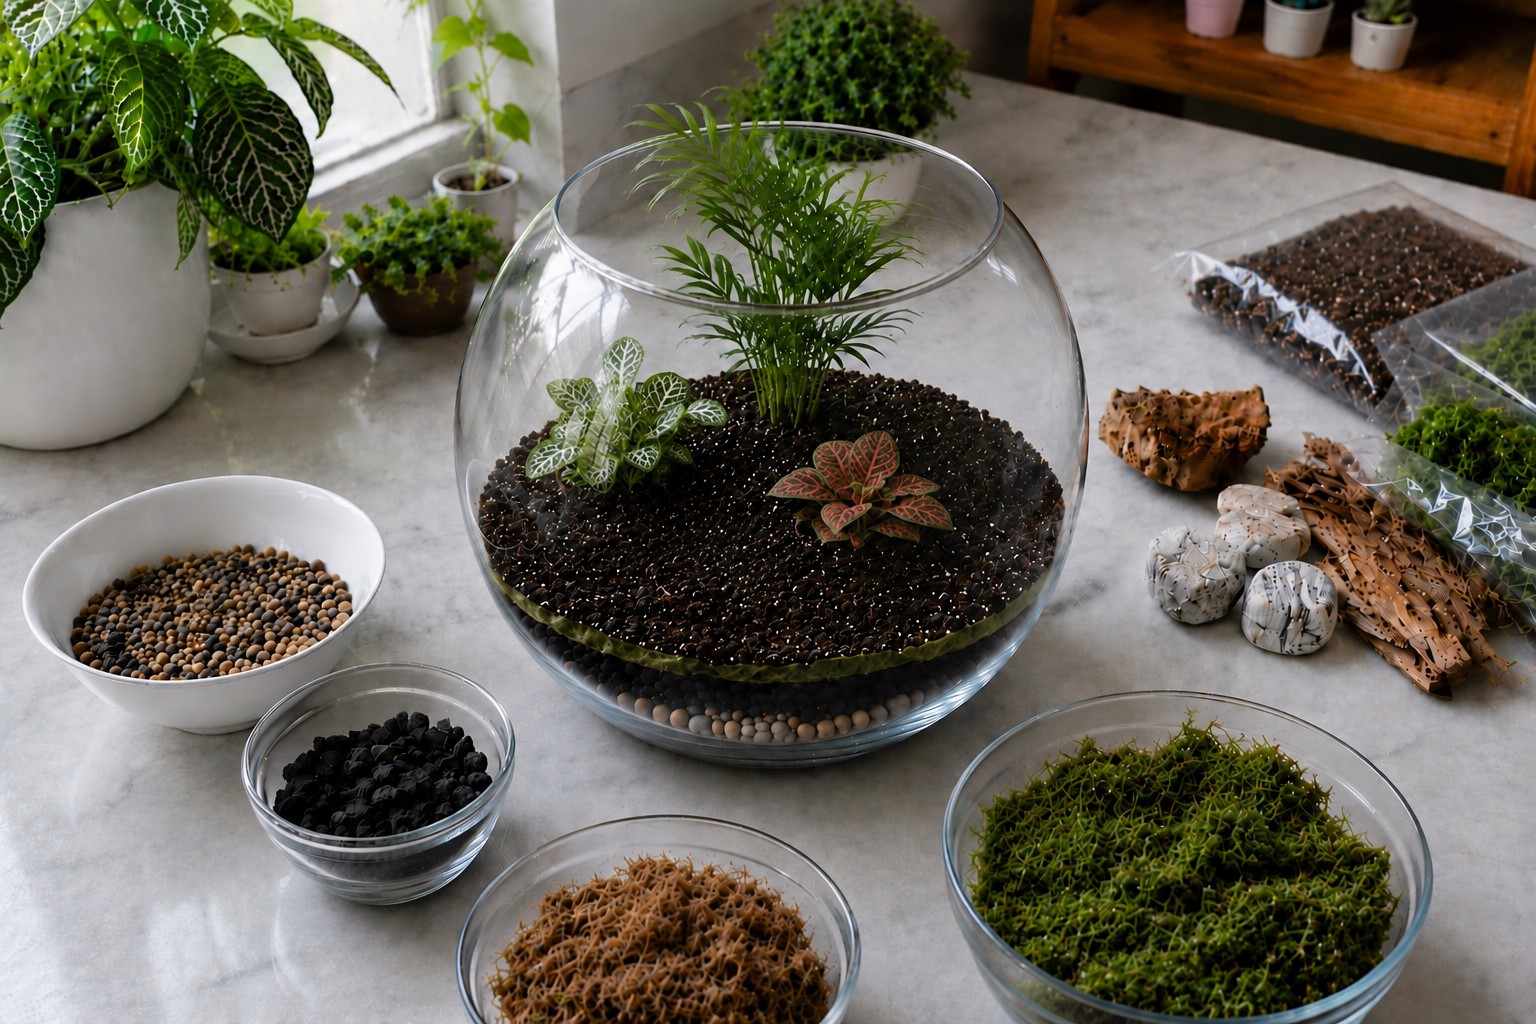
Remove the first plant from its nursery pot. Gently loosen the roots with your fingers if they feel tightly packed.
Dig a small hole with a spoon or your fingers. Place the plant into the hole, then cover the roots with soil. Press the soil gently around the base until the plant stands upright.
Continue with the remaining plants. Work slowly so you don’t crush nearby leaves. Long tweezers or chopsticks make this job much easier inside narrow containers.
Step 8: Fill the Empty Spaces
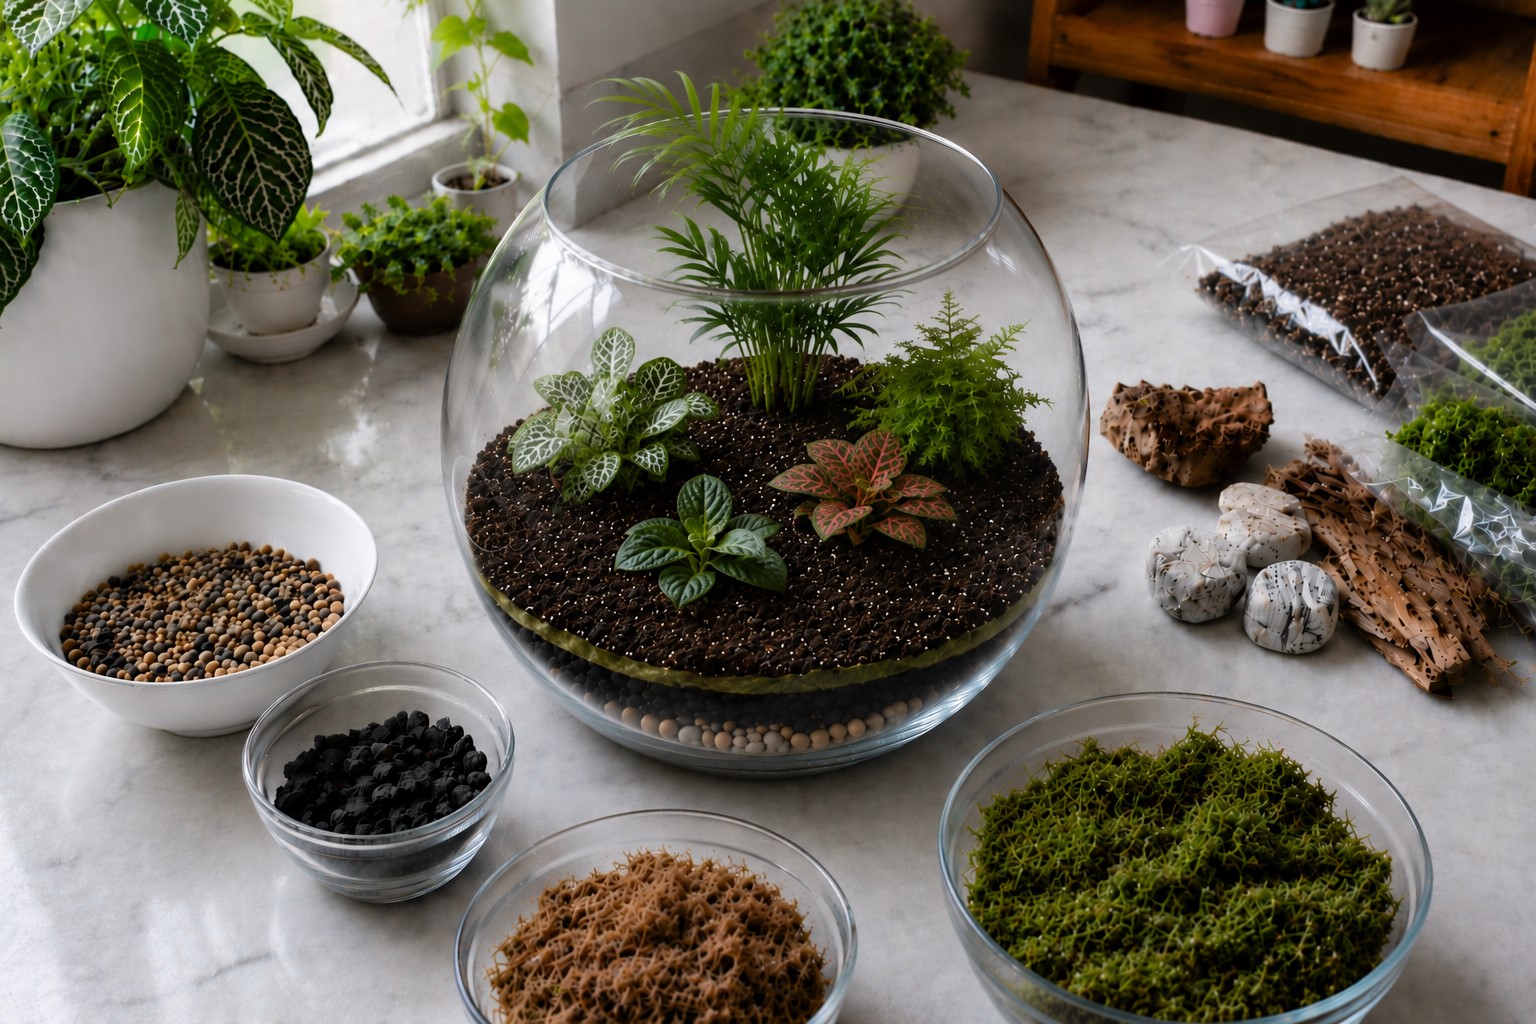
After planting everything, look for empty spots around the roots. Add a little more potting mix anywhere the roots remain exposed.
Smooth the surface with a small spoon or soft brush. This step gives the terrarium a tidy appearance and helps support each plant.
Take another look from every side of the glass. If one area looks crowded, gently adjust the plants before moving on.
Small changes now often create a much better final result.
Step 9: Add Moss and Natural Decorations
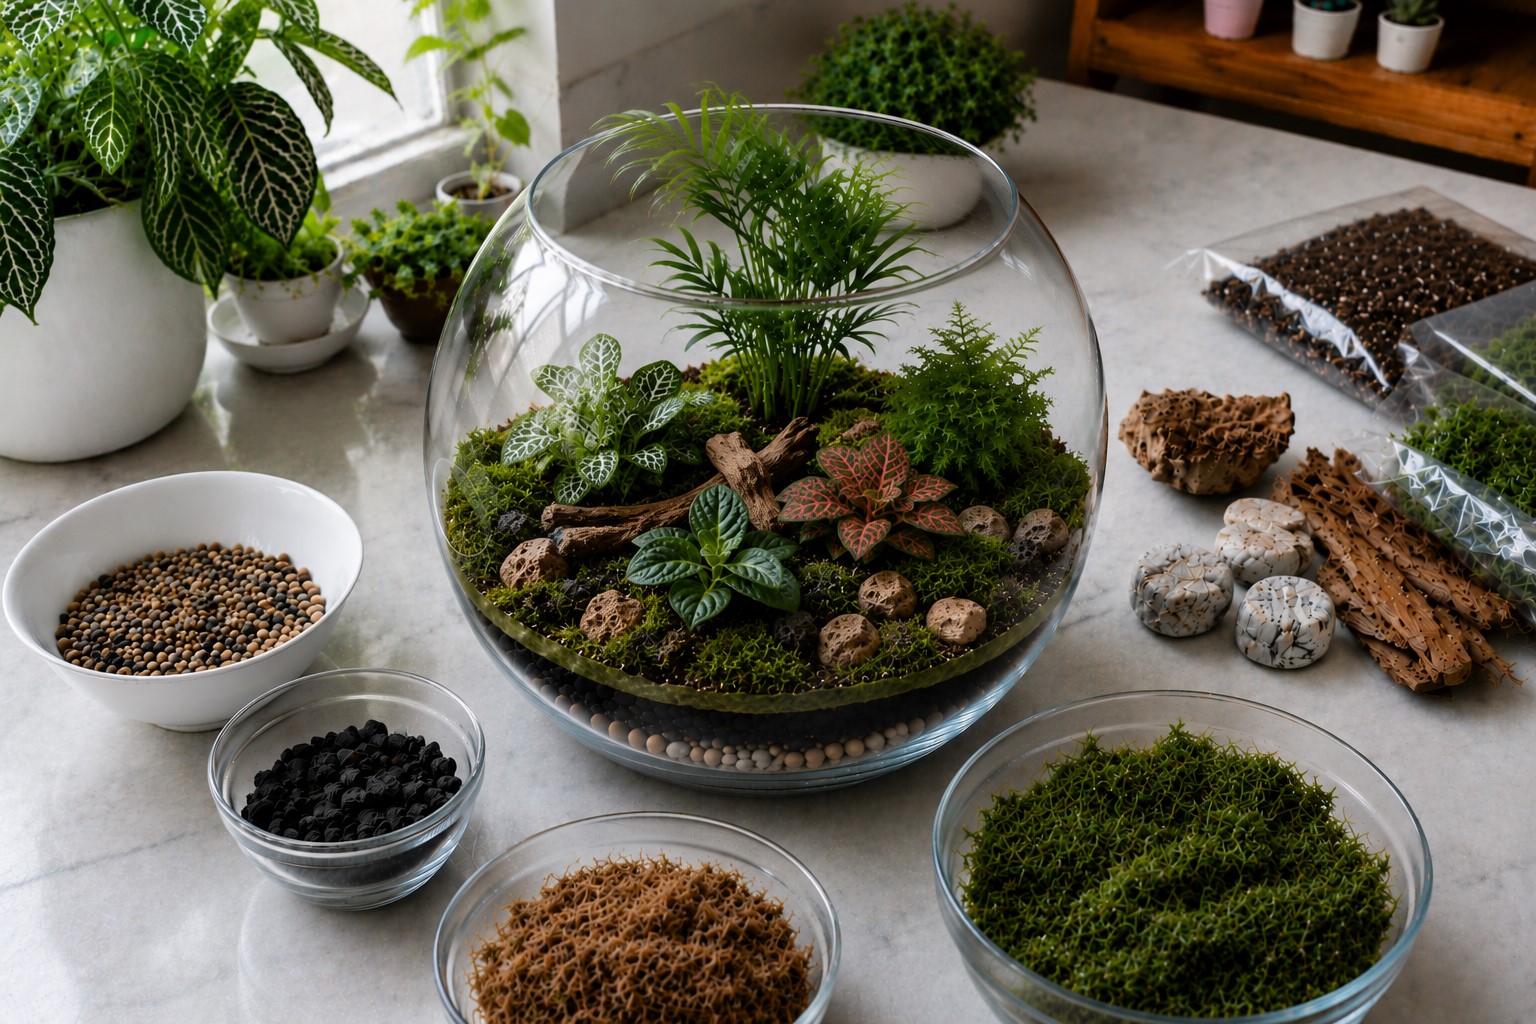
Now comes my favorite part. This is where the terrarium starts to look like a tiny landscape instead of a glass container filled with plants.
Place small pieces of decorative moss over any bare soil you want to cover. You do not need to hide every bit of soil. Leaving a few open areas makes the terrarium look more natural.
Next, add small stones, bark, or tiny pieces of driftwood if you like. Arrange them little by little until everything looks balanced.
I usually stop as soon as the decorations highlight the plants instead of stealing the attention.
Step back for a moment and look at the terrarium from different angles. If something feels out of place, move it now. A few small adjustments can completely change the final look.
Step 10: Water the Terrarium Carefully
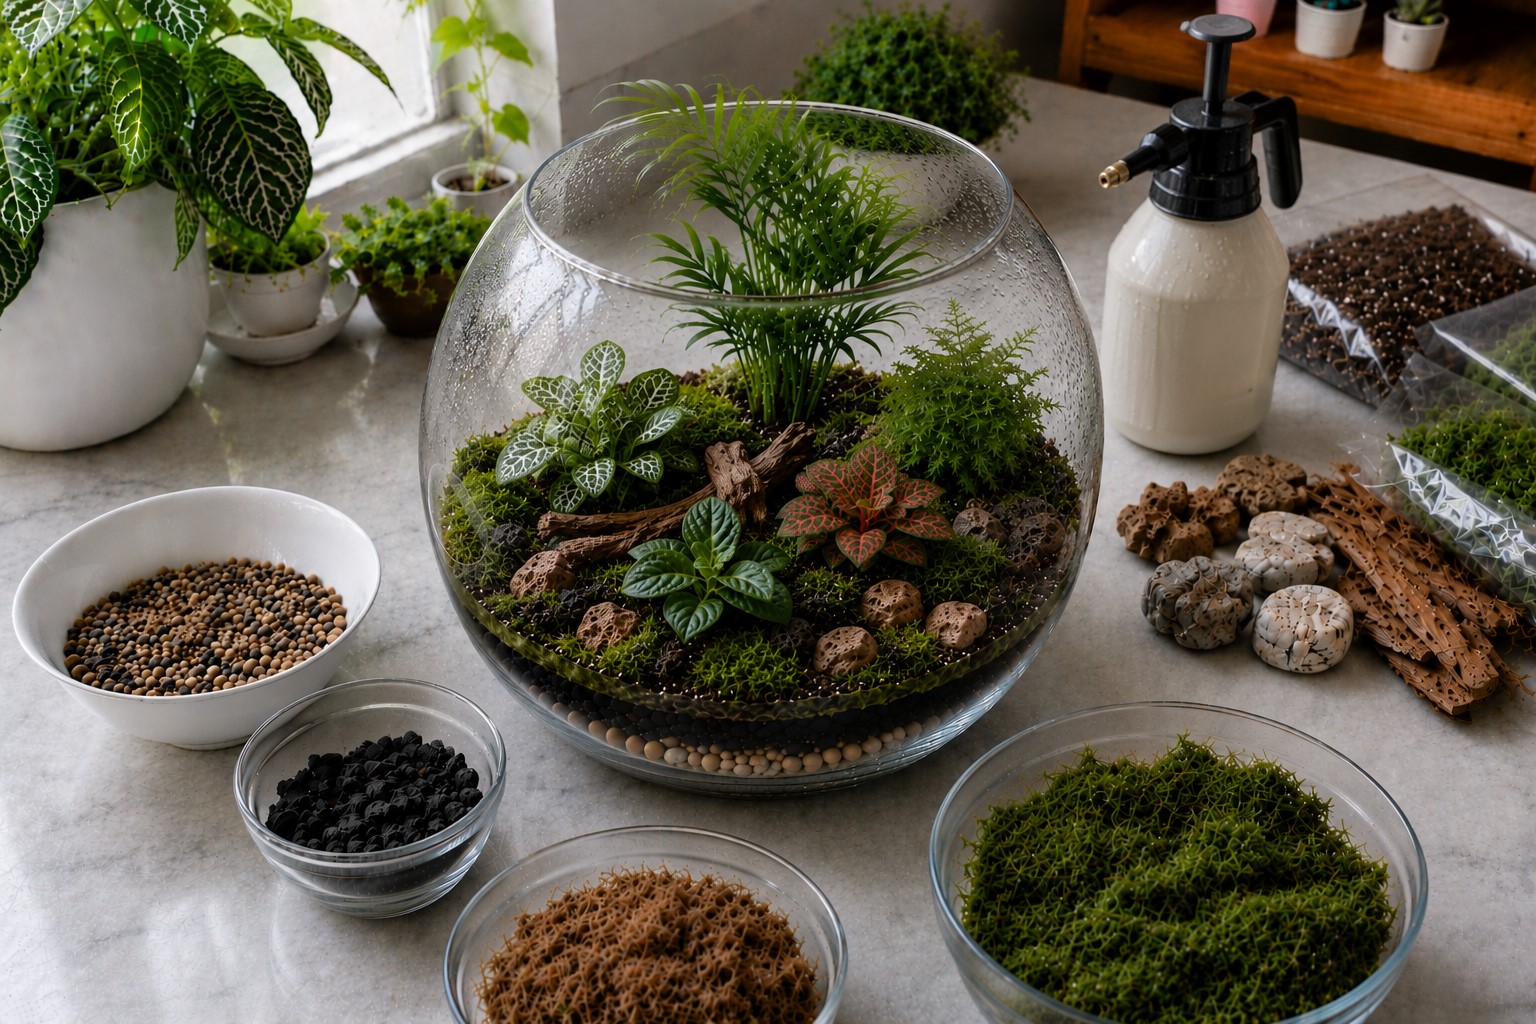
Watering is the step that makes many beginners nervous. The good news is that terrariums need much less water than regular houseplants.
Use a spray bottle or pour a small amount of water slowly around the plants. The soil should feel slightly damp, not soaking wet.
If you notice standing water near the bottom, you have added too much.
Go slowly because you can always add a little more later. Removing extra water takes much more effort. I always remind myself that plants recover more easily from a little dryness than from sitting in soggy soil.
Step 11: Clean the Glass
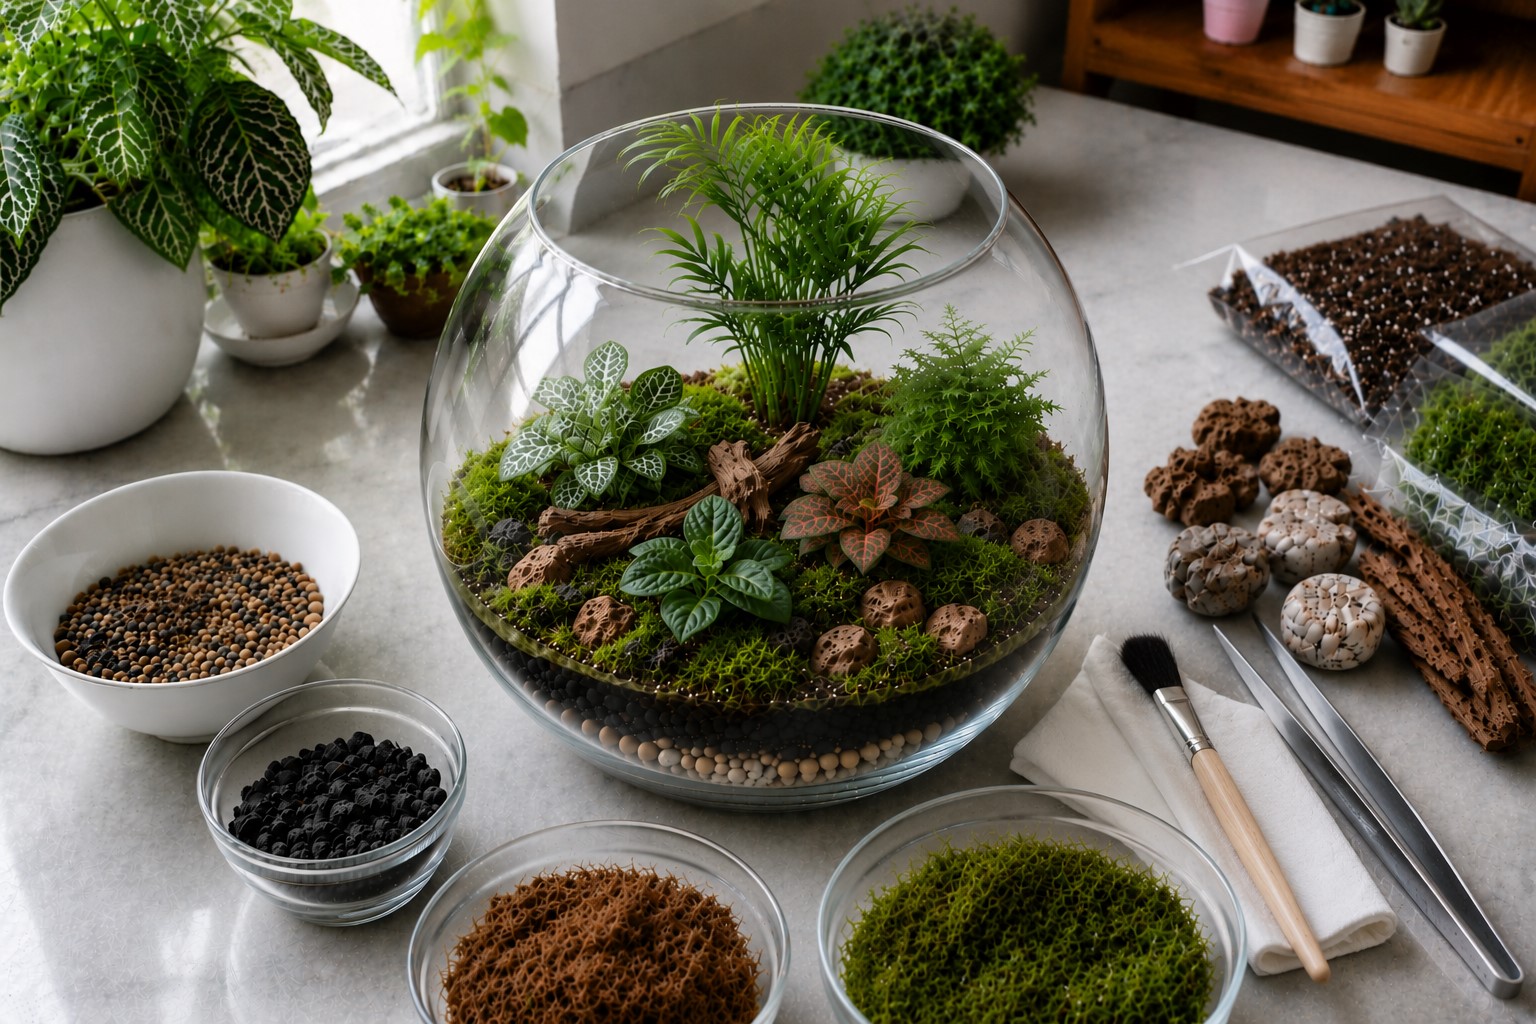
Tiny bits of soil often stick to the inside of the container while planting. Cleaning the glass brings the whole project to life.
Use a soft paintbrush to remove loose soil from the plants and decorations. Then wipe the inside of the glass with a soft cloth or paper towel.
Long tweezers help hold the cloth if the opening feels too narrow.
Finally, polish the outside of the container until the glass shines. Clear glass lets every layer stand out, and it makes the terrarium look professionally finished.
Step 12: Place the Terrarium in the Right Spot
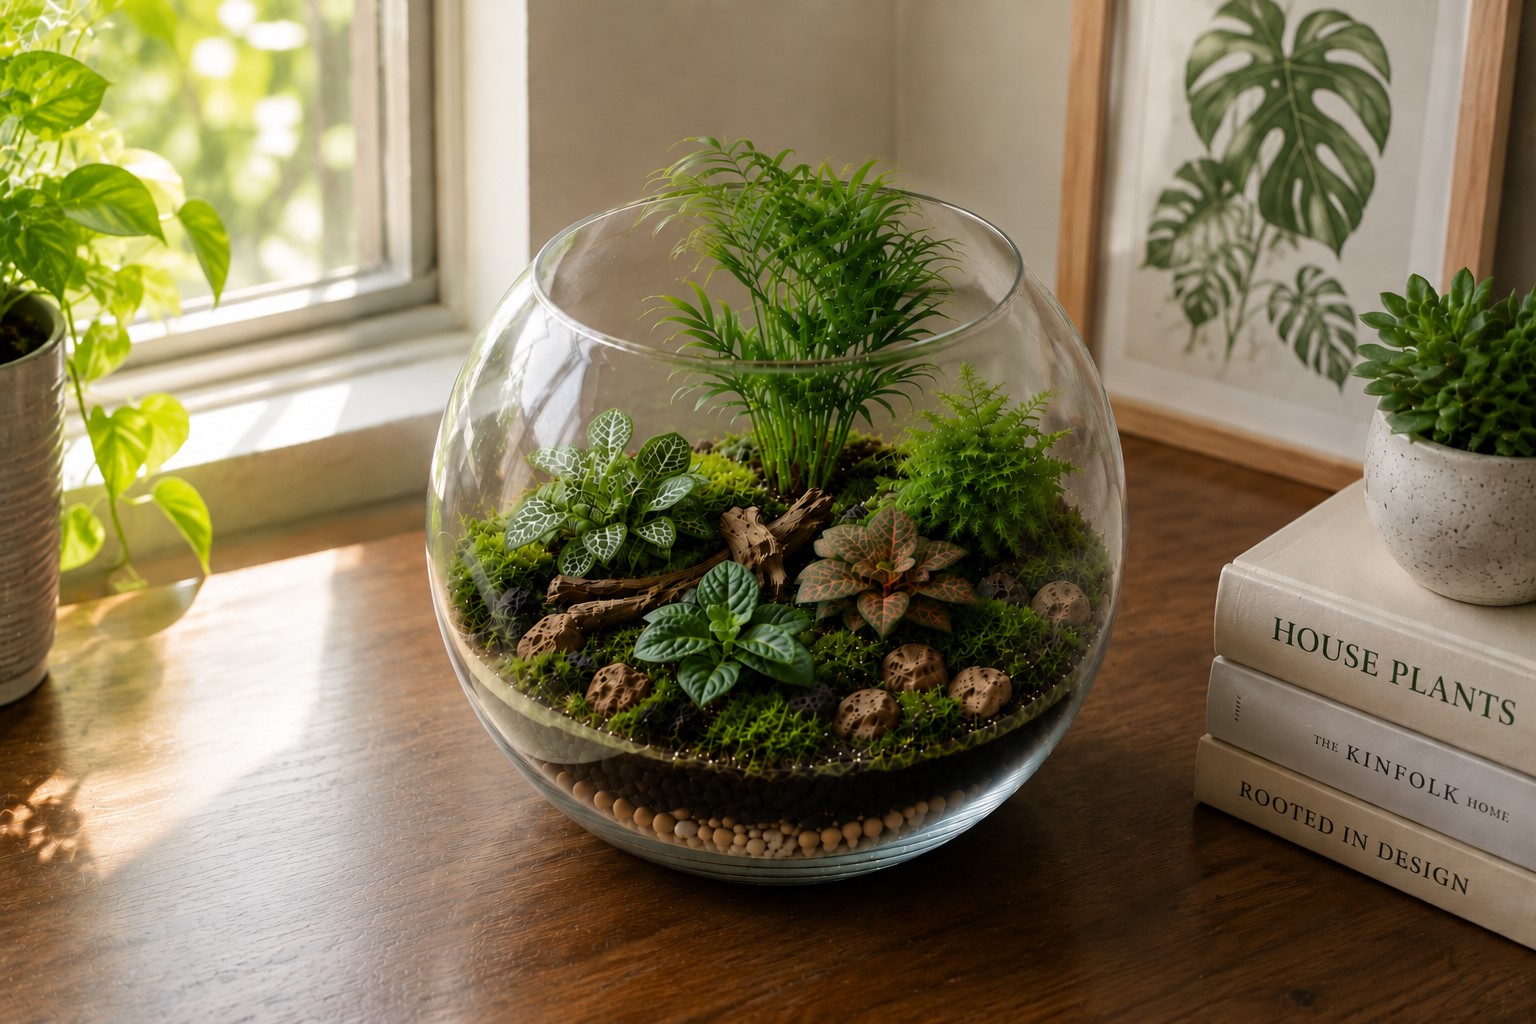
Choose a bright place with plenty of indirect sunlight. A table near a window usually works well. Strong afternoon sun can heat the glass too quickly and stress the plants.
Keep the terrarium away from heating vents, fireplaces, and air conditioners. Sudden temperature changes can affect the growing environment inside the container.
Watch your terrarium during the first week. A little condensation in a closed terrarium is normal.
If the glass stays completely covered with water for hours, remove the lid for a while to let some moisture escape.
That simple habit goes a long way toward How to Build a Terrarium That Doesn’t Get Moldy and keeping it healthy for months.
How to Care for Your Terrarium
Your work does not end after planting. A few simple habits will keep your terrarium healthy and looking its best for months.
Water Sparingly
Only water when the soil starts to dry. Keep it slightly damp instead of wet. Closed terrariums need much less water than open ones.
Place It in Bright, Indirect Light
Set your terrarium near a bright window without exposing it to harsh afternoon sun. Turn the container now and then so every plant receives light evenly.
Trim and Clean Regularly
Remove dead leaves as soon as you notice them. Trim overgrown plants to improve airflow, and wipe the glass whenever it looks dusty.
Stop Mold Before It Starts
Most mold problems come from too much moisture. Water lightly, avoid overcrowding the plants, and check the terrarium every few days.
If you spot mold, remove the affected material right away. Following these simple habits makes practicing How to Build a Terrarium That Doesn’t Get Moldy much easier.
Common Mistakes to Avoid
Keep these common mistakes in mind while caring for your terrarium:
- Watering too often.
- Skipping the drainage layer.
- Crowding too many plants together.
- Using unhealthy plants.
- Placing the terrarium in direct sunlight.
- Leaving dead leaves inside the container.
Avoiding these mistakes will help your terrarium stay fresh, healthy, and beautiful for a long time.
Final Thoughts
Building a terrarium is one of those projects that becomes more enjoyable every time you make one. You do not need to rush the process or aim for perfection.
Instead, focus on each layer and give your plants the best possible start. Those small choices make a big difference. They also help you master How to Build a Terrarium That Doesn’t Get Moldy with confidence.
As your terrarium settles in, take a few minutes to check on it every now and then. Trim a leaf if it grows too large, wipe the glass when it needs cleaning, and water only when the soil begins to dry.
These simple habits keep the plants healthy and the container looking its best. Before long, caring for your terrarium will feel just as relaxing as building it.
I hope this guide encourages you to create a terrarium you will enjoy for months or even years. Feel free to experiment with different plants, containers, and natural decorations as you gain experience.
Most of all, have fun with the process and make each terrarium your own. Once you see your little indoor garden thrive, you’ll understand why so many people love this rewarding craft.