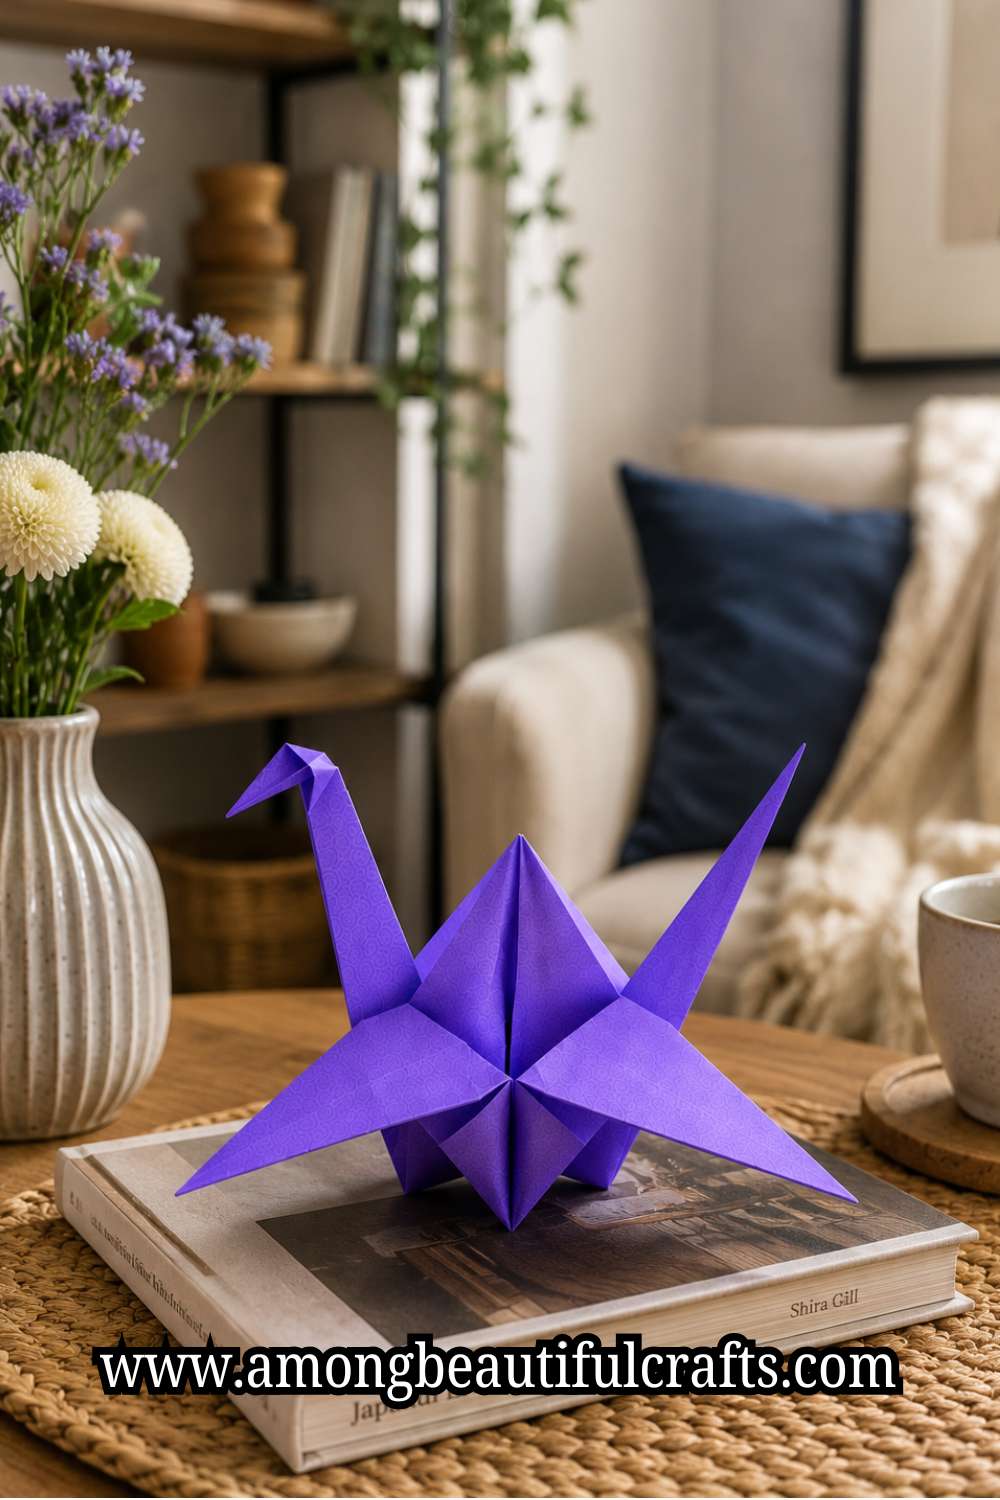
A square piece of paper does not look very exciting at first. Most people would never guess it can become a graceful crane with nothing more than a few careful folds.
That is one reason I enjoy origami so much. You do not need paint, glue, or expensive supplies. You simply need a little time and the right instructions.
This same patient, careful mindset is what makes How to Create Impressive Paper Quilling Designs as a Beginner such a rewarding paper craft too.
Once you learn How to Make an Origami Crane, you’ll most probably find yourself reaching for another sheet of paper almost every day because each new crane looked better than the last.
I also love that no two cranes look exactly the same. Some people use bright paper to make bold decorations. Others choose soft colors for gifts, party decorations, or home displays.
I have even folded cranes from patterned paper left over from other projects. It always feels good to turn something so simple into a piece you actually want to keep.
That small moment reminds me that beautiful crafts do not always need lots of tools or money.

This guide will help you enjoy the process instead of worrying about getting every fold perfect. We will start with the basics and move one step at a time until your crane comes to life.
Along the way, I will share easy tips that helped me make cleaner folds and avoid common mistakes. So find a flat surface, pick your favorite square paper, and let us create a beautiful origami crane together.
Materials You’ll Need
You only need a few simple supplies for this project. Most of them are probably already in your home.
- One square sheet of origami paper – (Available on Amazon)
- A flat table or desk
- Clean, dry hands
- A ruler or bone folder – (Available on Amazon) for sharper creases (optional)
Choose paper that measures about 6 x 6 inches if this is your first crane. A larger sheet feels easier to fold and gives you more room to work.
You can also use colorful origami paper with a pattern on one side. It makes the finished crane stand out.
Simple paper projects like this are also a great match for kids, similar to 21 Easy Minecraft Paper Crafts Kids Can Finish in One Sitting.
Try to work on a smooth surface. A flat table helps you make straighter folds. It also keeps the paper from slipping while you work.
How to Make a Beautiful Origami Crane You’ll Be Proud to Display
Step 1: Gather Your Materials

Before you begin, gather everything you need and place it on your work surface. The good news is that this project only requires a few simple supplies.
You will need one square sheet of origami paper and a flat table or desk. A bone folder or ruler can also help you make sharper creases, although you can easily use your fingers.
If this is your first origami crane, choose paper that measures about 6 x 6 inches. Larger paper gives you more space to work and makes each fold easier to see.
If you enjoy cutting clean, precise paper shapes, 27 Cute BTS Cricut Ideas That Make Perfect ARMY Gifts is another fun paper project to explore.
Try to work on a clean, smooth surface because bumps or crumbs can affect your folds. Once everything is ready, you can enjoy the process without stopping to search for supplies.
Step 2: Place the Paper and Make the First Creases

Lay your paper flat with the colored side facing down if it has one. Take one corner and fold it to the opposite corner to form a triangle.
Before pressing the fold, check that both corners meet neatly. Then run your finger along the folded edge to make a sharp crease before opening the paper again.
Now fold the other two corners together to create another triangle. Press the fold firmly and unfold the paper once more. You should now see an X-shaped pattern across the paper.
Careful, precise guide lines like these are just as important in How to Make a Stunning Layered Paper Shadow Box From Scratch, where every later step depends on getting the first marks right.
These first creases may seem simple, yet they guide almost every fold that comes next. Taking your time here will make the rest of the project much smoother.
Step 3: Create the Remaining Guide Folds

Turn the paper over so the opposite side faces you. Fold it in half to make a rectangle and press the fold carefully.
Open it again before folding it in half from the other direction. Once you unfold the paper, several crease lines should meet neatly in the center.
Take a quick look at your paper before moving on. All the crease lines should look straight and clear. If one fold seems uneven, it is worth fixing it now instead of struggling later.
If you want a quicker creative project to try in between, How to Paint a Watercolor Bookmark in Under 30 Minutes is a nice change of pace.
I always remind beginners that a few extra seconds at this stage can save several minutes of frustration during the next folds.
Step 4: Fold the Paper Into a Square Base

Hold the paper lightly with both hands and let the existing crease lines guide you. Gently push the sides toward the center while bringing the top section down.
The paper should begin folding into itself without much effort. If it feels difficult, check that you are following the crease lines instead of creating new ones.
Once the paper collapses, flatten it into a neat square with the open flaps pointing toward you. Press every edge carefully to sharpen the folds.
This shape is called the square base, and it forms the foundation of your origami crane. A neat base makes every step after this much easier, so do not rush through it.
Building a strong, simple foundation first is also the secret behind How to Make a Paper Mache Bowl That Dries Without Cracking.
Step 5: Turn the Square Base Into a Bird Base

Take the right edge of the top layer and fold it toward the center crease. Repeat the same fold with the left edge until both sides meet neatly in the middle.
Next, fold the top point downward over these two folds to create another crease. After that, open all three folds again because they will guide the next movement.
Lift the bottom point of the top layer and slowly bring it upward. As you lift it, the side sections will fold inward along the crease lines you just made.
Flatten the paper into a long diamond shape. Then turn the model over and repeat the same process on the other side. When you finish, both sides should match, and you will have completed the bird base.
This same small-scale precision matters just as much in How to Make Gorgeous Air Dry Clay Earrings That Don’t Crack, where matching both sides is what makes a pair look polished.
Step 6: Narrow the Body of the Crane

Place the bird base so the open points face you. Fold the right edge of the top layer toward the middle crease. Then fold the left edge the same way until both sides meet neatly in the center.
Turn the paper over and repeat these folds on the back. Your model will become thinner, and you will begin to see the body of the crane taking shape.
Before moving on, press every crease once more to keep the layers flat. Check that both sides look even and that the center line stays straight.
Keeping every part separate and neat matters here too, the same way it does in How to Make Sand Art in a Bottle Without the Colors Mixing.
Small adjustments now will make the neck, tail, and wings much easier to form later. At this stage, your paper may still look simple, yet you are already much closer to your finished origami crane than you might think.
Step 7: Fold the Neck and Tail

Look at the two long points at the bottom of your model. These will become the neck and tail of your origami crane. Choose one point and fold it upward using an inside reverse fold.
Open the paper slightly, reverse the fold inside, and flatten it carefully. Then repeat the same process with the other point.
Take your time with these folds because they give your crane its familiar shape. If the fold does not look right, gently unfold it and try again.
This same gentle, forgiving approach works well in How to Make Full and Fluffy Tissue Paper Flowers That Impress, where a petal can always be reshaped if it doesn’t look quite right.
I still do that sometimes, and it always gives me a cleaner result. Once both points face upward, your project will finally start looking like a real crane.
Step 8: Shape the Head

Decide which of the two upright points will become the neck. Near the top of that point, make another small inside reverse fold to create the head.
Keep the fold small because a gentle bend looks much more natural than a large one.
Compare the neck with the tail before moving on. The neck should have a soft curve, while the tail should remain straight.
If the head looks too big, unfold it slightly and make a smaller fold. Little changes like these can improve the overall look of your crane.
Step 9: Open the Wings

Hold the body of the crane gently with one hand and pull the wings outward with the other. Move slowly so the paper keeps its shape.
As the wings open, the body will begin to separate and take on the classic crane form.
Keep adjusting the wings until they sit at the same height. Then press the body gently to help everything stay in place.
This same careful, small-scale adjustment is part of what makes the project on How to Make Adorable Clay Magnets Worth Displaying so satisfying to finish.
I like to look at the crane from the front and from the side before making my final adjustments. That quick check helps me spot anything that needs a little attention.
Step 10: Shape the Body

Your crane is almost finished, so now you can give it a little more character. Hold the wings carefully and pull them apart just enough to open the body slightly.
This gentle movement gives the crane a fuller and more balanced appearance.
Do not pull too hard because the paper can tear along the folds. Instead, make small adjustments until the body looks even.
Building up a believable, rounded shape with gentle, gradual moves is also how this guide on How to Sculpt Adorable Miniature Clay Food That Looks So Real comes together.
You can also straighten the neck and tail if they moved while opening the wings. These little finishing touches make your crane look much more polished.
Step 11: Make Final Adjustments

Take a close look at your finished crane from every angle. Check that the wings match, the neck points forward, and the tail stays straight.
If one side looks uneven, adjust it gently until everything feels balanced.
Now run your fingers along the main folds one last time. This helps the crane keep its shape, especially if you plan to display it for a long time.
I never skip this step because it only takes a minute and always makes the finished project look neater.
Step 12: Display Your Beautiful Origami Crane

Now, you have finished your origami crane, and it is ready to display. Place it on a bookshelf, desk, bedside table, or craft shelf where you can enjoy seeing it every day.
Even one simple crane can add a lovely handmade touch to a room. If you enjoy handmade nature-inspired displays, 23 Adorable Farm Animal Crafts That Bring the Barnyard to Life is a fun collection to add alongside your cranes.
You can also fold several cranes in different colors and display them together. They look beautiful in a glass bowl, hanging from a decorative branch, or strung together as a mobile.
I also enjoy making a few extra cranes to decorate gift boxes or handmade cards. Every new crane gives you another chance to improve your folding skills, so do not stop with just one.
Common Mistakes to Avoid
- Using thick paper: Thick paper creates bulky folds and makes the crane harder to shape. Thin origami paper folds much more easily and gives you a cleaner finished result.
- Rushing through the folds: It is tempting to move quickly, especially when the crane starts taking shape. Slow down and check each fold before moving to the next step because small mistakes can affect the final design.
- Not pressing the creases firmly: Sharp creases help the paper stay in place and make later folds much easier. Run your finger along every fold before continuing.
- Folding the wrong layer: Several layers overlap as the project progresses, so it is easy to grab the wrong one. Pause for a moment before each fold to make sure you are working with the correct layer.
- Ignoring uneven corners: If the edges do not line up, the crane may end up looking uneven. It is better to unfold that section and fix it than to continue with a crooked fold.
- Pulling the wings too hard: Open the wings slowly and let the paper move naturally. Gentle adjustments help the body keep its shape and reduce the chance of tearing.
Creative Ways to Display Your Origami Crane
- Decorate your home: Place your crane on a bookshelf, desk, coffee table, or bedside table. It adds a simple handmade touch without taking up much space.
- Create a colorful display: Fold several cranes using different colors or patterns and arrange them together. You can place them in a decorative bowl or display them on an open shelf.
- Make a hanging mobile: String several cranes together and hang them near a window or in a craft room. They move gently with the breeze and create a beautiful focal point.
- Add a personal touch to gifts: Attach a crane to a wrapped present, gift bag, or greeting card. It makes even a simple gift feel more thoughtful and special. Handmade, framed keepsakes make wonderful gifts too, the same way they do in How to Make a Pressed Flower Frame That Looks Boutique-Worthy.
- Use them for party decorations: Origami cranes look lovely on party tables, wedding displays, or holiday decorations. Guests can even take one home as a handmade keepsake.
Final Thoughts
Learning How to Make an Origami Crane may seem challenging when you first look at the finished bird. Once you start folding, though, you will see that each step builds on the one before it.
Take your time, enjoy the process, and do not let small mistakes stop you. Every crane you make will teach you something new.
If you want a project with a similarly glossy, finished look, How to Make Stunning Resin Coasters With Pressed Flowers is worth trying next.
The more you practice, the easier the folds will become. Soon, you will spend less time thinking about the instructions and more time enjoying the craft.
Try different paper colors, patterns, and sizes to create cranes that match your style. If you enjoy playing with color combinations, 21 Creative Rainbow Crafts That Brighten Any Day offers even more colorful inspiration. You can even make a collection to decorate your home or share with family and friends.
I hope this guide has given you the confidence to fold your very first origami crane. Keep your first one, even if it is not perfect, because it shows how far you have come.
Before long, you will look back at it with a smile while folding even better cranes. Most of all, have fun, enjoy every fold, and feel proud of the beautiful creation you made with your own hands.

