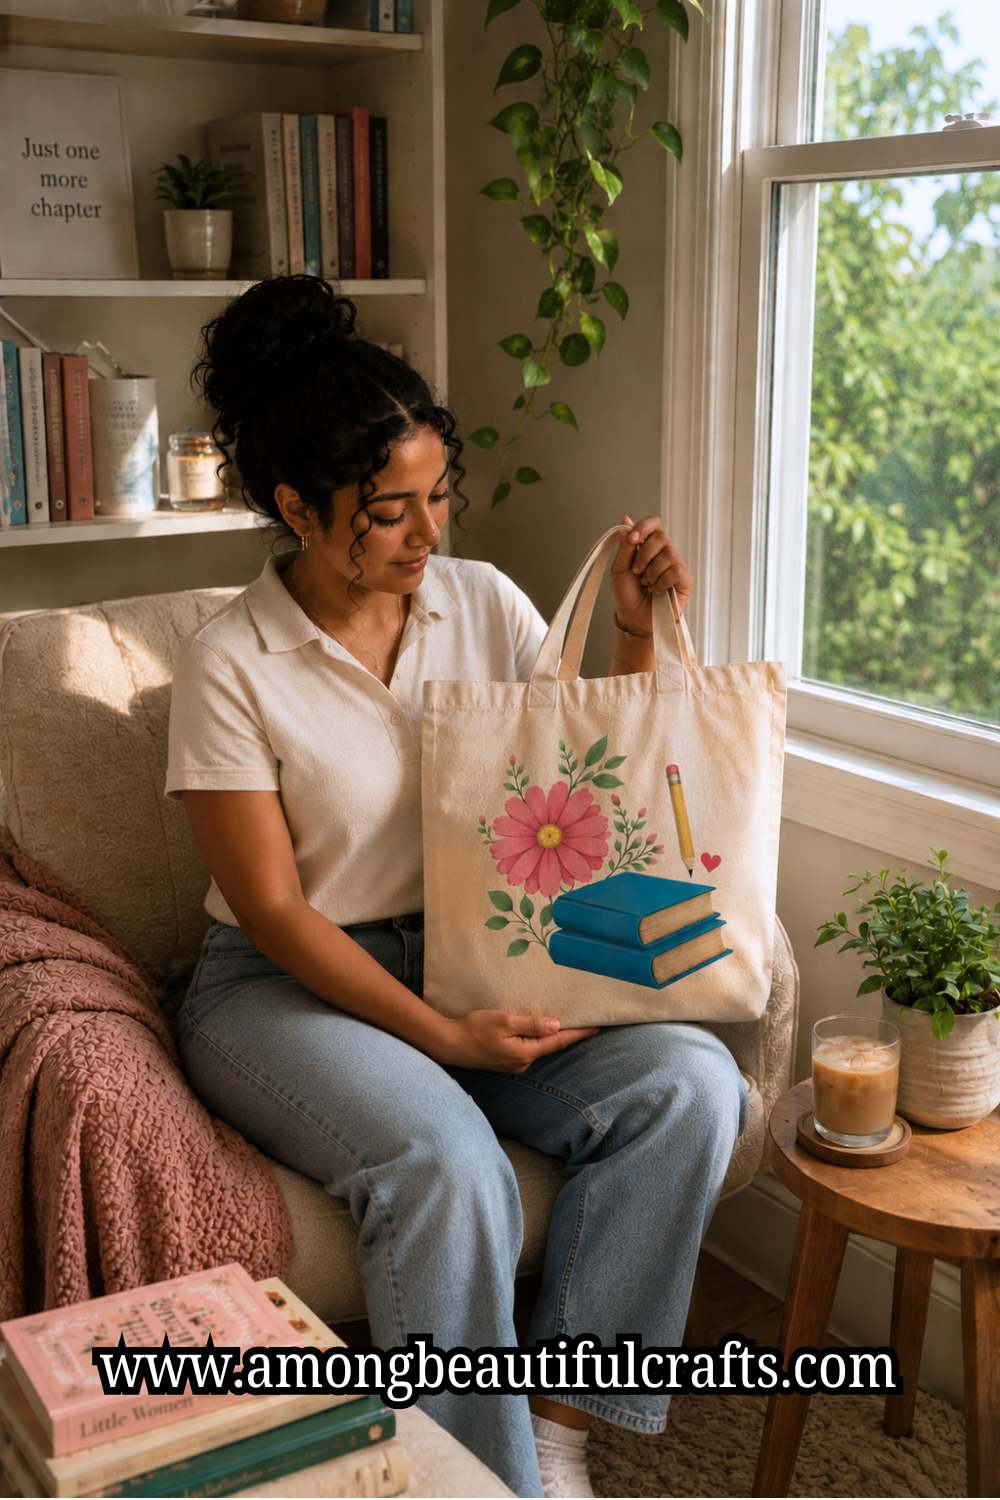
Last August, a friend asked me to help her create a custom tote bag for her daughter before school started. The bags she liked online cost far more than expected, so we decided to make our own instead.
A plain canvas tote, a few paint colors, and one afternoon later, we had a bag that looked unique, colorful, and ready for the new school year.
While working on that project, I learned How to Paint a Tote Bag for Back to School in a way that keeps the design looking fresh long after the excitement of the first school day fades.
A painted tote bag is one of the easiest ways to add personality to back-to-school supplies. Unlike store-bought designs, you can choose colors, patterns, names, quotes, or artwork that reflect your child’s interests.
The best part is, you do not need advanced painting skills to create something beautiful. With the right materials and a few simple techniques, even beginners can achieve professional-looking results.
Over the years, I have helped friends and family paint tote bags that survived daily school use, heavy books, and months of carrying supplies.
Along the way, we learned what helps paint stay bright, what causes designs to crack, and which steps many beginners overlook.

In this tutorial, I will show you exactly how to paint a tote bag that looks great on the first day of school and continues looking great throughout the year.
Why Paint Your Own Back-to-School Tote Bag?
Before we start, let me tell you why I love this project so much.
Before now, most kids carried bags that looked almost identical. You could walk through a store and see the same colors and designs everywhere. Even so, a painted tote bag stands out right away.
More importantly, it gives children a chance to show their personality.
One girl I helped loved books. So she painted a stack of colorful novels on her tote. Another loved flowers. As a result, she covered her bag with bright sunflowers and daisies.
My friend’s daughter adored stars and planets. So she created a simple space theme. Each tote looked completely different.
Besides that, painting your own bag saves money. You can buy a plain canvas tote for a small amount. Then you can turn it into something unique. Best of all, the project feels fun from start to finish.
Supplies You Needs.
Here is what I recommend:
- Plain canvas tote bag
- Fabric paint
- Paint brushes in different sizes
- Pencil
- Piece of cardboard
- Small cup of water
- Paper towels
- Painter’s tape
- Fabric marker (optional)
Try to use fabric paint instead of regular craft paint. I learned this lesson the hard way.
One friend used ordinary acrylic paint because she already had some at home. At first, the design looked beautiful. Yet after several washes, parts of the paint started cracking.
Since then, I always recommend fabric paint. It stays flexible and handles daily use much better.
How to Paint a Tote Bag for Back to School That Lasts All Year
Step 1: Wash the Tote Bag First

Many beginners skip this step. I used to skip it too. Then I noticed that paint sometimes behaved strangely on new fabric. Some bags contain dust or factory residue. Because of that, paint may not stick properly.
So wash the tote bag before painting. Let it dry completely afterward. Do not rush this part. A clean surface creates a much better result.
Step 2: Plan Your Design
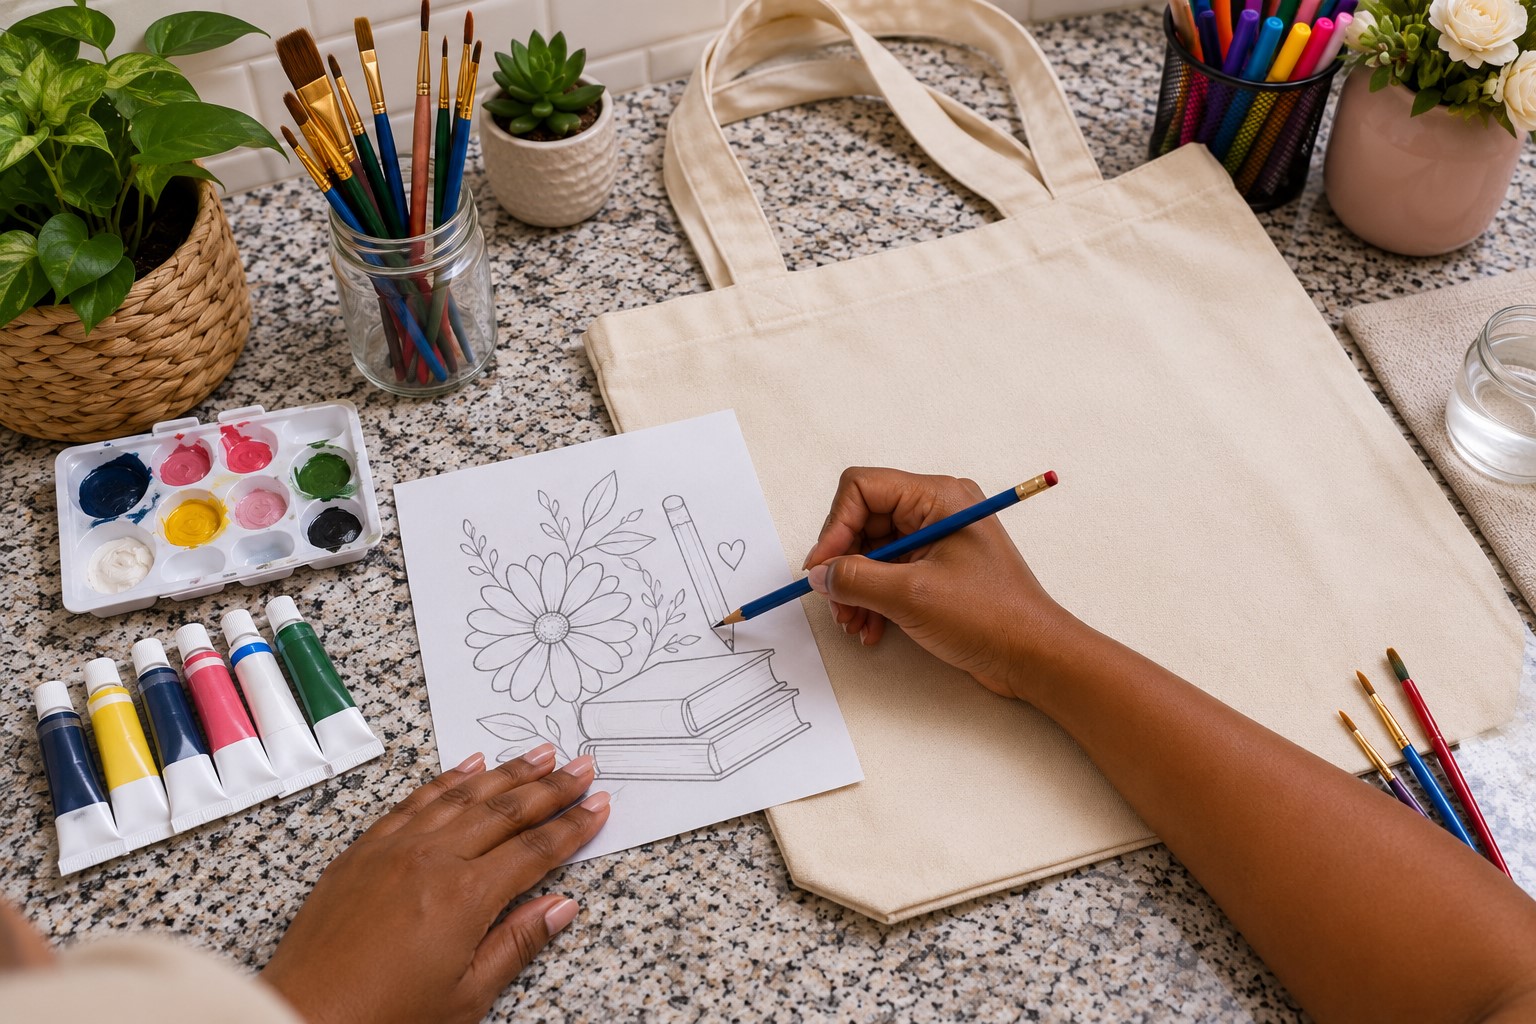
Next, decide what you want to paint. This step saves a lot of frustration later. My friend once started painting without a plan. Ten minutes later, she realized her design sat too close to the edge.
She had to repaint the entire bag. Since then, we always sketch ideas first. Simple designs usually work best.
Here are a few beginner-friendly ideas:
- School supplies
- Books
- Rainbows
- Flowers
- Stars
- Hearts
- Smiley faces
- Initials
- Names
- Positive quotes
Draw a rough sketch on paper first. After that, decide where each element should go. Your future self will thank you.
Step 3: Insert Cardboard Inside the Bag

This step looks small. Still, it makes a huge difference. Place a piece of cardboard inside the tote bag. The cardboard creates a barrier between the front and back layers. Without it, paint may bleed through.
Trust me on this one. I forgot the cardboard once. Unfortunately, paint soaked through both sides. That mistake taught me a lesson I never forgot. So slide the cardboard inside before touching a paint brush.
Step 4: Lightly Sketch the Design

Now transfer your idea onto the tote bag. Use a pencil and draw very lightly. You do not need perfect lines. The sketch simply guides your painting.
My niece worried about her drawing skills during her first project. But, the final tote looked fantastic. Remember that paint covers many small pencil marks. Focus on placement instead of perfection.
At this stage, check the design one more time. Make sure everything sits where you want it. Then move on to painting.
Step 5: Start With Large Areas

Now the fun begins. Start painting the largest sections first. For example, paint flower petals before tiny details. Paint large letters before outlines.
This approach keeps the process organized. When I teach beginners, I notice something interesting. Many people rush straight to tiny details. Soon after, they accidentally smear wet paint.
So work from large areas to small ones. Your design will stay cleaner. Plus, painting feels much easier.
Step 6: Apply Thin Layers of Paint
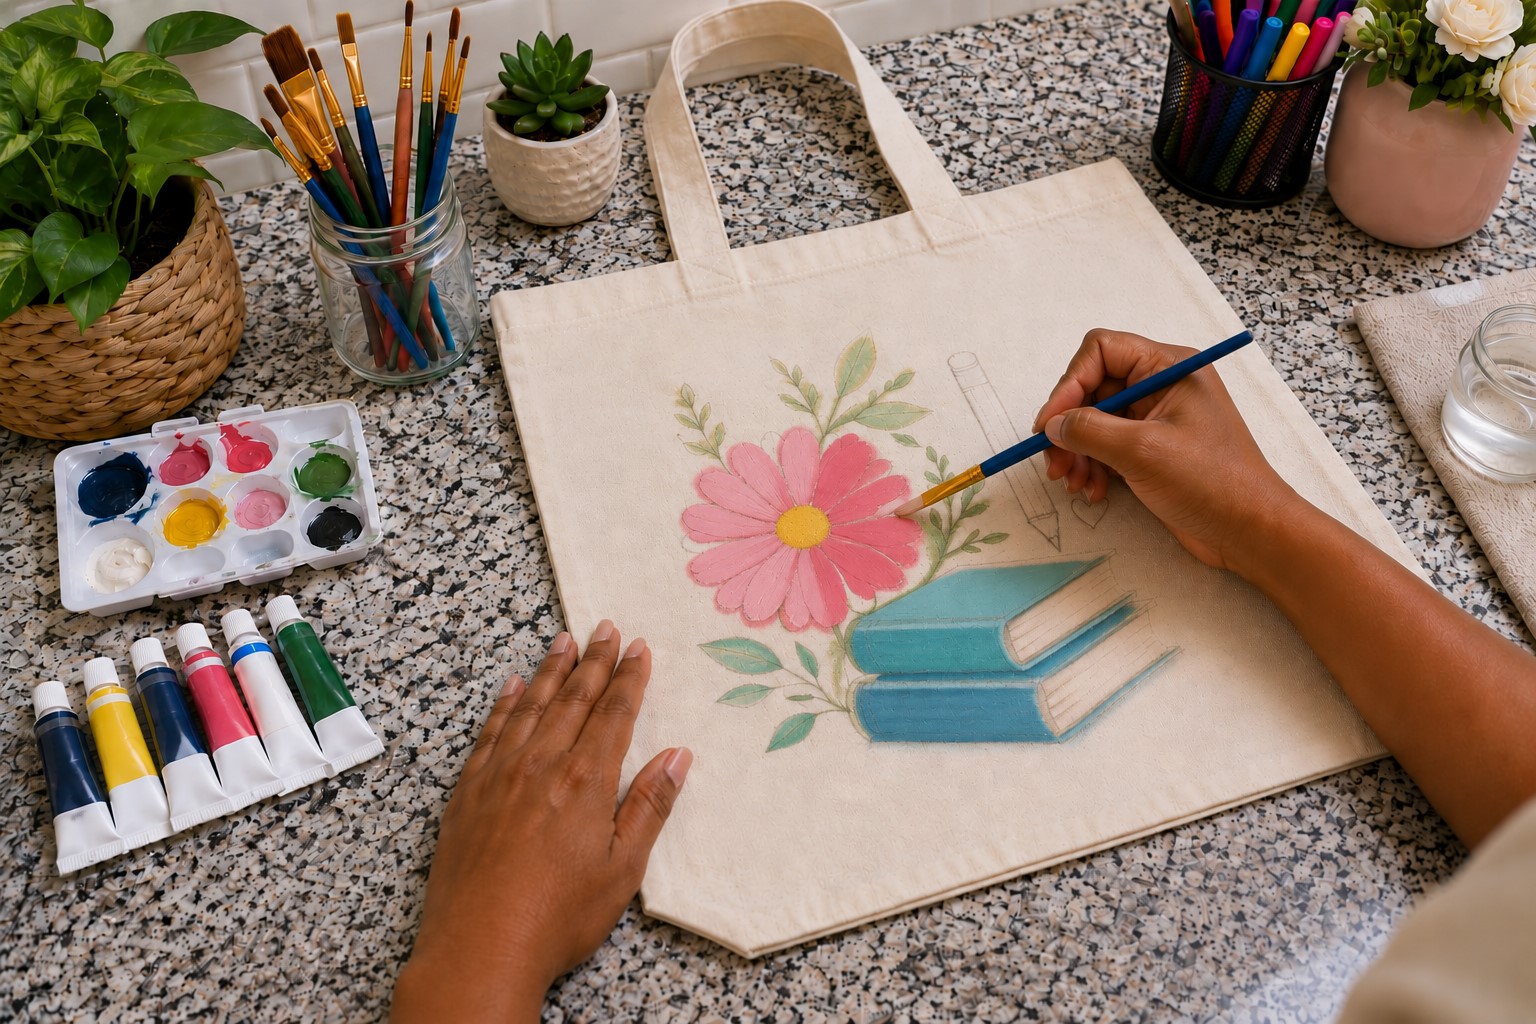
Thick paint creates problems. It may crack later. It can also feel stiff. Instead, apply thin layers. Then allow each layer to dry. After that, add another coat if needed.
This technique takes a little longer. Yet the result looks smoother and lasts longer. I learned this while helping a friend paint a bright yellow sunflower. The first coat looked uneven. She wanted to pile on more paint immediately.
Instead, we waited. After two thin coats, the sunflower looked perfect. Patience won that battle.
Step 7: Add Small Details
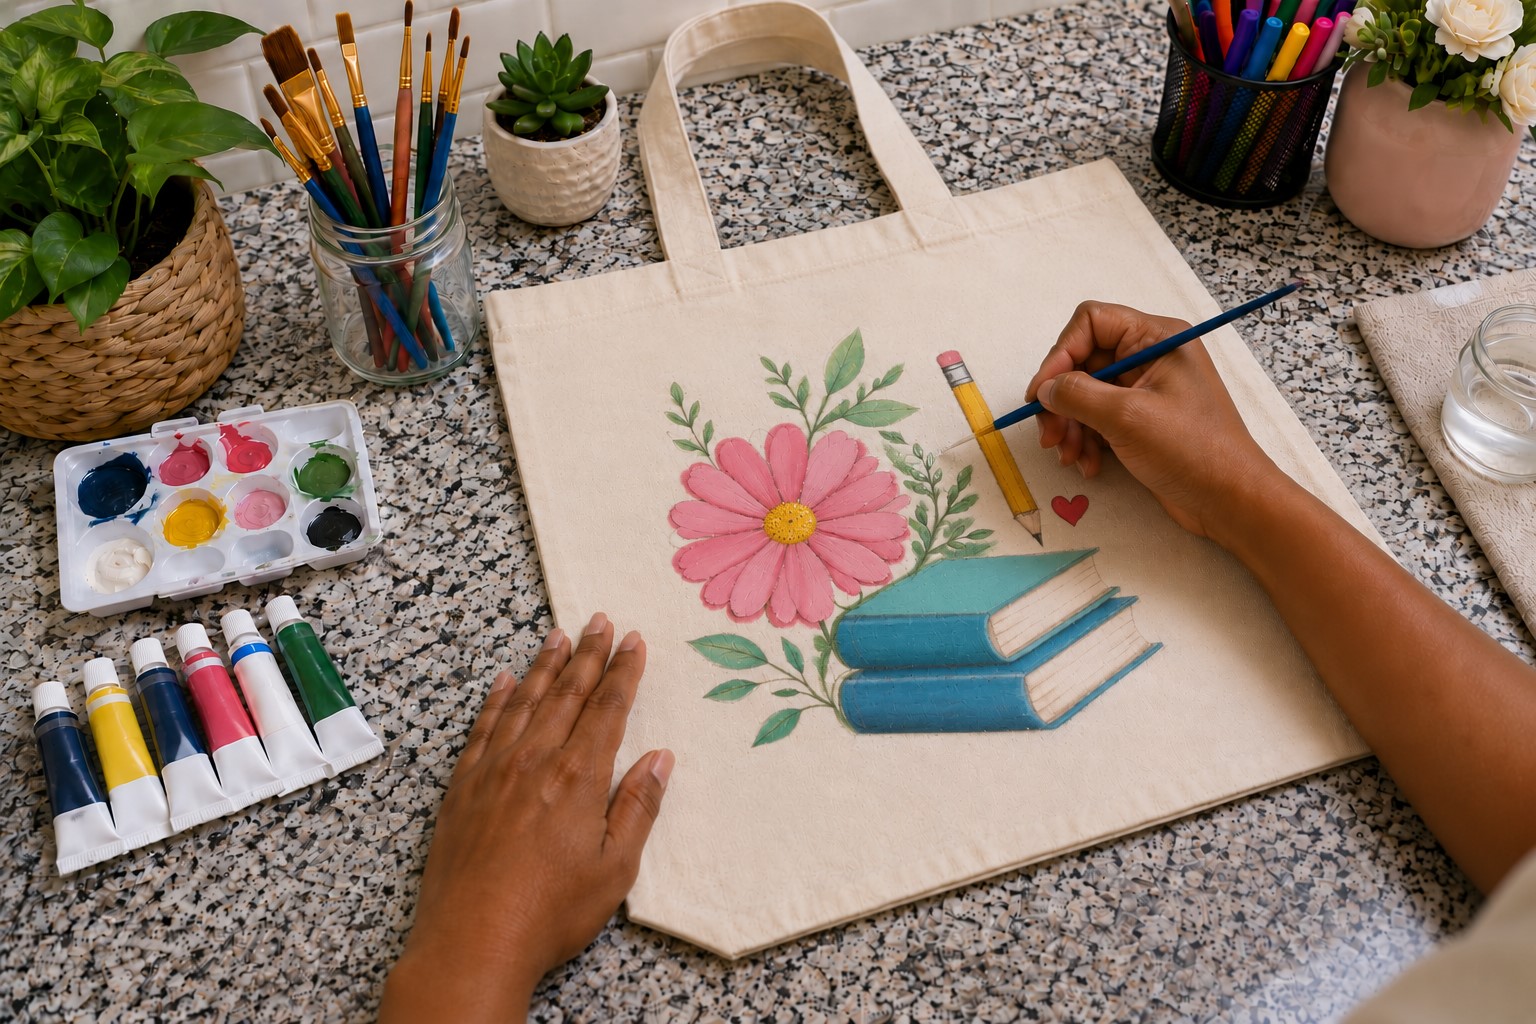
Once the main colors dry, add details. This is usually everyone’s favorite part. Small details bring a design to life.
Use a smaller brush for:
- Outlines
- Dots
- Patterns
- Letters
- Tiny flowers
- Decorative accents
Take your time here. Slow movements create cleaner results. Meanwhile, keep a paper towel nearby. That way, you can quickly remove excess paint from your brush. A steady hand helps.
Even so, do not worry about tiny imperfections. Handmade projects should look handmade. That is part of their charm.
Step 8: Let the Paint Dry Completely

At this point, many people get excited. I understand the feeling. After all, the tote bag already looks finished. But, resist the urge to use it right away. Give the paint enough time to dry.
Check the instructions on your fabric paint. Different brands need different drying times.
Recently, my friend’s son finished painting a sports-themed tote. He loved it so much that he started carrying it almost immediately. Unfortunately, his hand brushed against wet paint.
As a result, part of the design smudged. We fixed it later, but the extra work could have been avoided. So let the tote rest in a safe place. Then move on once the paint feels completely dry.
Step 9: Heat Set the Paint
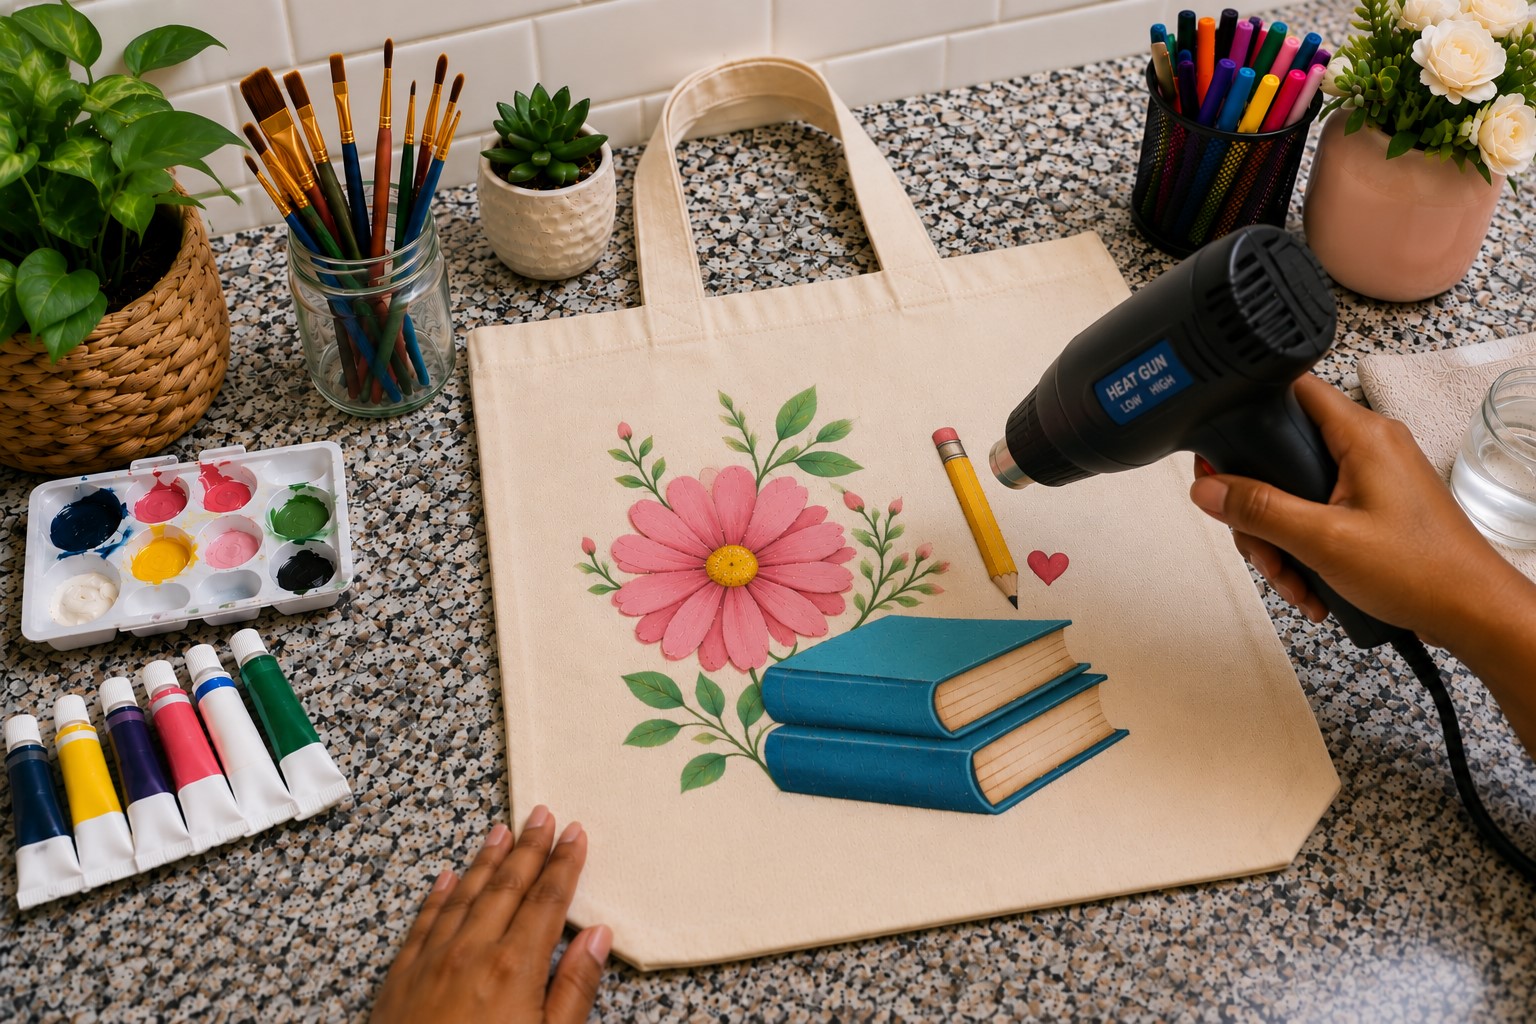
This step helps your artwork last longer. In fact, many people skip it and wonder why their paint fades. Heat setting helps the paint bond with the fabric. Most fabric paints include instructions for this process.
Usually, you can place a cloth over the painted area and iron it. Always follow the directions on your paint label. I remember helping someone create a beautiful floral tote.
She followed every step except heat setting. A few months later, parts of the design looked worn. Since then, I always include this step when teaching How to Paint a Tote Bag for Back to School.
A few extra minutes can make a big difference.
Step 10: Test the Finished Design
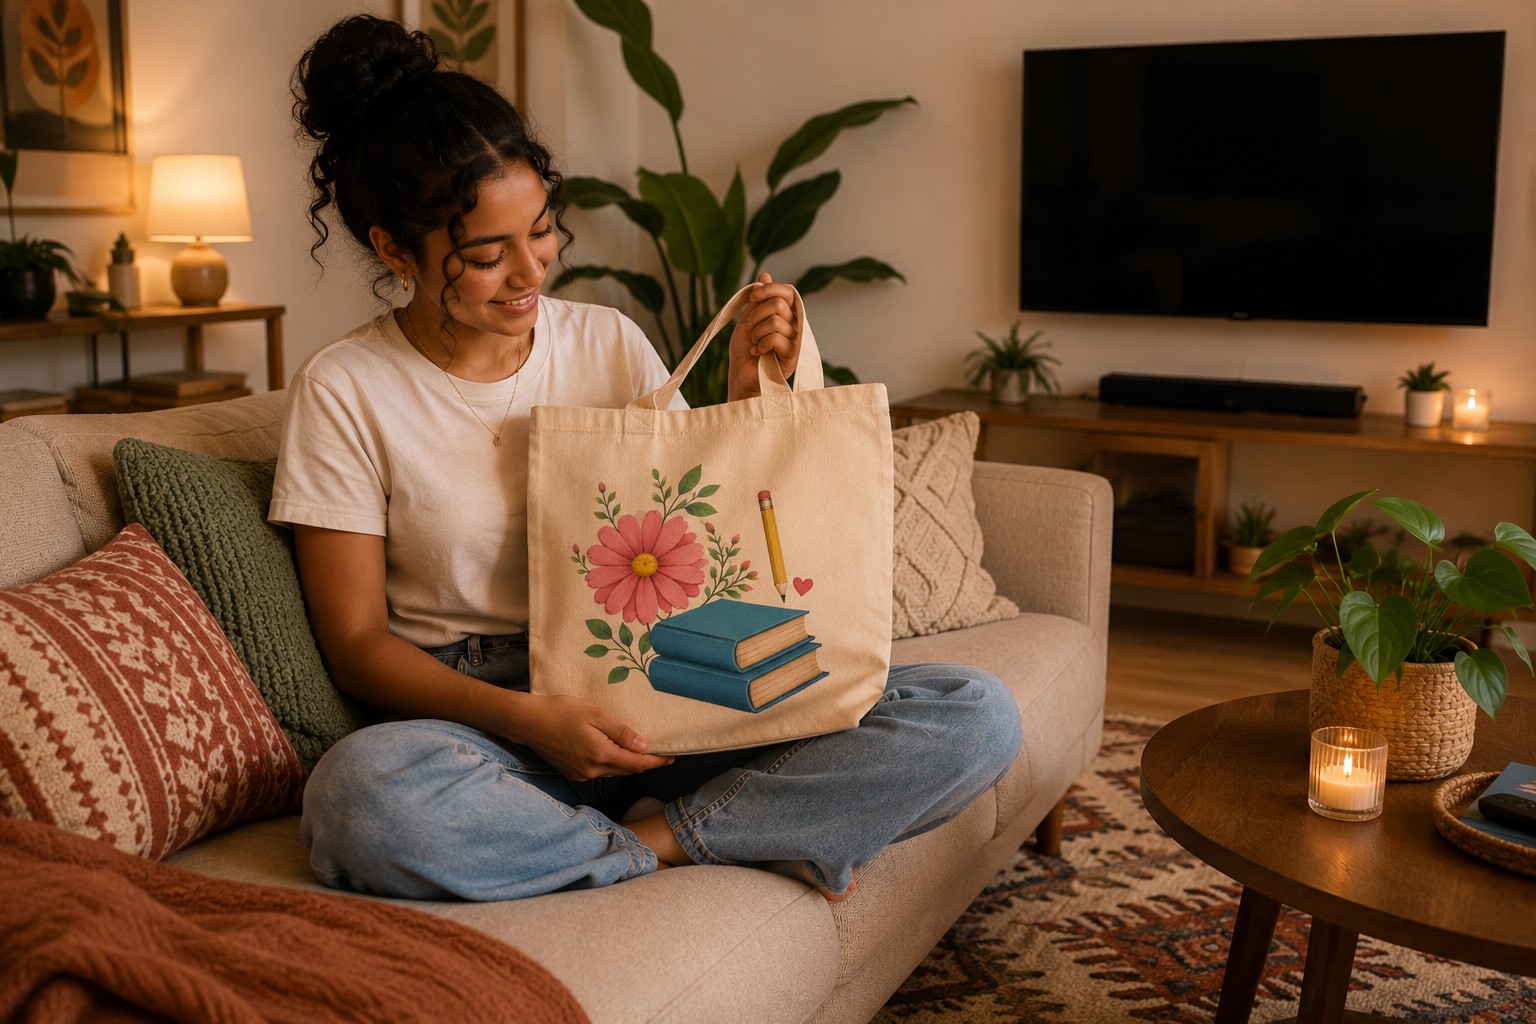
Before school starts, test your tote bag. Place a few books inside. Carry it around the house. Check the handles. Look at the painted areas. Make sure everything feels secure. This quick test helps you spot problems early.
One girl noticed a small area that needed another coat of paint. Luckily, she found it before the first day of school. Because of that, the bag looked perfect when she finally used it.
Small checks often prevent bigger issues later.
Common Mistakes and How to Avoid Them
Over the years, I have seen the same mistakes again and again. The truth is that they are actually easy to avoid.
Using Too Much Paint
Many beginners think more paint means better coverage. Actually, thick paint often creates stiff fabric. Instead, use several thin coats. The bag will feel softer and look better.
Skipping the Sketch
Some people want to start painting immediately. I understand the excitement. Still, a simple sketch saves time. Even a rough outline helps.
Forgetting the Cardboard
This mistake happens often. Paint can soak through the fabric. Then both sides may stick together. So never skip the cardboard insert.
Rushing the Drying Process
Patience matters here. Wet paint smears easily. Give every layer enough time to dry. The final result will reward you.
Choosing Complicated Designs
Simple designs often look best. Large shapes and clean lines create a polished appearance. Meanwhile, overly detailed designs can feel overwhelming. Start simple.
Then challenge yourself on future projects.
Fun Back-to-School Design Ideas
Sometimes the hardest part involves choosing a design. Whenever that happens, I suggest looking at the child’s interests. That usually sparks ideas right away. Here are some favorites.
Book Lover Tote
Paint colorful books stacked on top of each other. Add the child’s name across the spine. This design looks cheerful and creative.
Rainbow Tote
A rainbow works well for all ages. Plus, bright colors always stand out. You can even add clouds and stars.
School Supply Theme
Paint pencils, rulers, notebooks, and crayons. This idea feels playful and perfect for school.
Positive Quote Tote
Choose a short phrase. Keep it simple and encouraging. A few colorful decorations can frame the words beautifully.
Floral Tote
Flowers never go out of style. Sunflowers, daisies, and wildflowers all work well. Besides that, floral designs suit beginners.
Space Theme Tote
Paint planets, stars, and rockets. Kids who love science often enjoy this design. The dark background also makes bright colors pop.
Personalized Name Tote
Sometimes a name alone creates a stunning design. Use bold letters and decorate around them. The result feels special and unique.
Tips That Help Paint Last All Year
Many readers ask me the same question.
How do you keep the design looking fresh?. The answer comes down to a few habits. First, use quality fabric paint. Cheap paint often fades faster.
Next, heat set the design correctly. That step matters more than people realize.
Also, avoid overloading the bag. Heavy items create extra stress on the fabric.
Try not to fold the painted area sharply. Instead, store the tote flat whenever possible.
When teaching How to Paint a Tote Bag for Back to School, I always remind beginners that good care protects their hard work. A little attention goes a long way.
How to Clean a Painted Tote Bag
Sooner or later, the tote bag will need cleaning. Fortunately, that does not have to ruin the design. I prefer spot cleaning whenever possible.
Use a damp cloth and gently wipe dirty areas. If the tote needs a deeper clean, wash it carefully. Use cool water and mild soap.
Avoid harsh scrubbing. After washing, let the bag air dry. Do not toss it around roughly. Treat it with care. That simple habit helps painted designs stay bright.
My friend’s daughter used the same painted tote for almost an entire school year. The artwork still looked impressive months later. She followed these cleaning tips consistently. As a result, the colors stayed vibrant.
Why Handmade School Items Feel Special
Store-bought products serve a purpose. Yet handmade items often create stronger memories. I still remember the excitement on children’s faces when they finished their tote bags.
They smiled differently. They felt proud. That feeling matters. A custom tote tells a story. It shows effort, creativity, and personality. Every brushstroke reflects a choice.
That is why I enjoy teaching How to Paint a Tote Bag for Back to School. The project creates something useful. At the same time, it creates confidence.
Children see what they can make with their own hands. That lesson stays with them long after the paint dries.
Frequently Asked Questions
Can I use regular acrylic paint?
You can, but I do not recommend it. Fabric paint works much better on canvas tote bags. It stays flexible after drying.
Regular acrylic paint may crack over time. For that reason, fabric paint remains the safer choice.
How long does the project take?
Most beginners finish in two to four hours. The exact time depends on the design. Simple projects move faster.
Detailed artwork needs more patience. Even so, the process feels relaxing and enjoyable.
Can younger children paint tote bags?
Yes, they can. Adults should supervise younger children. Simple shapes work best for beginners. Stars, hearts, flowers, and rainbows make great starting points.
What if I make a mistake?
Do not panic. I have made plenty of mistakes myself. Allow the paint to dry first. Then paint over the area if needed. Many small mistakes disappear completely after a few touch-ups.
How many colors should I use?
I usually recommend three to six colors. Too many colors can make a design look busy. A smaller color palette often looks cleaner. At the same time, it feels easier to manage.
My Favorite Lesson From This Project
Of all the craft projects I teach, this one creates some of the biggest smiles. The reason has little to do with paint. Instead, it comes from seeing confidence grow.
I remember one girl who kept saying she was not creative. She almost gave up before starting. But, she decided to try. At first, she painted a few simple flowers. Then she added leaves.
Soon after, she added tiny details. By the end, she could not stop looking at her tote bag. She carried it everywhere that week. That experience reminded me that creativity grows through practice.
Nobody starts as an expert. Each project teaches something new. That is another reason I enjoy showing people How to Paint a Tote Bag for Back to School.
The finished bag matters. Yet the experience matters even more.
Final Thoughts
If you have never painted fabric before, do not let that stop you. Every beautiful tote bag starts with a blank canvas and a simple idea.
Take your time, enjoy the process, and focus on having fun. As you work through How to Paint a Tote Bag for Back to School, remember that small imperfections often make handmade projects more charming.
Looking back, the best tote bags were not always the most perfect ones. Instead, they carried memories of laughter, creativity, and time spent together.
A few brushstrokes turned an ordinary canvas bag into something meaningful. More importantly, the children who made them felt proud every time they carried them.
So gather your supplies, clear a space at the table, and give this project a try. Before long, you will understand why I love teaching How to Paint a Tote Bag for Back to School.
With the right paint, a little patience, and some creativity, your custom tote bag can look amazing from the first school day to the last.