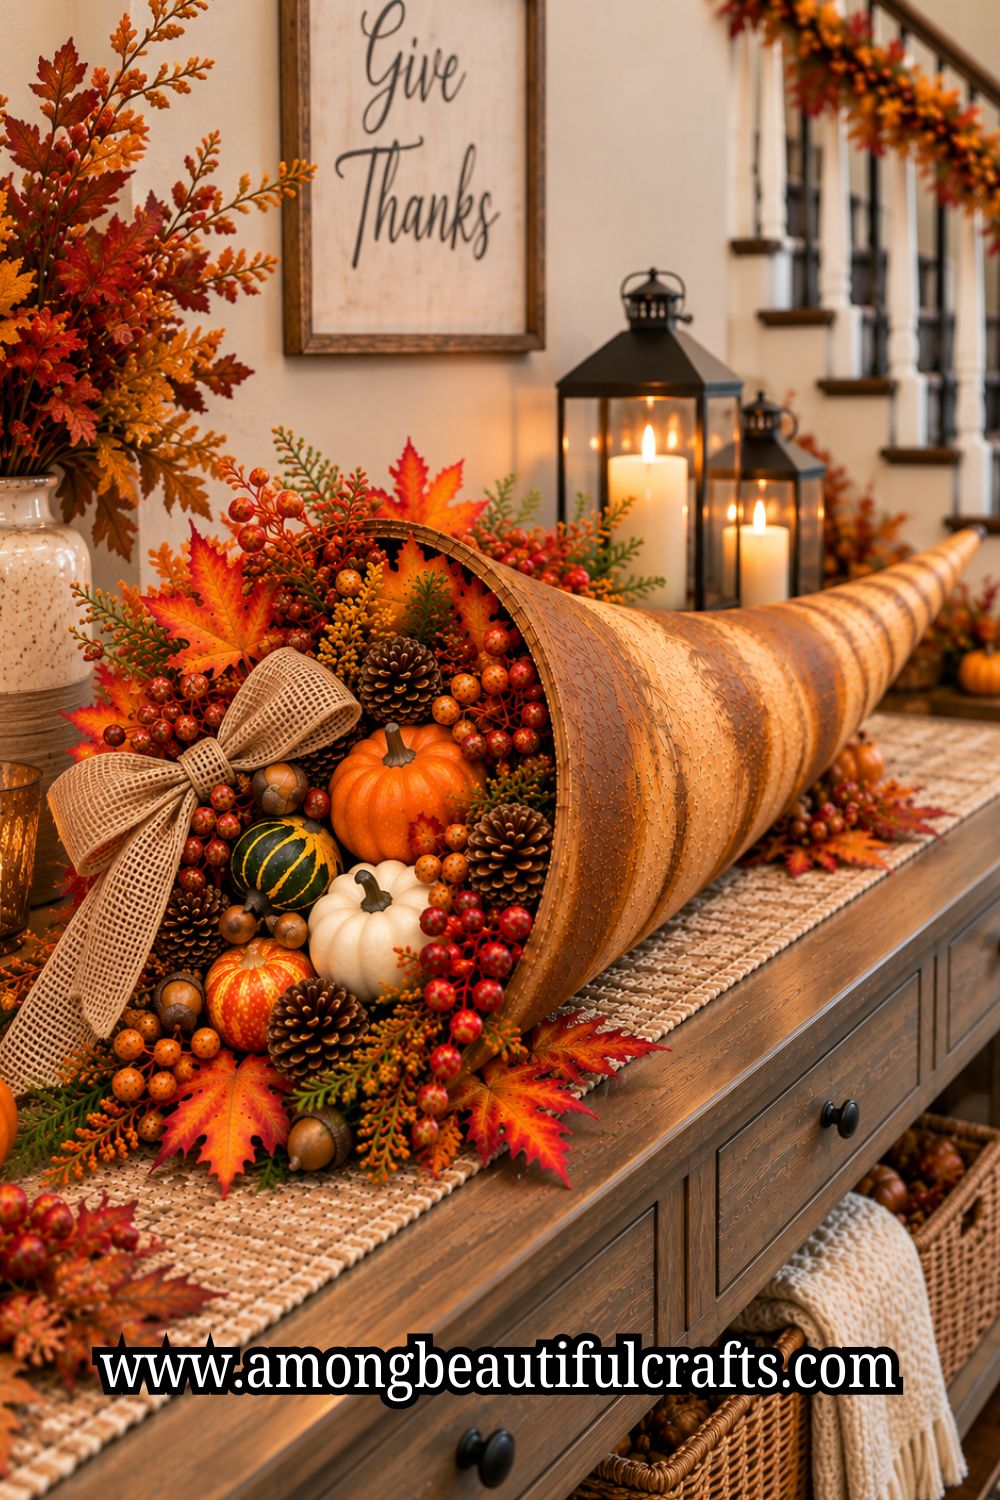
Thanksgiving decorations can start looking a little too predictable after a while.
Pumpkins go here, leaves go there, and then the whole arrangement ends up looking like every other fall display.
A cornucopia gives you something different to work with because the shape itself creates a natural place for all those seasonal colors and textures.
If you’re looking for more ways to break out of the usual pumpkins-and-leaves routine, 50 Beautiful Thanksgiving Craft Ideas You’ll Want to Try This Year has plenty of less predictable options too.
You can make the horn the star, or let the things spilling out of it take most of the attention.
Maybe yours leans heavily into pumpkins and gourds. Maybe you want fruit, leaves, flowers, or a mixture of all three.
There’s no need to make the contents match perfectly; they just need to work together.
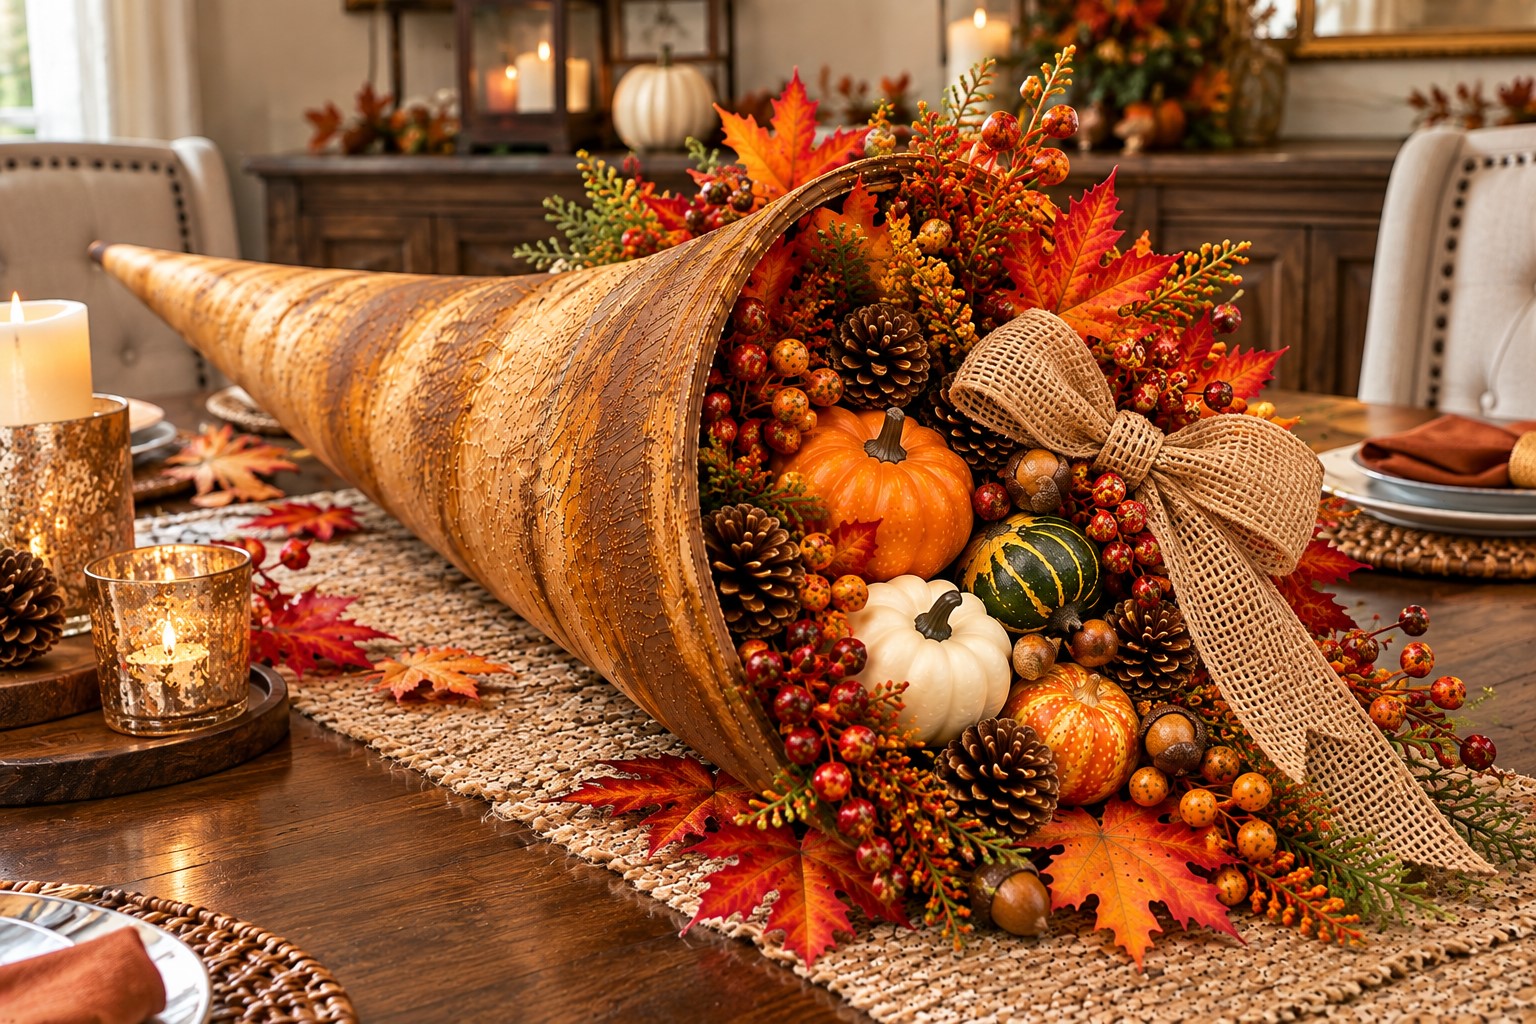
The Guide to Making a Thanksgiving Cornucopia below takes you through the entire project without making you guess what comes next.
You’ll shape the horn, prepare the details, build the filling, and arrange everything so the finished piece looks full and well put together.
When you’re done, you’ll have a Thanksgiving decoration with plenty of personality instead of another predictable fall arrangement.
Supplies You’ll Need
You can make a cornucopia with fairly simple craft supplies. Choose your materials based on the size and style you want.
- Woven cornucopia basket or plain basket horn – (Available on Amazon)
- Cardboard or thick craft paper – (Available on Amazon), if making the horn yourself
- Scissors
- Craft glue or hot glue – (Available on Amazon)
- Pencil
- Acrylic paint – (Available on Amazon)
- Paintbrushes – (Available on Amazon)
- Ruler
- Artificial pumpkins and gourds – (Available on Amazon)
- Artificial apples, pears, or other fall fruit – (Available on Amazon)
- Artificial or paper autumn leaves
- Small flowers or dried-looking foliage – (Available on Amazon)
- Twine or raffia
- Decorative berries – (Available on Amazon)
- Brown or kraft paper
- Floral foam – (Available on Amazon) or crumpled paper for filling
- Optional: pinecones
- Optional: small acorns – (Available on Amazon)
- Optional: ribbon – (Available on Amazon)
You don’t need every item on the list. Pick a few types of produce and foliage, then build around those.
Ultimate Guide to Making a Gorgeous Thanksgiving Cornucopia
1. Decide How Large You Want the Cornucopia
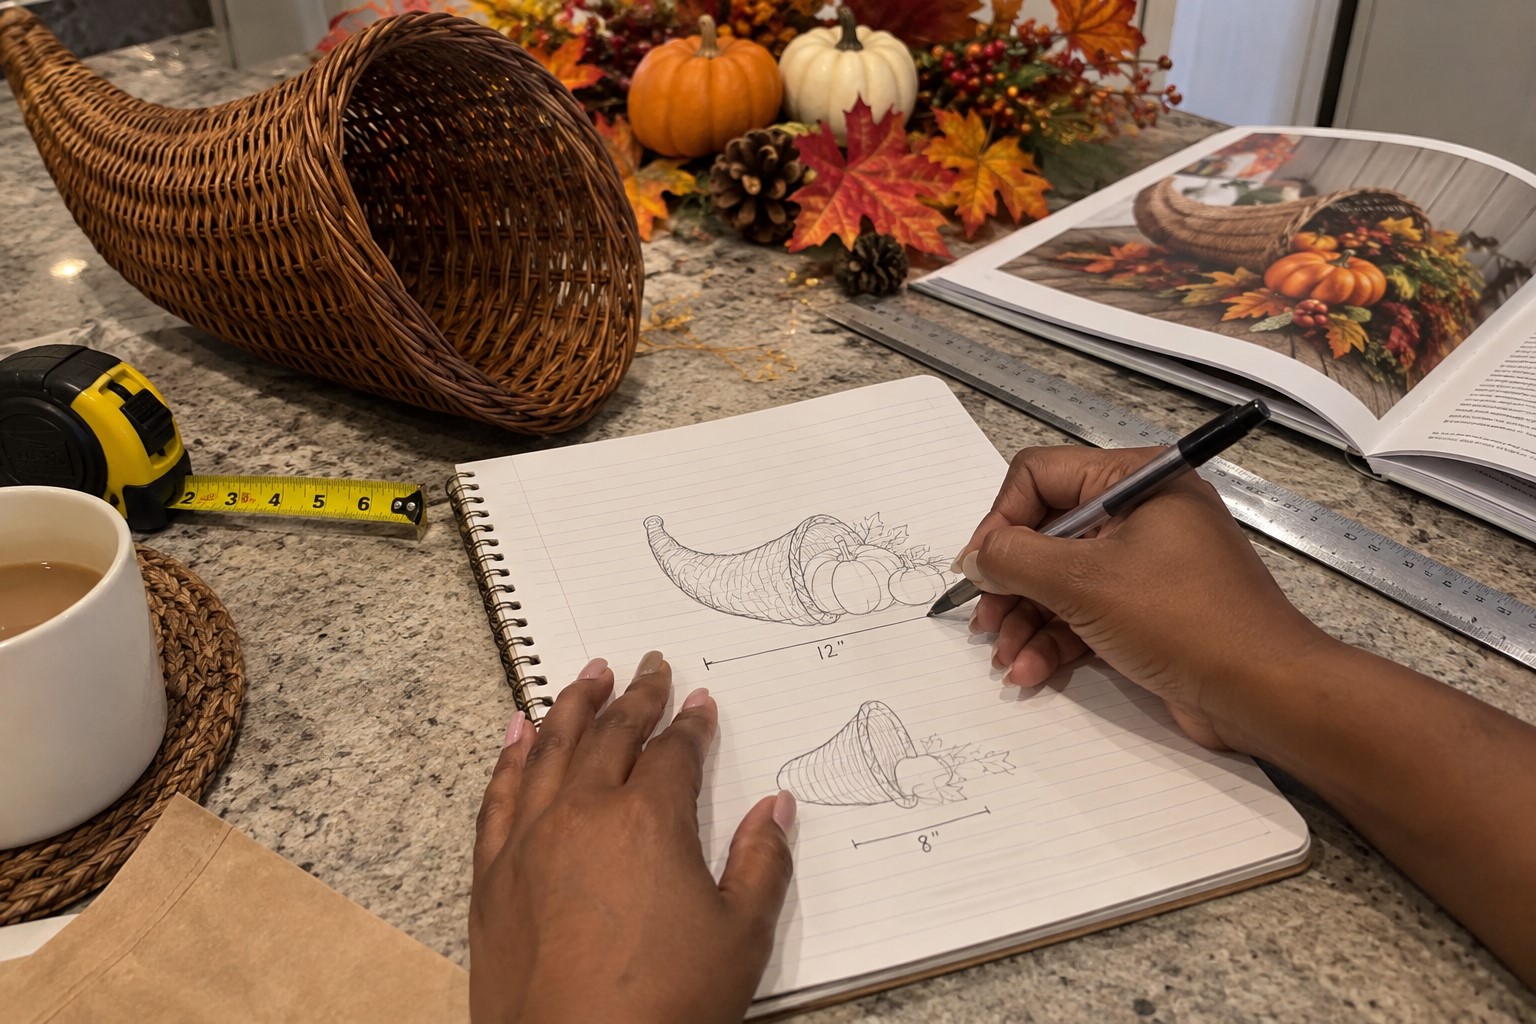
Start by deciding where you plan to display your finished cornucopia.
A small one can sit comfortably on a dining table or shelf. A larger version works better as a centerpiece on a wide table.
Measure the available space before you start buying or making anything. You want enough room for the horn and its contents without making the display difficult to use.
Next, decide how much of the filling you want to see. A cornucopia that sits almost upright can hold more pieces inside.
A horn that points downward will let the produce spill outward across the surface.
Make a quick sketch if you are unsure. Mark the approximate length of the horn and the area you want the filling to cover.
If sketching and planning ahead of time is something you enjoy, the project on How to Make a Stunning Layered Paper Shadow Box From Scratch uses the same kind of upfront planning before any gluing begins.
Planning the size at this point will save you from creating a beautiful arrangement that turns out too large for its intended spot.
2. Prepare or Make the Cornucopia Horn
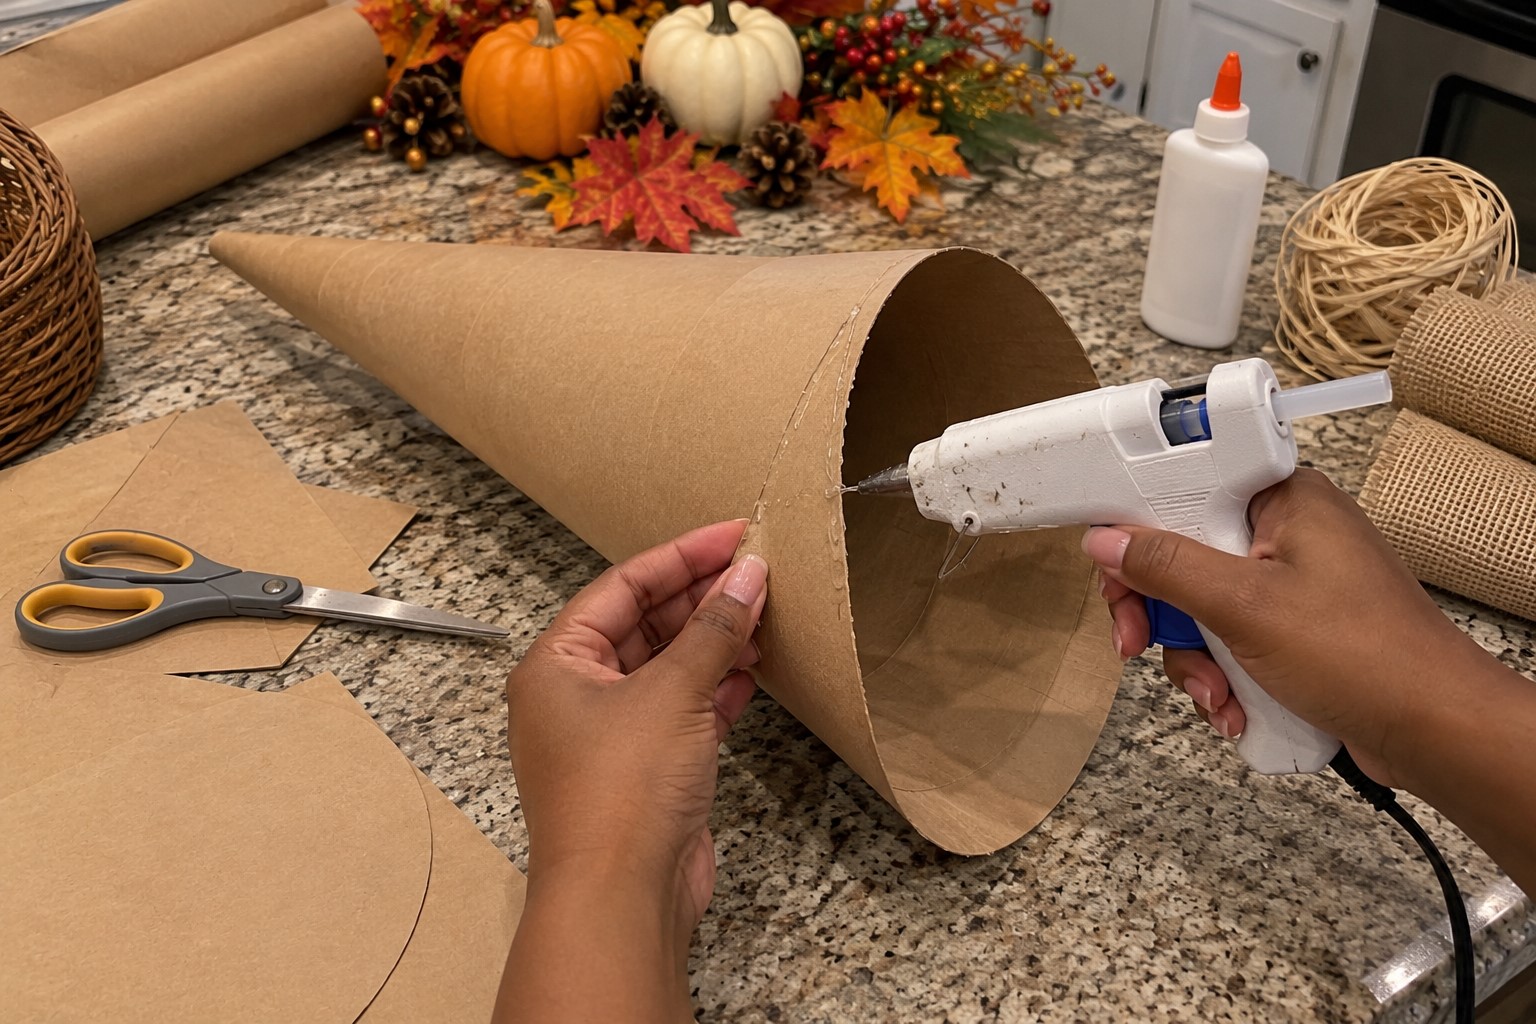
The horn is the foundation of the entire project, so give it enough attention before adding decorations.
If you bought a ready-made cornucopia basket, check that it feels sturdy. Look for loose sections or rough edges that might catch on your decorations.
If you are making the horn yourself, use thick cardboard or craft paper. Cut a large curved shape, then roll it into a cone with a wide opening and narrow pointed end.
Overlap the edges slightly and secure them with strong glue. Hold the seam in place until the adhesive grips.
Rolling and shaping paper this way is also the whole idea behind Making a Beautiful Origami Crane You’ll Be Proud to Display, if you enjoy this kind of structural paper folding.
You can also cover the cardboard with brown paper, raffia, fabric, or another textured material.
That will hide the construction and give the horn a more finished appearance.
3. Strengthen the Opening and Base
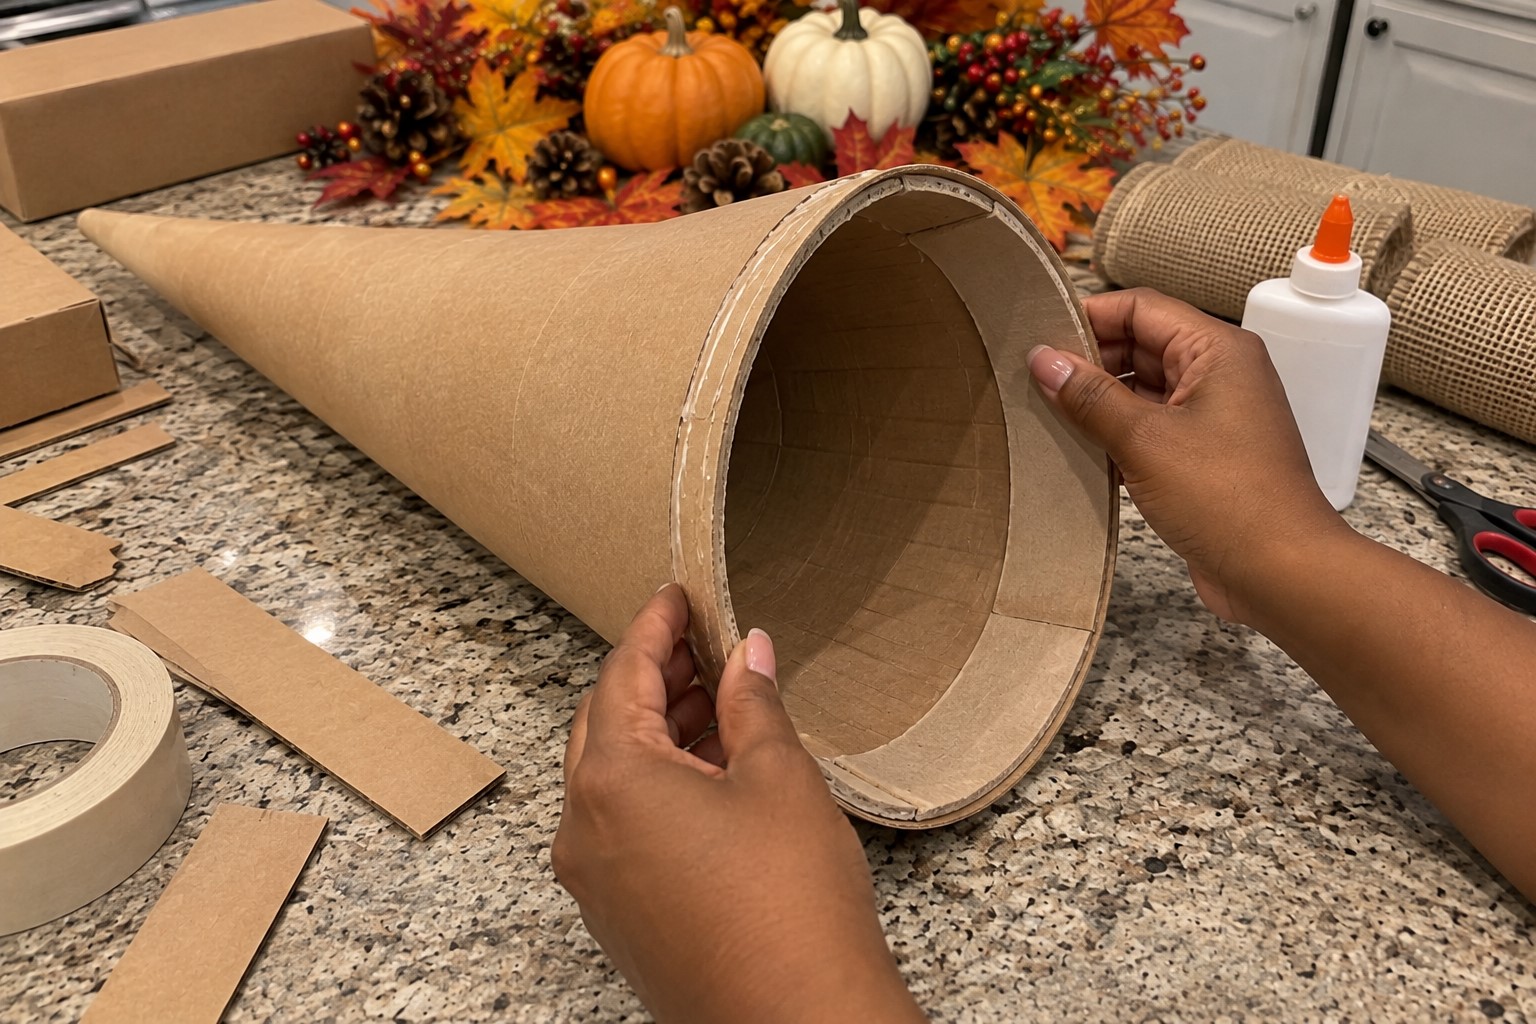
A large opening gives you plenty of room to arrange the Thanksgiving decorations. Still, the edge needs to hold its shape once you begin filling it.
Check the opening and reinforce any weak areas from the inside. A strip of cardboard around the rim can add support without being visible from the front.
Pay attention to the pointed end as well. If you made the horn yourself, add a little extra material inside the tip so it does not collapse.
Building strength through layers like this matters just as much in Making a Paper Mache Bowl That Dries Without Cracking, where a weak base causes most failures.
Place the horn on your table and see how it sits. If it rolls around, adjust the bottom or add a small hidden support.
This little bit of preparation makes the later arrangement much easier.
4. Give the Horn a Warm Thanksgiving Finish

A plain cardboard or pale basket horn may need some color before you continue.
Brown, tan, muted orange, or deep golden shades work well for a traditional Thanksgiving look.
Apply one even base coat and allow it to dry. Then add a slightly darker shade around the edges and deeper areas of the woven texture.
You don’t need to paint every tiny section. Let some of the base color remain visible so the surface keeps some variation.
For a more rustic finish, use a dry brush with a lighter brown or cream paint. Lightly sweep it across raised areas to bring out the texture.
That same dry-brushing technique works beautifully on figuring out How to Make Gorgeous Air Dry Clay Earrings That Don’t Crack, if you want to practice it on a smaller piece first.
The Guide to Making a Thanksgiving Cornucopia becomes much easier once the horn already looks finished enough to support the decorations.
5. Create a Hidden Base for the Filling
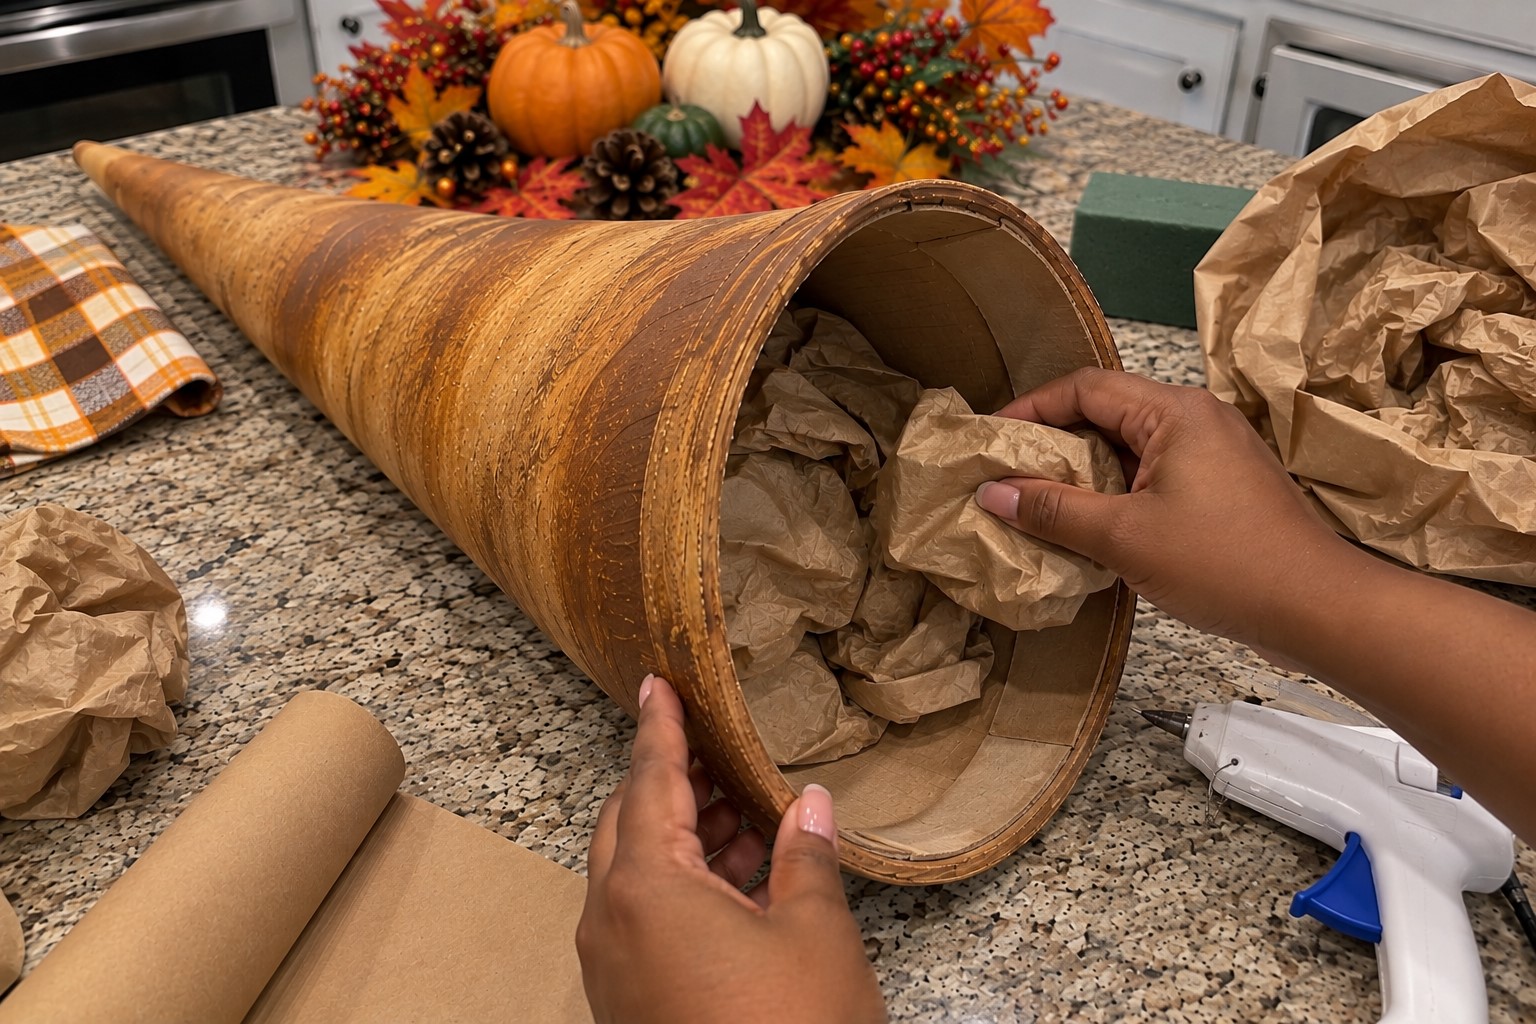
Don’t start throwing fruit into the empty horn yet. Most of your decorations will sit better if you create a hidden base first.
Crumple kraft paper or newspaper into loose balls and place them inside the wider part of the horn. You can also use floral foam if you want something firmer.
Keep the filling material below the rim. You want the decorations to cover it completely.
Push more material toward the back of the horn and less toward the front. This creates a gentle slope for the produce to rest against.
The support should be firm enough to hold your heavier pieces without making the horn look stuffed.
6. Choose Your Main Thanksgiving Colors
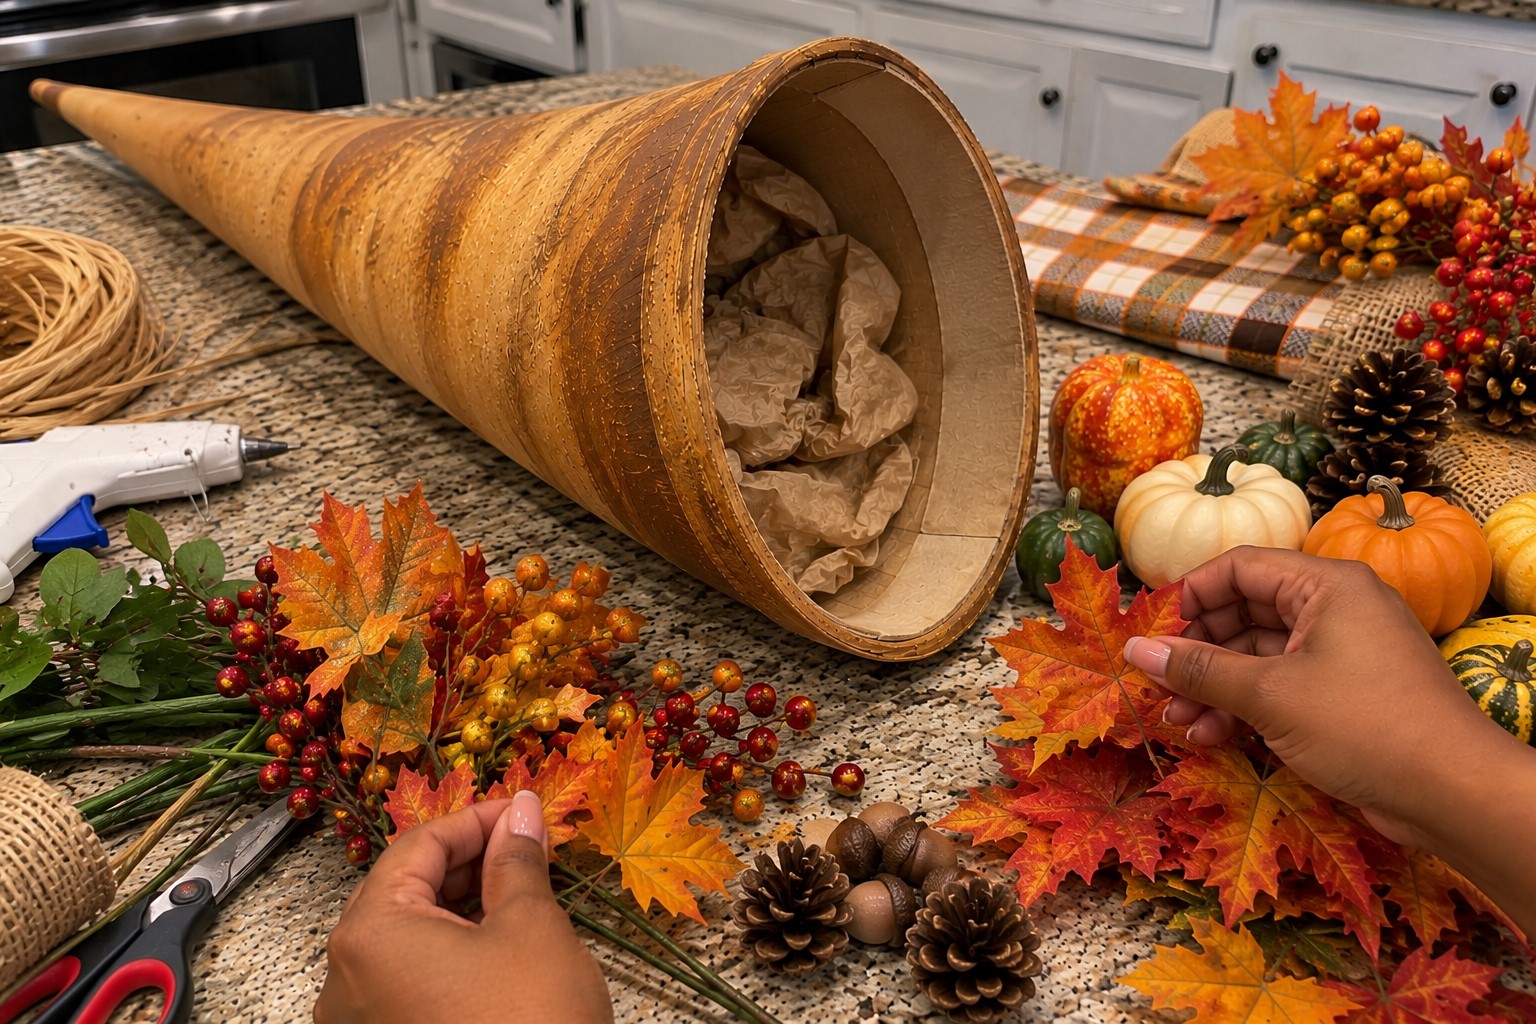
Before arranging the produce, decide which colors should dominate the finished display.
Orange, cream, brown, deep red, mustard yellow, and muted green naturally work well together.
You can use a few brighter pieces, but too many competing colors can make the arrangement look scattered.
Choose two or three main colors and use the others as accents. For example, orange pumpkins can form the main color while green leaves and red berries provide contrast.
Working out a palette like this ahead of time is exactly what 27 Fall Canvas Painting Ideas That Capture Autumn’s Beauty walks through for a painted version of the same colors.
Spread your materials out on the table before placing them. This lets you see which colors you have too much of and which ones you need more of.
This small step can make the final arrangement feel much more deliberate.
7. Place the Largest Pieces First
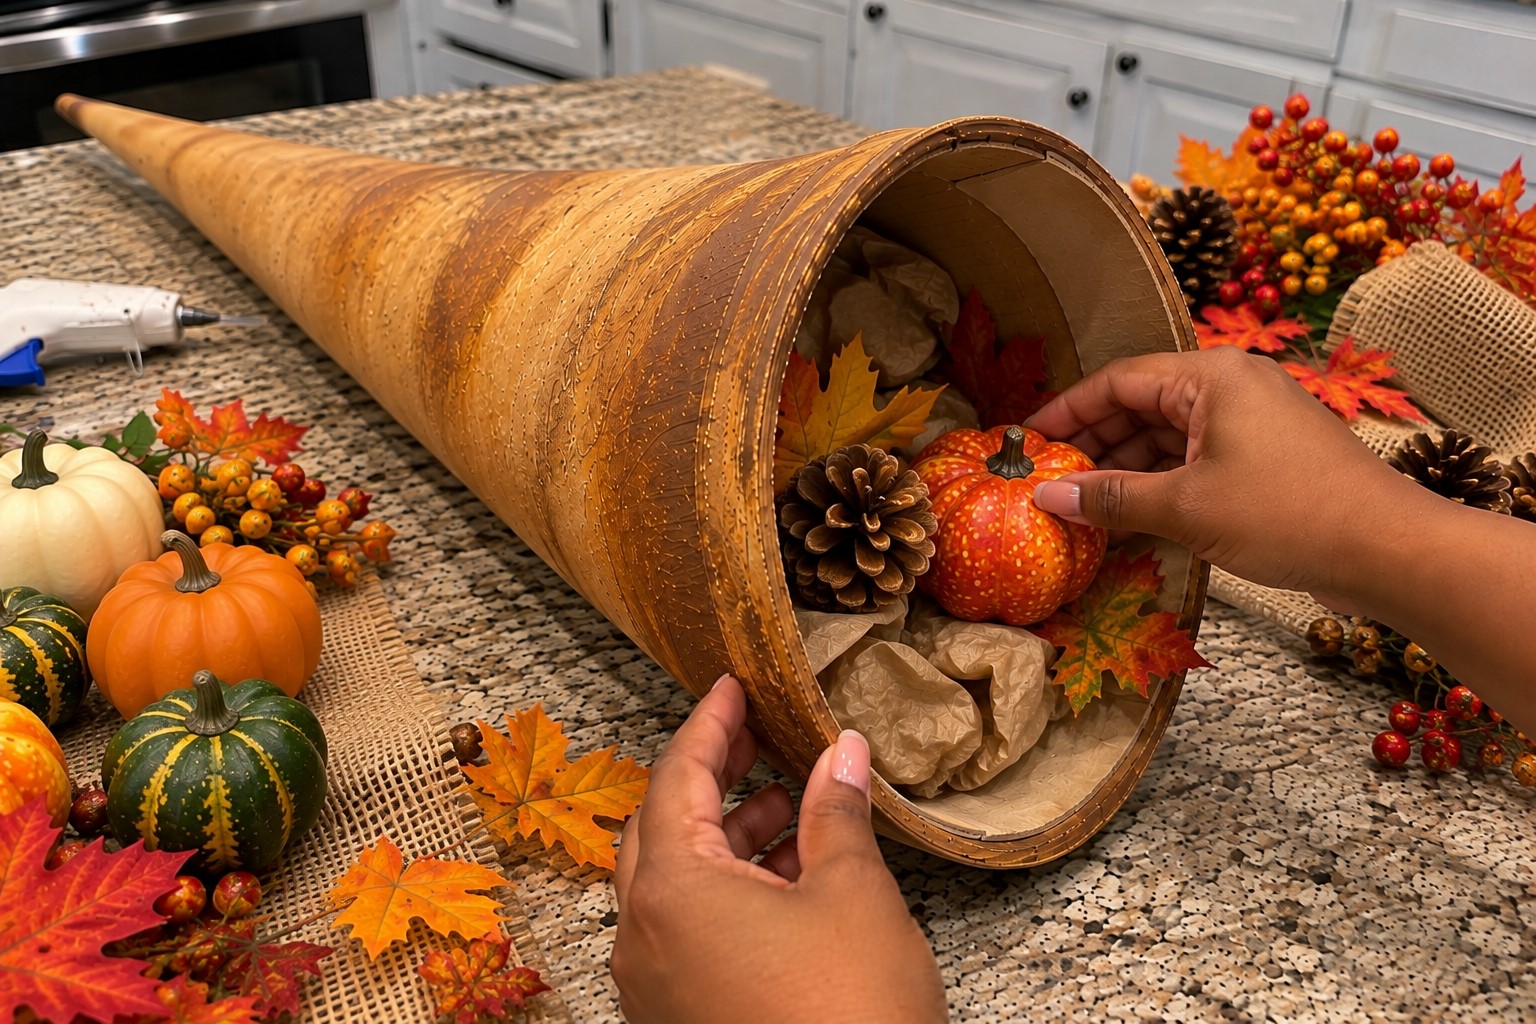
Now you can start filling the cornucopia. Begin with the largest pumpkins, gourds, apples, or other produce.
Place one or two larger pieces near the opening. Then position additional pieces behind them and inside the horn.
Avoid lining everything up evenly. A natural arrangement needs some height differences and overlapping pieces.
Turn each pumpkin or piece of fruit slightly until you find its best-looking side. You don’t have to show every object from the front.
If you’d rather work with a pumpkin you shaped yourself, 25 Rustic Fall Clay Pumpkin Ideas for a Handmade Pottery Look gives you plenty of options to tuck into the horn.
Step back occasionally. If one side looks much heavier than the other, move a few pieces before adding anything smaller.
8. Fill the Gaps With Smaller Produce
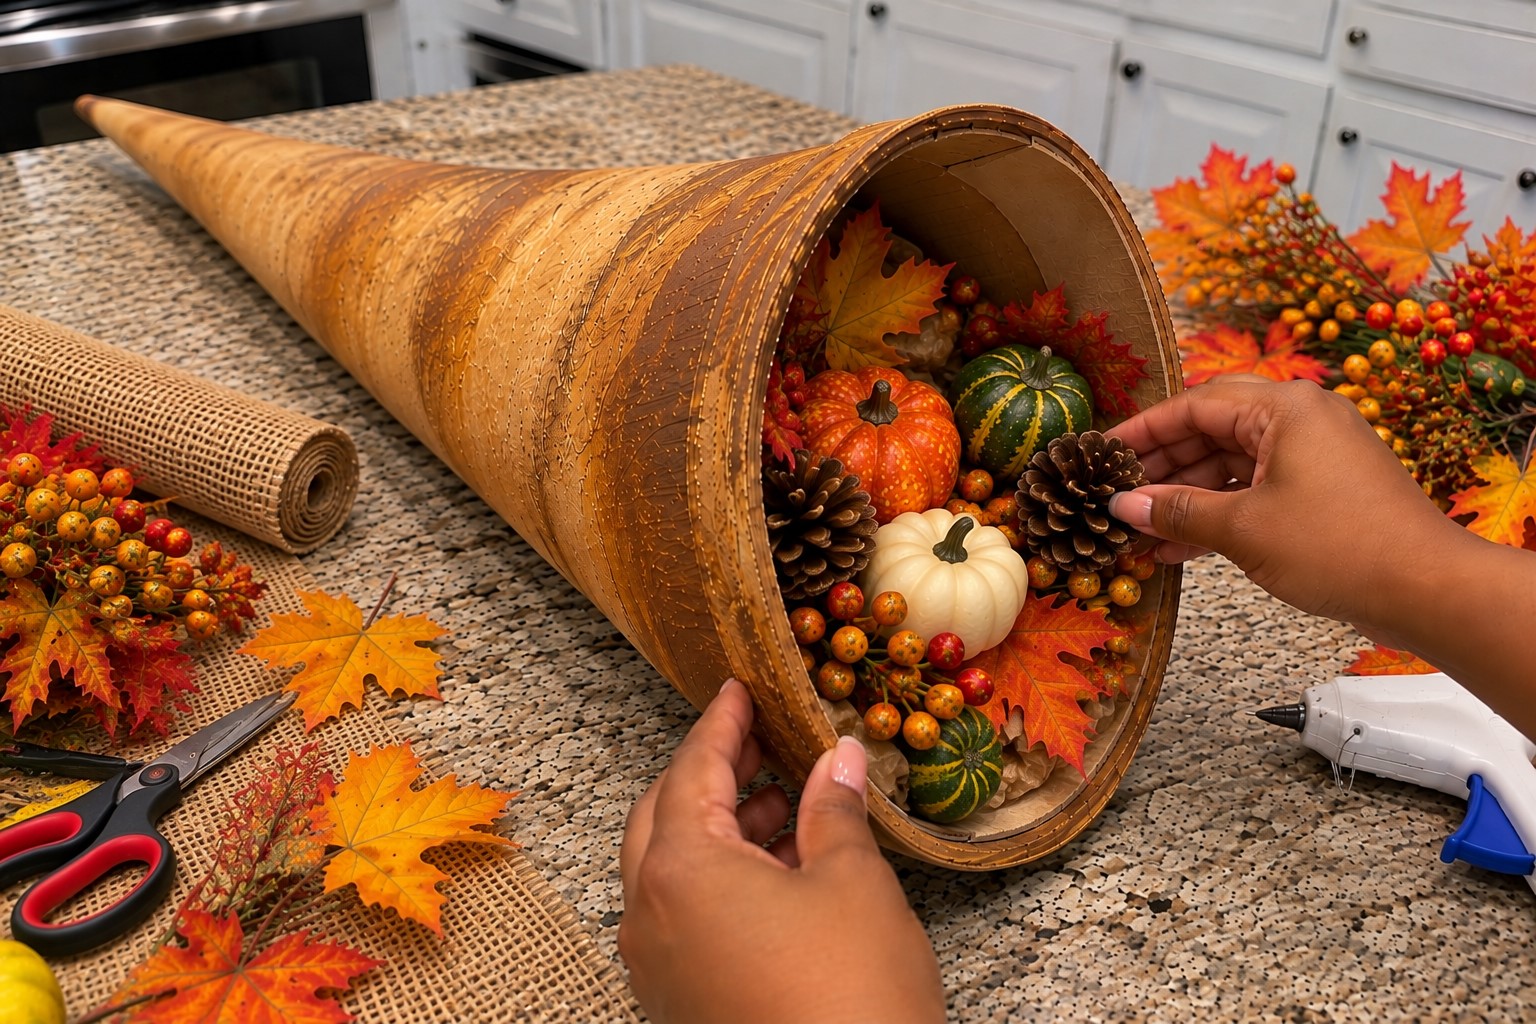
Once the large pieces are in position, start adding smaller items. Mini pumpkins, small apples, pears, berries, and little gourds work well here.
Use these pieces to fill obvious gaps rather than adding them randomly. They should help connect the larger objects.
Let some smaller pieces sit partly behind larger ones. That creates depth and stops the arrangement from looking like everything was placed in a single row.
You can also allow one or two pieces to extend beyond the main group. This gives the cornucopia that overflowing appearance without requiring a huge amount of material.
The key is to keep checking the overall shape as you work.
9. Add Leaves and Foliage Around the Produce

The leaves will help soften the hard shapes of the pumpkins and fruit. Tuck them between the larger pieces rather than placing them all around the outside.
Mix different leaf sizes if you have them. A few larger leaves can frame the arrangement while smaller ones can fill narrow spaces.
Let some leaves point outward from the opening. Others can sit deeper inside the horn.
If you are using paper leaves, gently bend them before attaching them. A little curve will make them look less flat.
If you’d rather work with real preserved foliage instead of paper, this project on How to Preserve Colorful Fall Leaves Without Them Turning Brown will keep them looking fresh in the arrangement for weeks.
Add foliage gradually. You want enough to connect the pieces, but you still want the pumpkins and fruit to remain easy to see.
10. Add Texture With Berries, Pinecones, and Small Details
This is where the arrangement can start looking much richer. Small berries, pinecones, acorns, twigs, or similar decorations can fill spaces that still look empty.
Use these details sparingly. A few small clusters usually work better than covering the entire arrangement.
Try grouping similar details instead of spreading one berry here and another there. Small clusters give the eye something to notice.
If pinecones are one of your favorite materials to work with, 25 Gorgeous Pinecone Crafts for Cozy Fall Decorating has plenty of ideas for using the ones you don’t tuck into the horn.
You can also add a little raffia or twine near the opening if it suits your design.
At this stage, the Guide to Making a Thanksgiving Cornucopia should be helping you build layers.
Large pieces create the structure, medium pieces fill it, and small details finish it.
11. Secure Everything in Place
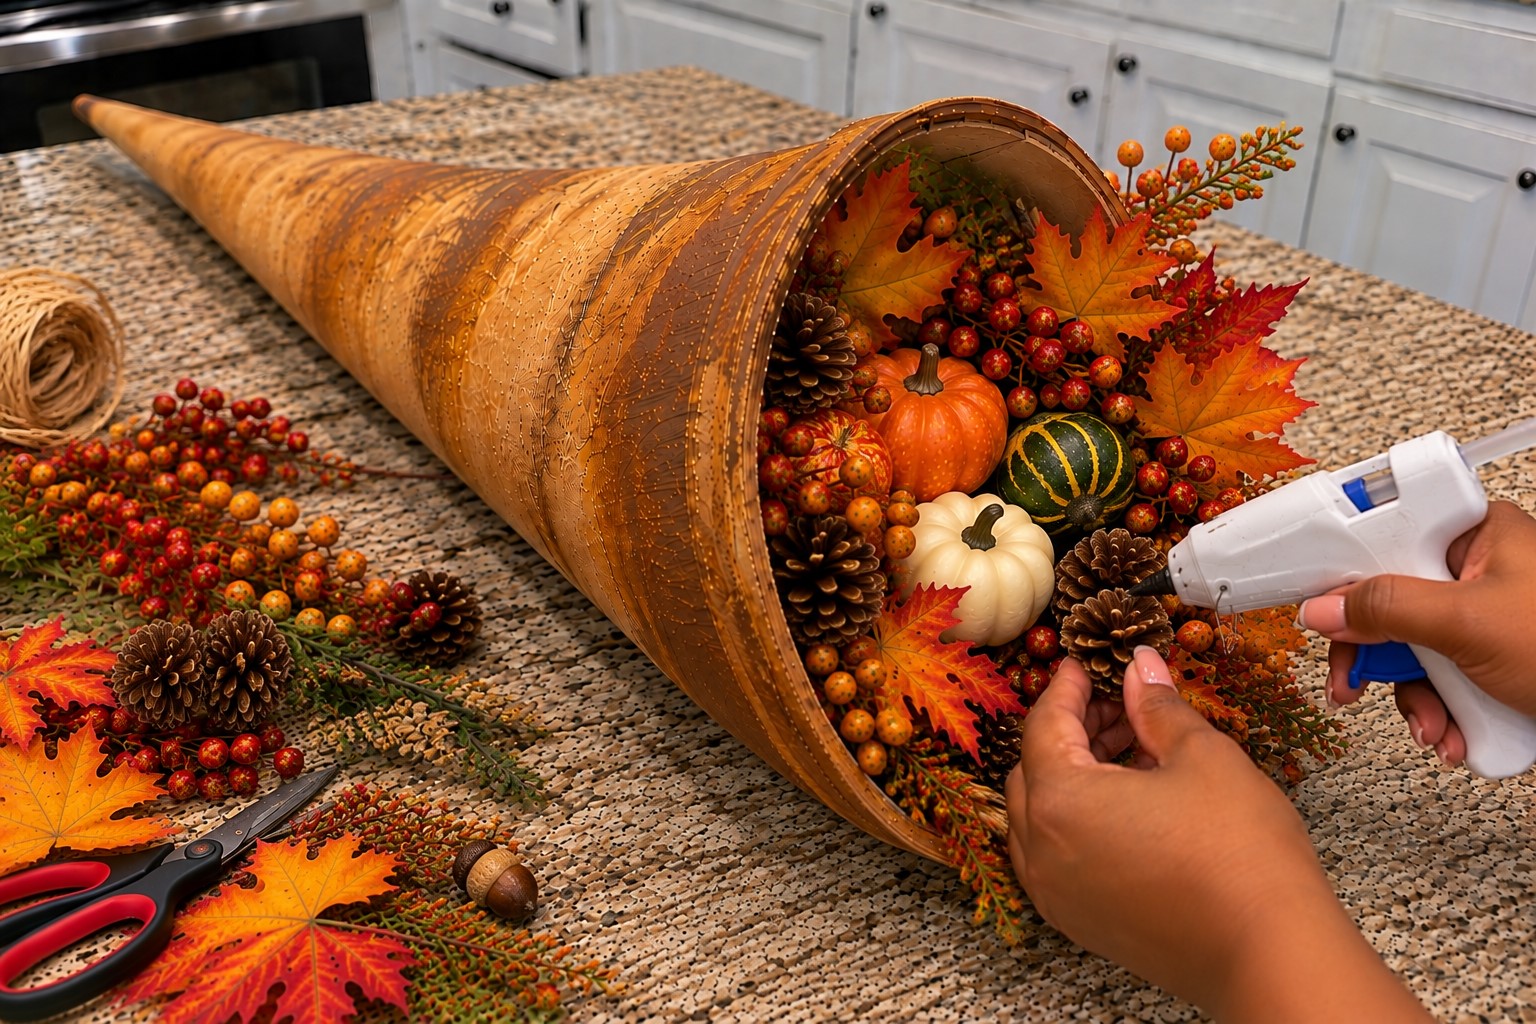
Once you are happy with the arrangement, remove and secure the pieces one section at a time. This keeps you from forgetting where everything was positioned.
Use hot glue for lightweight decorations that need a firm hold. For heavier pieces, use a stronger adhesive suitable for the materials involved.
Don’t glue every object permanently if you plan to reuse the cornucopia later. You can secure only the pieces most likely to shift and leave the rest removable.
That same reusable, non-permanent approach is worth keeping in mind for Making Custom Clay Stamps You’ll Use Again and Again, a project meant to be used season after season.
Check the front, sides, and top before the glue fully sets. A piece that looks fine from one angle may sit awkwardly from another.
Let the adhesive dry completely before moving the finished cornucopia.
12. Add the Final Details and Display It
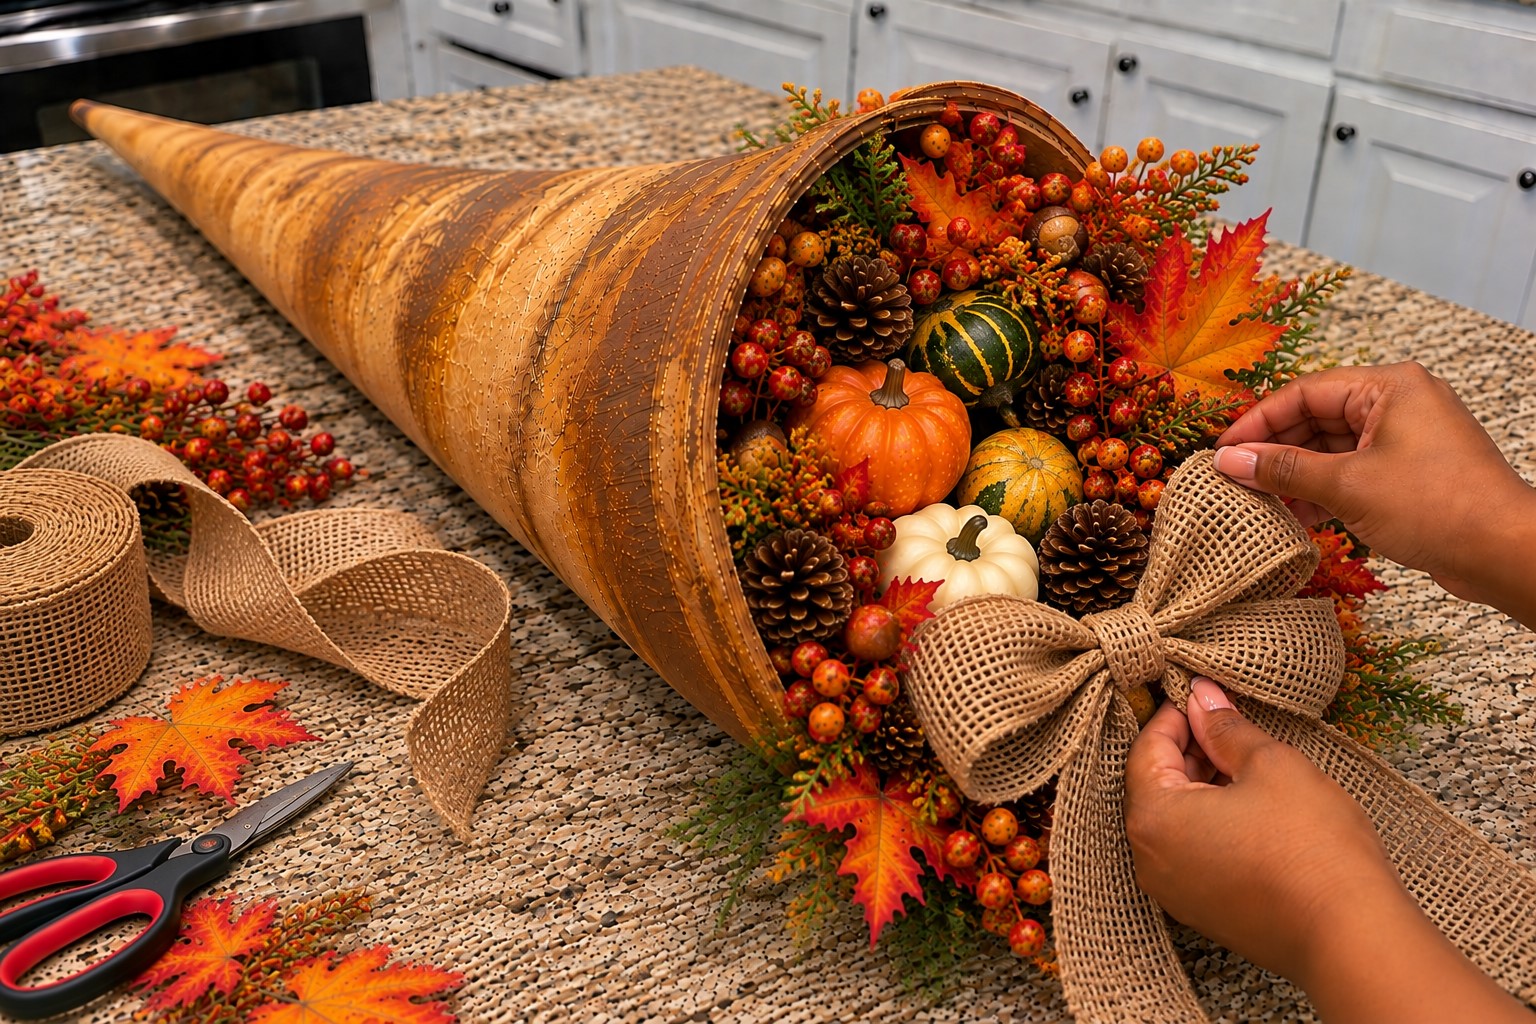
Give the finished cornucopia one last inspection. Look for empty spots, loose leaves, awkward gaps, or one color that seems to dominate too much.
Move a few pieces if necessary. You might find that shifting one pumpkin slightly makes the entire arrangement look more balanced.
Add a final ribbon, a few leaves, or another small accent if the design needs it. Don’t add something simply because there is still space.
If you want a smaller handmade accent to tuck in near the ribbon, this guide on How to Make Adorable Clay Magnets Worth Displaying has a few sweet options worth considering.
Then place the cornucopia in its intended spot. Make sure the pointed end and overflowing decorations do not interfere with plates, serving dishes, or other table items.
Your finished piece should feel abundant without looking crowded. That balance is what makes a homemade cornucopia look thoughtfully arranged.
Tips for Making Your Thanksgiving Cornucopia Look More Polished
i. Start with fewer pieces: You can always add more, but removing an overcrowded arrangement takes more work.
ii. Vary the heights: Keep some produce low while allowing leaves and taller pieces to rise behind it.
iii. Repeat colors: Bring the same orange, green, red, or cream shades into different areas.
iv. Use odd numbers: Groups of three or five pieces often look more natural than perfectly matched pairs.
v. Hide the filler: Check the arrangement from the front and sides so no crumpled paper or foam shows.
vi. Let some pieces spill outward: A few pumpkins or fruits extending beyond the horn can make the display feel fuller.
vii. Leave some texture visible: Don’t cover every part of the horn with decorations. The basket or textured surface should still contribute to the design.
Final Thoughts
A cornucopia gives you a different way to bring Thanksgiving colors together.
Instead of arranging every decoration separately, you have one strong shape that holds the whole display together.
The trick is to build from large to small. Get the horn right, create a solid base, place the biggest pieces, and then use leaves and smaller decorations to fill the spaces.
That approach keeps the project manageable and gives you much more control over the final look.
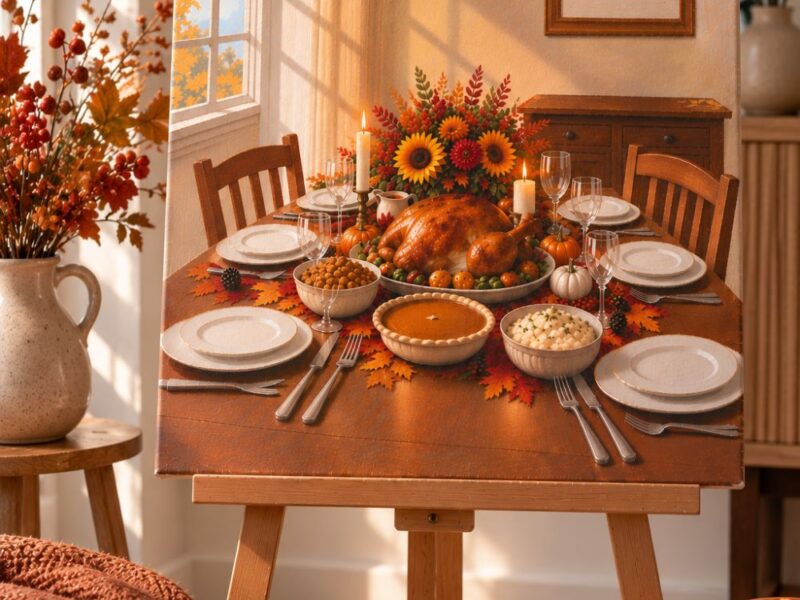
If you’d like to capture this same abundant table on canvas next, A Step-by-Step Guide to Painting a Cozy Thanksgiving Table Scene walks through the whole process from background to final details.
With this Guide to Making a Thanksgiving Cornucopia, you can also change the design to suit your space.
Use more fruit, add extra foliage, keep the colors muted, or make the arrangement bright and playful.
And if you have leftover flowers or foliage once the cornucopia is done, 21 Creative Ways to Use Dried Flowers in Your Home Décor has plenty of ways to use them elsewhere in the house.
As long as the pieces balance well, your finished cornucopia will have its own character.