
My neighbor once came home from a weekend walk with a smile and an armful of colorful fall leaves. She already pictured a beautiful wreath hanging on her front door. The leaves looked stunning that afternoon.
Two days later, she held them up again and laughed. “Who swapped my colorful leaves for these brown ones?” she joked.
The bright reds had faded, the golden edges had curled, and her craft plans suddenly looked much less exciting.
Moments like that make many people wonder How to Preserve Colorful Fall Leaves without losing the beauty that made them collect those leaves in the first place.
Almost every fall crafter has a story like this. The leaves look picture-perfect on the walk home. They even look beautiful spread across the kitchen table.
Then, almost overnight, the bright colors fade, the edges curl, and those carefully collected leaves no longer look craft-worthy.
The truth is that autumn leaves begin changing the moment they leave the tree. Even so, that does not mean those rich colors have to disappear before the project begins.
If someone had shared the right tips from the start, plenty of beautiful leaves could have been saved. That is exactly what this guide does.
Instead of jumping straight into one preservation method, it explains every step that helps leaves keep their color for much longer.
You will learn which leaves are worth collecting, how to prepare them, which preservation methods give the best results, and how to avoid the little mistakes that cause leaves to turn brown too soon.
By the end, you will have everything you need to enjoy vibrant fall leaves long after your walk through the autumn trees ends.
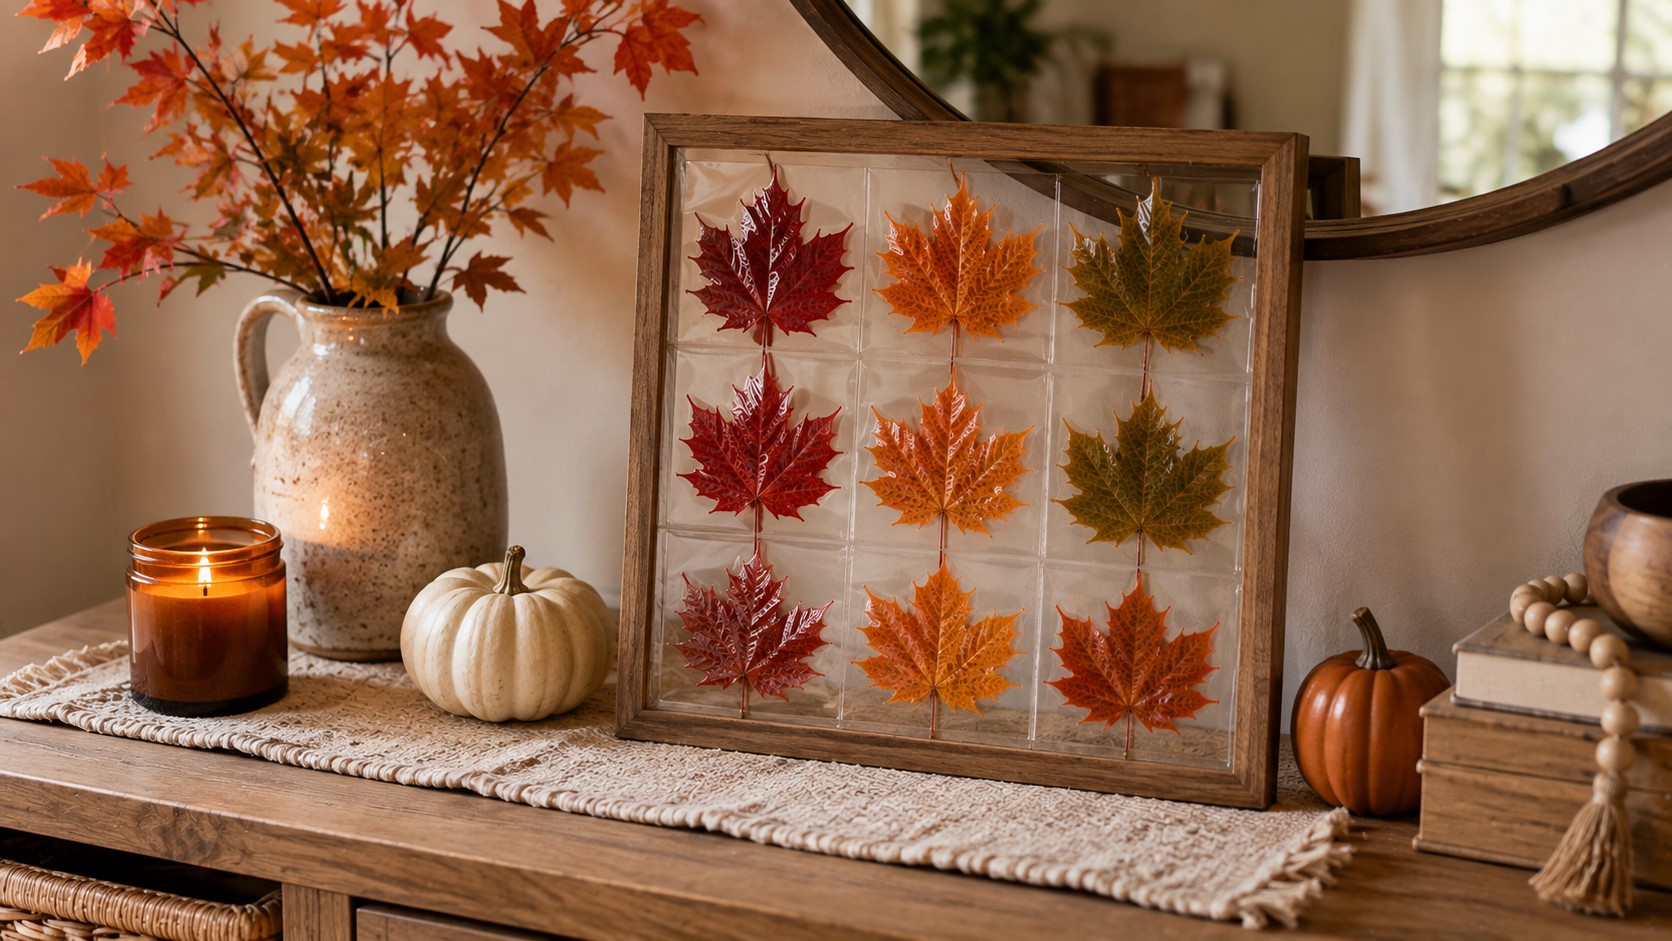
Best Types of Fall Leaves to Preserve
Not every leaf preserves equally well. Some naturally hold their shape and color longer than others. Choosing the right leaves saves time and gives better results from the very beginning.
Maple Leaves
Maple leaves remain one of the best choices because of their brilliant reds, oranges, and yellows. Their bold shape also stands out in wreaths, framed art, and garlands. Pick leaves that feel smooth instead of dry.
Oak Leaves
Oak leaves usually keep their shape very well. They may not always show bright red colors, yet their warm brown, copper, and golden shades look beautiful in rustic decorations. Their sturdy texture also helps them resist tearing.
Sweetgum Leaves
Sweetgum leaves often display several colors at once. One leaf may have yellow, orange, red, and even hints of purple. That colorful mix makes every craft look more interesting.
Birch Leaves
Birch leaves bring soft golden tones to fall projects. Since they are thinner than many other leaves, handle them gently during preservation. Even so, they look stunning in pressed leaf art.
Dogwood Leaves
Dogwood leaves often develop rich burgundy shades during autumn. They work especially well in framed displays because their simple shape pairs nicely with larger leaves.
No matter which type you choose, always collect leaves that look fresh and healthy. A healthy leaf always gives better results than a damaged one.
How to Preserve Colorful Fall Leaves Without Them Turning Brown
Step 1: Gather All Your Supplies
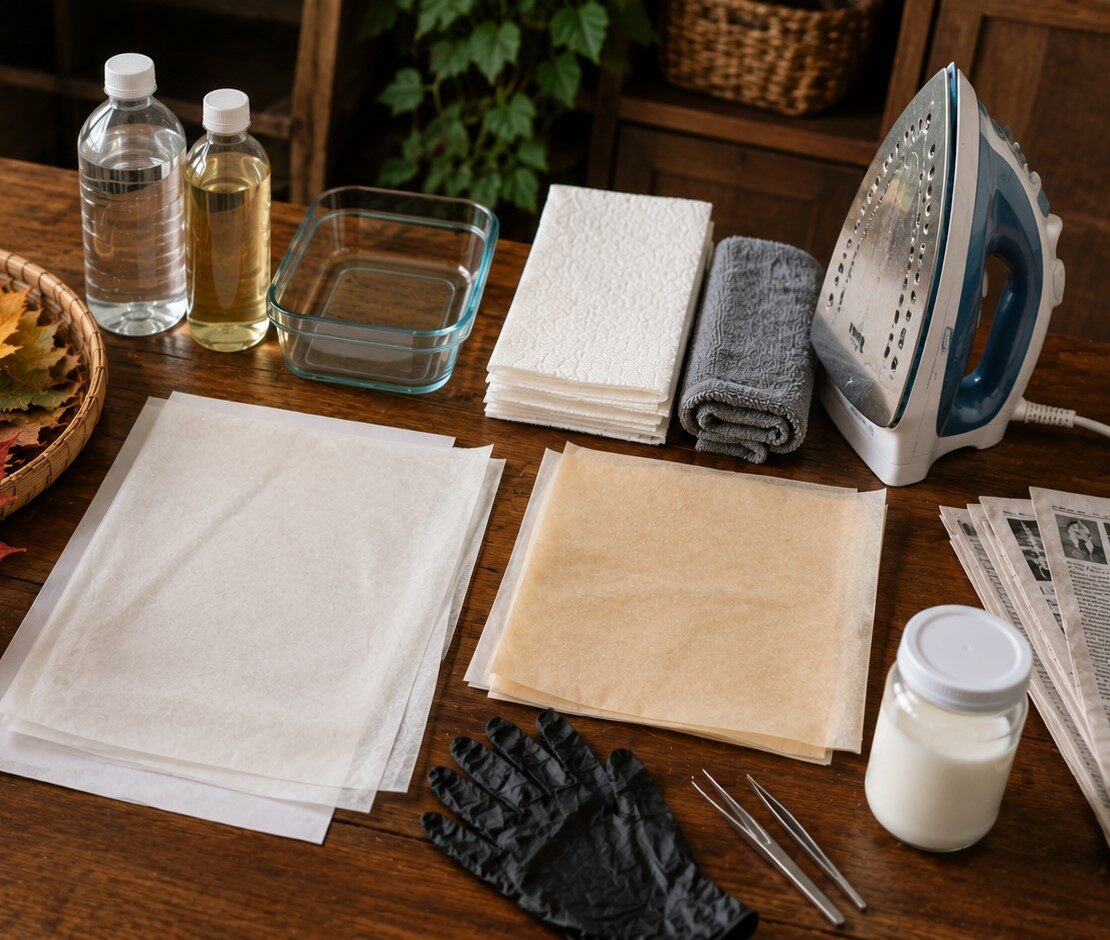
Before you begin, gather all your supplies in one place. This simple habit saves time and keeps you from handling the leaves more than necessary.
The less you move them around, the less likely they are to bend or tear.
Choose a clean, flat surface where you have enough room to work comfortably. A kitchen table, craft table, or large countertop works well.
If you plan to use glycerin or a sealant later, cover the surface with newspaper or another protective layer.
Now place your supplies within easy reach. You may not need every item for every preservation method, but having everything nearby makes the process much smoother.
You will need:
- Fresh fall leaves
- Paper towels – (Available on Amazon)
- A soft microfiber cloth
- Heavy books
- Wax paper – (Available on Amazon)
- Parchment paper
- An iron – (Available on Amazon)
- Vegetable glycerin – (Available on Amazon)
- Water
- A shallow container
- Tweezers – (Available on Amazon)
- Clear acrylic sealer or Mod Podge – (Available on Amazon)
- Disposable gloves – (Available on Amazon)
- Newspaper or a protective work surface
Once your workspace is ready, you can focus on preserving your leaves instead of searching for missing supplies.
Step 2: Pick Healthy Fall Leaves
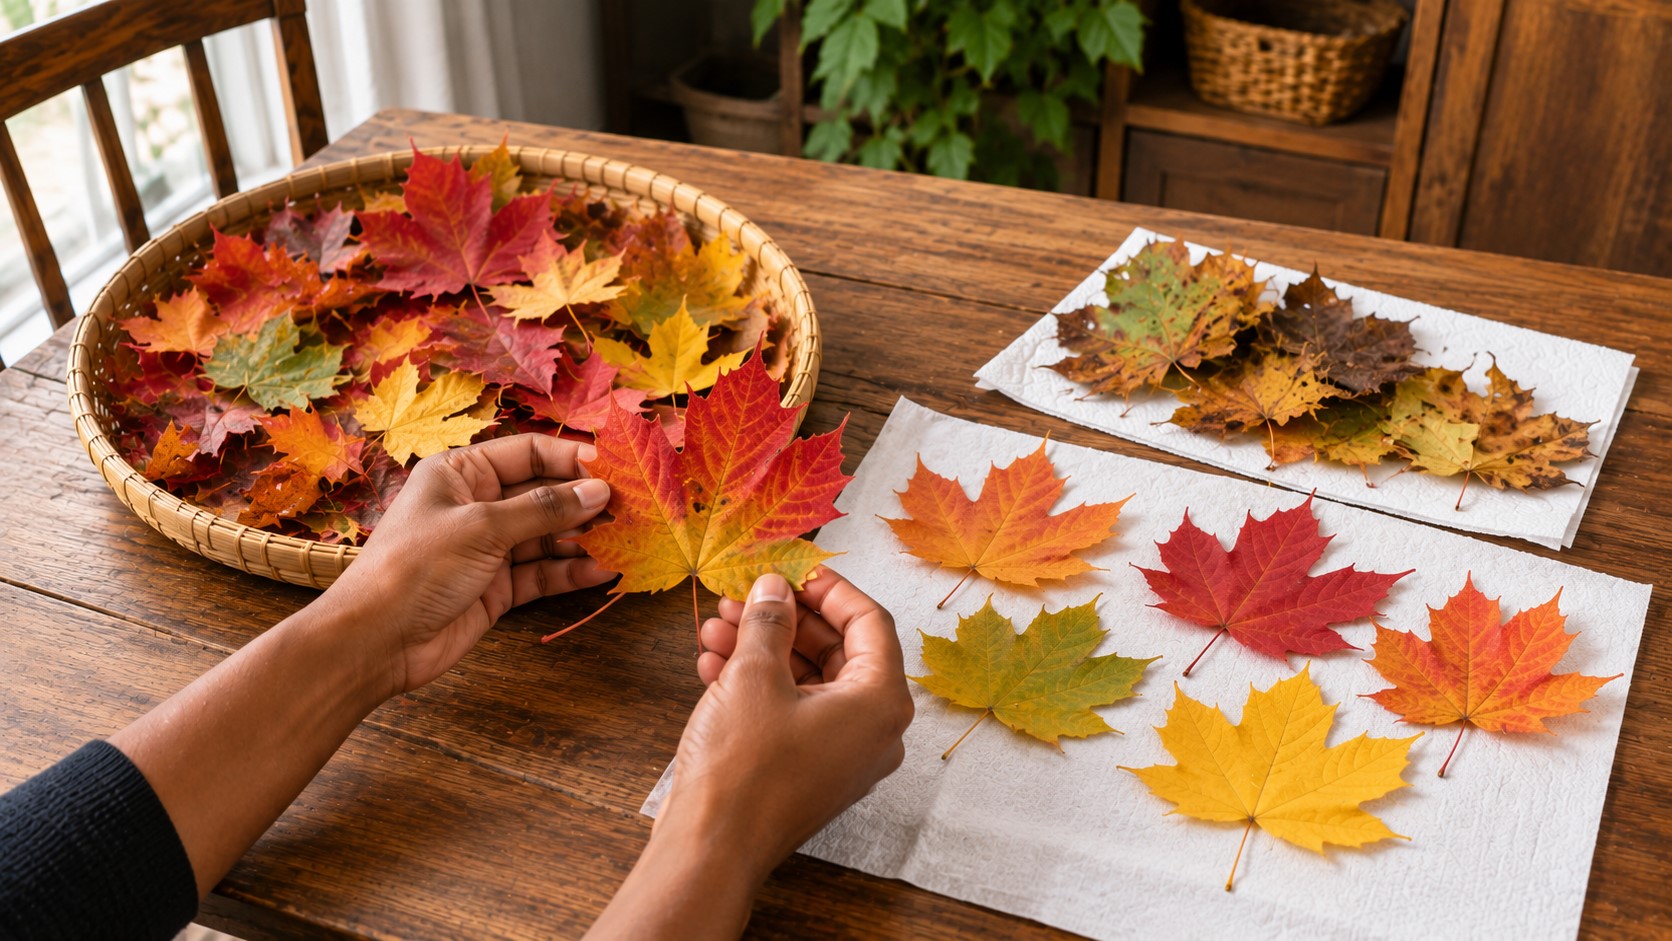
The quality of your preserved leaves depends on the leaves you collect. Even the best preservation method cannot make damaged leaves look fresh again, so choose carefully from the beginning.
Look for leaves that have recently fallen from the tree. Fresh leaves stay flexible and usually hold their color much better than older ones.
Choose leaves with bright, even colors and smooth edges. Then turn each leaf over and check for insect holes, mold, tears, or large brown spots.
Small flaws often become much more noticeable after preservation.
Try collecting leaves on a dry day because rain and morning dew leave extra moisture on the surface. If your leaves feel damp, let them air dry before moving to the next step.
Finally, carry your collection home in a shallow box, notebook, or basket. Keeping the leaves flat prevents creases that are difficult to remove later.
Step 3: Clean and Prepare the Leaves
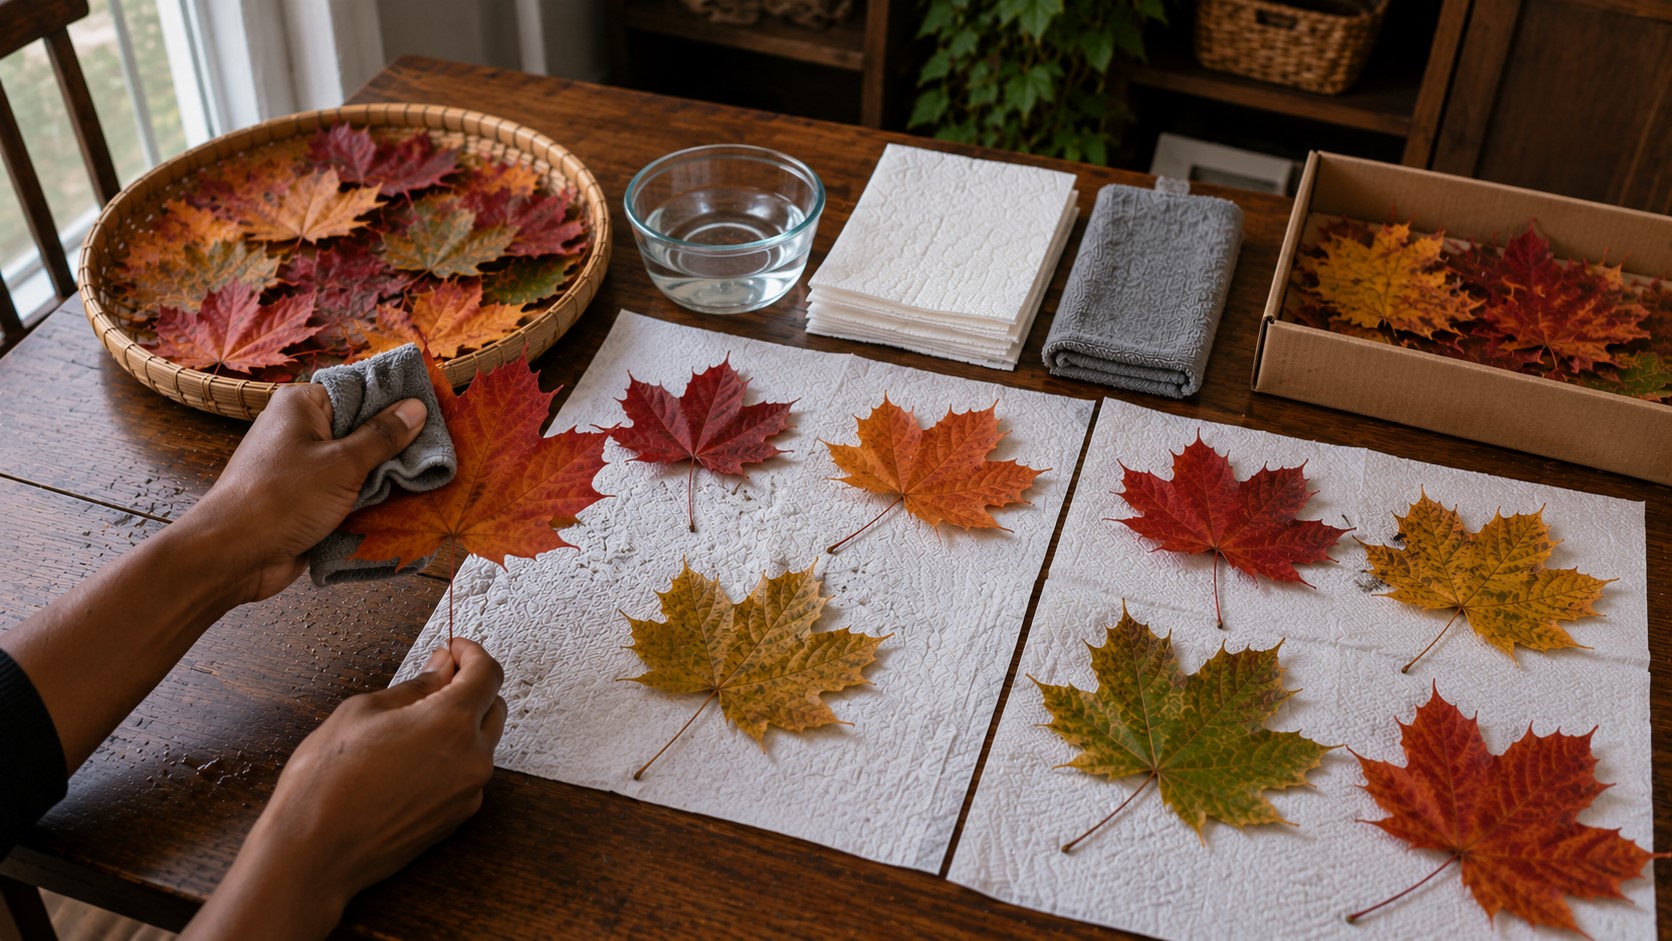
Before preserving your leaves, give each one a quick cleaning. Leaves often collect dust, tiny insects, pollen, and bits of grass while lying on the ground.
Cleaning them now helps them look much better after preservation.
Lay the leaves on a clean table and inspect them one last time. Remove any damaged leaves you may have missed during collection.
Next, wipe both sides gently with a slightly damp microfiber cloth. Use light pressure because rough rubbing can scratch or tear delicate leaves.
After cleaning, place each leaf on a paper towel with a little space between them. Let them air dry for several minutes until no moisture remains on the surface.
Do not rush this step because trapped moisture can cause brown spots or mold later.
Once the leaves feel completely dry, they are ready for the preservation method that best suits your project.
Step 4: Choose the Best Preservation Method
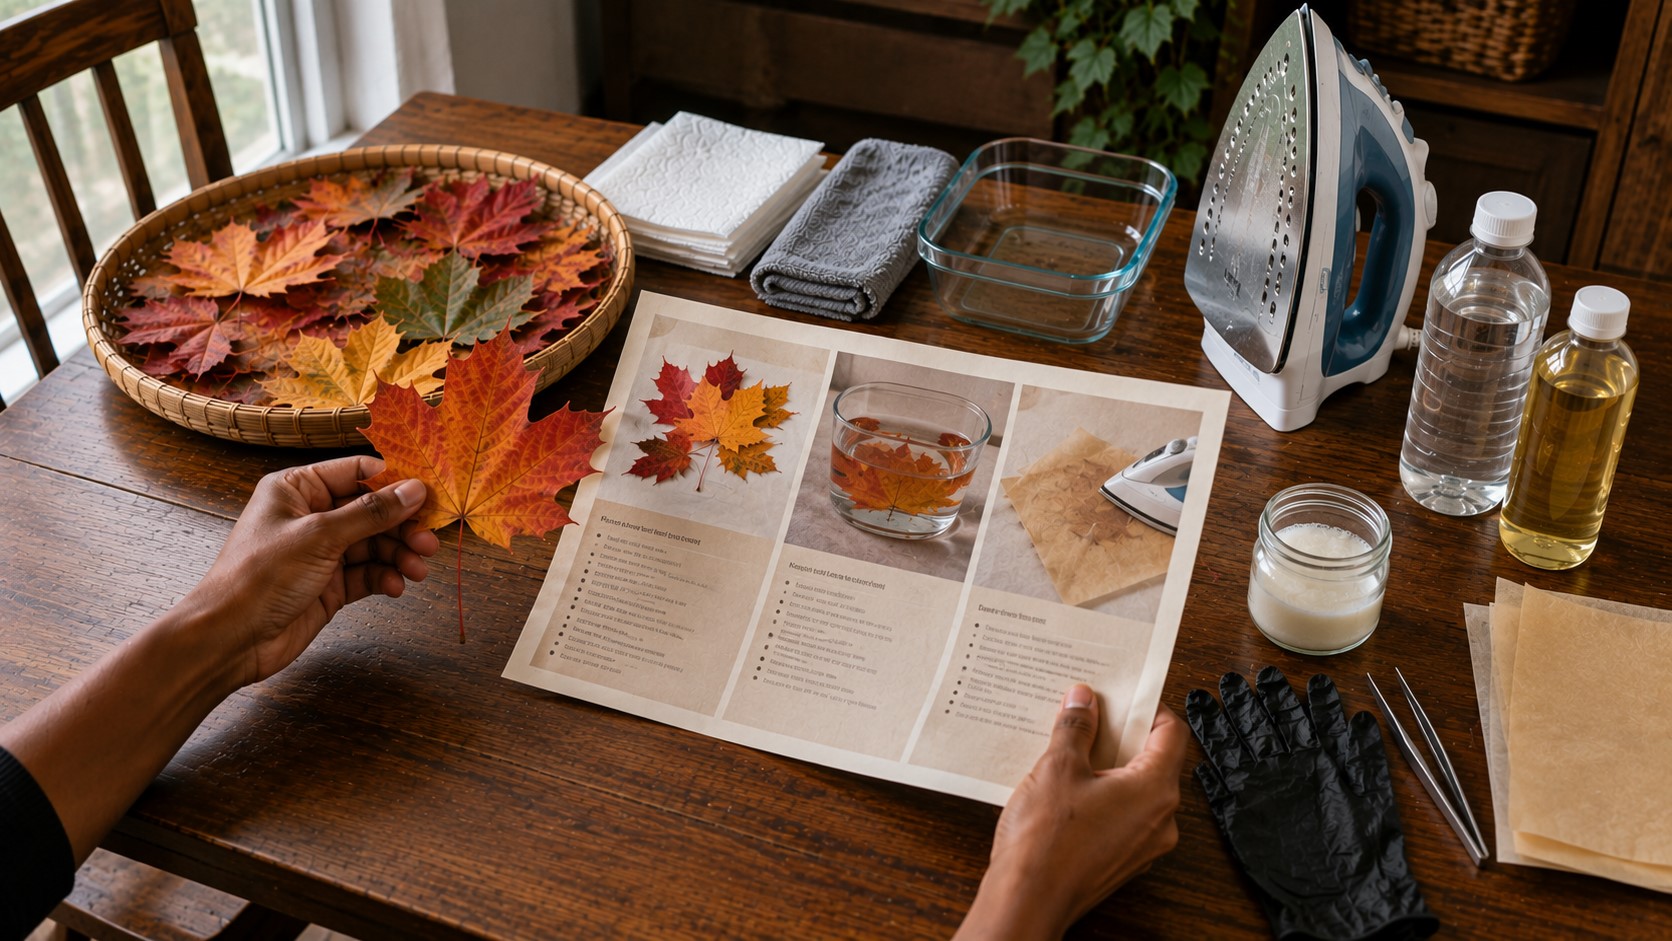
Not every preservation method gives the same result. Some keep leaves flat, while others keep them soft and flexible.
Before you begin, think about the craft you want to make. Choosing the right method now saves time and gives you better results later.
Pressed leaves work well for framed art, bookmarks, greeting cards, and scrapbook pages. Glycerin helps leaves stay soft, so it is a great choice for wreaths, garlands, and table centerpieces.
Wax paper works best for quick projects and simple family crafts because it is fast and easy.
Do not worry about picking the “perfect” method. Every technique in this guide works well when you follow the steps carefully.
Simply choose the one that matches your project, then stick with it from start to finish.
Step 5: Preserve the Leaves by Pressing Them
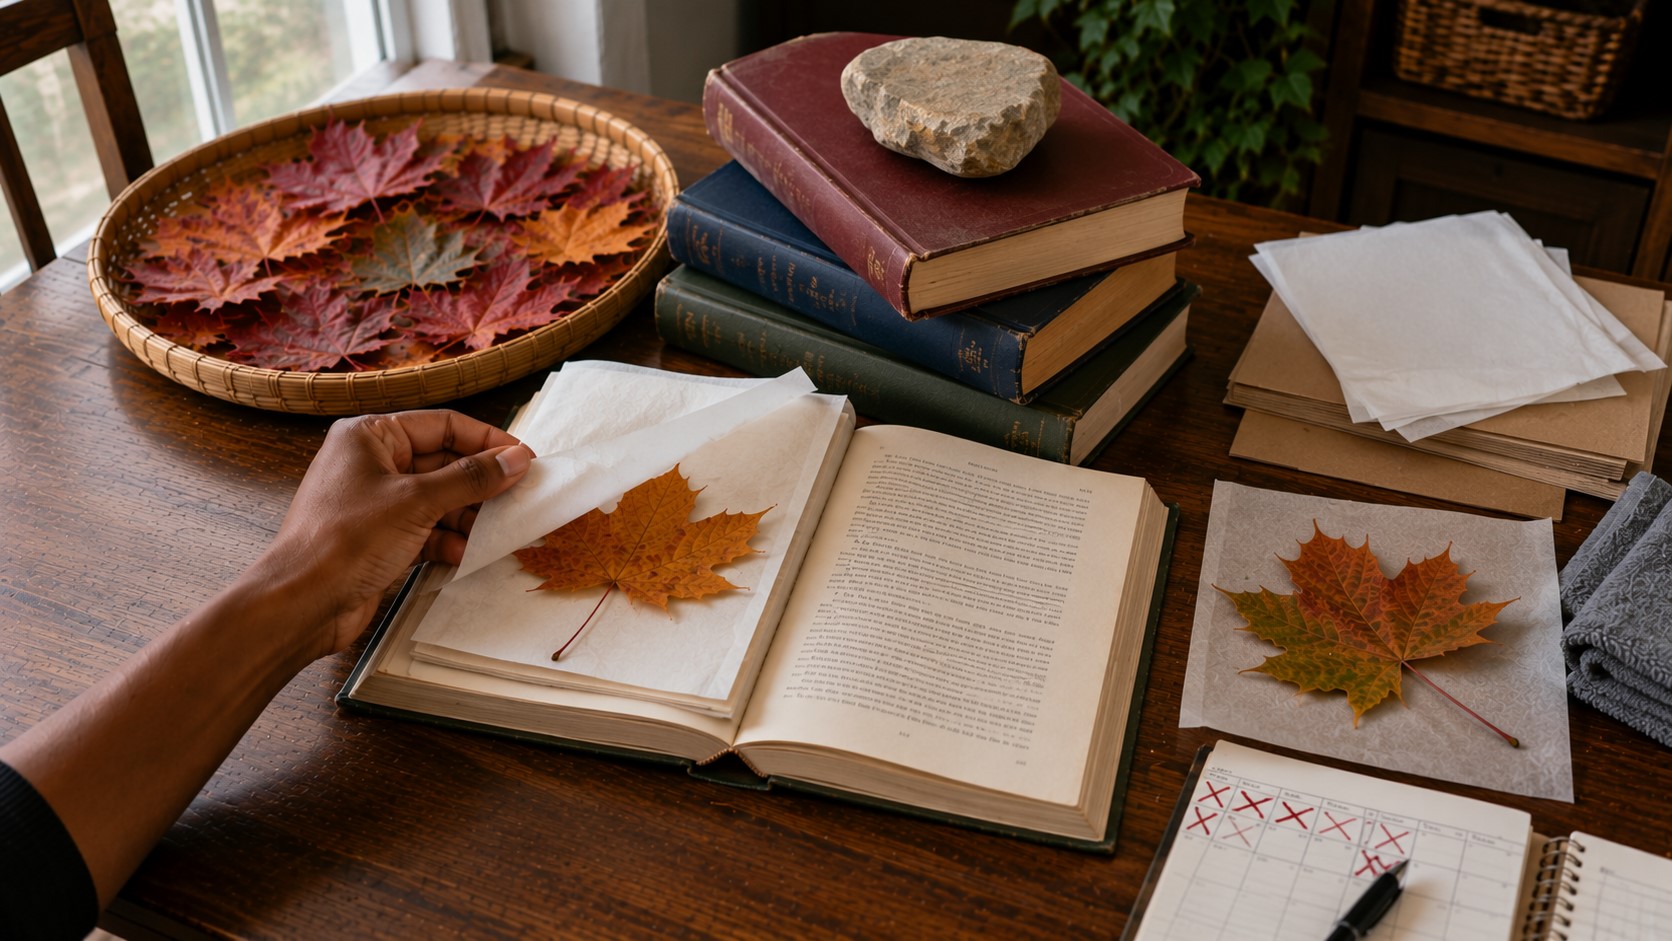
Pressing is one of the easiest ways to preserve colorful fall leaves. It works especially well if you want flat leaves that are easy to glue onto other surfaces.
Start by placing each leaf between two sheets of parchment paper or plain paper. Make sure the leaves do not overlap because they can stick together while drying.
Next, place the paper inside a large, heavy book. Add a few more heavy books on top to create extra pressure.
Leave the leaves undisturbed for about one to two weeks. During that time, check them every few days to make sure no moisture builds up inside the paper. If the paper feels damp, replace it with fresh sheets.
Once the leaves feel completely dry and flat, remove them carefully. Handle them gently because pressed leaves become more delicate after drying. They are now ready to use for your favorite fall crafts.
Step 6: Preserve the Leaves with Glycerin
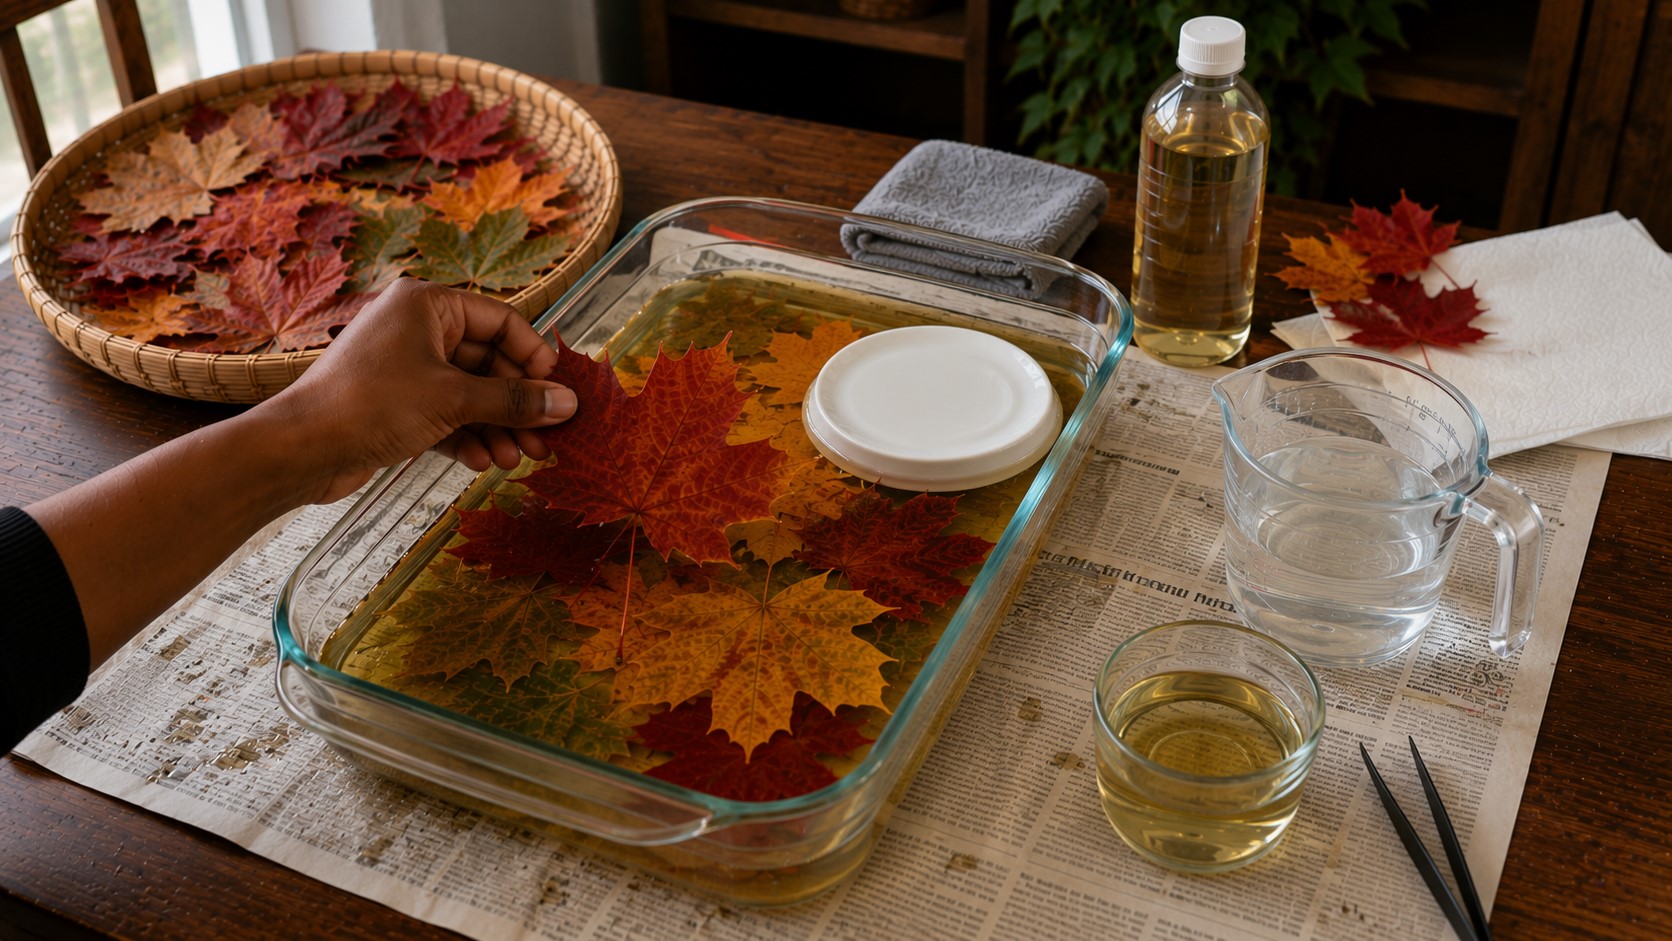
If you want your leaves to stay soft instead of becoming brittle, glycerin is one of the best options. This method replaces some of the water inside the leaves, which helps them stay flexible for much longer.
Start by mixing one part vegetable glycerin with two parts warm water in a shallow container. Stir the mixture well so the glycerin blends evenly with the water.
Next, place the leaves in the solution with the colorful side facing up. Make sure every leaf stays below the surface.
If they float, place a small plate or another light object on top to keep them submerged.
Leave the leaves in the mixture for three to five days. Thick leaves may need a little more time. Check them each day to see how they look.
Once the leaves feel soft and slightly glossy, remove them from the solution.
Finally, wipe away any excess glycerin with a paper towel. Lay the leaves on a clean surface and let them dry overnight before using them in your crafts.
Step 7: Preserve the Leaves with Wax Paper
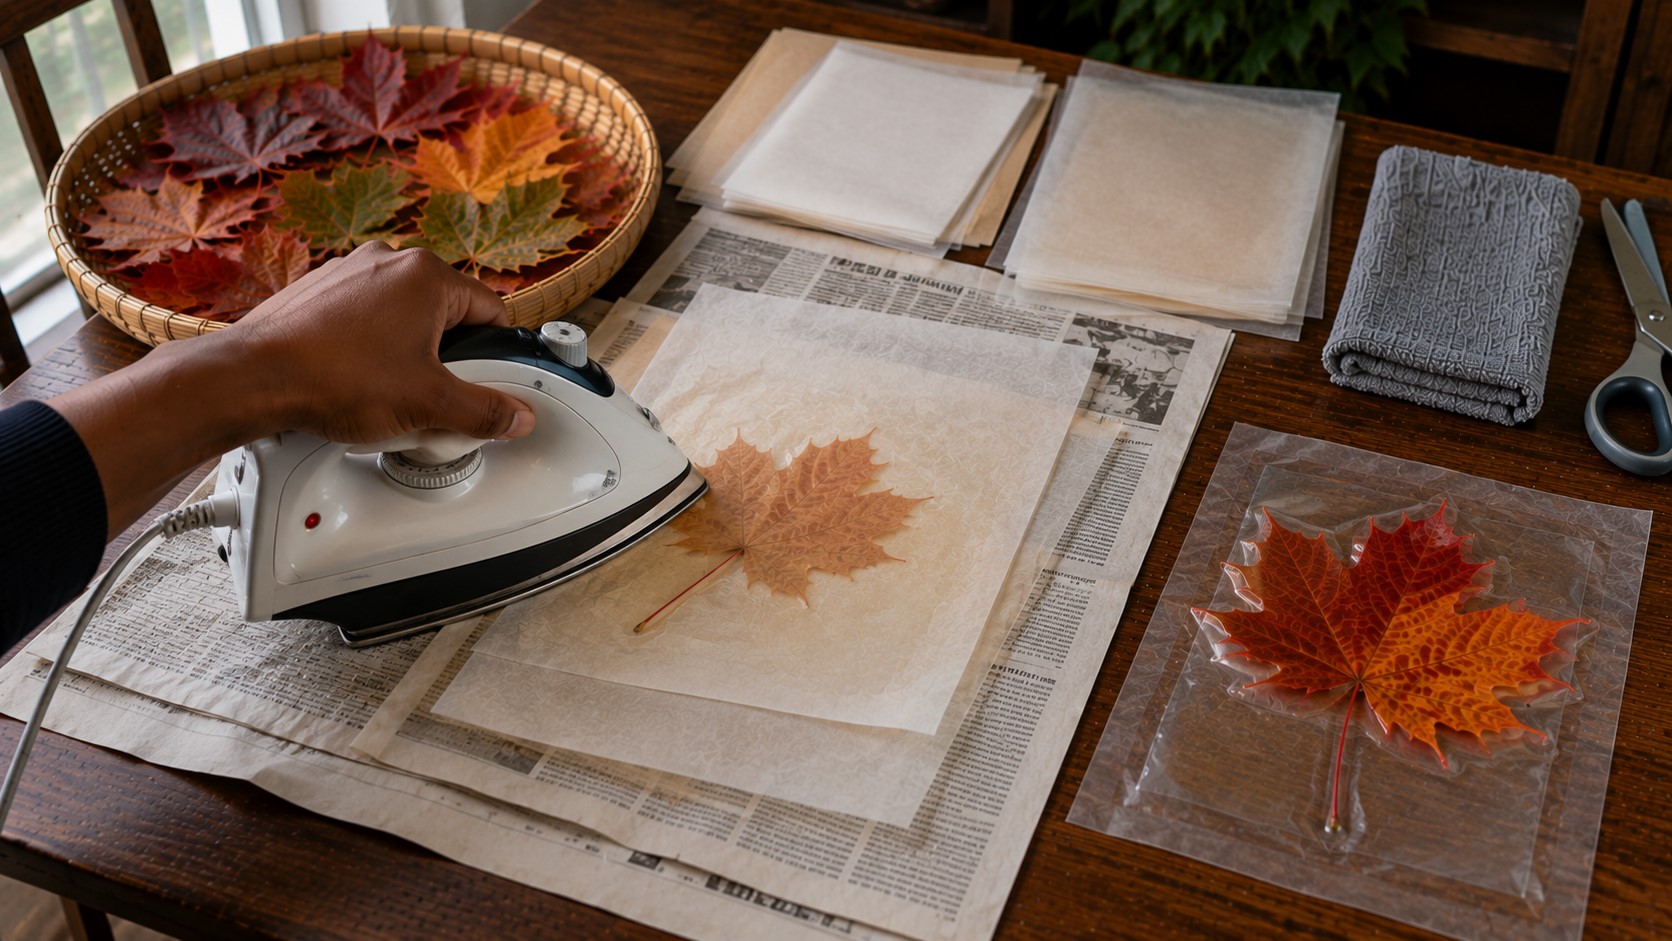
Wax paper is a quick and simple method that works well for children’s crafts and decorations you plan to use during the season. It also helps protect the leaf while keeping much of its natural color.
Place one leaf between two sheets of wax paper. Leave a little space around the edges so the wax can seal properly. Next, cover both sides with parchment paper to protect your iron.
Set the iron to a low heat without steam. Slowly press the iron over the parchment paper for a few seconds at a time. Lift the iron instead of sliding it because sliding may move or tear the leaf.
After both sides are sealed, place the wax paper on a flat surface and let it cool completely.
Then trim around each leaf with scissors, leaving a small wax border around the edges to help keep the seal closed.
Your preserved leaves are now ready to use in garlands, window decorations, greeting cards, and many other easy fall crafts.
Step 8: Seal the Leaves for Longer-Lasting Color
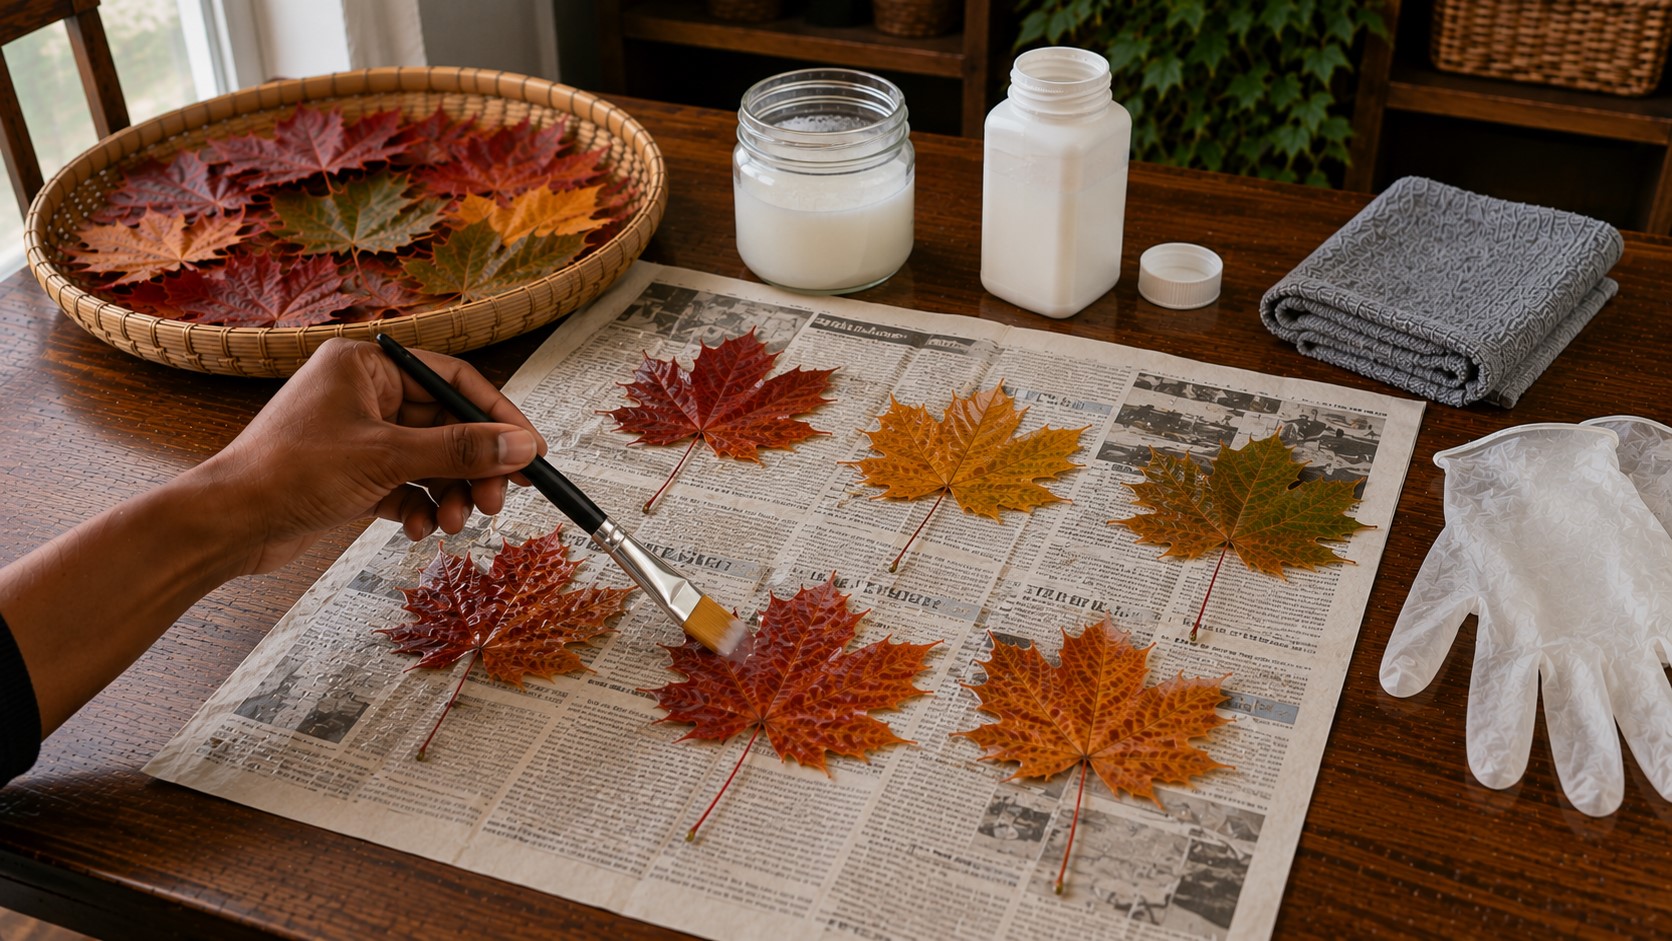
Your leaves are now preserved, but adding a protective coating can help them stay beautiful even longer.
This step is especially helpful if you plan to display your leaves for several months or use them in decorations that people will handle often.
Choose a clear acrylic sealer or a thin coat of Mod Podge. Place the leaves on newspaper or another protected surface.
Then apply a light, even coat to one side of each leaf. Let it dry completely before turning the leaves over and sealing the other side.
Do not apply a thick layer because it can hide the leaf’s natural texture. A light coat gives enough protection while allowing the beautiful colors to show through. Once both sides are dry, the leaves are ready to use.
Step 9: Store Your Preserved Leaves the Right Way
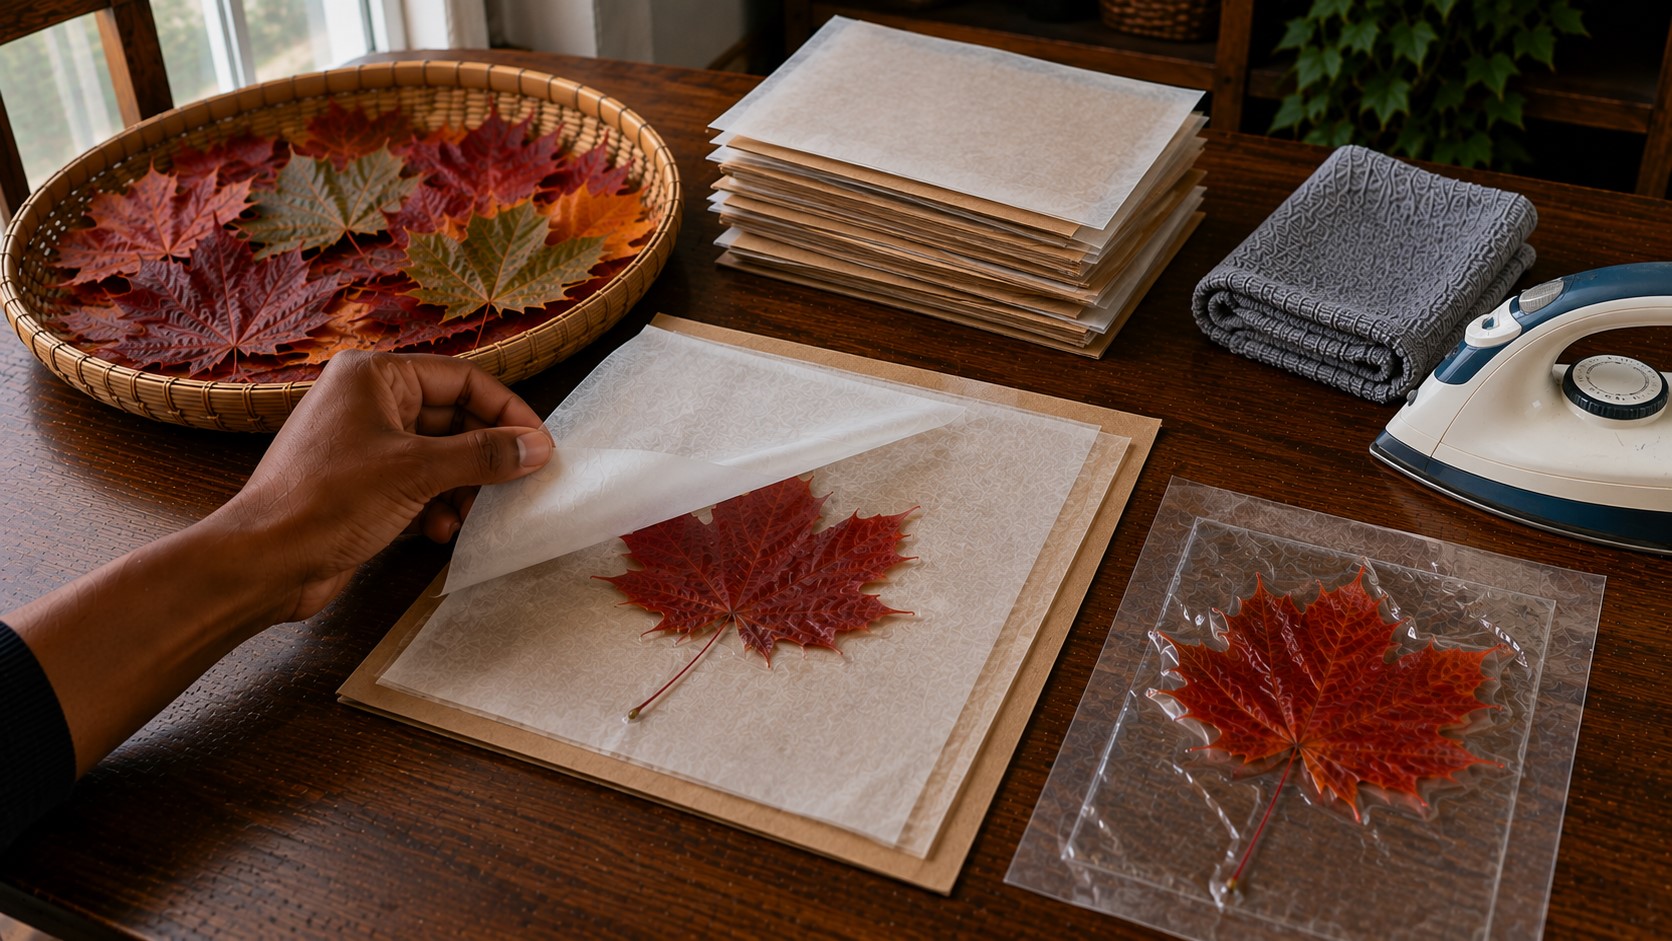
Even well-preserved leaves need proper storage. A little extra care keeps them colorful until you are ready to use them.
Place the leaves in a flat storage box or a large envelope. Keep a sheet of parchment paper between each layer to prevent the leaves from sticking together or scratching one another.
Store the container in a cool, dry place away from direct sunlight. Heat and moisture can slowly fade the colors, even after preservation.
It is also a good idea to avoid placing heavy objects on top of the leaves because too much weight can crack or bend them.
If you plan to use the leaves months later, check them every few weeks. This quick inspection helps you catch any moisture or damage before it spreads to the rest of your collection.
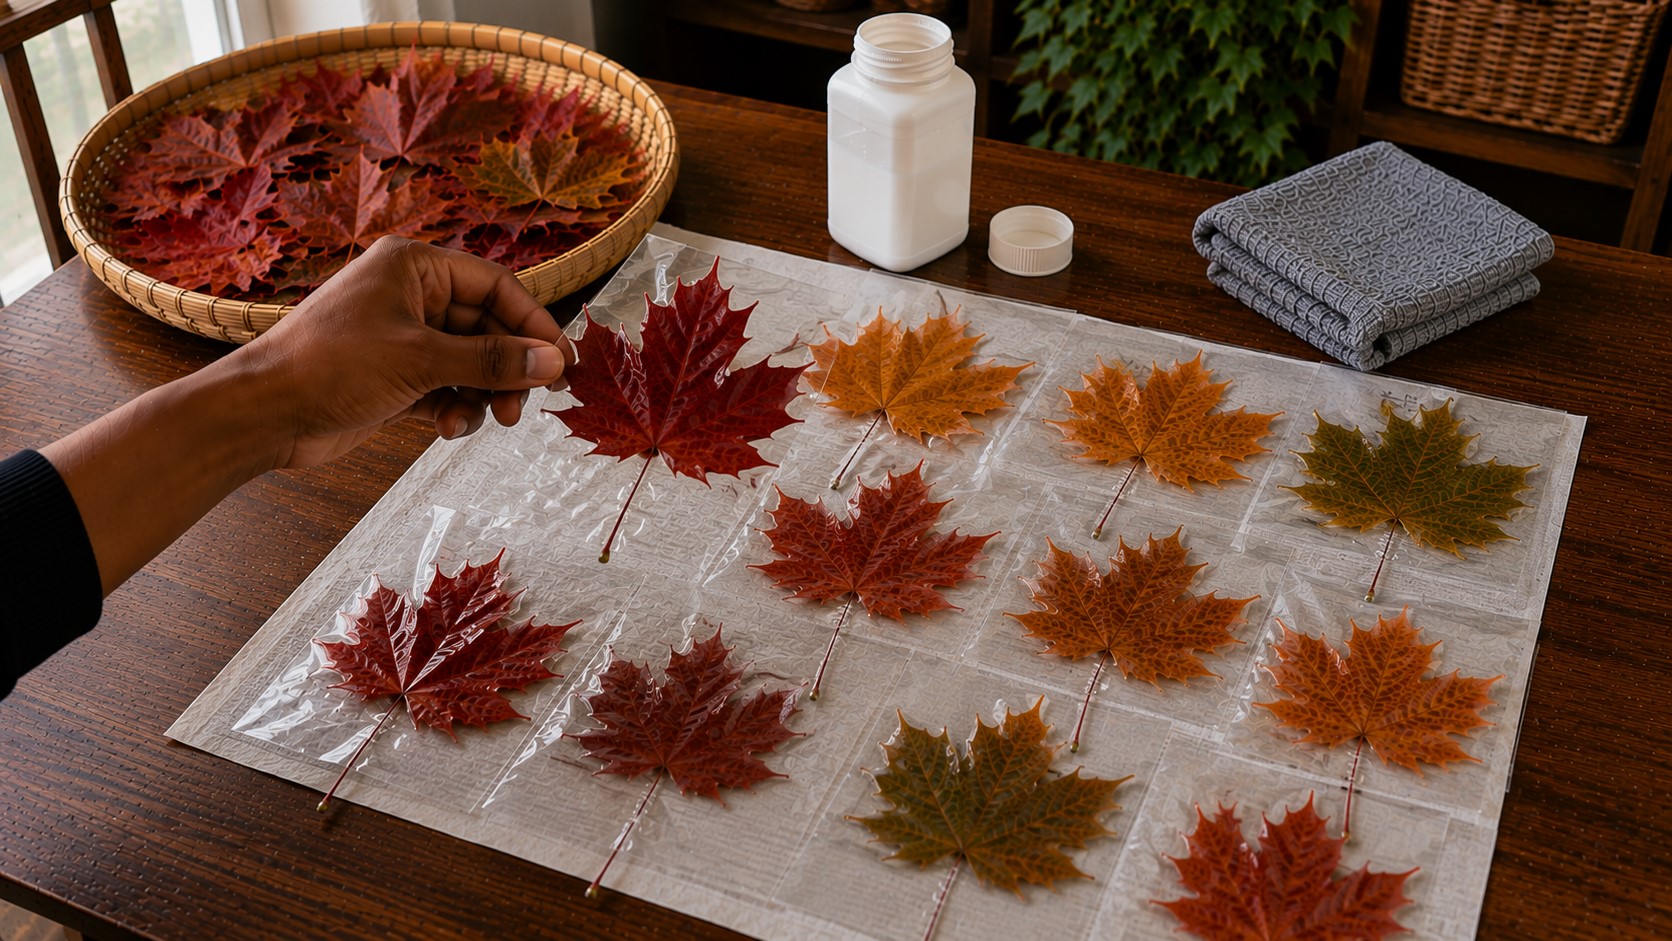
Step 10: Enjoy Your Preserved Fall Leaves
Now comes the fun part. Your preserved leaves are ready to become beautiful fall decorations and handmade gifts.
Since they have already been protected, they will stay attractive much longer than fresh leaves.
Glue them onto a wreath to create a welcoming front door display. Arrange several leaves inside a picture frame for simple wall art.
You can also decorate greeting cards, bookmarks, scrapbook pages, gift tags, or table centerpieces with them.
If you enjoy seasonal decorating, make a leaf garland to hang across a mantel, window, or shelf. You can even scatter preserved leaves around candles, pumpkins, or vases to create an easy autumn centerpiece.
No matter which project you choose, handle the leaves gently while working with them.
A little care goes a long way, and your colorful fall leaves will continue bringing autumn beauty into your home long after the trees become bare.
Common Mistakes That Make Fall Leaves Turn Brown
Even when you follow the steps carefully, a few small mistakes can cause leaves to lose their color sooner than expected. The good news is that most of these problems are easy to avoid.
I. Waiting Too Long to Preserve the Leaves
Fresh leaves preserve much better than old ones. If you leave them on the table for several days before starting, they begin drying naturally. Once that happens, it becomes much harder to keep their bright colors.
II. Picking Damaged Leaves
Leaves with holes, mold, tears, or large brown spots rarely improve during preservation. Instead, those flaws become even more noticeable. Always start with the healthiest leaves you can find.
III. Preserving Wet Leaves
Rain and morning dew leave extra moisture on the surface. If you preserve wet leaves, mold can develop during the drying process. Let the leaves dry completely before using any preservation method.
IV. Rushing the Drying Process
It is tempting to check the leaves too often or remove them before they finish drying. Even so, patience gives the best results. Allow each preservation method enough time to work properly.
V. Using Too Much Heat
High heat can curl leaves, fade their colors, or make them brittle. If you use an iron, always choose a low heat setting and work slowly.
VI. Applying Too Much Sealer
A thick coat of sealer does not give better protection. Instead, it can make the leaves look cloudy or unnatural. A thin, even coat works much better.
VII. Storing Leaves in Direct Sunlight
Sunlight slowly fades natural colors, even after preservation. Store your leaves in a cool, dry place until you are ready to use them.
Final Thoughts
Beautiful fall leaves deserve more than a few days of color before they fade away. With the right timing, a little patience, and the proper preservation method, you can enjoy those vibrant reds, oranges, and yellows long after autumn has passed.
The small details, from choosing healthy leaves to storing them correctly, make a bigger difference than most people expect.
Do not worry if your first attempt is not perfect. Every collection of leaves is different, and each preservation method takes a little practice.
As you try these techniques, you will quickly discover which one works best for the crafts you enjoy making.
Before long, preserving colorful leaves will become just another enjoyable part of your fall tradition.
Now that you know How to Preserve Colorful Fall Leaves, you can confidently collect your favorite autumn treasures without worrying that they will turn brown before your project begins.
Take your time, enjoy the process, and let those beautiful leaves become wreaths, framed art, garlands, centerpieces, and other handmade decorations that bring the warmth of fall into your home for many seasons to come.