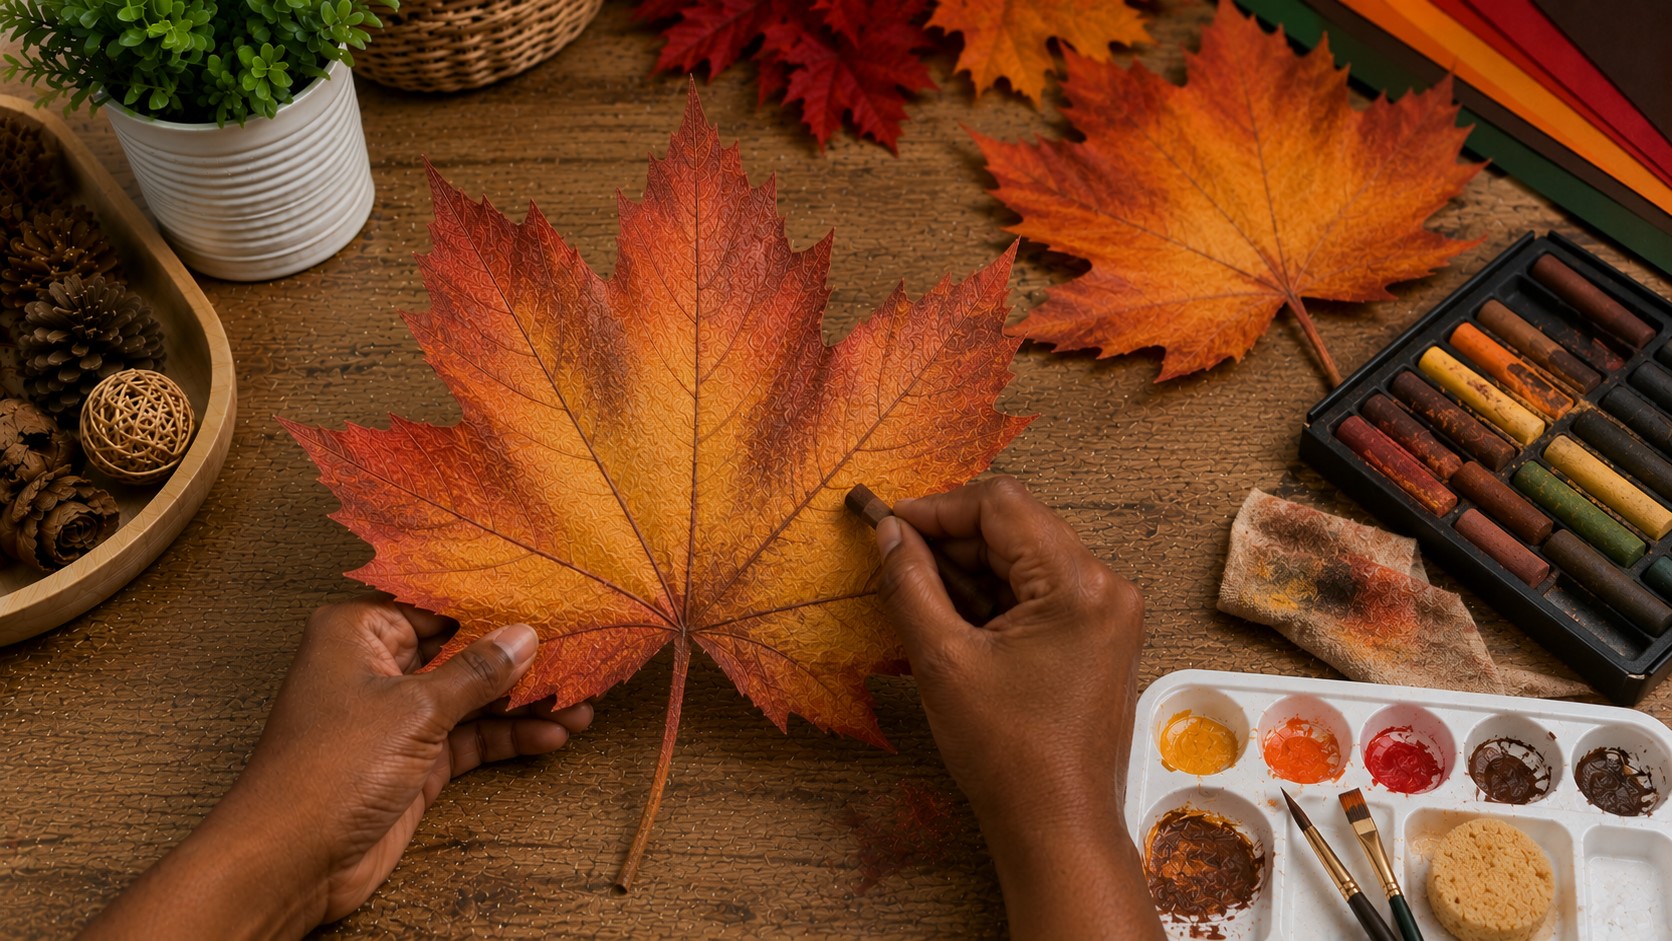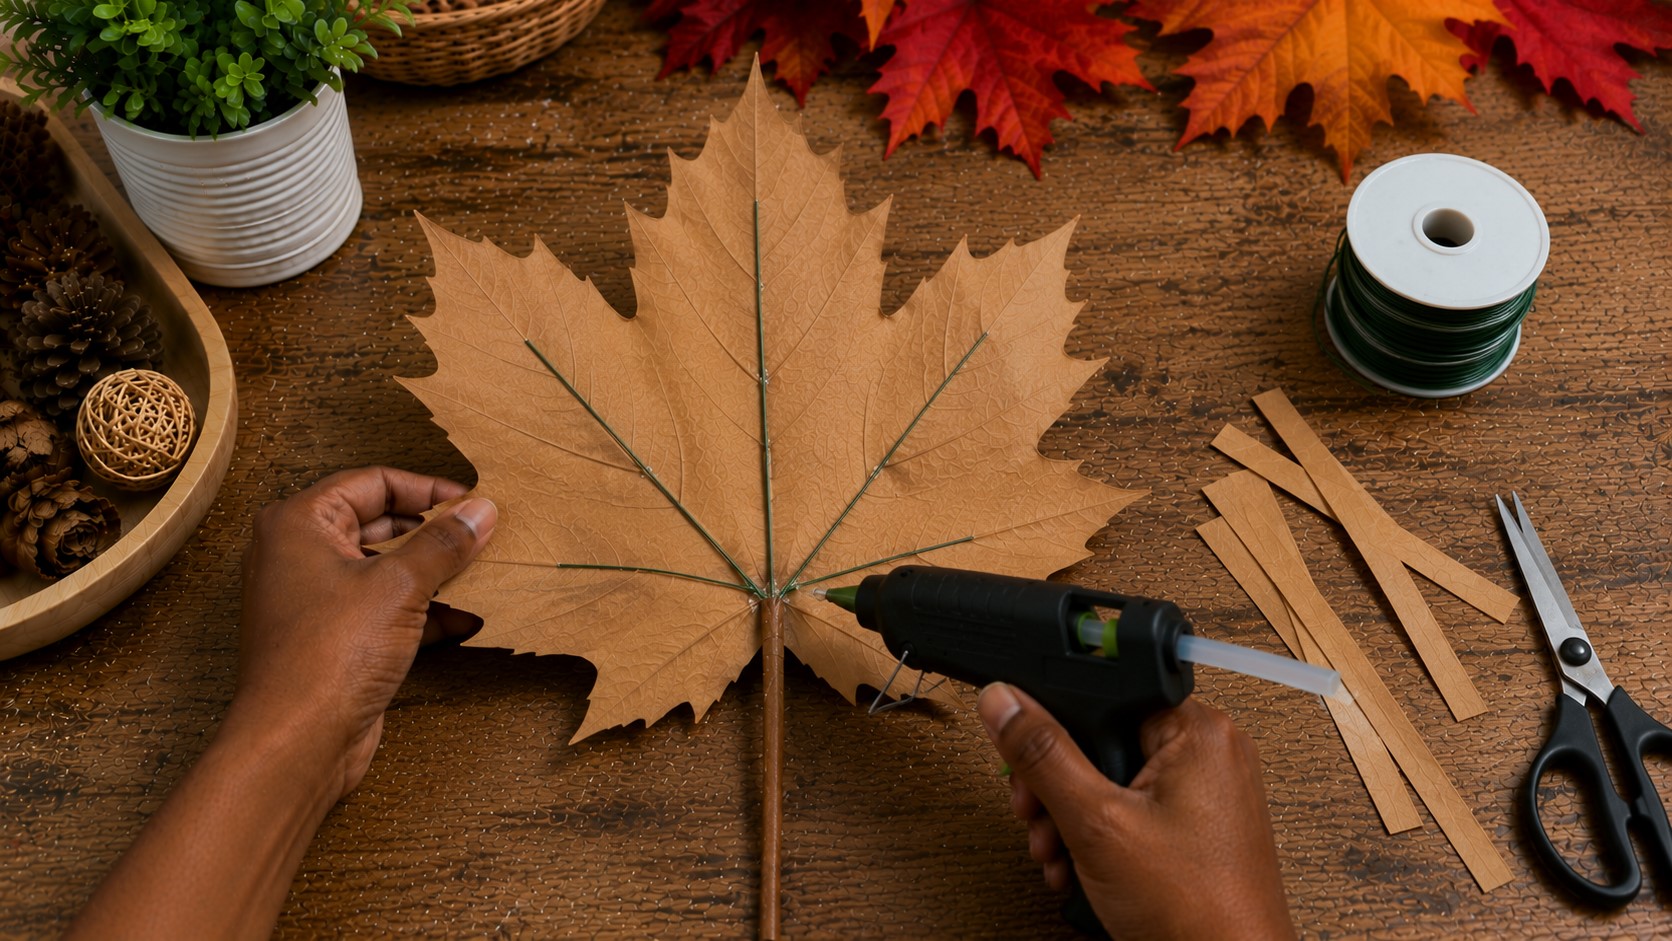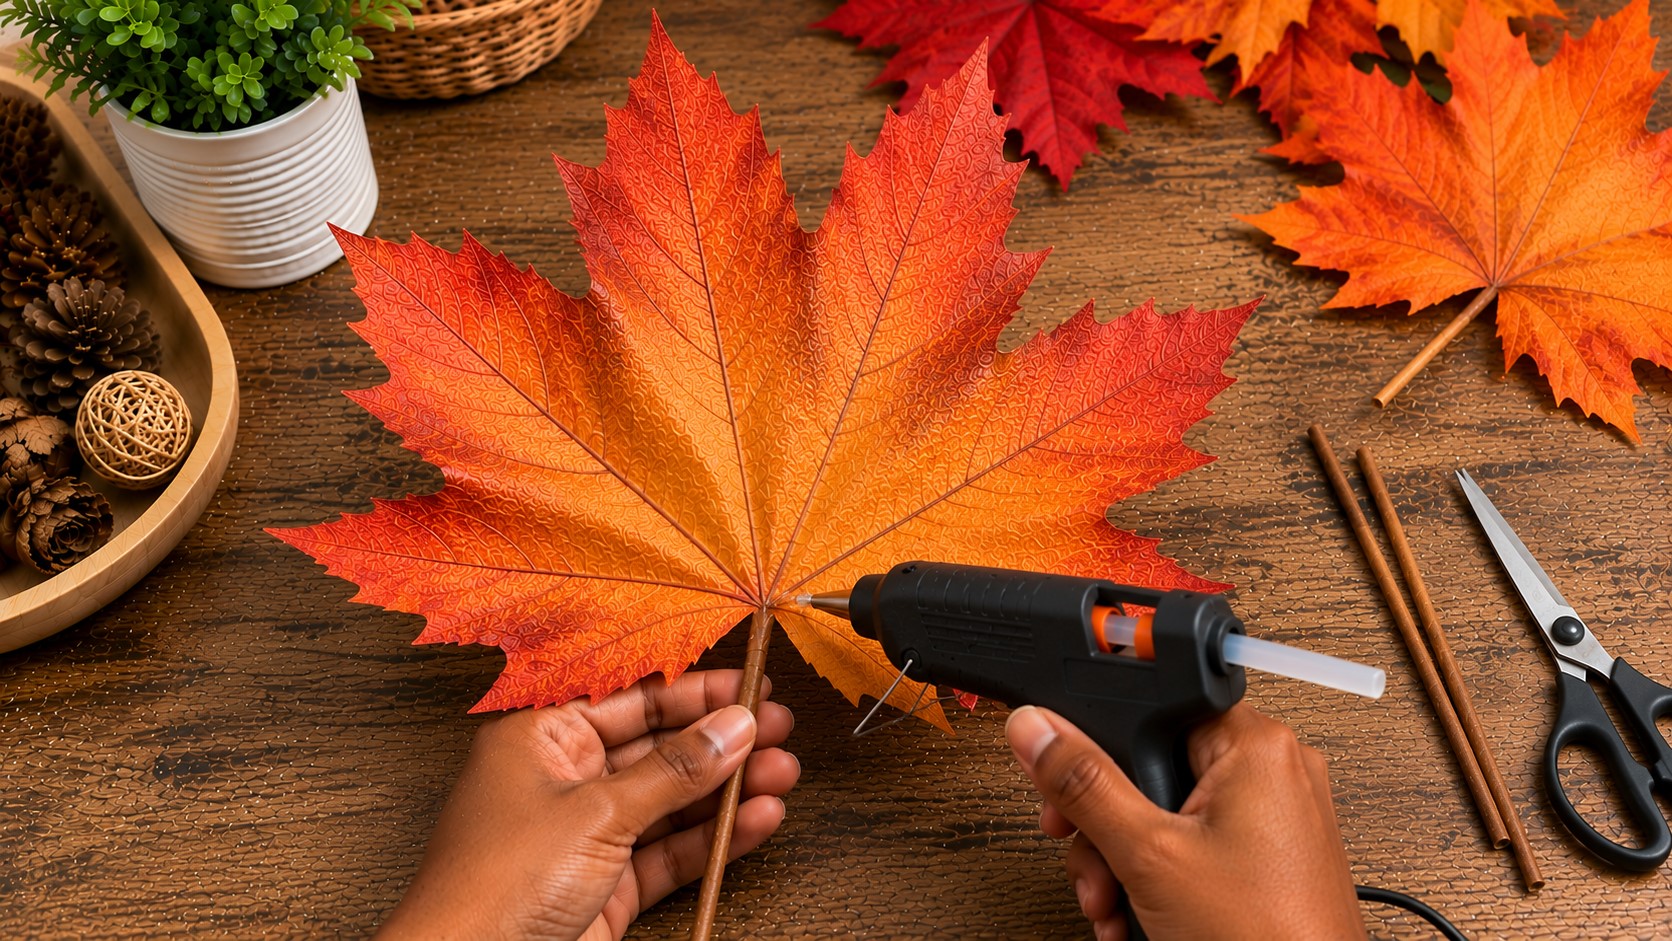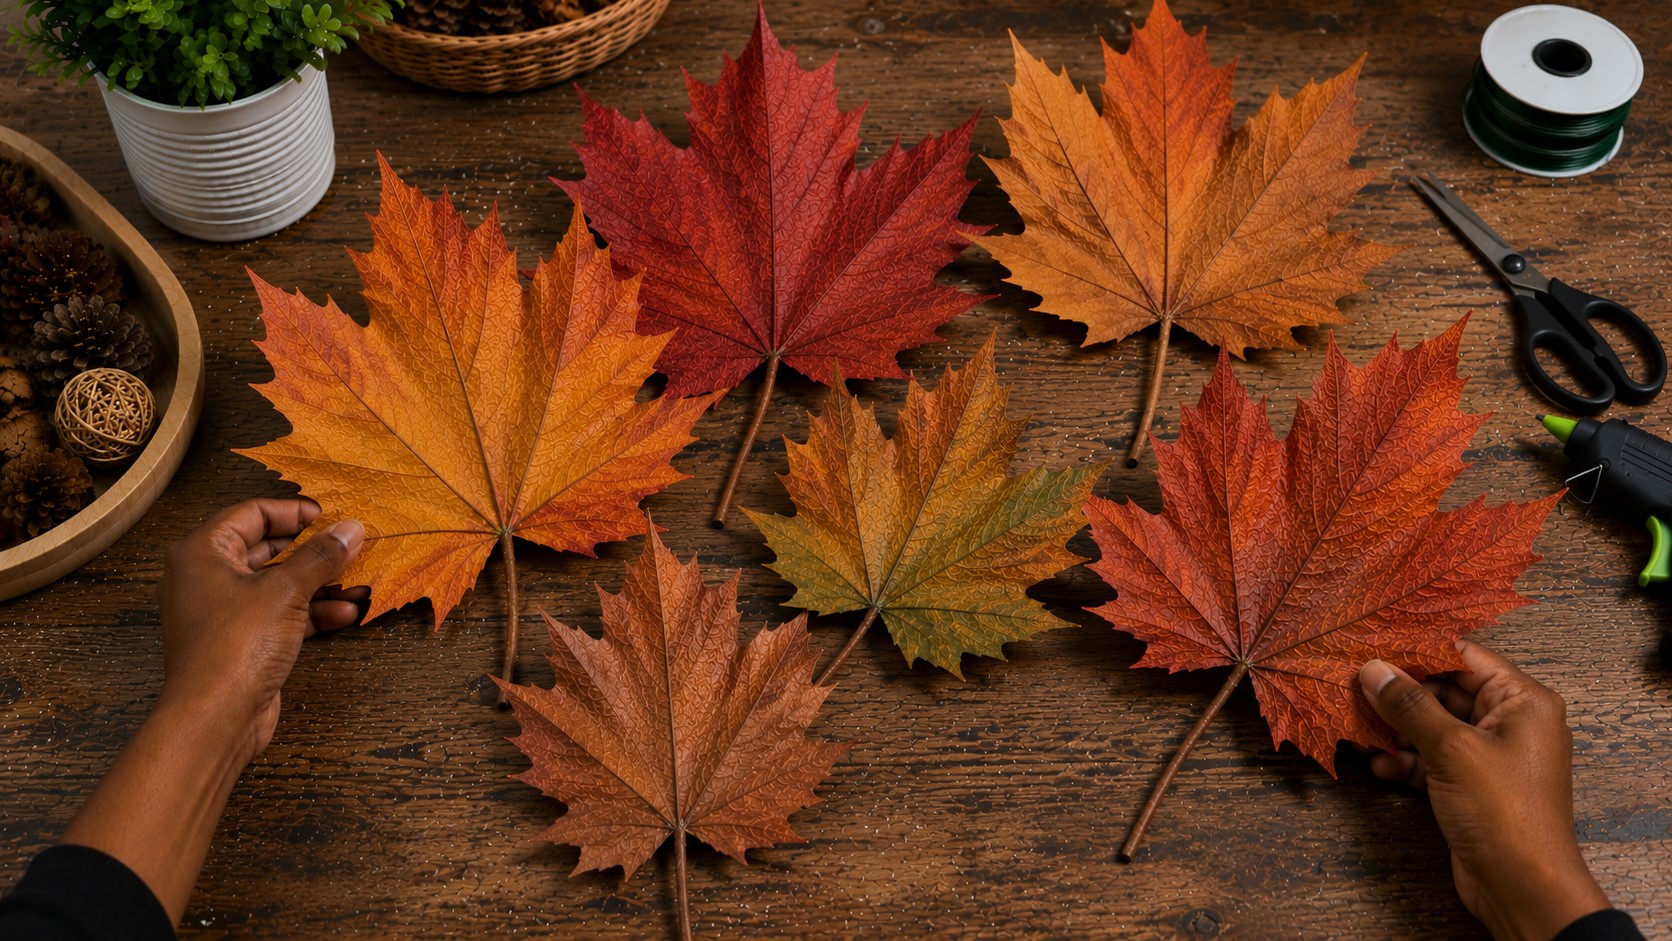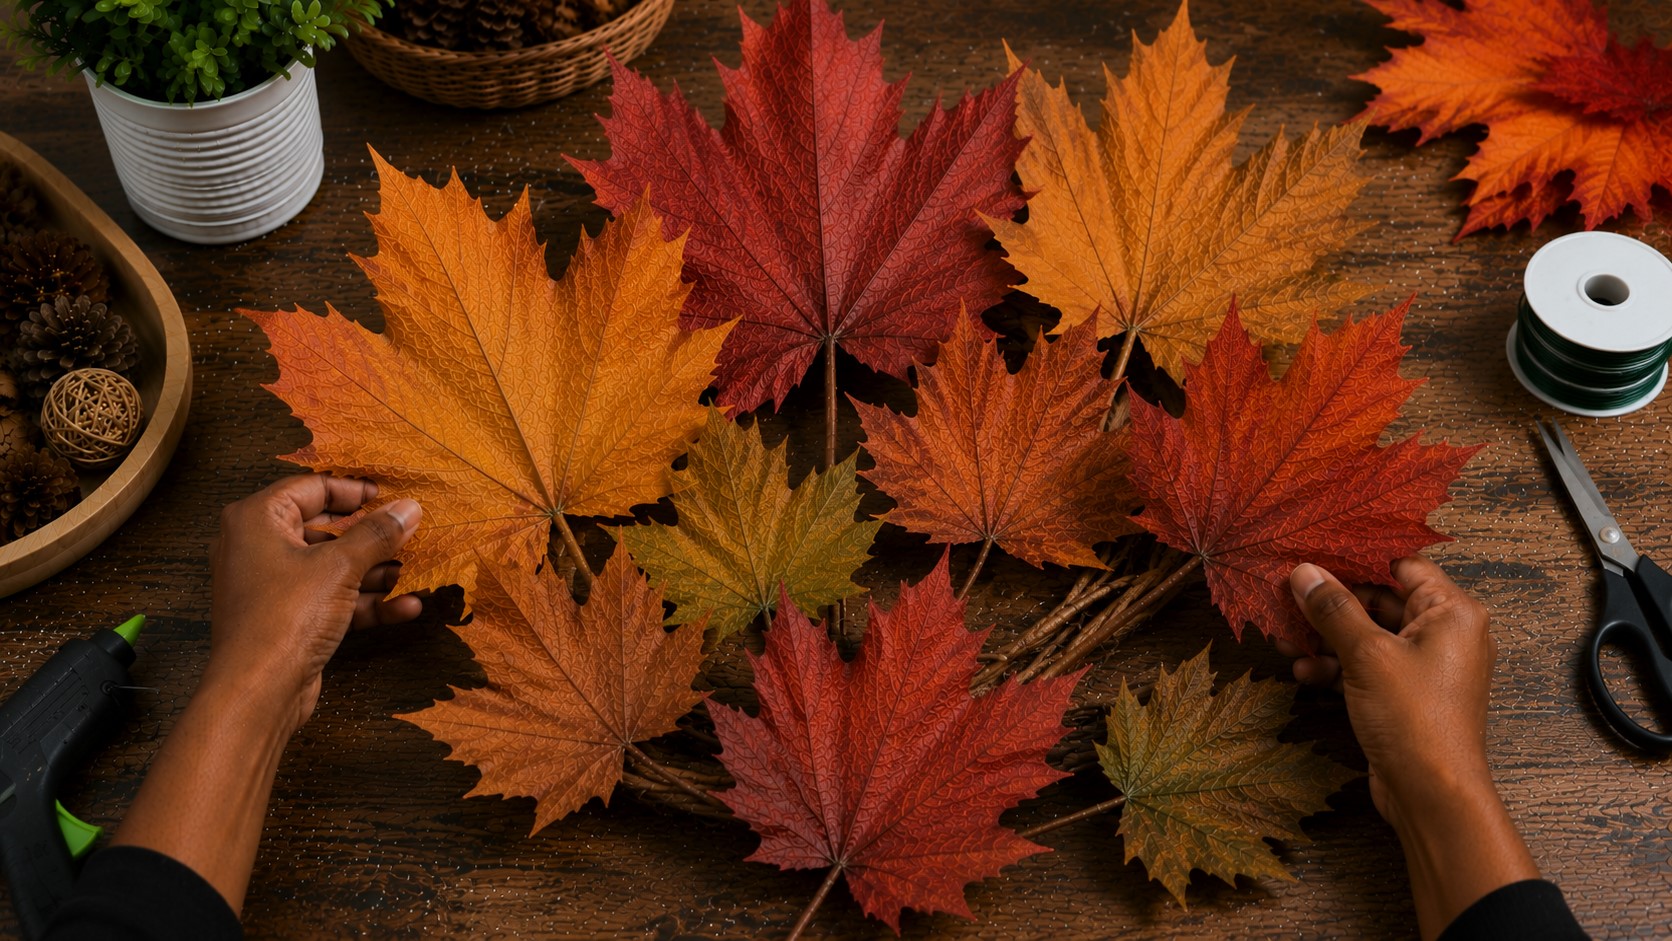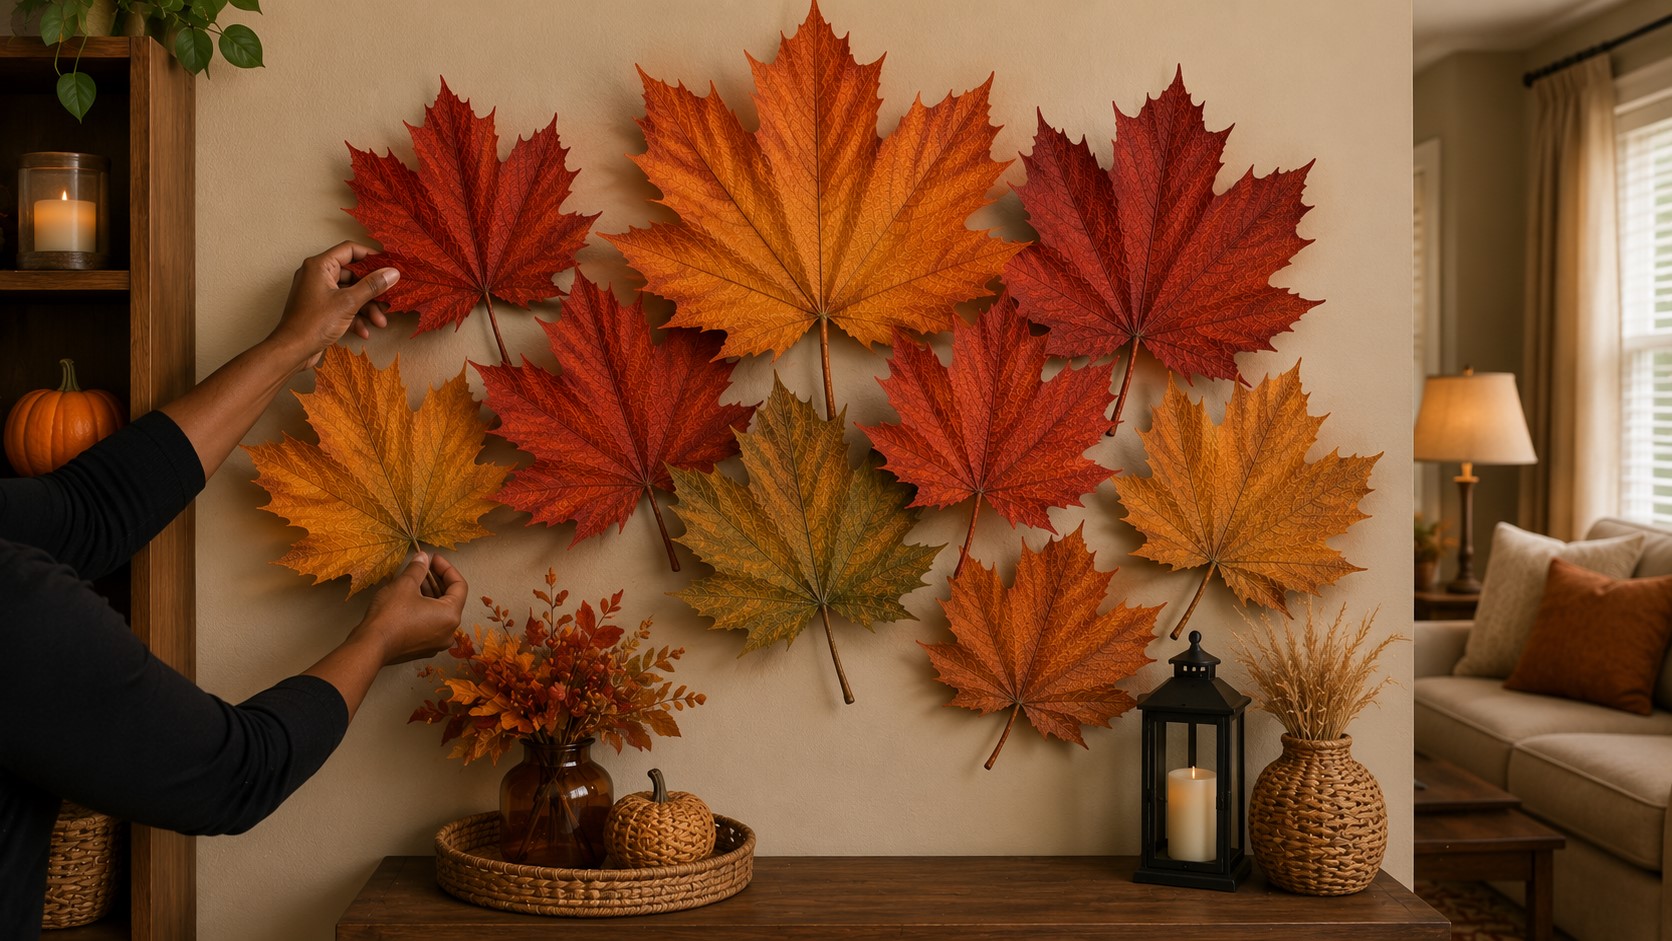
Every fall, stores fill their shelves with the same pumpkins, wreaths, and garlands. They look nice, but they rarely feel personal. I wanted something that covered a large space, cost very little, and made people stop for a second look.
That’s when I started experimenting with oversized paper maple leaves. I had no special tools or fancy paper.
I simply gathered a few basic supplies and kept adjusting my design until it looked right. Before long, one leaf turned into a whole collection, and my plain wall became the highlight of the season.
If you’ve been searching for a guide on How to Make Giant Paper Maple Leaves, you’re about to see that impressive fall décor can come from the simplest materials.
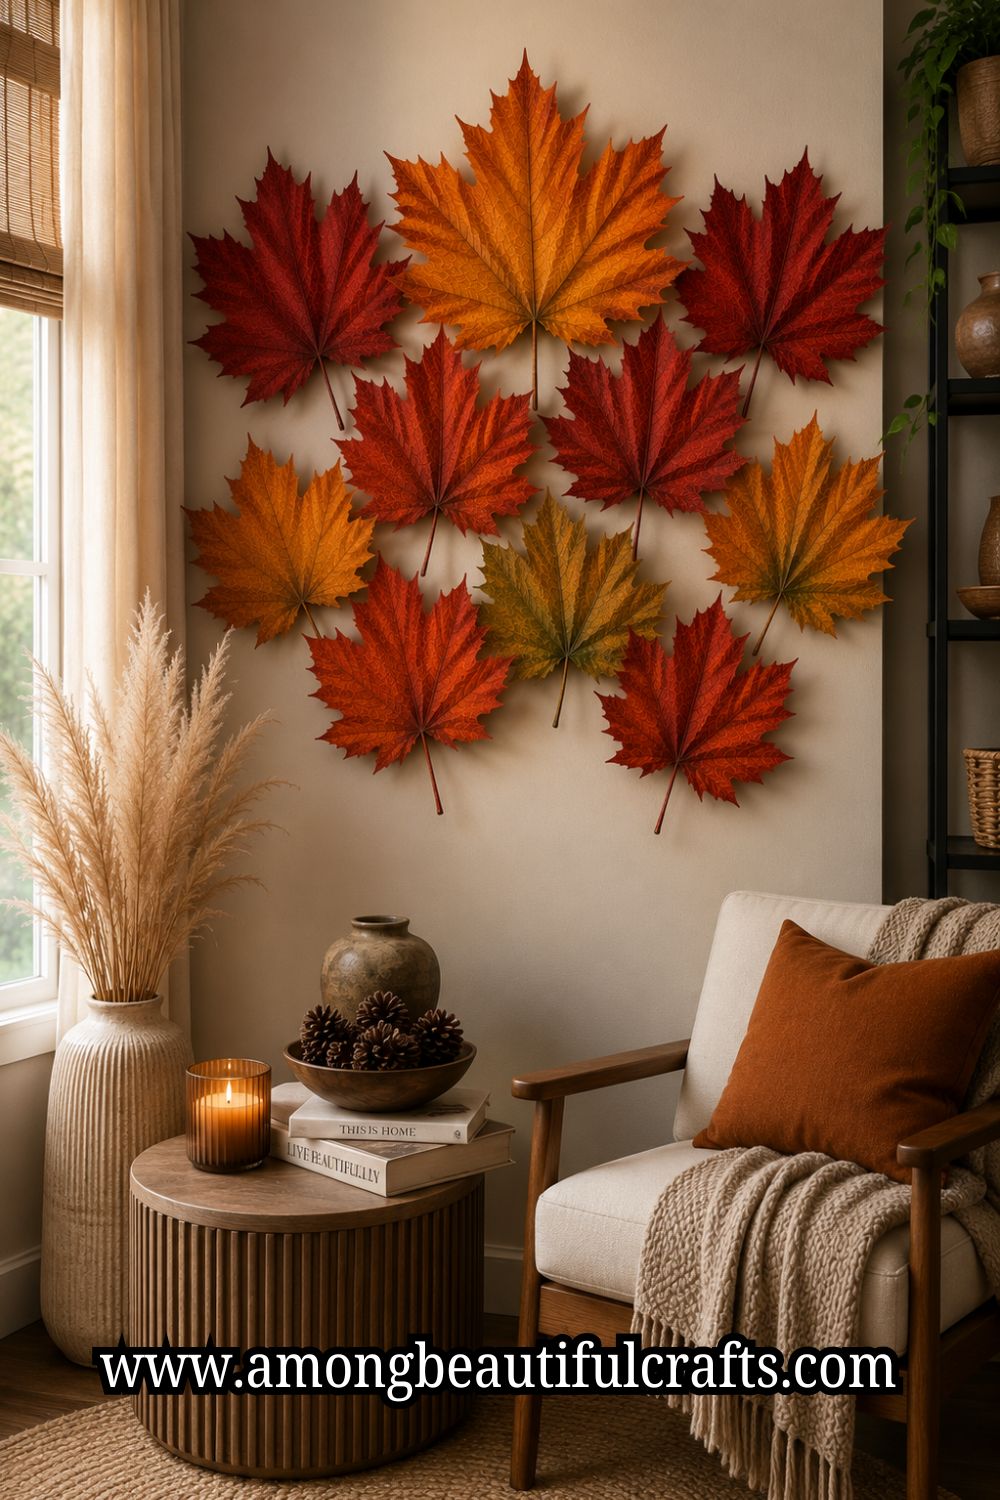
Decorating with giant paper maple leaves changes the way a room feels without asking you to replace everything else.
A few oversized leaves can make an empty wall look complete, turn a plain corner into a cozy fall display, or give your mantel a fresh seasonal look.
Unlike fresh foliage, these leaves stay beautiful all season, so you can enjoy your hard work for weeks.
Even better, you can match the colors, sizes, and textures to your own style instead of settling for whatever you find in stores.
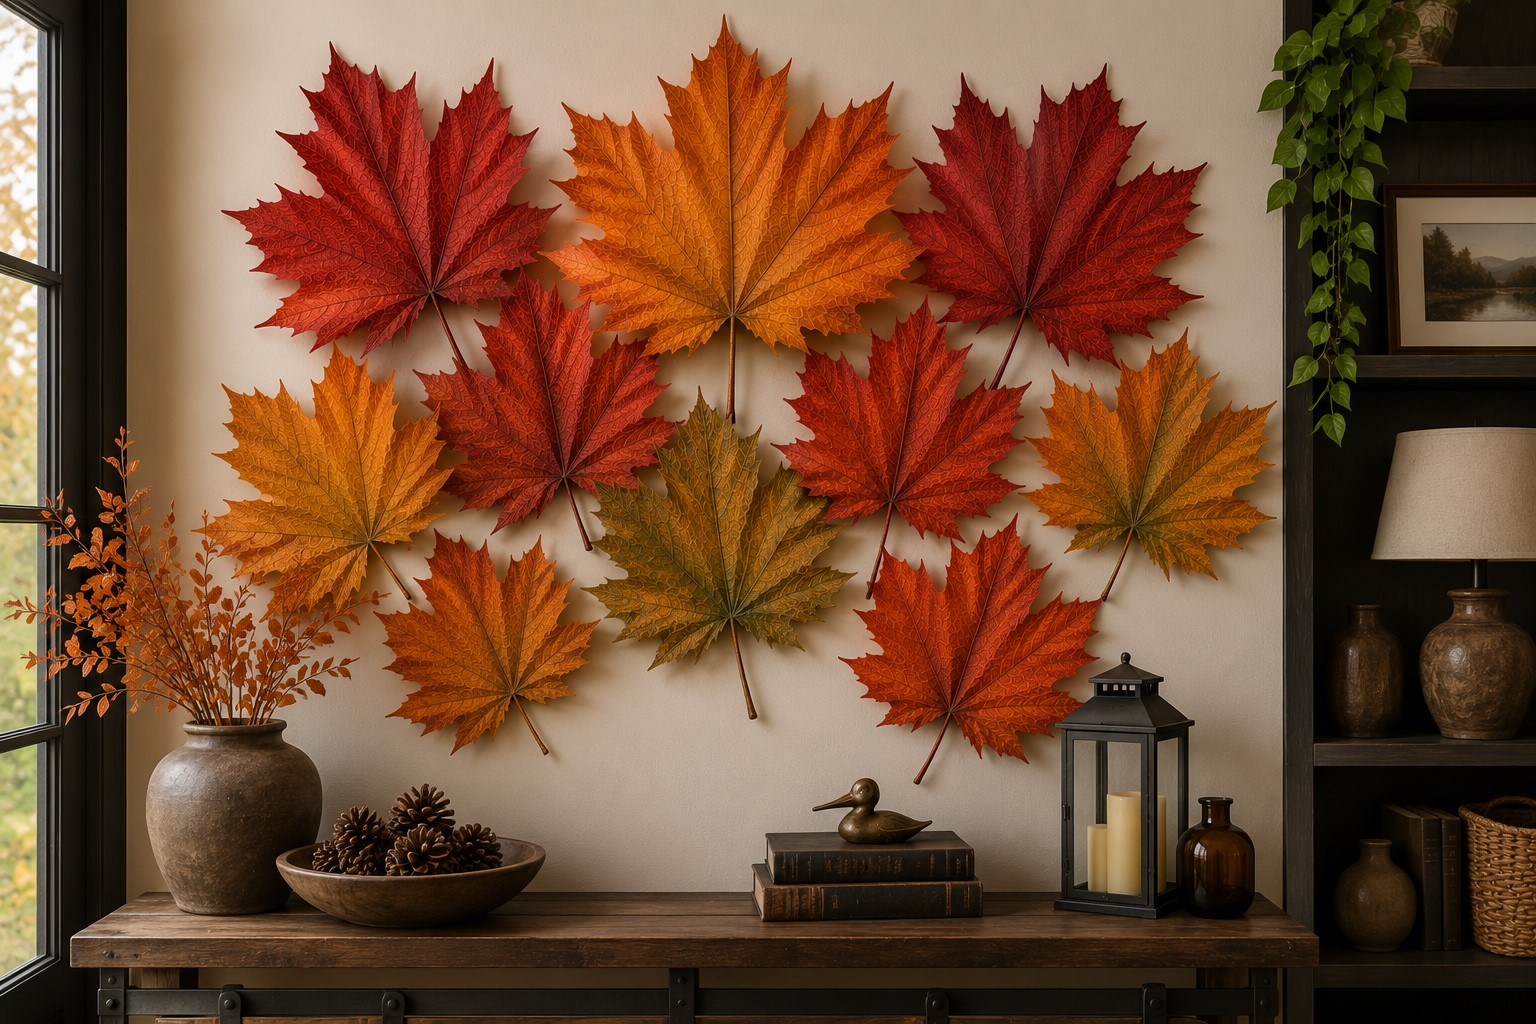
I’ll walk you through the entire process one step at a time, including the little details that make the biggest difference.
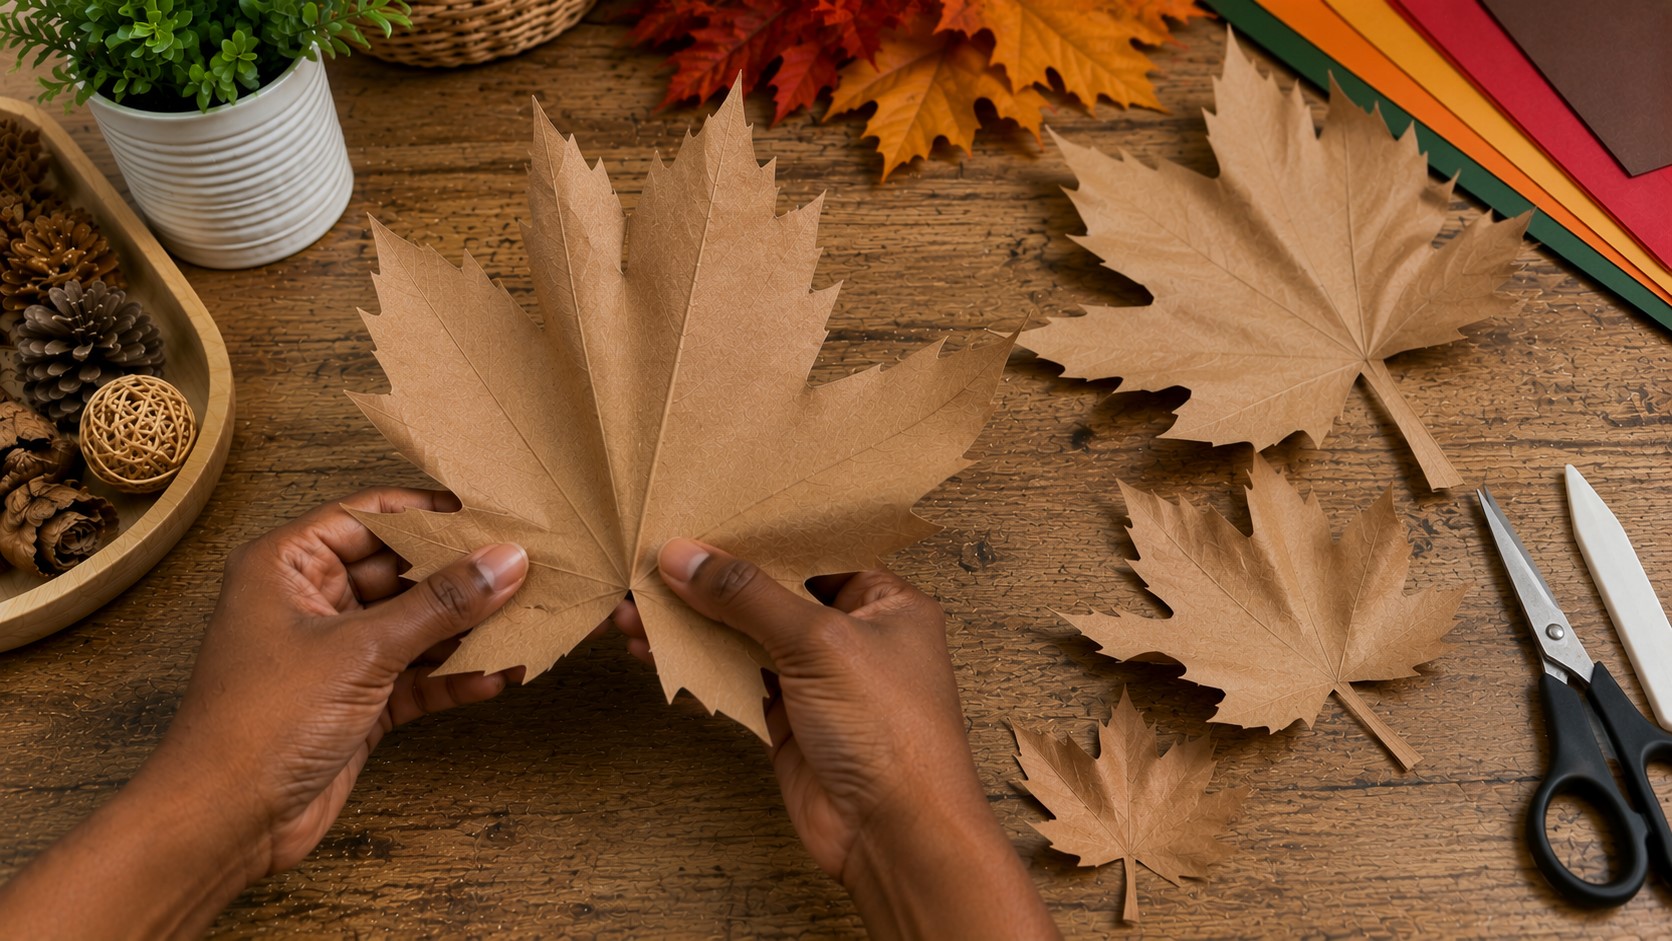
You’ll learn how to create realistic leaf shapes, build strong oversized pieces that don’t flop over, and add simple finishing touches that make people look twice.
By the end, you’ll have beautiful handmade decorations that feel unique, look expensive, and become part of your fall decorating tradition year after year.
Supplies You’ll Need
Gather your supplies before you begin. Having everything ready makes the project smoother and helps you focus on creating each leaf.
- Large sheets of cardstock, kraft paper, or heavyweight construction paper
- Pencil
- Eraser
- Large maple leaf template – (Available on Amazon) or plain paper for drawing one
- Sharp scissors – (Available on Amazon)
- Craft knife (optional)
- Cutting mat – (Available on Amazon)
- Ruler
- Hot glue gun and glue sticks – (Available on Amazon)
- Double-sided tape – (Available on Amazon)
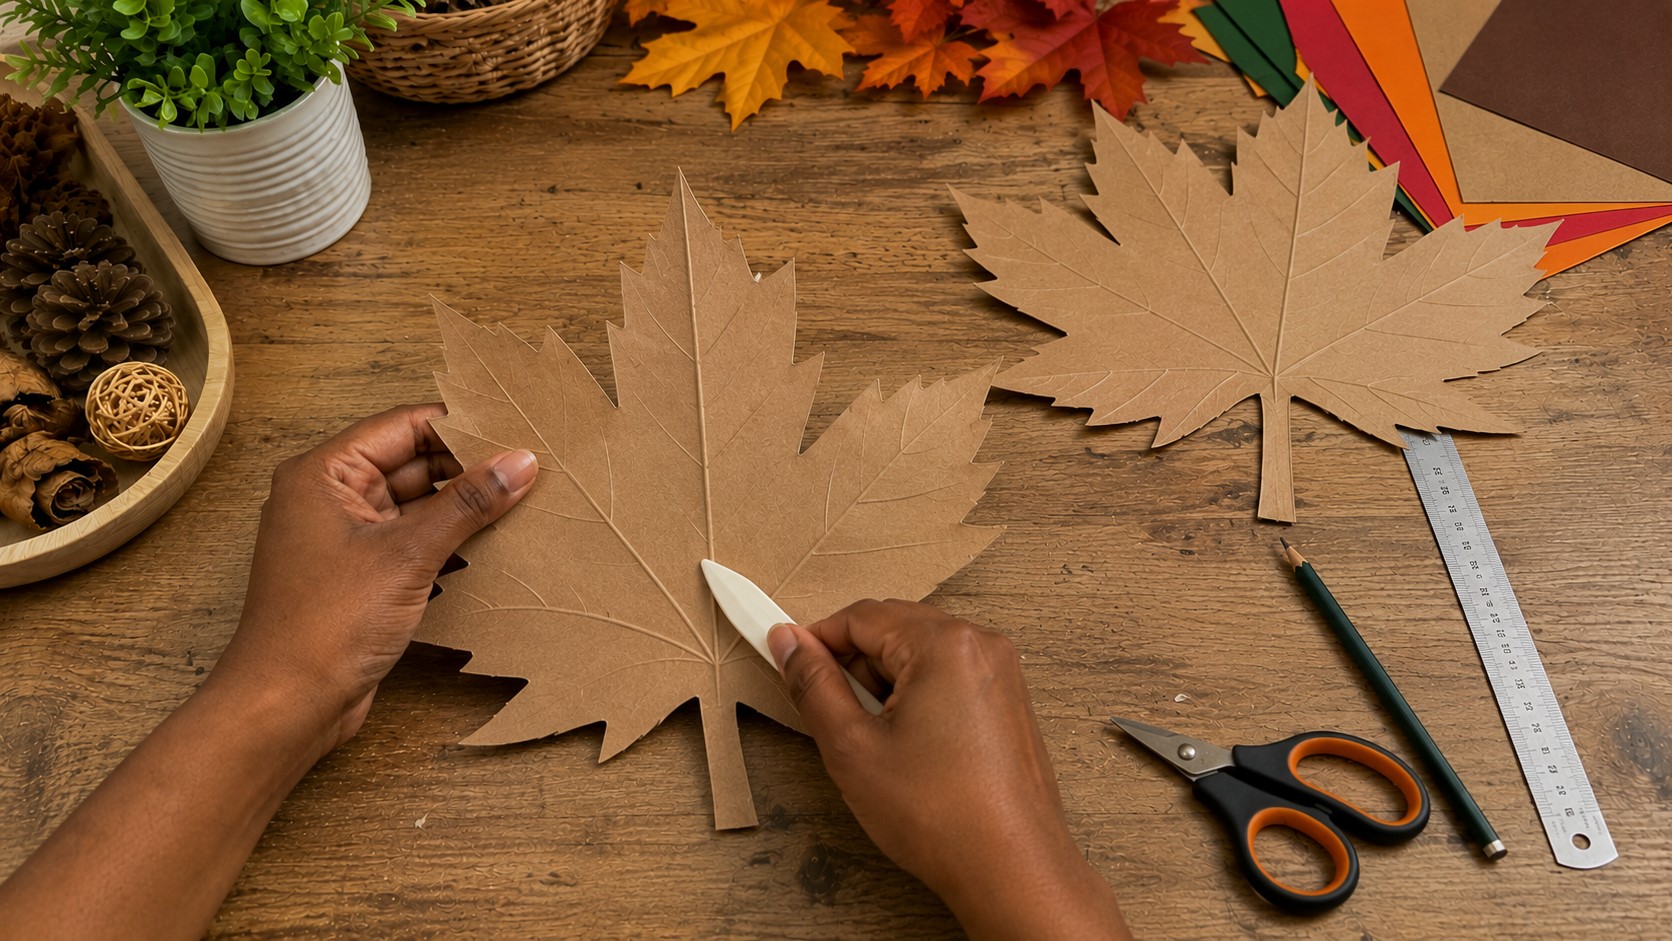
- Bone folder or the back of a butter knife
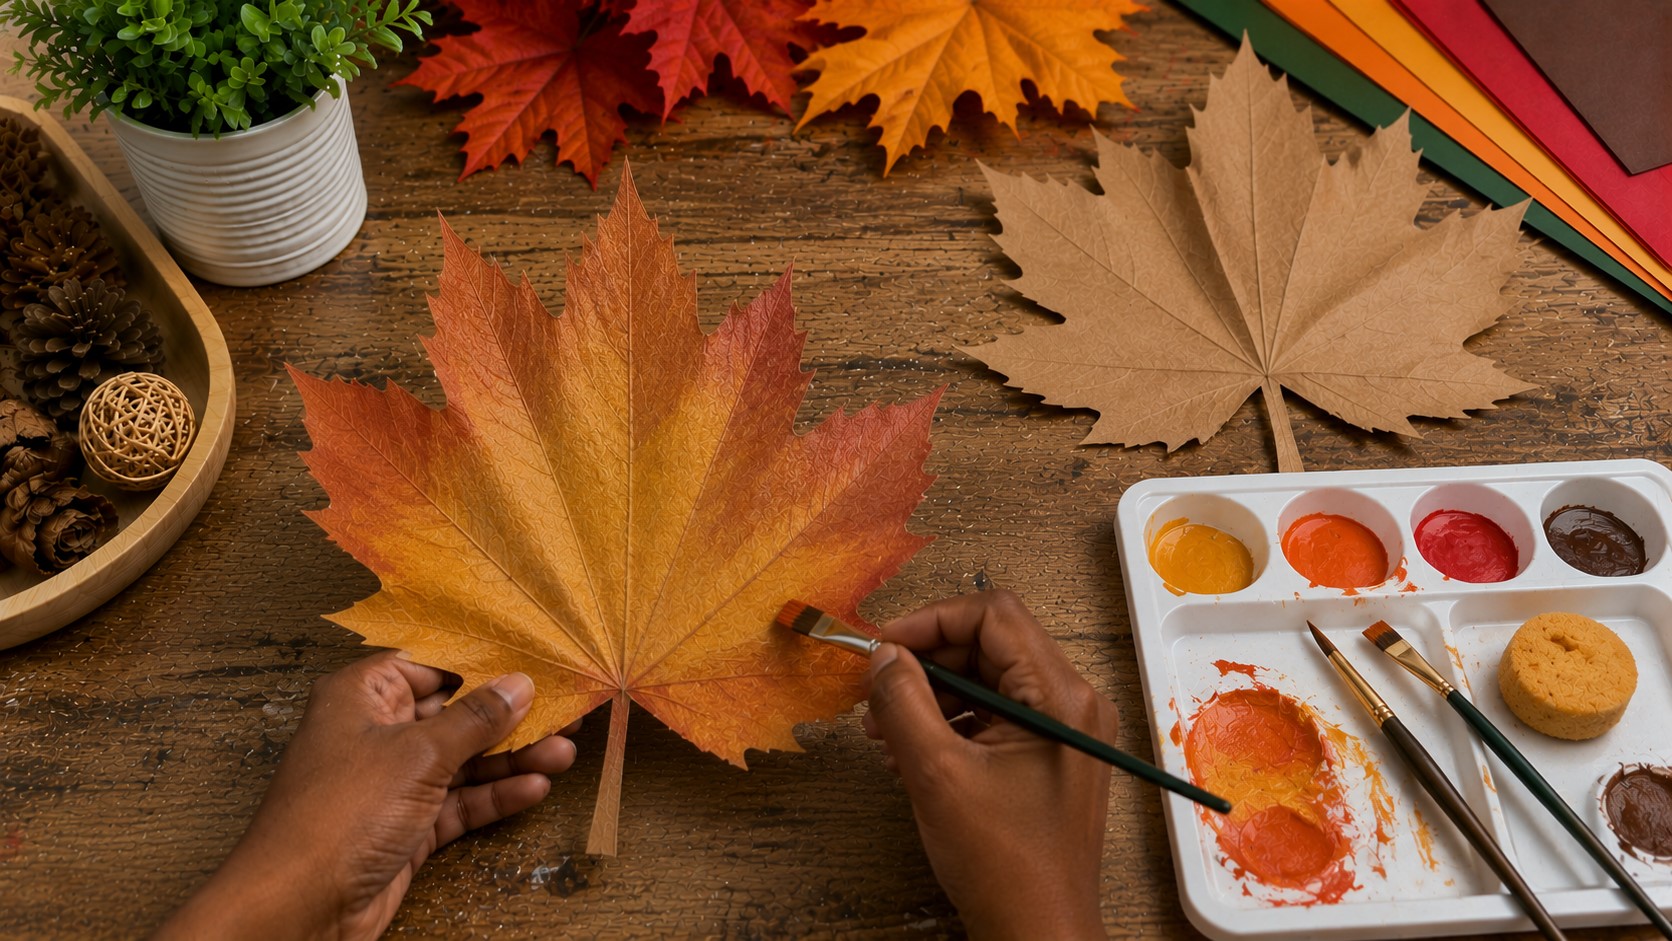
- Acrylic paint in fall colors (optional) – (Available on Amazon)
- Paintbrushes – (Available on Amazon)
- Soft sponge
- Chalk pastels – (Available on Amazon) or colored pencils
- Floral wire (optional) – (Available on Amazon)
- Floral tape
- Twine, fishing line, or removable adhesive hooks
Pick the Best Paper
Heavyweight cardstock or kraft paper works best because it keeps its shape after folding. White cardstock is perfect if you want to paint your own fall colors.
Kraft paper creates a warm rustic look, while colored cardstock lets you skip most of the painting.
Choose Your Leaf Size
There isn’t a perfect size, so make your leaves fit your decorating space. Smaller leaves work well for wreaths and table displays, while oversized ones create beautiful wall art and photo backdrops.
How to Make Giant Paper Maple Leaves for Stunning Fall Décor
Step 1: Create or Print Your Maple Leaf Template
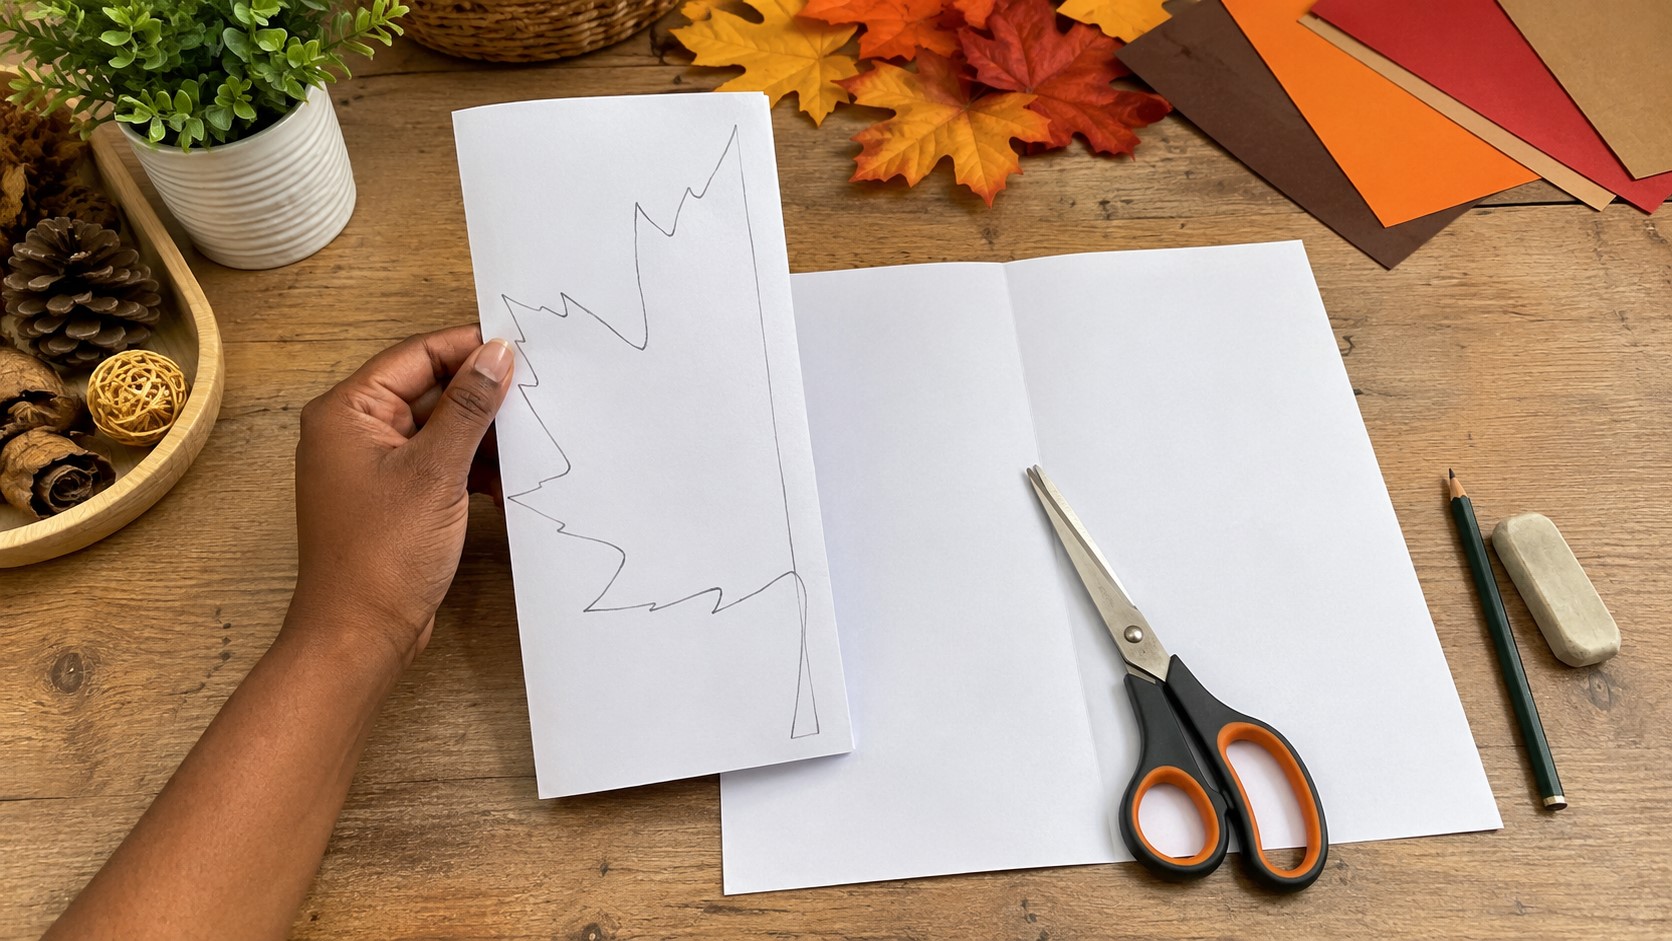
Start by making a template for your maple leaf. You can print one online or draw your own if you enjoy sketching. If you’re drawing it yourself, fold a large sheet of paper in half before you begin.
Sketch one half of the leaf along the fold, then cut around the outline while the paper is still folded. When you open it, you’ll have a balanced maple leaf shape.
Don’t worry if it isn’t perfectly identical on both sides because real maple leaves naturally have small differences.
Before moving on, hold the template against the space where you plan to decorate. This quick check helps you see if the size feels right.
If the leaf looks too small, enlarge the template now instead of after cutting your craft paper. Spending a few extra minutes here saves paper and gives you a much more dramatic finished display.
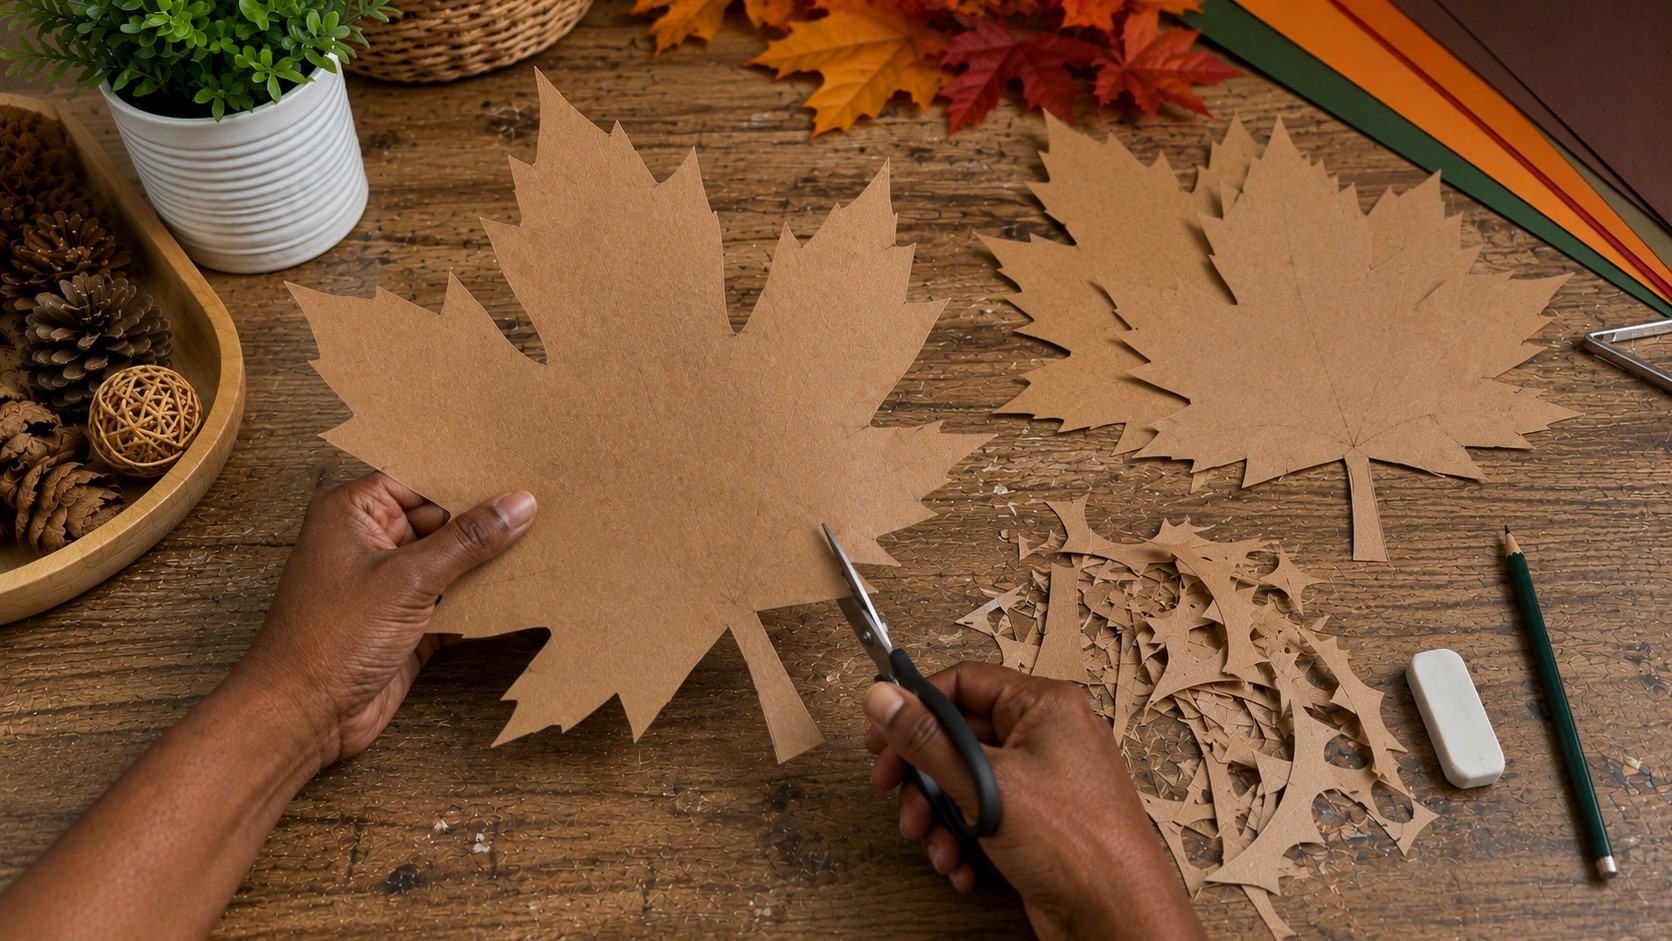
Once you’re happy with the shape and size, smooth out any rough edges with your scissors so every leaf you trace starts with a clean outline.
Step 2: Trace the Template onto Your Paper
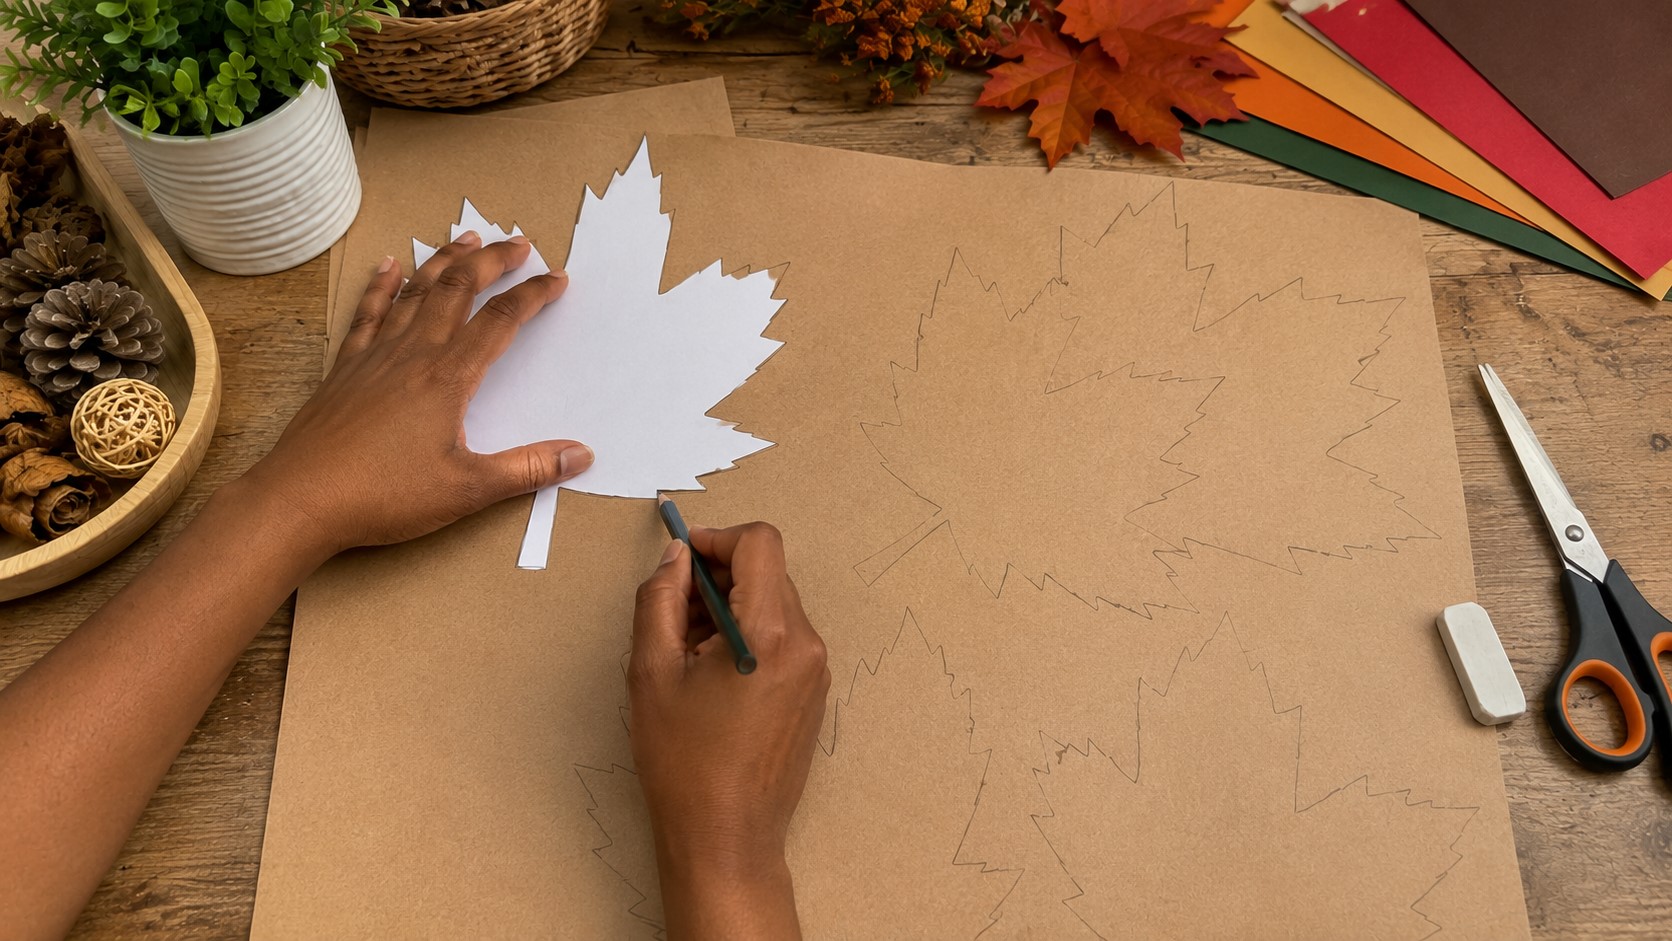
Place your template on the back of the cardstock or kraft paper so any pencil marks stay hidden. Hold it firmly with one hand and lightly trace around the edges with a sharp pencil.
Work slowly around each point instead of rushing. Those pointed tips are what give a maple leaf its distinctive look, so keeping them neat will make a big difference later.
If you’re making several leaves, arrange the template across the paper before tracing them all. Turn the template in different directions to fit more shapes on each sheet and reduce waste.
After tracing, take a moment to check every outline. Make sure the lines connect properly and each point looks complete.
Fixing a small mistake now is much easier than trying to repair a leaf after you’ve already cut it out.