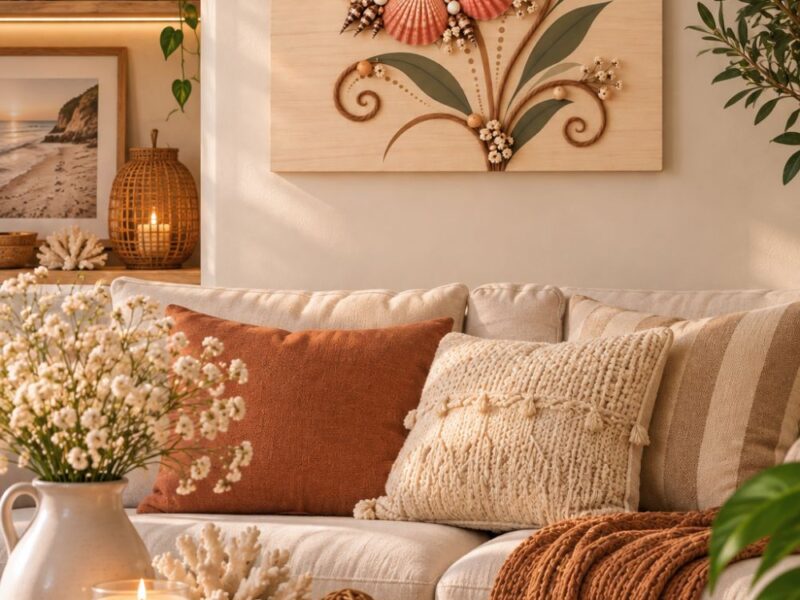
I know that feeling of coming back from a walk with your hands full of pretty leaves, tiny flowers, or little twigs because they looked too beautiful to leave behind.
Then you get home and wonder, “What can I actually do with these?” . That is exactly where making nature collages come in.
If you have been looking for a guide on How to Make a Nature Collage, you are about to turn those little outdoor treasures into artwork that you will be proud to display.
If you enjoy working with real flowers, exploring How to Make a Pressed Flower Frame That Looks Boutique-Worthy is another beautiful way to give them a permanent home.
The best part about this craft is that nature does most of the hard work for you. Every leaf has its own shape. Every flower brings a different color.
Even the smallest twig can add something interesting to your design. Instead of trying to make everything perfect, you simply let the natural beauty of each piece shine.
That is what makes every collage feel so warm, unique, and full of character.
I will walk you through the whole process just as I would if we were crafting together at the same table.
We will talk about what to collect, what to leave behind, how to prepare each piece, and how to arrange everything into a collage that looks balanced and beautiful.
I will also share the little tricks that have helped me create collages that last much longer.
By the end, you will look at every walk outdoors as a chance to gather ideas for your next piece of art.

Supplies You Will Need
Before we begin, gather everything you need in one place. Most of the supplies are easy to find, and many of them may already be in your home.
- Fresh or pressed leaves
- Tweezers – (Available on Amazon)
- Small flowers
- Thick cardstock – (Available on Amazon) or canvas board
- Grass
- Small scissors – (Available on Amazon)
- Twigs
- White craft glue – (Available on Amazon)
- Bark pieces
- Seeds or seed pods
- Soft paintbrush – (Available on Amazon)
- Feathers (optional)
- Fine-tip glue bottle – (Available on Amazon)
- Pencil
- Heavy books or a flower press – (Available on Amazon)
- Picture frame – (Available on Amazon)
A similarly simple, affordable supply list is all you need for learning How to Make Adorable Clay Magnets Worth Displaying, if you want another quick project to try.
How to Make a Beautiful Nature Collage Using Natural Materials
Step 1: Collect Natural Materials

The fun starts before you even sit down to craft. Go for a walk in your garden, a nearby park, or any place where you can safely collect natural materials.
I never rush this part because I often find my best pieces when I slow down and really look around.
Pick leaves with interesting shapes, flowers with bright colors, and twigs that have a little character. You can also collect grass, seed pods, feathers, or small pieces of bark.
Try to gather more than you think you need because having extra pieces gives you more choices later.
This same joy of gathering small treasures from outside is what makes figuring out How to Make Charming Pebble Art from Ordinary Rocks such a fun project too.
Before putting everything into your basket or bag, check that the materials are clean and free from insects or damage.
I also like collecting different sizes because they make the collage look more interesting.
Do not pull plants that are still growing if you can avoid it. Fallen leaves and flowers usually work just as well.
Step 2: Clean and Dry Your Materials

Once you get home, take a few minutes to prepare everything. This simple step helps your collage last much longer and keeps dirt from getting onto your artwork.
I never skip it because even beautiful leaves can carry dust or moisture.
Gently wipe each leaf and flower with a soft, dry cloth. If anything feels damp, let it air dry before using it.
Fresh flowers and leaves should also be pressed inside heavy books or a flower press for several days.
Pressing them helps them stay flat and makes them much easier to glue onto your collage later.
Taking the time to prepare materials properly matters just as much in figuring out How to Build a Beautiful Terrarium That Doesn’t Get Moldy, where trapped moisture causes problems later.
Replace damp paper if you are pressing fresh plants for several days. This helps remove moisture more quickly. Your materials will also keep their shape much better.
Step 3: Decide on Your Design
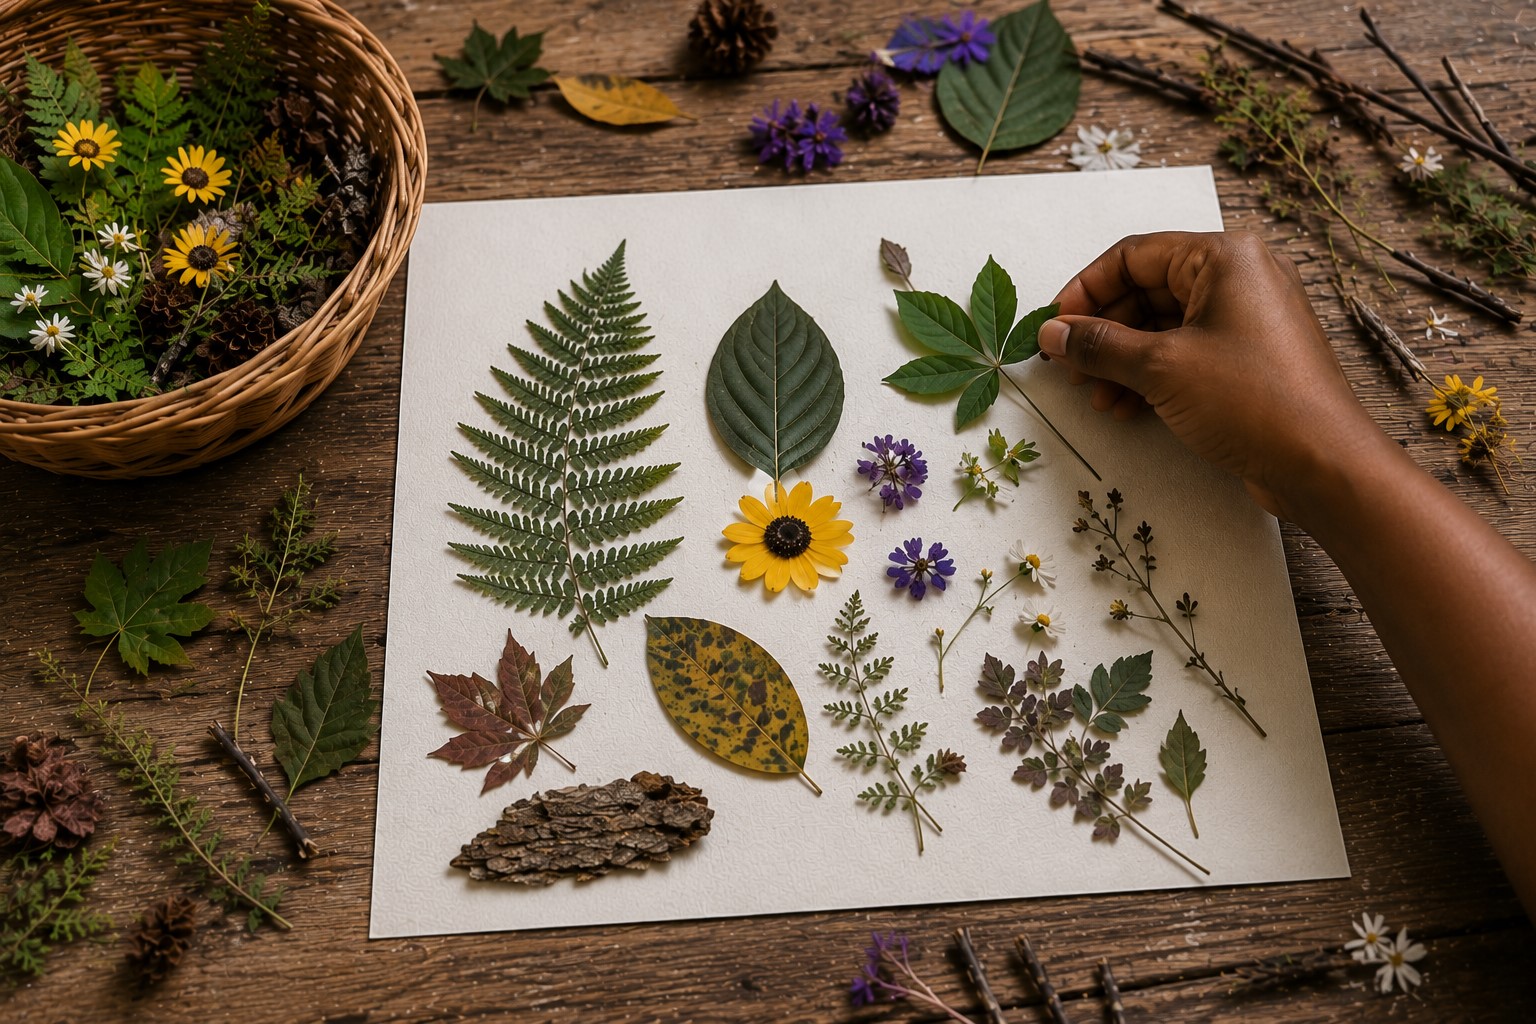
Before reaching for the glue, spend some time arranging your materials.
This is one of my favorite parts because it lets me experiment without worrying about making mistakes.
I often move pieces around several times before I find a layout that feels just right.
Start with the largest leaves or flowers, then fill the empty spaces with smaller pieces like grass, seeds, or tiny flowers.
If you enjoy playing with color and texture like this, 21 Creative Rainbow Crafts That Brighten Any Day has more fun ideas to explore.
Try not to crowd everything together. Leaving a little space between the materials helps each one stand out and gives the collage a cleaner look.
Take a photo of your favorite layout before moving anything. It will be much easier to recreate the design once you start gluing.
Sometimes a small change is all your collage needs to look balanced.
Step 4: Prepare Your Background
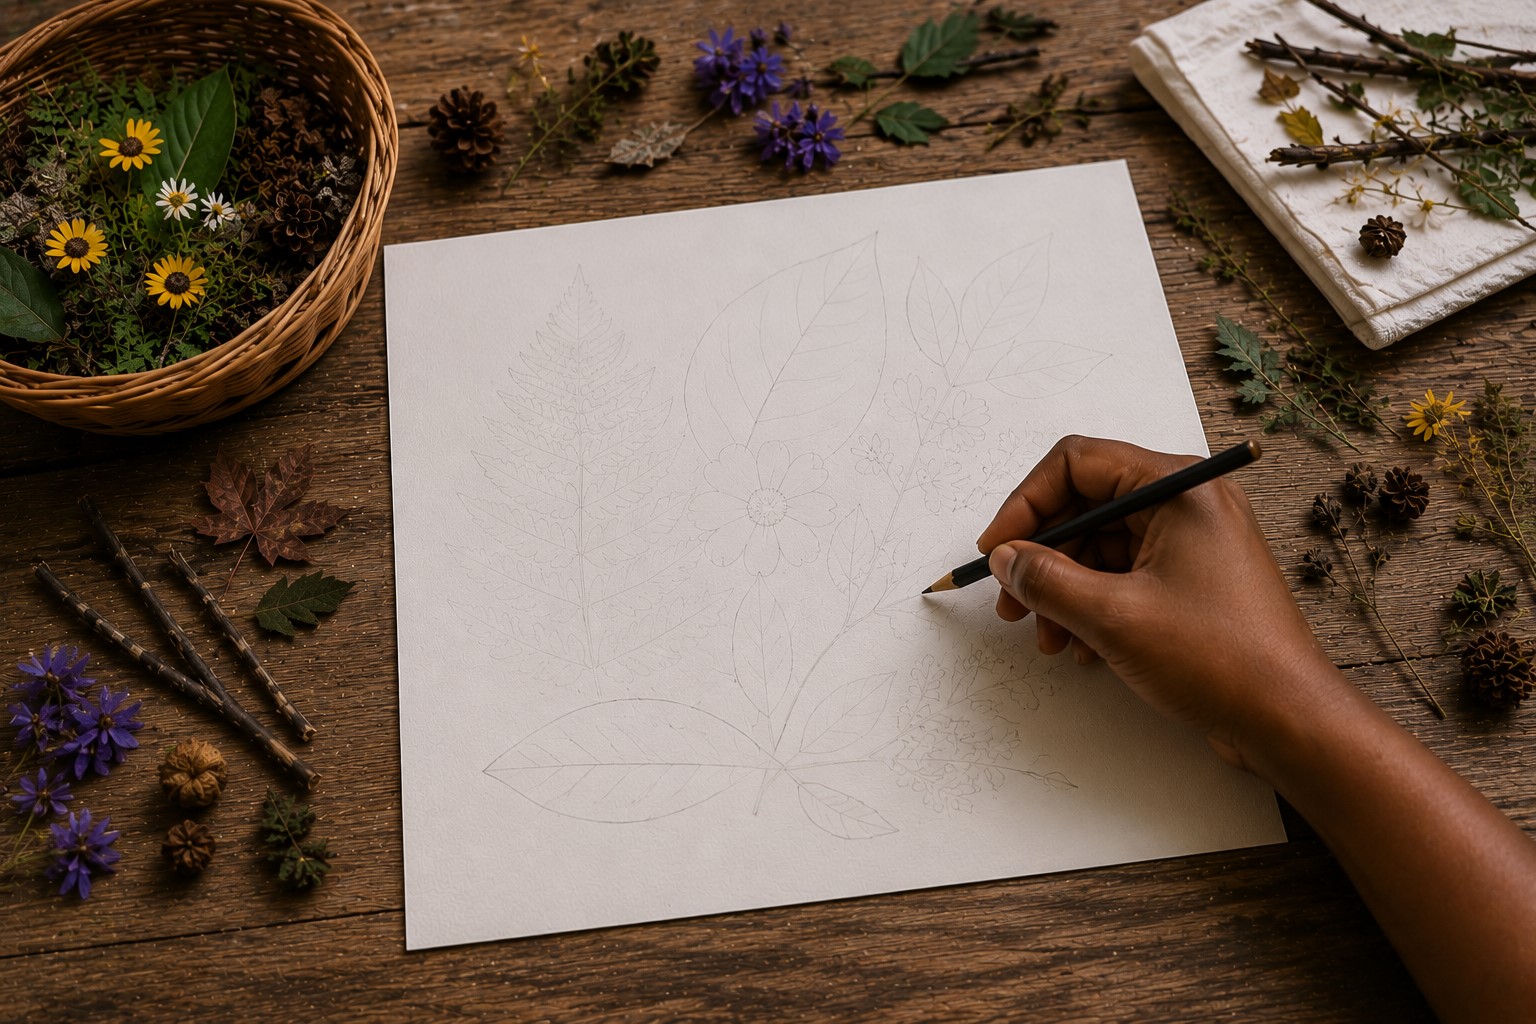
Now choose the surface that will hold your collage. Thick cardstock, watercolor paper, or a canvas board all work well because they can support the natural materials without bending.
Pick a background color that helps your leaves and flowers stand out.
Thinking ahead about how a piece will be displayed also matters in learning How to Make a Stunning Layered Paper Shadow Box From Scratch.
If you want, lightly sketch your design with a pencil before you start gluing. You do not need lots of lines.
A few simple guides will help you place everything in the right position. Keep the sketch light so it does not show through when your collage is finished.
Make sure your background is clean before adding any glue.
Dust or dirt can stop the materials from sticking properly. A little preparation now will make the next steps much easier.
Step 5: Arrange Everything Without Glue

Place all your natural materials on the background before gluing anything down. This gives you the freedom to try different ideas without worrying about making a mistake.
I always spend a little extra time here because it helps me feel more confident once I start gluing.
Move the leaves, flowers, and twigs around until the design looks balanced from every angle.
Step back every now and then to see the whole collage instead of focusing on one small area.
If one side looks too full, move a few pieces to the opposite side. Keep adjusting until everything feels just right.
Once you are happy with the layout, take another photo for reference. That way, you can glue each piece in place without forgetting where it belongs.
Step 6: Glue the Largest Pieces First

Now it is time to start putting your collage together. I always begin with the largest leaves, flowers, or pieces of bark because they create the main structure of the design.
Once those are in place, the smaller pieces become much easier to arrange.
Apply a thin layer of glue to the back of each piece instead of pouring glue directly onto the background. Press it down gently for a few seconds to help it stick.
Work on one piece at a time so nothing shifts out of place. If glue squeezes out from the edges, wipe it away before it dries.
Building a design piece by piece like this is also how 23 Adorable Farm Animal Crafts That Bring the Barnyard to Life comes together, one natural material at a time.
Taking your time here will help your collage look much neater. A strong foundation also makes the rest of the project much easier.
Step 7: Fill the Empty Spaces
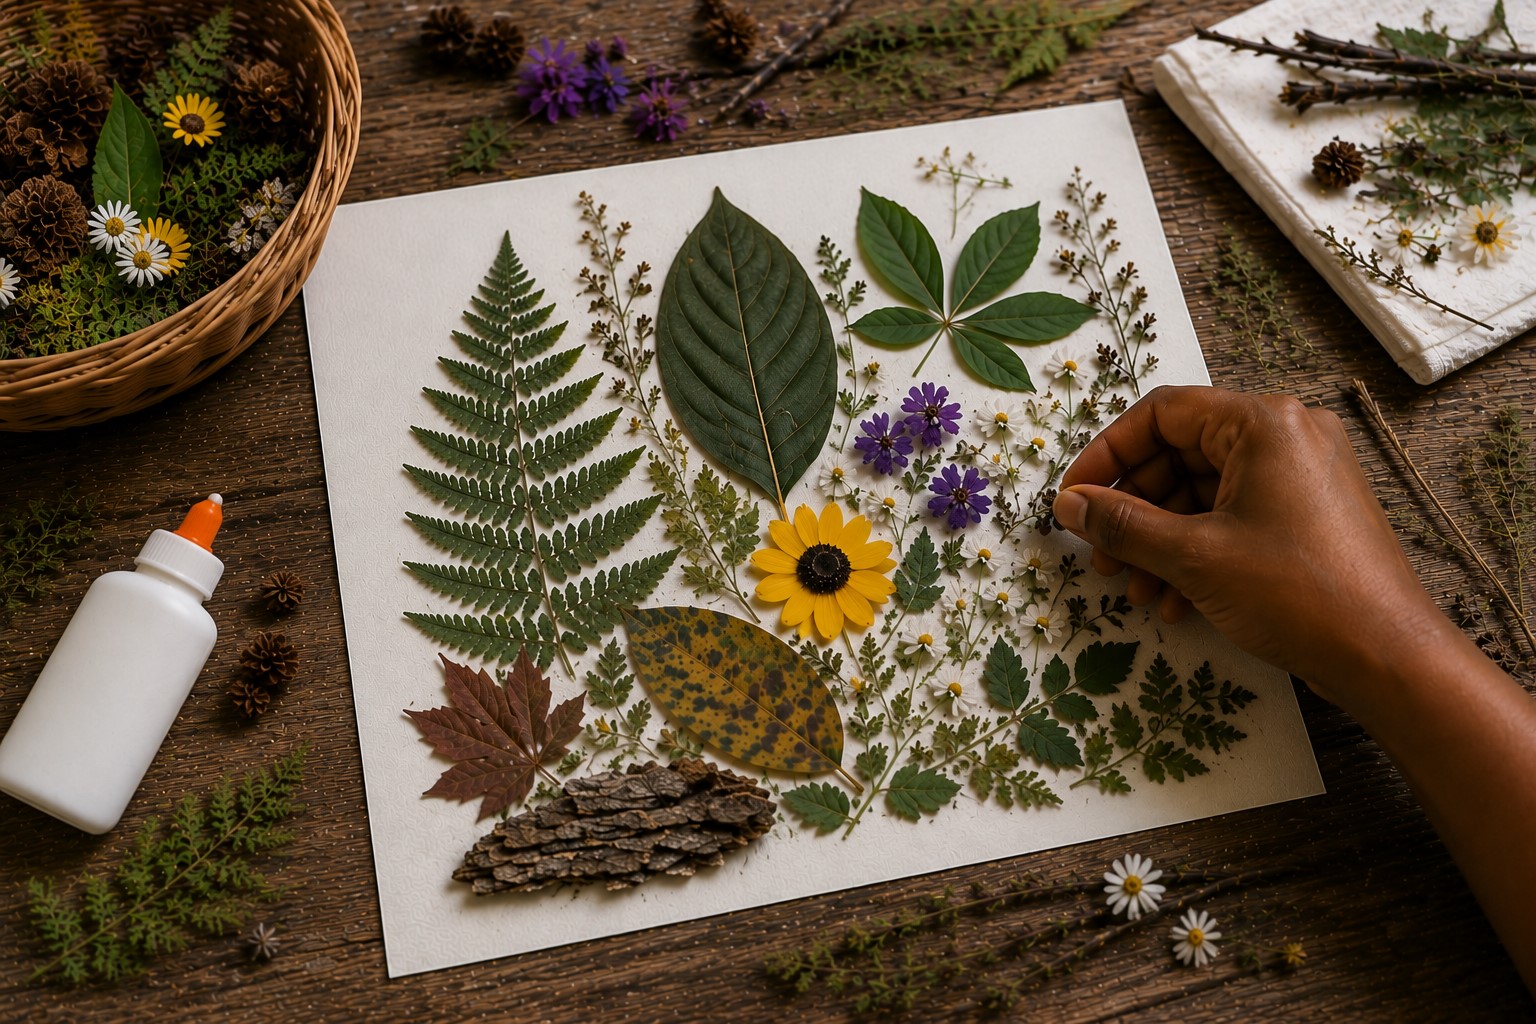
With the larger pieces secured, start filling the gaps with smaller natural materials. This is where your collage begins to feel complete.
I enjoy this step because the little details make the biggest difference.
Use grass, tiny flowers, seeds, or small leaves to connect the larger pieces. Spread them around instead of placing everything in one area.
Keeping each small piece distinct while filling in gaps is also the challenge behind figuring out How to Make Sand Art in a Bottle Without the Colors Mixing.
This helps the collage look balanced and natural. Be careful not to cover the beautiful shapes of the larger materials.
Sometimes leaving a small empty space looks better than filling every corner. Step back every few minutes to check how the design is coming together.
Step 8: Add Texture and Small Details
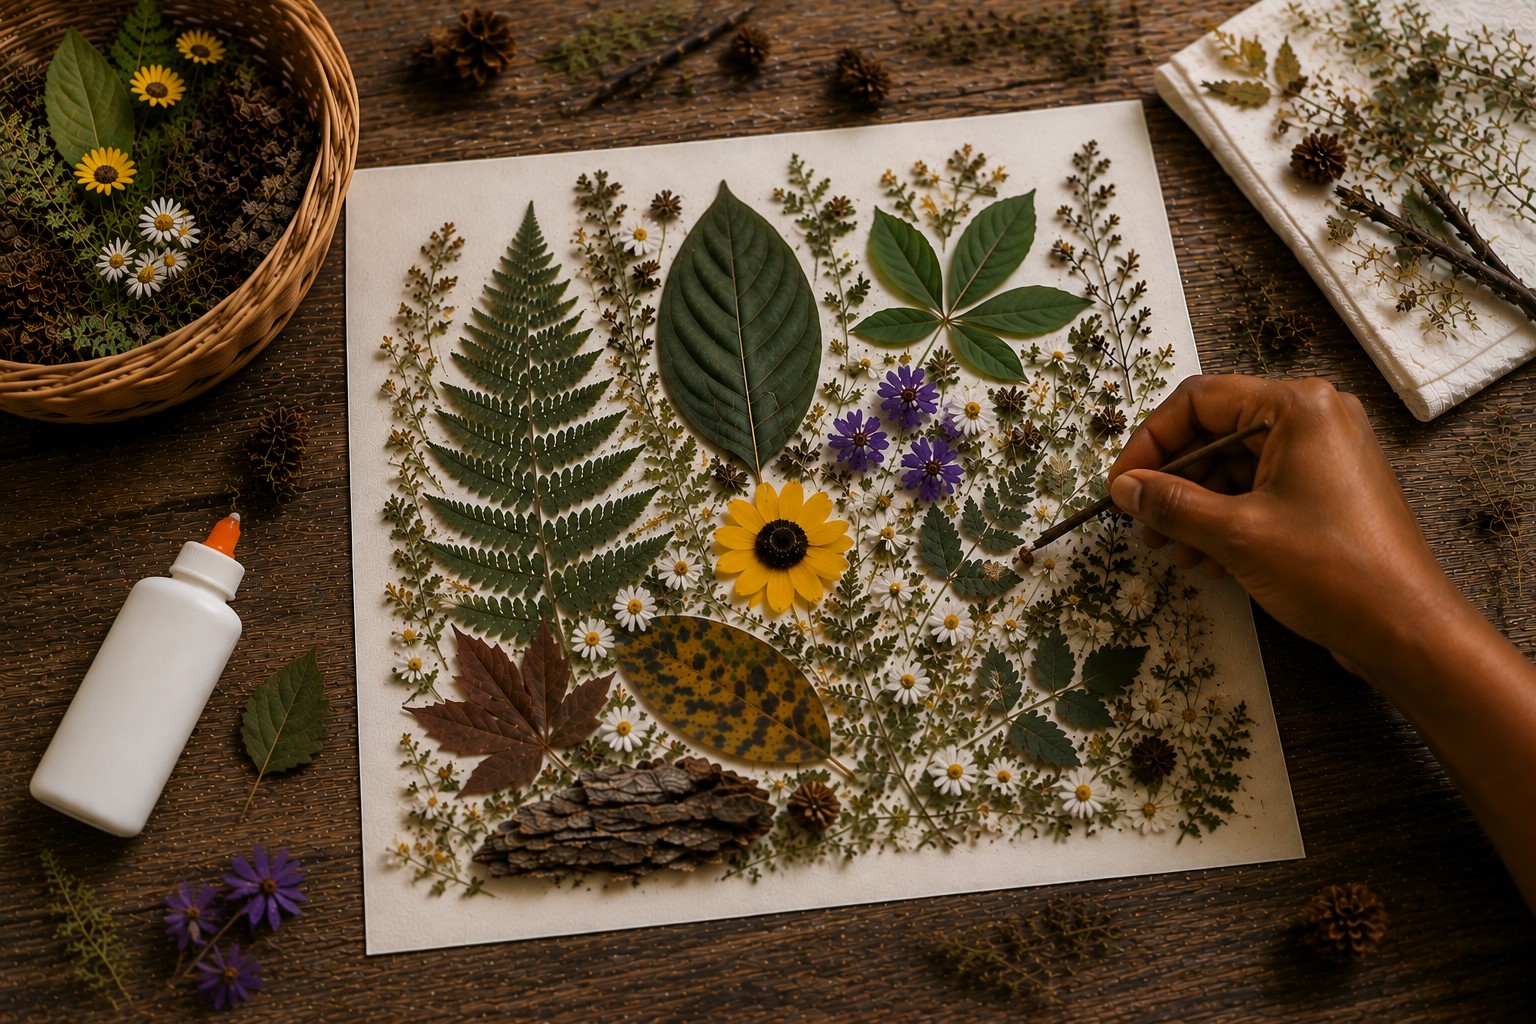
Now look for ways to make your collage more interesting. Adding different textures gives the artwork more depth and helps each section stand out.
You do not need a lot of extra pieces to make a big difference.
Try layering thin leaves over larger ones or placing small twigs beside flowers for contrast. Seed pods, feathers, or tiny pieces of bark can also add character.
Working with natural textures like moss is also what makes the project on How to Make Moss Wall Art That Stays Green Without Watering look so full and alive.
Keep these details simple so they support the main design instead of taking attention away from it. Look closely at the collage from different angles before adding more.
If it already feels balanced, stop there. Sometimes a few thoughtful details are all you need.
Step 9: Check the Overall Balance
Before adding the final touches, take a careful look at your collage. This is the perfect time to notice anything that feels out of place.
I always step back for a minute because it helps me see the whole design more clearly.
Ask yourself if one side looks heavier than the other. Check if the colors are spread nicely across the collage instead of staying in one area.
Move any loose pieces if they make the design feel uneven. It is much easier to make small changes now than after everything has dried.
Do not be afraid to remove one or two pieces if the collage looks crowded. A little empty space often makes the natural materials stand out even more.
Step 10: Let the Collage Dry Completely

Once you are happy with the design, leave the collage alone so the glue can dry properly. I know it is tempting to pick it up right away, but patience really pays off here.
Giving the glue enough time to dry will help every piece stay firmly in place.
Lay the collage on a flat surface where it will not be disturbed. Keep it away from direct sunlight, strong wind, or anything that could fall onto it.
Most craft glue dries within a few hours, but I like to leave my collage overnight just to be safe. Avoid touching the leaves or flowers while they are drying.
This same careful patience is what makes the project on How to Make a Beautiful Origami Crane You’ll Be Proud to Display hold its shape so well too.
If anything comes loose later, you can easily glue it back into place. Waiting a little longer now will help your artwork last much longer.
Step 11: Frame and Protect Your Artwork

Your collage deserves a little protection after all the time you spent making it. Framing it will keep dust, moisture, and accidental damage away from the natural materials.
It also makes your artwork look more polished and ready to display.
Choose a frame that gives your collage enough room without pressing too hard on the leaves or flowers.
If your collage has thicker materials like bark or twigs, a shadow box frame is a better choice.
Framing natural materials like this is also central to the Step-by-Step Guide to Making Beautiful Seashell Art for Your Home, where the right display makes all the difference.
Before placing the collage inside, gently brush away any loose bits with a soft paintbrush. Clean the glass before sealing the frame so there are no fingerprints or dust marks.
Once the frame is closed, check that nothing has shifted out of place. Your collage is now ready to become part of your home décor.
Step 12: Display or Gift Your Nature Collage

Now comes the most rewarding part of the project. Find a place where you can enjoy your finished collage every day.
I always smile when I walk past one of my nature collages because it reminds me of the day I collected every little piece.
Hang your collage in a dry room away from direct sunlight to help the natural colors last longer. You can also place it on a shelf or a mantel as part of your seasonal décor.
If you are giving it as a gift, wrap the frame carefully to protect the artwork during transport. Adding a handwritten note makes the gift feel even more thoughtful.
Turning natural materials into a lasting keepsake is also the idea behind learning How to Make Stunning Resin Coasters With Pressed Flowers.
It is a simple way to tell someone you made it just for them. Handmade gifts like this often become treasured keepsakes that people remember for years.
Common Mistakes to Avoid
Making a nature collage is simple, but a few small mistakes can affect the final result. I learned most of these through experience, and avoiding them will make your project much easier.
I. Collecting Wet Materials
Fresh leaves and flowers that are still wet can become moldy over time. Let them dry or press them properly before using them.
II. Using Too Much Glue
A small amount of glue is enough for most natural materials. Too much glue can soak through delicate leaves and make the collage look messy.
III. Filling Every Empty Space
It is easy to keep adding more pieces because everything looks beautiful. Leaving a little empty space helps the collage feel balanced and lets each material stand out.
IV. Skipping the Practice Layout
Always arrange your materials before gluing them down. This gives you the chance to move things around until you are happy with the design.
V. Displaying the Collage in Direct Sunlight
Strong sunlight can cause leaves and flowers to fade faster. Display your collage in a cool, dry place to help preserve its natural beauty.
Helpful Tips for a Better Nature Collage
These simple tips can make your collage look cleaner and help you enjoy the process even more.
- Collect more natural materials than you think you will need. Having extra pieces gives you more freedom while designing your collage.
- Mix different shapes, colors, and textures throughout your artwork. This helps the finished collage look more interesting and balanced.
- Keep your work surface clean while you craft. A tidy space makes it easier to handle delicate leaves and flowers.
- Use tweezers when placing very small materials. They give you better control and help keep the arrangement neat.
- Step back every few minutes to look at the whole collage. You will notice small changes that can make the design even better.
- Let each layer dry before adding heavy materials on top. This helps everything stay in place without shifting.
- Enjoy the creative process instead of trying to make everything perfect. Nature is beautifully imperfect, and your collage can be too.
Frequently Asked Questions
I. Can I use fresh leaves and flowers for a nature collage?
Yes, but you should dry or press them first. Fresh materials contain moisture that can cause mold or make your collage wrinkle over time.
Pressing them also helps them lie flat and stick more easily.
If you enjoy working with fresh blooms this way, the project on How to Create Vibrant Flower Pounding Prints on Fabric is another beautiful technique that uses real petals.
II. What is the best glue for a nature collage?
White craft glue works well for most projects because it dries clear and holds lightweight materials securely. Apply a thin layer instead of using too much.
This helps keep the collage neat and prevents glue from showing around the edges.
III. How do I keep my collage from fading?
Keep it away from direct sunlight and areas with high humidity. Framing the collage behind glass also helps protect it from dust and damage.
With proper care, your artwork can stay beautiful for a long time.
IV. Can children make a nature collage?
Absolutely. This is a fun project for kids because they enjoy collecting leaves, flowers, and other natural treasures.
Younger children may just need a little help with the glue and arranging the smaller pieces.
V. What other natural materials can I use?
You can use dried herbs, small pinecones, acorns, moss, seed pods, feathers, thin pieces of bark, or even dried orange slices.
Just make sure everything is clean and completely dry before adding it to your collage.
Final Thoughts
A nature collage is more than a fun craft project. It is a wonderful way to slow down, enjoy the outdoors, and turn simple natural materials into something beautiful.
Every leaf, flower, and twig has its own story, and together they create artwork that no one else can copy.
If you’re crafting with kids, 19 Easy Clay and Pipe Cleaner Crafts Kids Will Want to Make is another fun activity to pair with a nature walk.
Do not worry about making your collage look perfect. Nature is full of different shapes, colors, and textures, and that is exactly what makes this craft so special.
The more you enjoy the process, the more your creativity will shine through in the finished piece.
I hope this guide has inspired you to head outside and start collecting your own little treasures.
Take your time, have fun with each step, and let nature guide your creativity.
If you enjoy working with paper flowers as well, learning How to Make Full and Fluffy Tissue Paper Flowers That Impress is a fun contrast to try alongside real ones.
Before you know it, you will have a beautiful handmade collage that brings a little piece of the outdoors into your home and reminds you that the best art often starts with a simple walk.