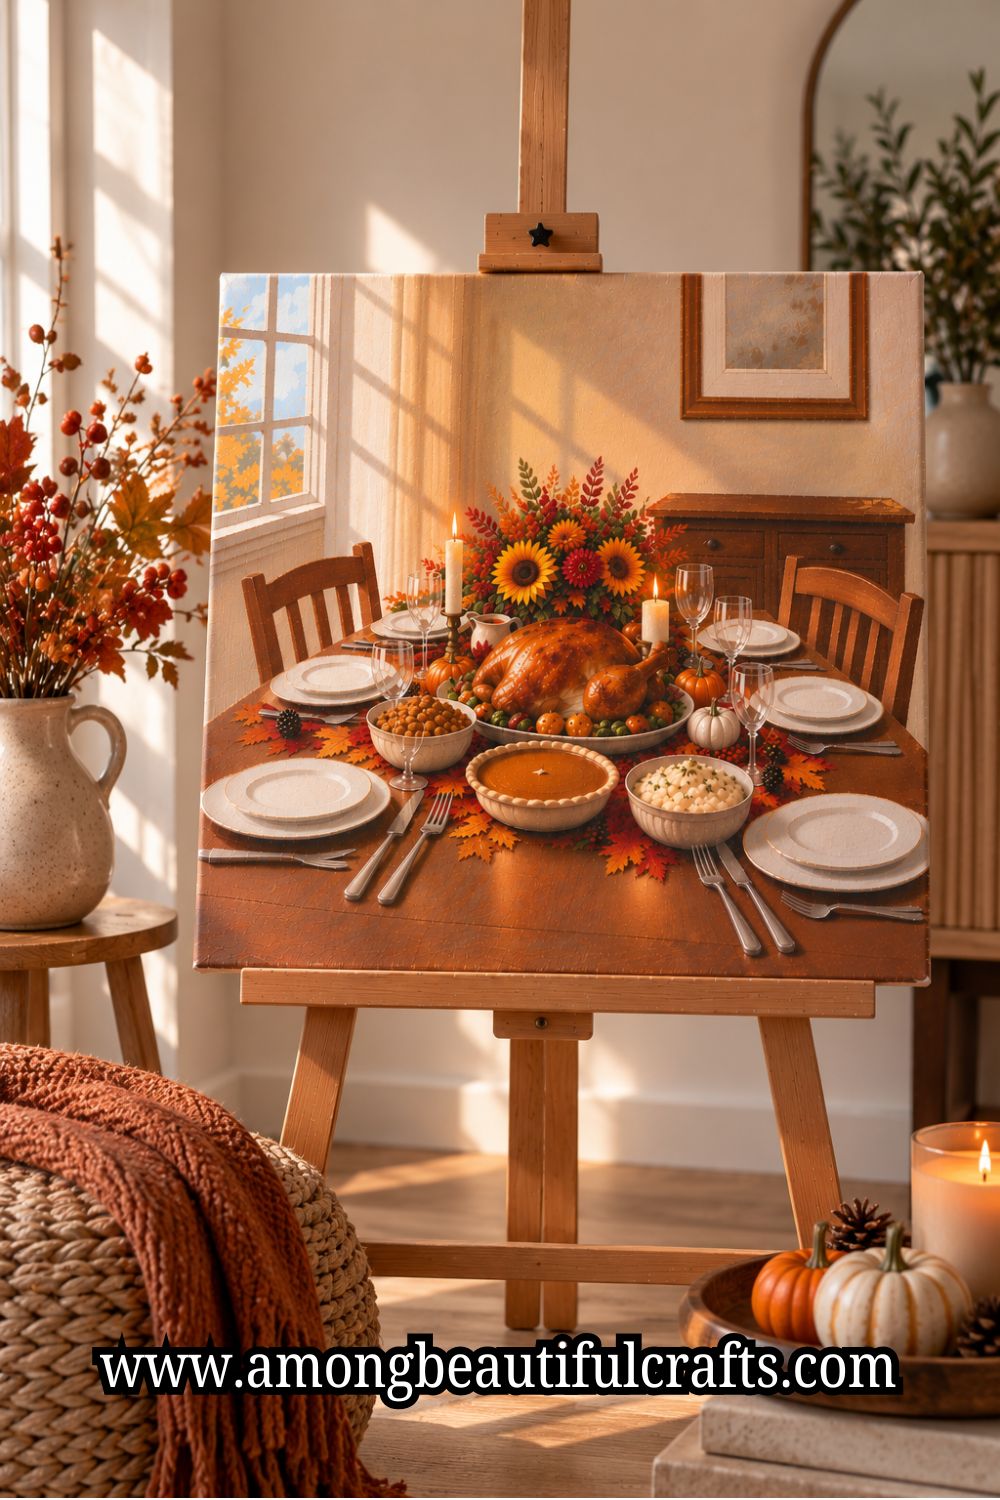
Here’s a little secret about painting a Thanksgiving table: the messier parts can actually help you.
You have food that doesn’t need perfect edges, fabric with natural folds, dishes that can be slightly uneven, and decorations that don’t need exact shapes.
That gives you much more freedom than painting a perfectly arranged vase or a realistic portrait.
So instead of trying to make the painting look polished from the first brushstroke, let the table build itself in layers.
Get the big shapes down first, then add the plates, food, glasses, centerpiece, and little touches that pull everything together.
You’ll see the painting change quite a bit as you move through those stages.
That’s exactly how this Guide to Painting a Thanksgiving Table Scene is laid out.
I’ll show you what to work on at each stage, so you’re not left staring at the canvas wondering what comes next.
Follow the order, make a few adjustments to suit your style, and you’ll have a complete Thanksgiving table scene by the end.
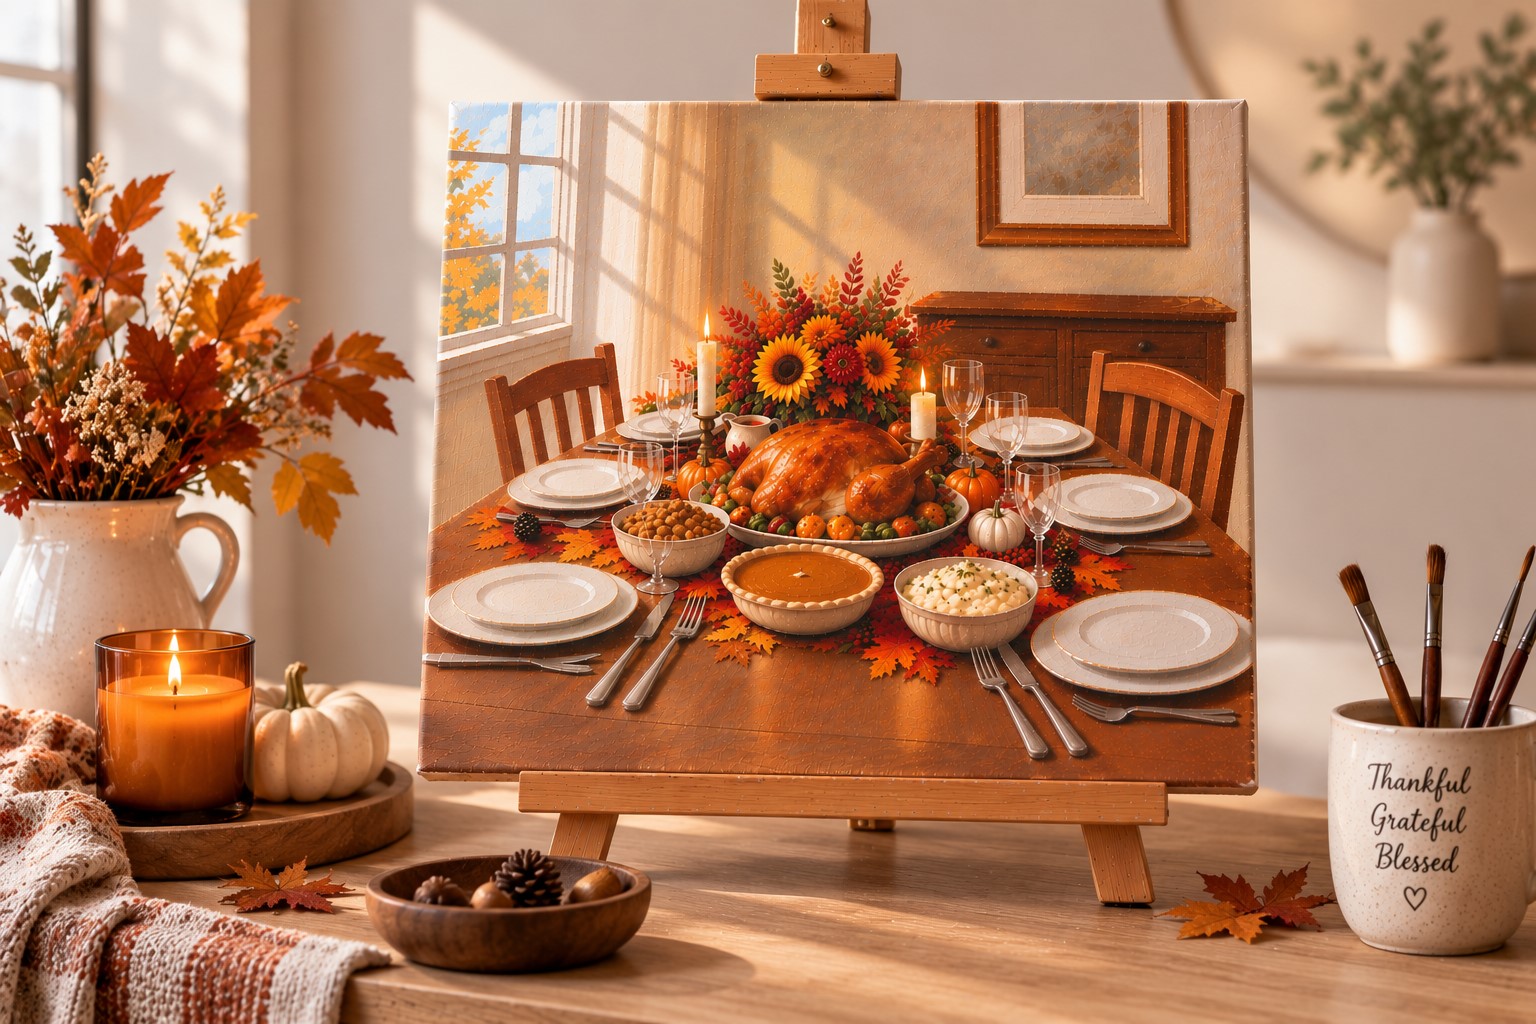
Supplies You’ll Need
Before you start, gather everything you’ll need so you can keep your attention on the painting.
- Canvas or canvas board – (Available on Amazon)
- Pencil
- Acrylic paints – (Available on Amazon)
- Eraser
- Round detail brush – (Available on Amazon)
- Ruler
- Small, medium, and large paintbrushes – (Available on Amazon)
- Flat brush
- Paint palette – (Available on Amazon) or disposable plate
- Cup of clean water
- Paper towels – (Available on Amazon)
- Reference photo
- Optional: white gel pen or fine paint marker – (Available on Amazon)
- Optional: acrylic varnish for sealing the finished painting – (Available on Amazon)
For the paint colors, you can work with warm shades such as cream, beige, brown, orange, red, mustard yellow, olive green, and a little black.
You can adjust the palette to match the mood you want.
A Step-by-Step Guide to Painting a Cozy Thanksgiving Table Scene
1. Choose a Simple Table Composition
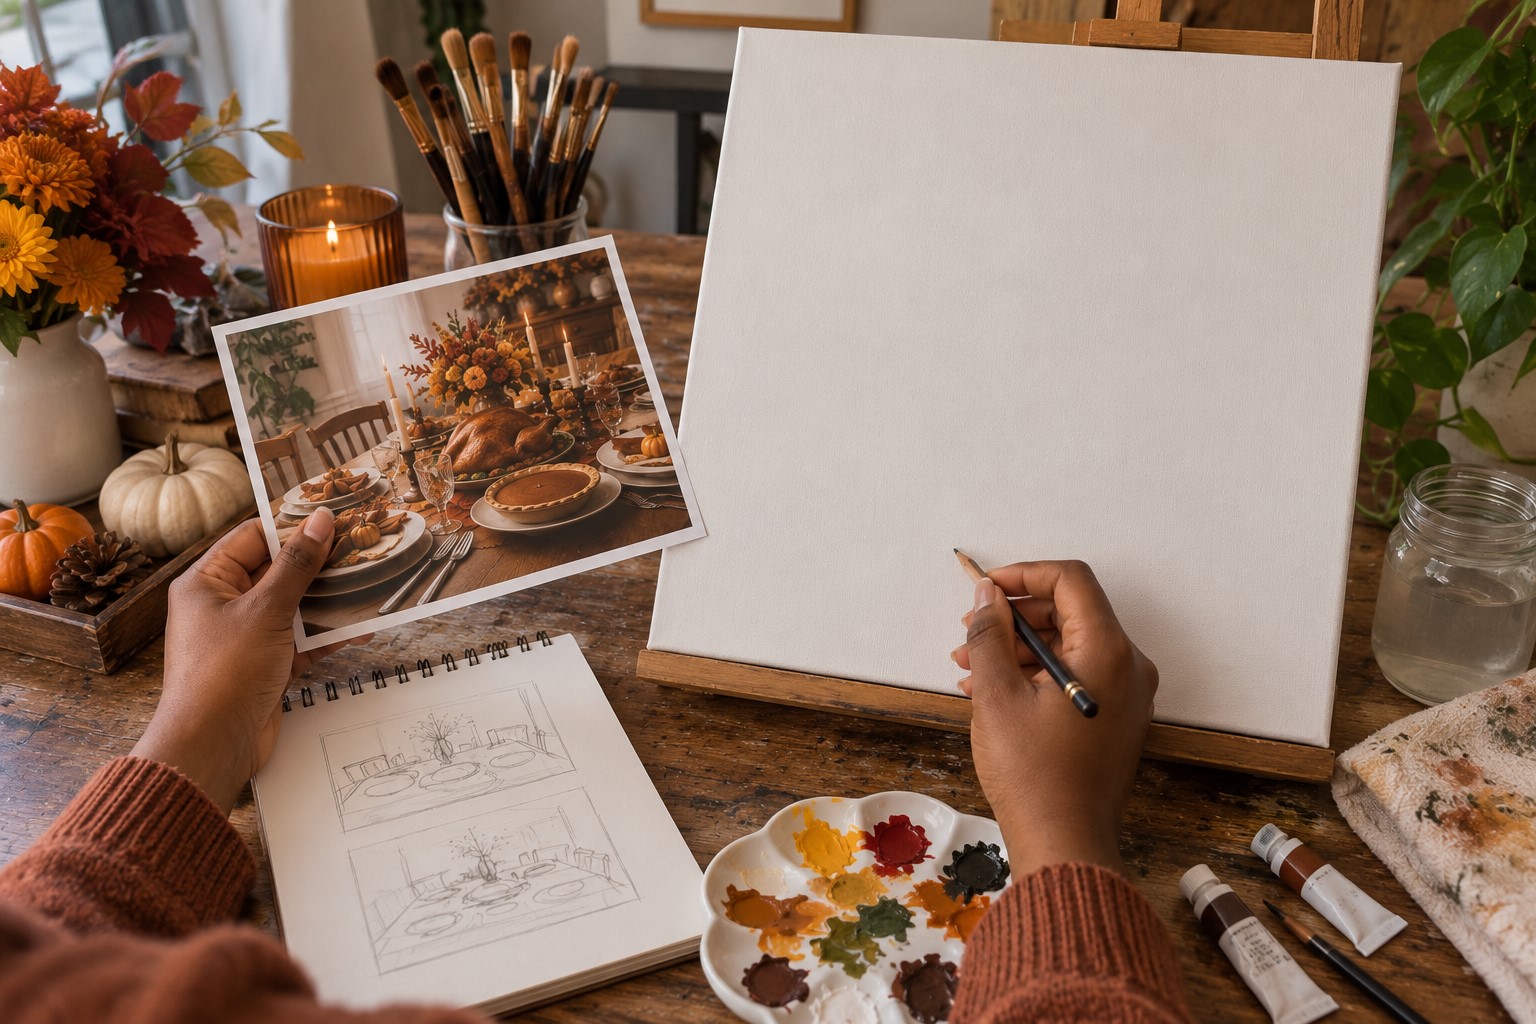
Before touching your canvas, decide what you actually want to show. You don’t need to squeeze an entire Thanksgiving dinner into the painting.
A table viewed from a slight angle can give you enough space for the main elements without making the composition difficult.
Choose three or four objects that will carry most of the scene. For example, you might use a large serving dish, two plates, a glass, and a centerpiece.
The remaining details can support those objects instead of competing with them.
Think about where your main focus will sit. A large pie or serving dish can work well near the center.
Plates can sit toward the front, while taller decorations can help draw the eye upward.
This simple planning stage makes the Guide to Painting a Thanksgiving Table Scene much easier to follow because you already know where everything belongs.
2. Set Up Your Reference and Plan the Light
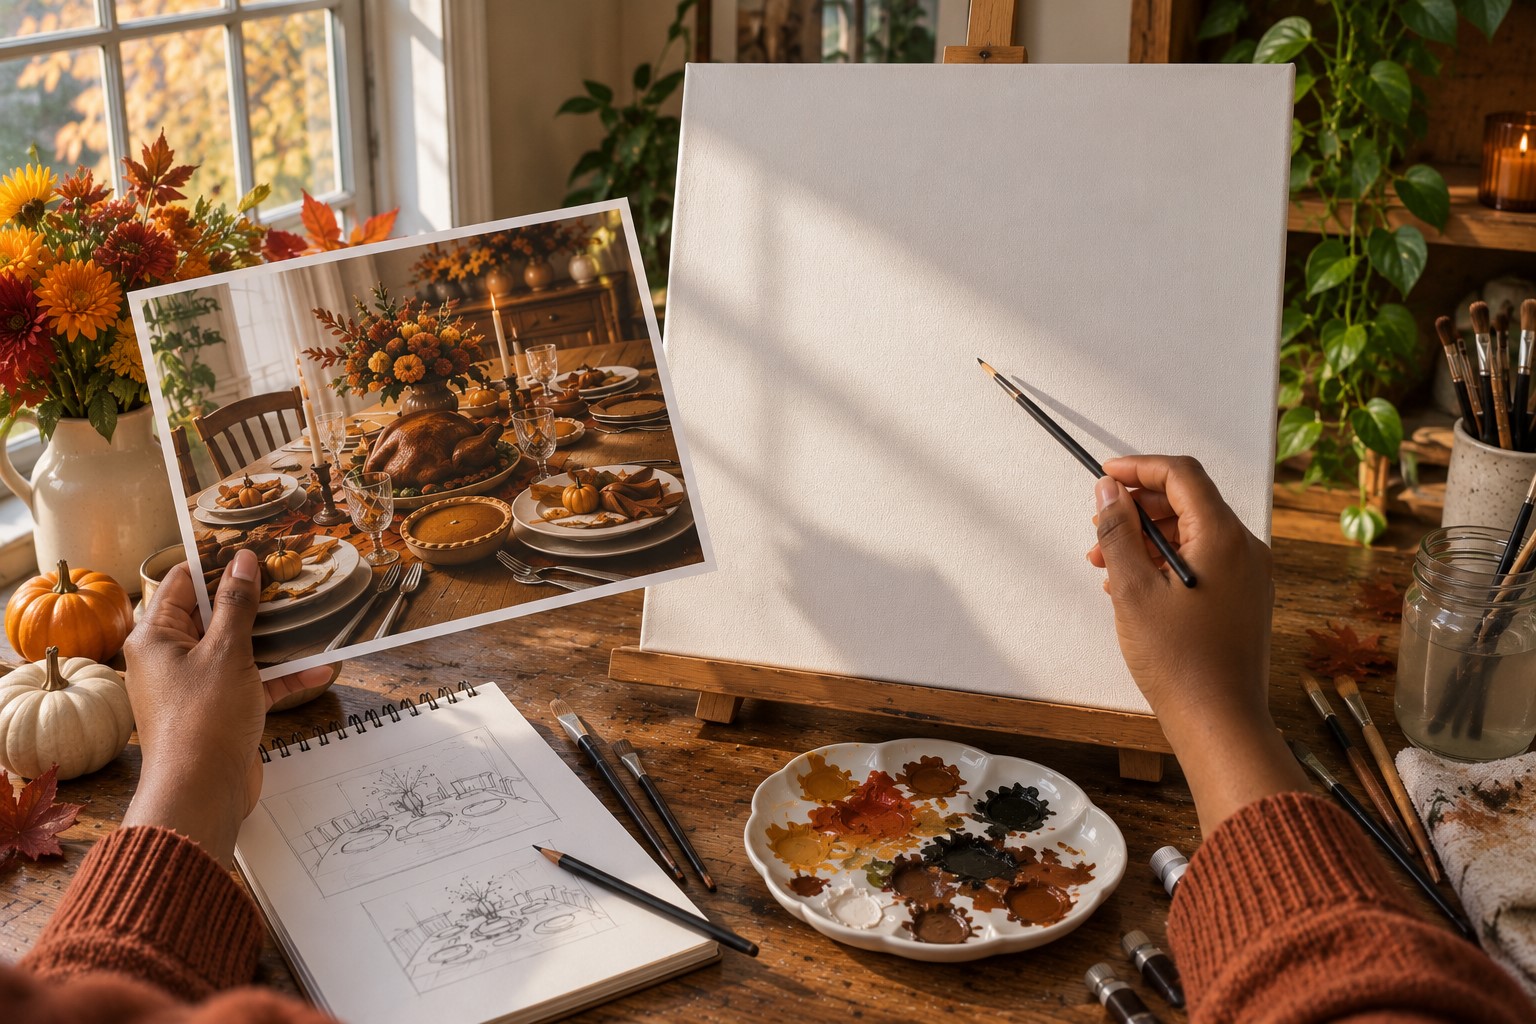
A reference photo can save you from guessing where every object should go. You can use one Thanksgiving table photo or combine details from several references.
Look closely at the direction of the light. Notice which side of the plates looks brighter and where the darker shadows fall.
You don’t need to copy every shadow exactly. You only need to understand the general direction.
Keep your reference close enough to check while painting. If you’re working from several photos, decide on one lighting direction and stick with it.
This will help the finished painting look like one scene instead of a collection of objects painted separately.
3. Lightly Sketch the Table and Main Shapes
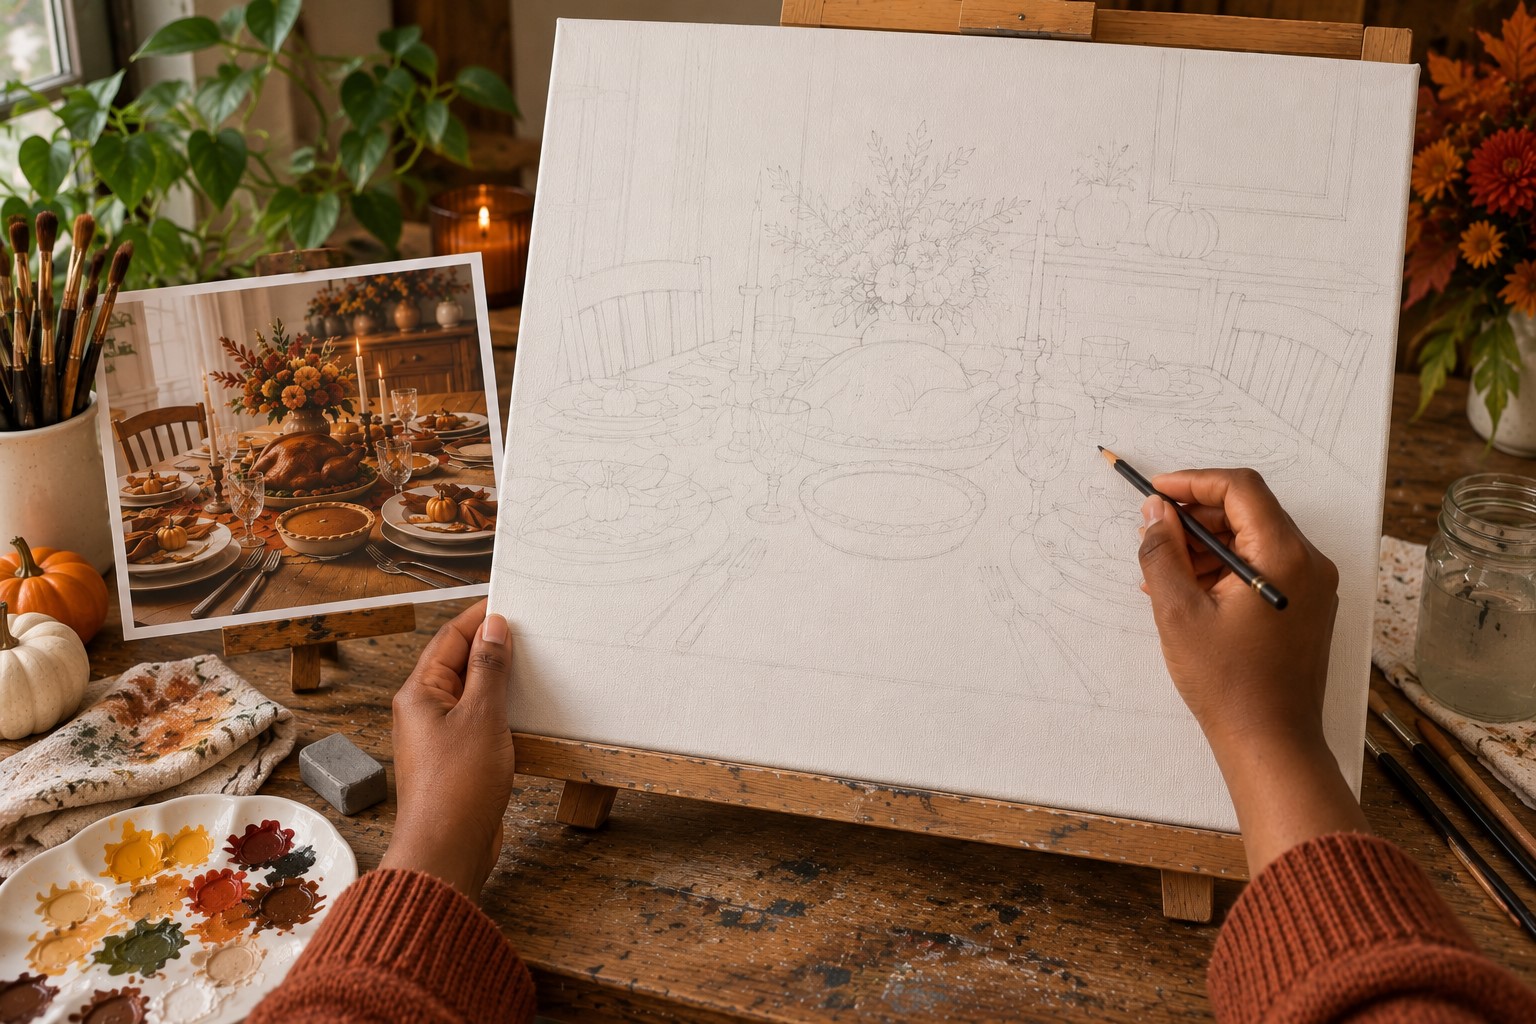
Start your sketch with the largest shapes instead of drawing individual objects.
Mark the position of the tabletop, the back edge, and any chairs or background furniture that you want to include.
Next, lightly place your plates, serving dishes, glasses, and centerpiece. Use simple ovals, rectangles, and curved lines at this stage.
Don’t press hard with your pencil. Dark sketch lines can show through lighter paint and become difficult to cover later.
Step back from the canvas after placing everything. Check if the table feels too crowded on one side.
It is much easier to move a pencil line now than repaint a finished section later.
4. Paint the Background First
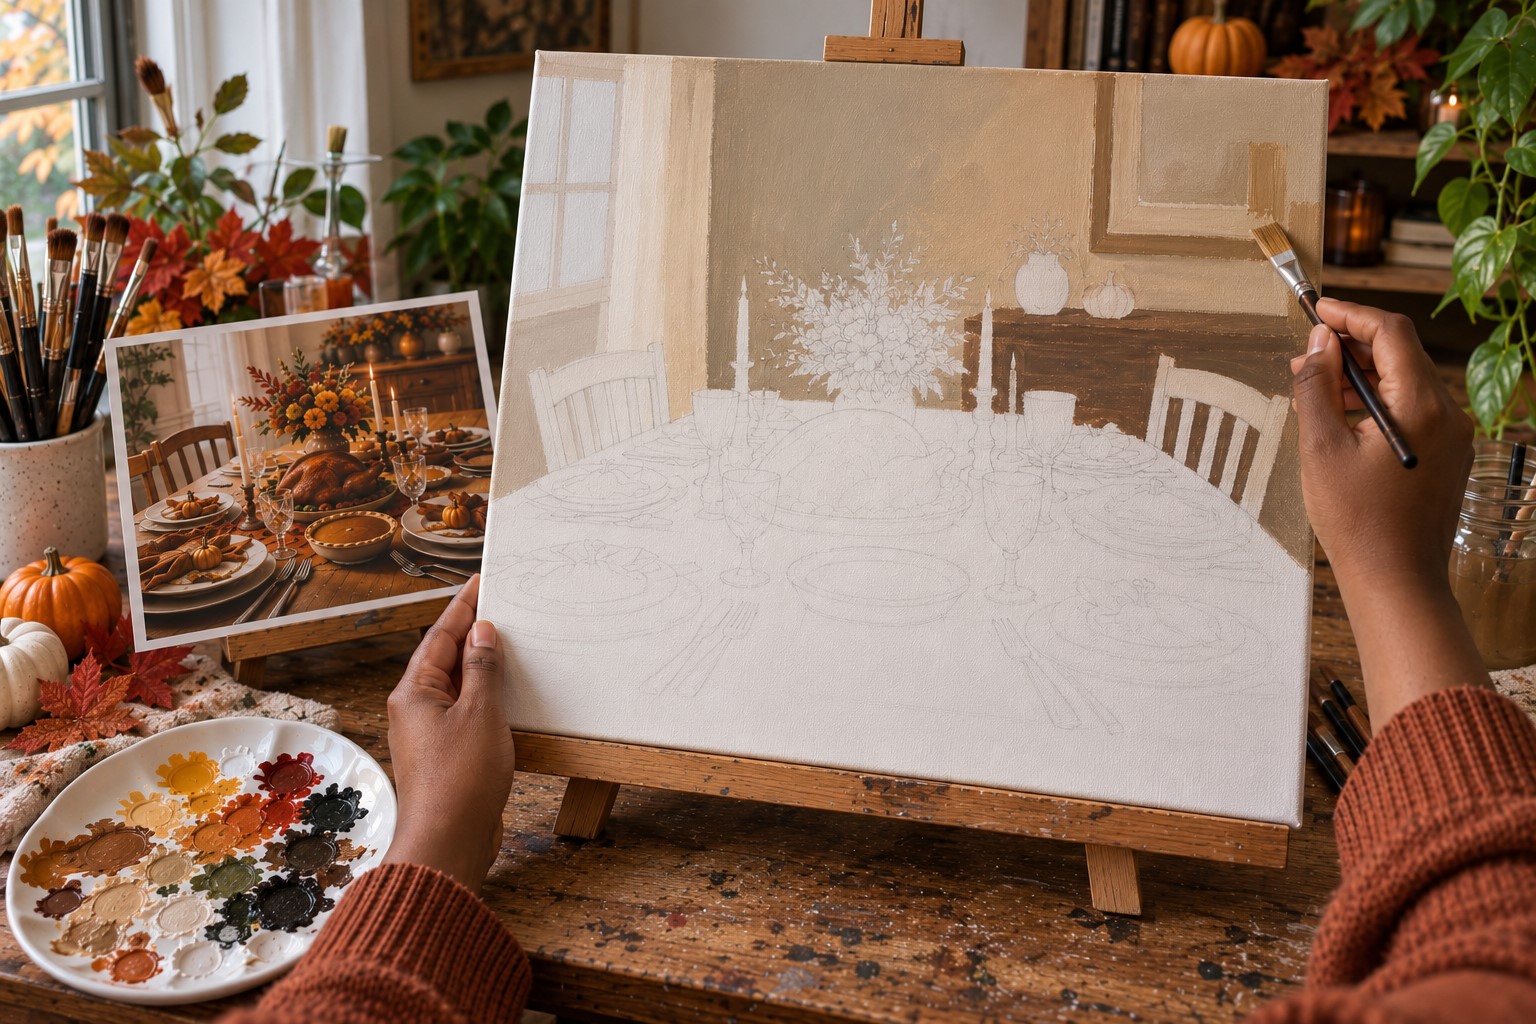
Now you can start adding paint. Begin with the wall, window, or other background area behind the table.
Choose a fairly simple color so the background does not steal attention from the table. Warm cream, muted beige, soft gray, or a gentle brown can work nicely.
Use a larger brush for this section and cover the canvas evenly. You don’t need tiny details yet.
If your background has a window or wall decoration, block in its main shapes without worrying about perfect edges.
You can sharpen those areas later when you add the table and objects in front.
5. Block In the Table and Larger Furniture
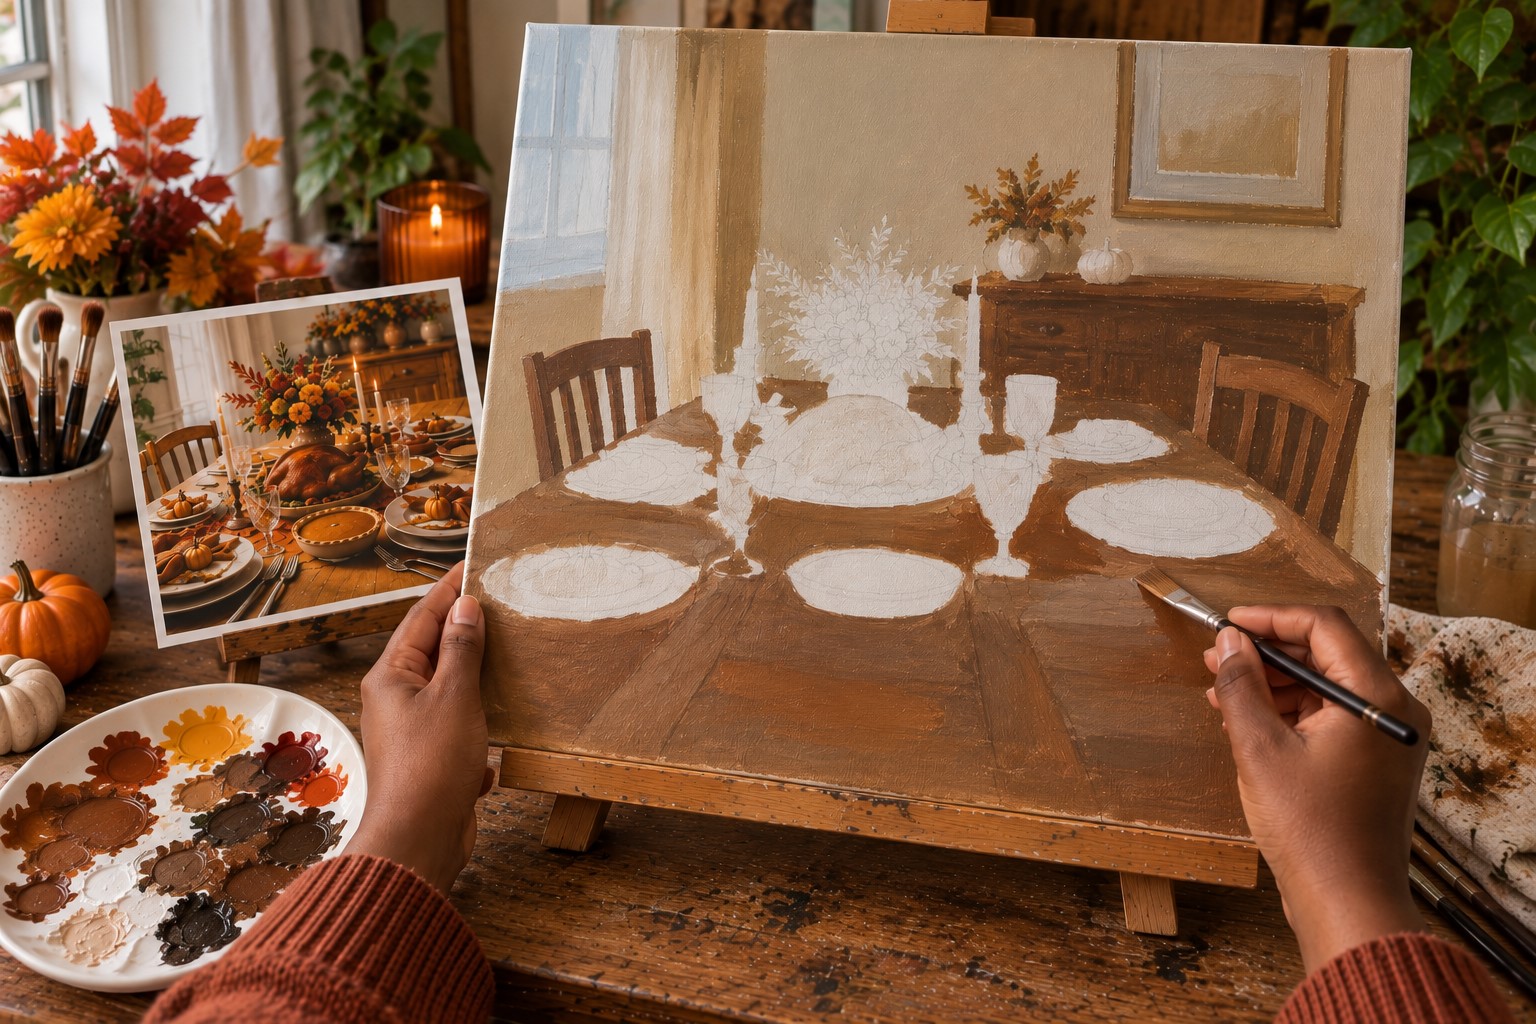
Once the background has dried enough, move to the table. Paint the main tabletop shape using your chosen wood or tablecloth color.
If you are painting wood, avoid making the entire surface one flat brown. Add a slightly lighter or darker shade in selected areas.
A few loose lines can suggest wood grain without making you paint every mark.
For a tablecloth, use a base color first. Then add the folds later with darker and lighter shades.
This stage should still look fairly basic. That is fine. You are building the foundation rather than trying to finish the painting early.
6. Add the Plates, Glasses, and Cutlery
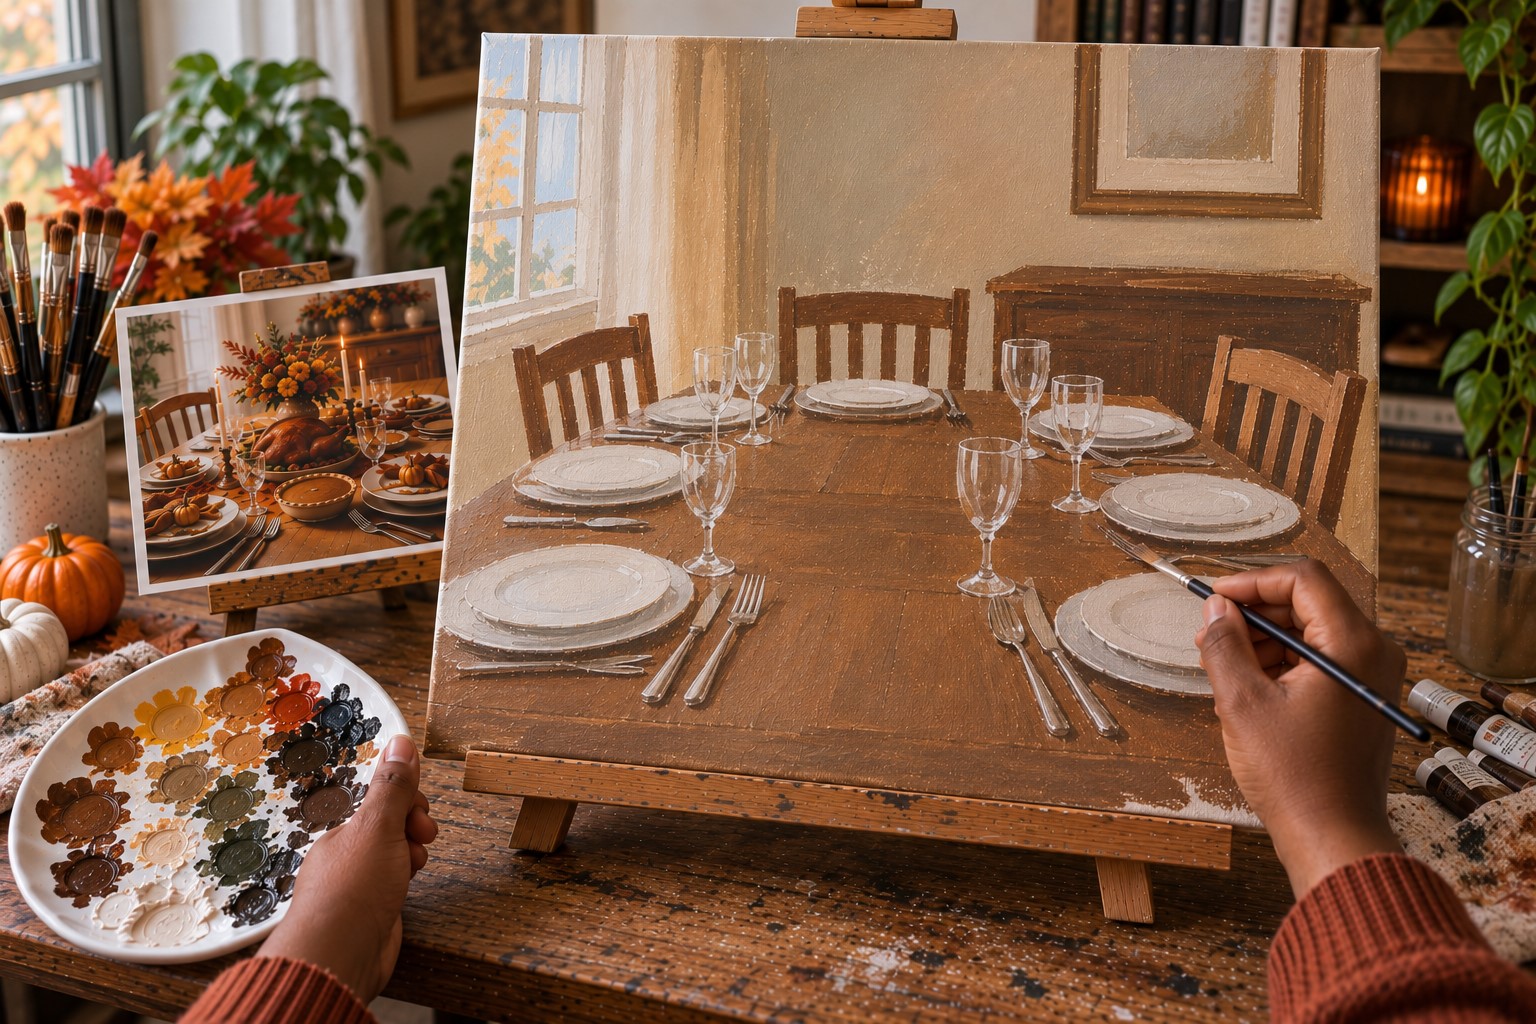
Now the table starts looking like an actual Thanksgiving setting.
Paint the plates as simple oval shapes, keeping in mind that their appearance changes with the angle of the table.
Add the glasses with thin outlines and a slightly darker base. You can leave small areas of the canvas showing through to suggest reflections.
For forks, knives, and spoons, use thin brushstrokes rather than trying to draw every part perfectly. Place them naturally beside the plates.
If something looks slightly uneven, don’t immediately repaint it. Small differences can make the setting feel less stiff.
7. Paint the Thanksgiving Food
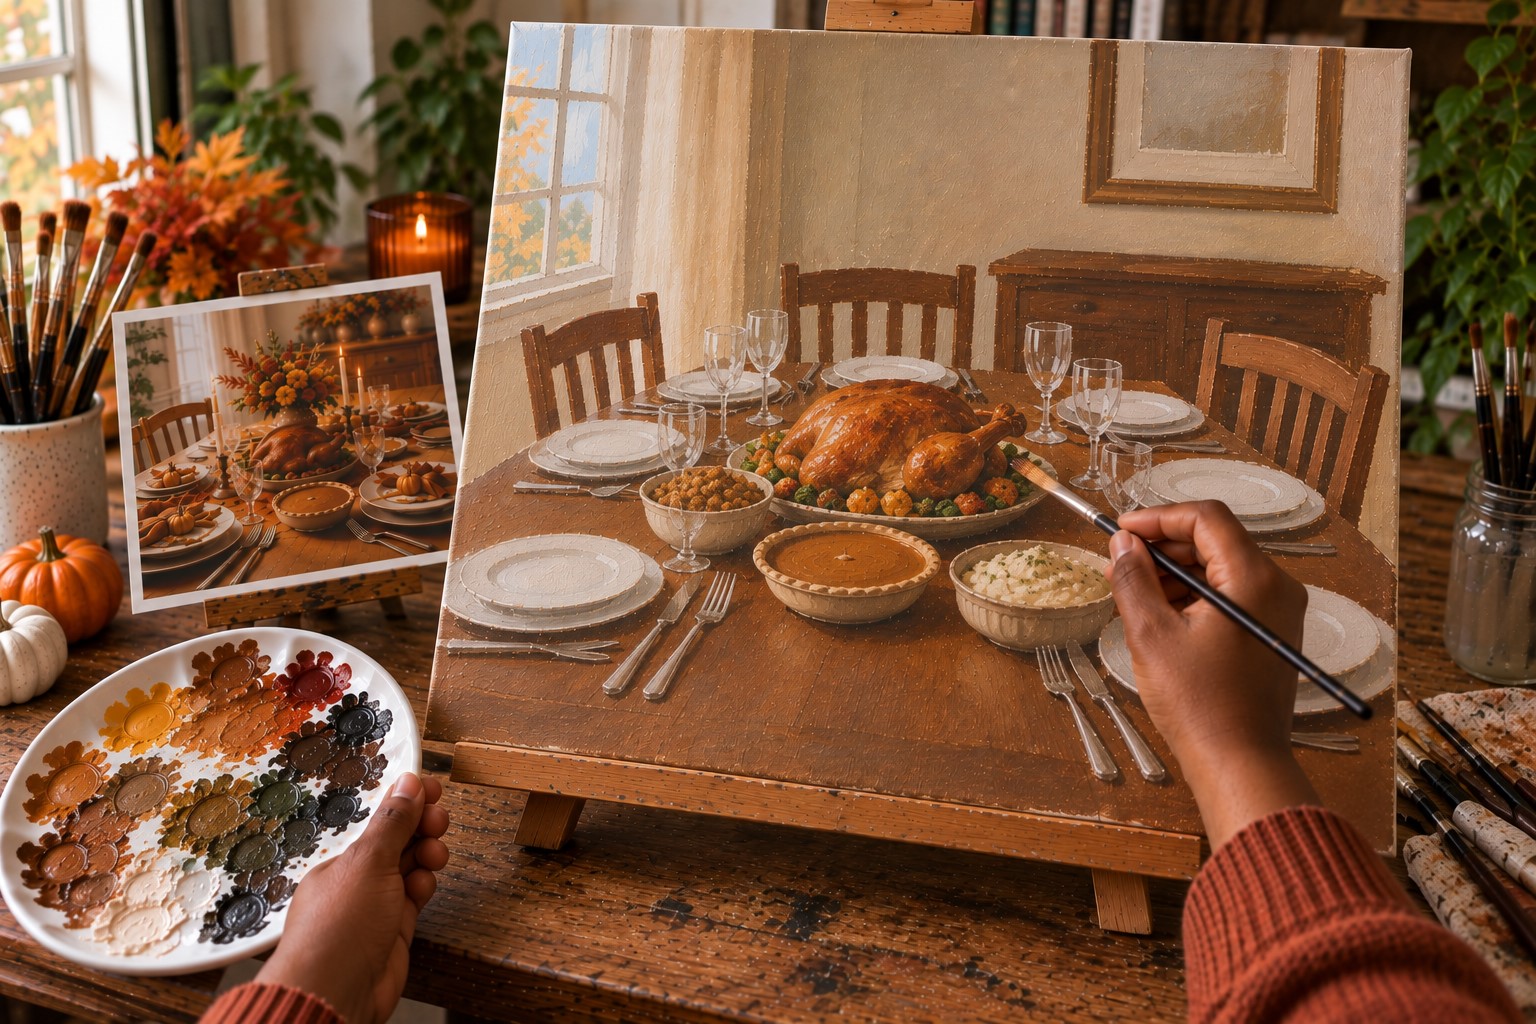
This is where you can have a little more fun with color. Start with the larger food items and serving dishes before worrying about tiny details.
A pie can begin as a simple warm brown circle or oval. Add a darker crust edge and a few lighter marks across the top.
Roasted vegetables can use several shades of orange, yellow, green, and brown.
You don’t need to identify every piece of food perfectly. Instead, use recognizable colors and shapes that suggest a full Thanksgiving meal.
Keep some areas simple. Too many tiny food details can make the table look busy and take attention away from your main subject.
8. Build the Centerpiece and Seasonal Details
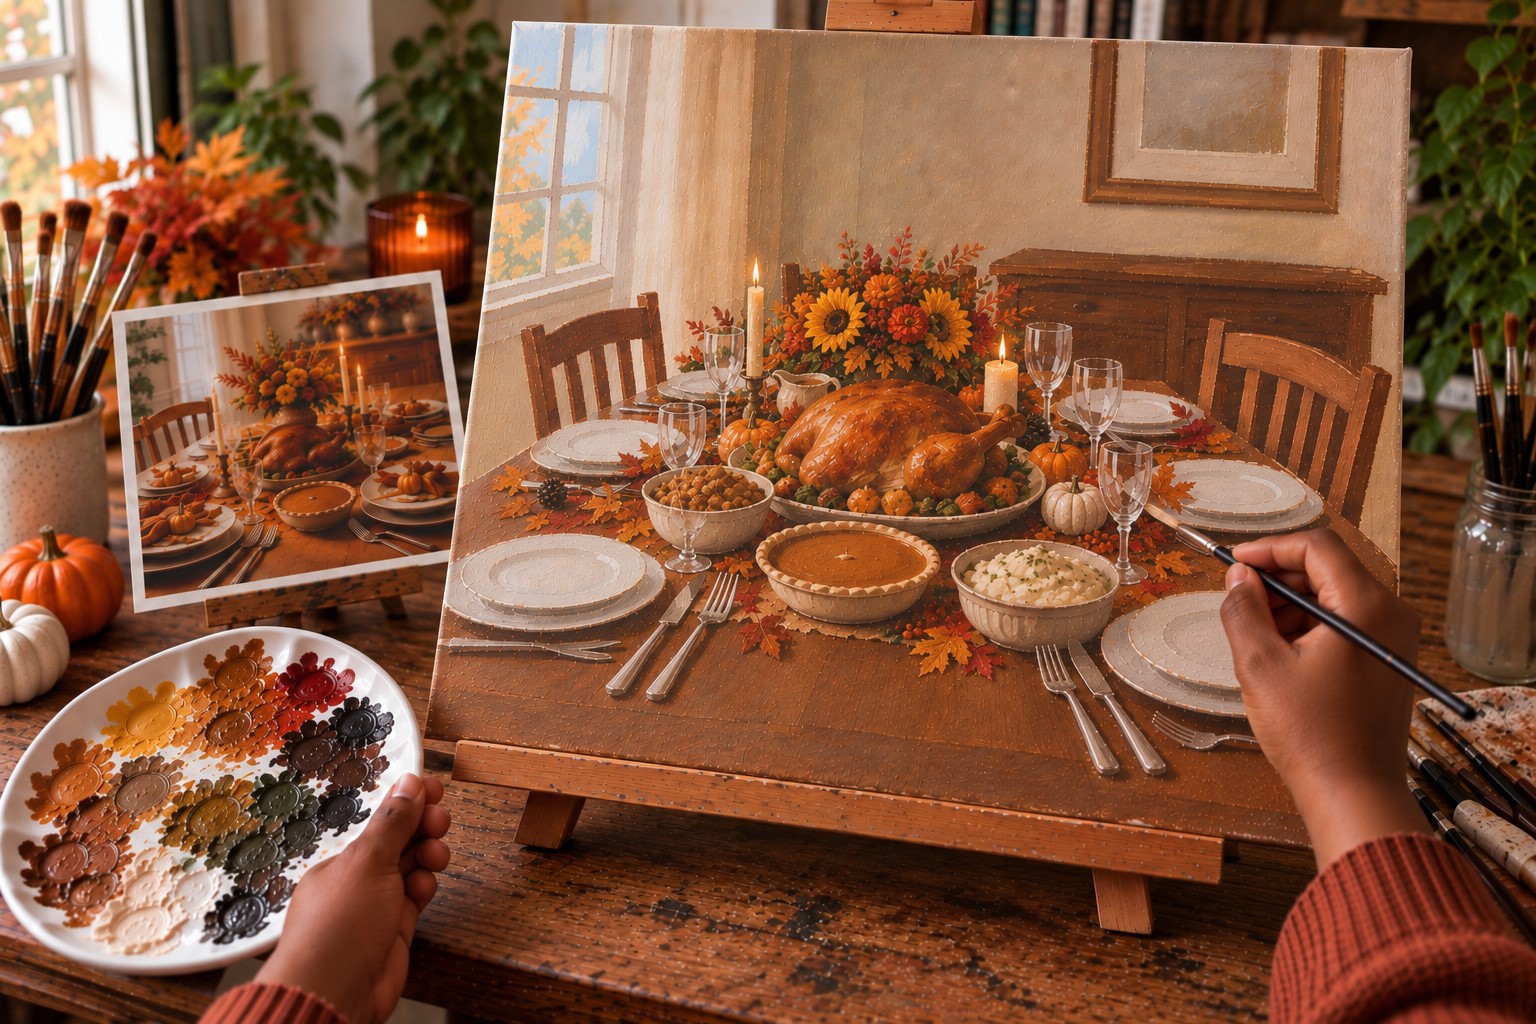
Your centerpiece gives the table some height, so add it after the main table objects are established.
You could use autumn leaves, small pumpkins, branches, flowers, or another seasonal arrangement.
Start with the larger shapes. Then add a few smaller leaves or decorative elements around them.
Use related colors throughout the centerpiece so it connects with the rest of the painting.
For example, touches of orange can echo the food while muted green can connect the leaves to the background.
This is also a good stage to add small seasonal details around the table. Keep them selective. A few well-placed details will usually look better than filling every empty space.
9. Add Shadows Between the Objects
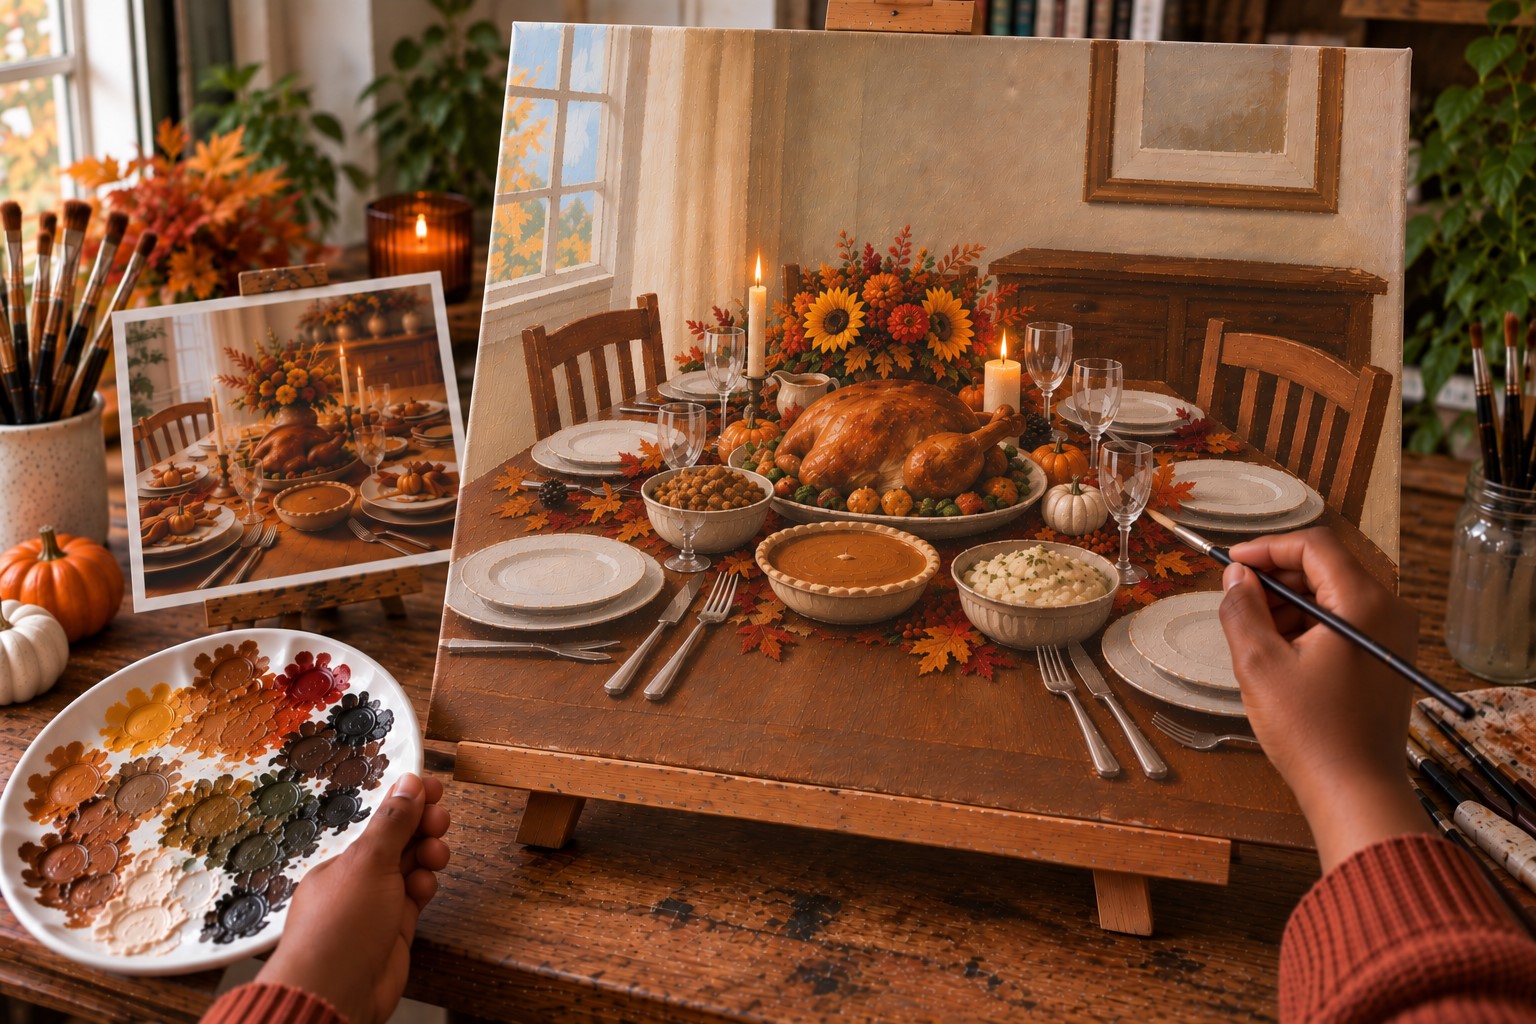
This is the stage that can make a surprisingly big difference. Without shadows, your plates and food may look like they are floating above the table.
Look underneath the plates, serving dishes, glasses, and centerpiece. Add soft, darker shapes where objects meet the table surface.
Keep the darkest shadows close to the objects. Let them become lighter as they move outward.
You can also add a few shadows where the table meets the background. These small changes help anchor the table and give the painting more depth.
If you are following this Guide to Painting a Thanksgiving Table Scene closely, don’t rush past this stage.
Shadows often do more for a painting than adding another ten tiny details.
10. Add Light, Highlights, and Color Variation
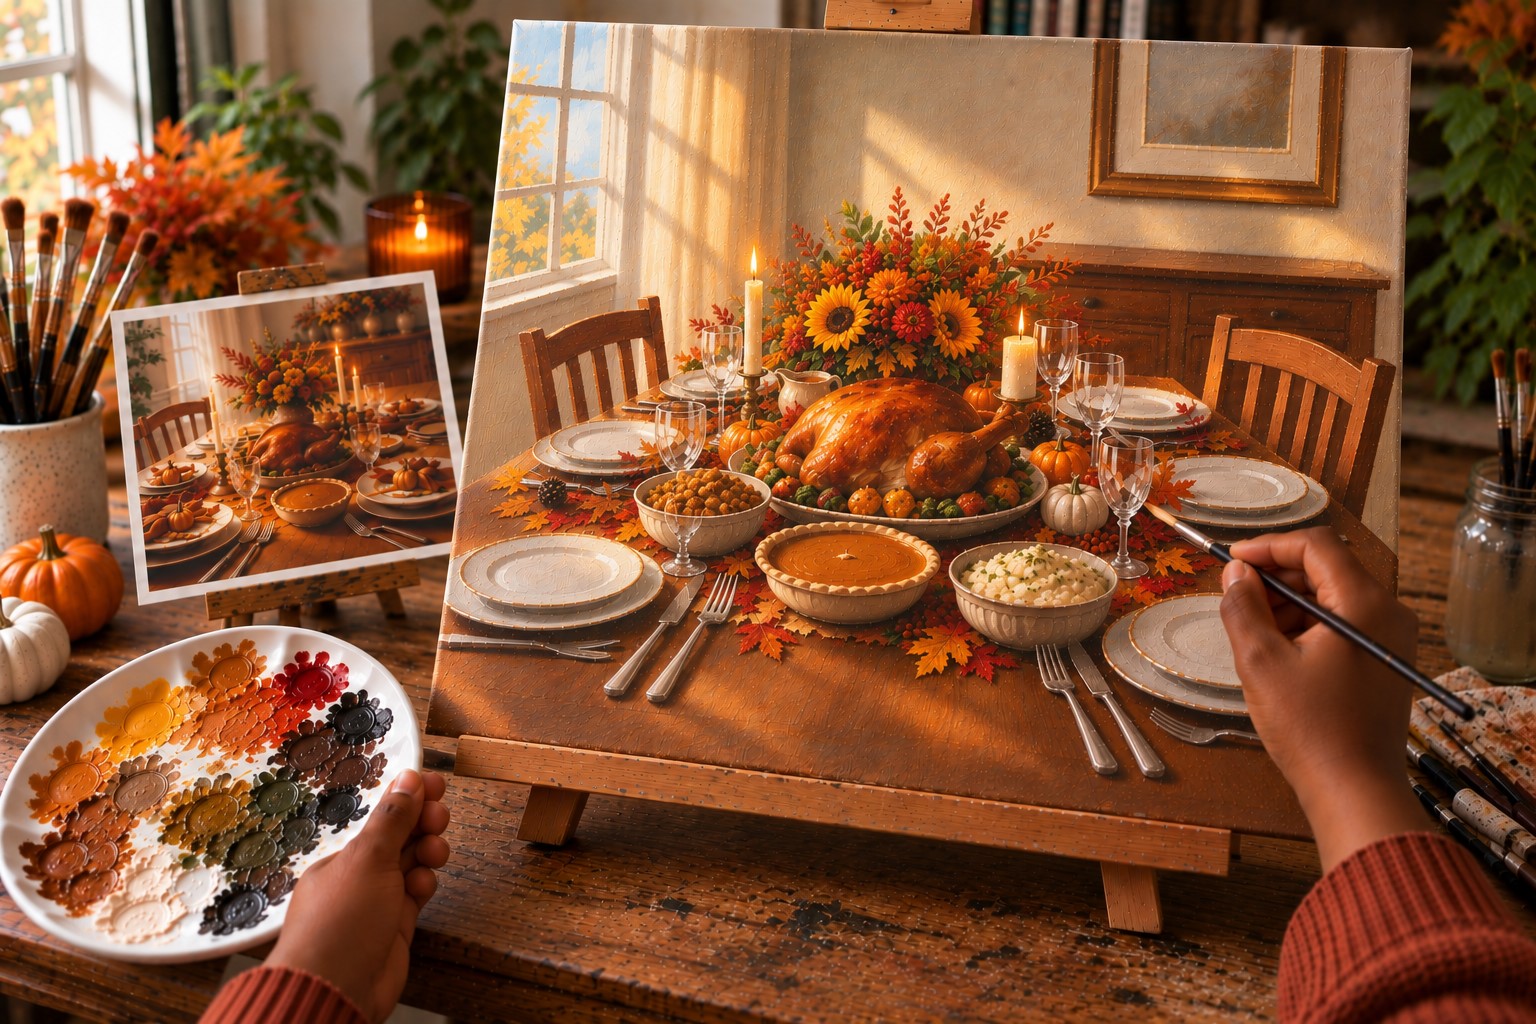
Once your darker areas are in place, bring some light back into the painting. Use a lighter version of your existing colors rather than adding bright white everywhere.
Add highlights to the edges of plates, the rims of glasses, parts of the food, and selected areas of the table. A small highlight can make a glass feel much more convincing.
You can also brighten a few parts of the centerpiece. Keep the strongest highlights near the areas you want viewers to notice first.
At this point, compare the light and dark areas across the entire painting. If everything has the same brightness, add more variation before moving on.
11. Refine the Details Without Overworking the Painting
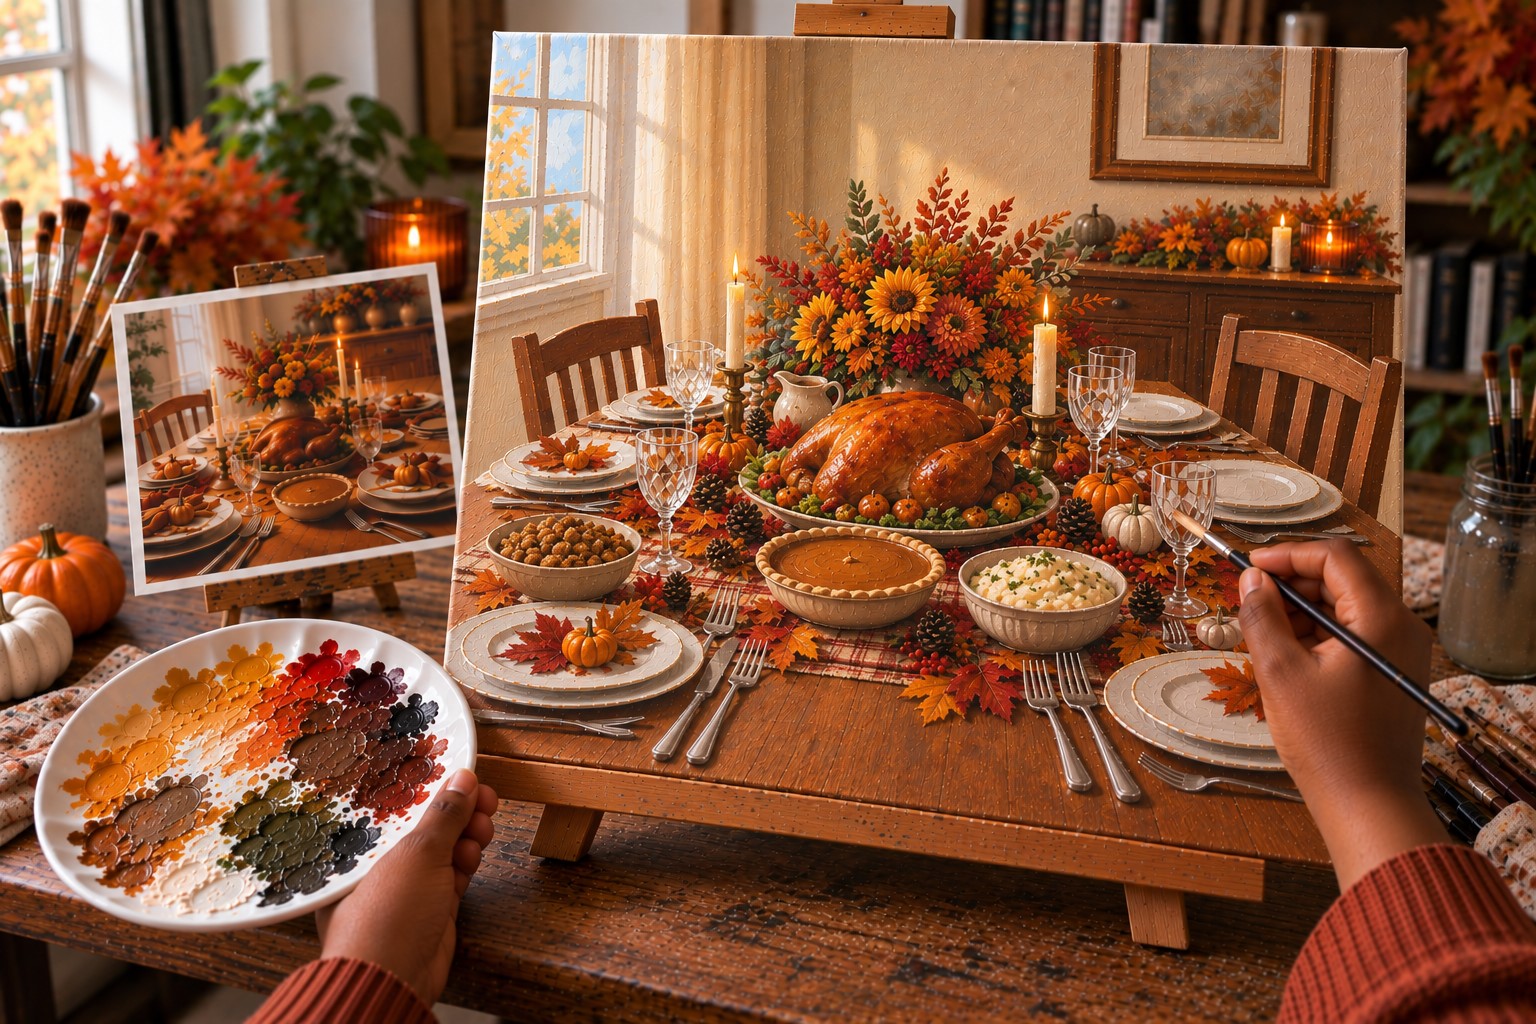
Now take a break from adding new objects. Look at what you already have and decide which areas actually need attention.
You might sharpen the edge of a plate, add a few lines to the tablecloth, deepen the color inside a serving dish, or add a couple of leaves to the centerpiece.
Use your smaller brush for these corrections. Keep some larger brushstrokes visible because they give the painting character.
It can be tempting to keep adding details because you want the painting to look finished. Resist that urge. If an area already works, leave it alone.
12. Add the Final Accents and Finish the Painting
Give the whole painting one final look before making your last changes. Check the balance of the composition, the shadows, and the main colors.
Add only the accents that are genuinely missing. A few crisp edges, tiny highlights, darker shadow marks, or warm color touches may be enough.
Then step away from the canvas. Looking at it from a little distance can reveal problems that are easy to miss up close.
Let the painting dry completely before applying a protective varnish. Once it has dried, your Thanksgiving table scene is ready to display.
Tips for Making Your Thanksgiving Table Painting Look More Natural
A few simple choices can make the final painting feel much more convincing.
i. Don’t outline everything: Let some objects meet through changes in color and shadow instead of dark outlines.
ii. Repeat colors: Bring small amounts of the same orange, brown, green, or cream into different areas of the painting.
iii. Vary your edges: Keep some edges sharp while letting others stay soft. This creates more visual interest.
iv. Keep the foreground stronger: Add slightly more detail to the objects closest to the viewer.
v. Watch your shadows: Make sure objects sitting on the table actually connect to the surface through shadows.
vi. Stop before it gets crowded: You don’t have to fill every empty area. Some open space helps the main objects stand out.
Final Thoughts
Painting a Thanksgiving table doesn’t have to turn into a test of how accurately you can draw every object.
The table gives you plenty of room to work loosely while still creating a scene that feels complete.
Once the large shapes and colors are in place, the painting becomes much easier to manage.
The biggest thing is to follow the order of the steps. Don’t worry about making the plates perfect while the background is still unfinished.
Build the painting from the larger areas to the smaller details, and give each stage enough time to develop.
With this Guide to Painting a Thanksgiving Table Scene, you have a clear starting point and a process to follow all the way through.
Change the colors, simplify the food, or add your own decorations. The finished painting should still feel like yours.